
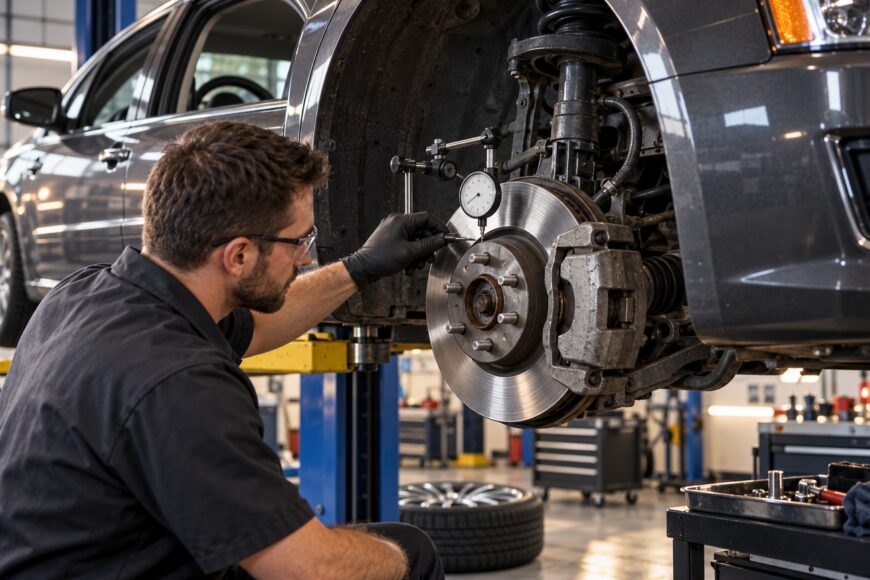
When the steering wheel starts moving from side to side under braking, the effect is often most noticeable during a stop from highway speed. The symptom is commonly called brake judder, and it may be felt through the steering wheel, brake pedal, or vehicle body. It does not automatically mean that a brake rotor is literally bent.
The usual causes include disc thickness variation, lateral runout, uneven pad contact, or a caliper that is not releasing correctly. The steering wheel often points attention toward the front axle, but that clue does not confirm the fault. A damaged tire, loose wheel bearing, or worn suspension joint can produce a similar reaction when braking transfers weight forward.
A reliable repair begins with measurements rather than parts replacement. The disc, hub, caliper, suspension, and tire should be checked in a logical order so the actual cause is corrected and the vibration does not return after a short time.
- What Steering Wheel Shake During Braking Usually Means
- How Brake Judder Develops Over Time
- When the Problem Is Not the Brake Disc
- How to Diagnose the Cause Without Guessing
- The Fixes That Work—and the Mistakes That Make It Return
- Brake Judder Symptoms: What They Point To
- Frequently asked questions
- Can wheel alignment cause the steering wheel to shake only when braking?
- How to fix a shaking steering wheel when braking?
- Why does my steering wheel shake when I brake at 50 mph?
- Why does my car vibrate when I brake at 60 mph?
- Why does my steering vibrate at 70 mph?
What Steering Wheel Shake During Braking Usually Means
Brake judder is a braking vibration or pulsation felt through the steering wheel, brake pedal, or vehicle body. It is a symptom, not a diagnosis. In many cases, it is associated with disc thickness variation, often abbreviated DTV, and lateral runout rather than a rotor being literally bent.
Disc thickness variation means that the friction surface is not equally thick around the disc. As the disc rotates between the pads, the changing thickness alters clamping force and can create pedal pulsation. Lateral runout is side-to-side movement as the assembled disc rotates; it can come from the disc, hub, mating surfaces, bearing, or installation.
The vibration may become more obvious around 50–70 mph because the rotating assembly produces more frequent changes in braking force at higher wheel speed. A small irregularity can therefore feel like a strong steering-wheel movement during a firm stop. One cited service bulletin identifies disc thickness variation above 0.013 mm as capable of causing pedal pulsation and front-end vibration.
Steering-wheel movement often suggests a front-axle issue because the front brakes and steering links are directly connected to the driver’s hands. That is a useful direction for inspection, rather than proof of a defective front rotor. Measurements are still needed to separate disc variation from hub runout, bearing play, suspension looseness, or tire damage.
How Brake Judder Develops Over Time
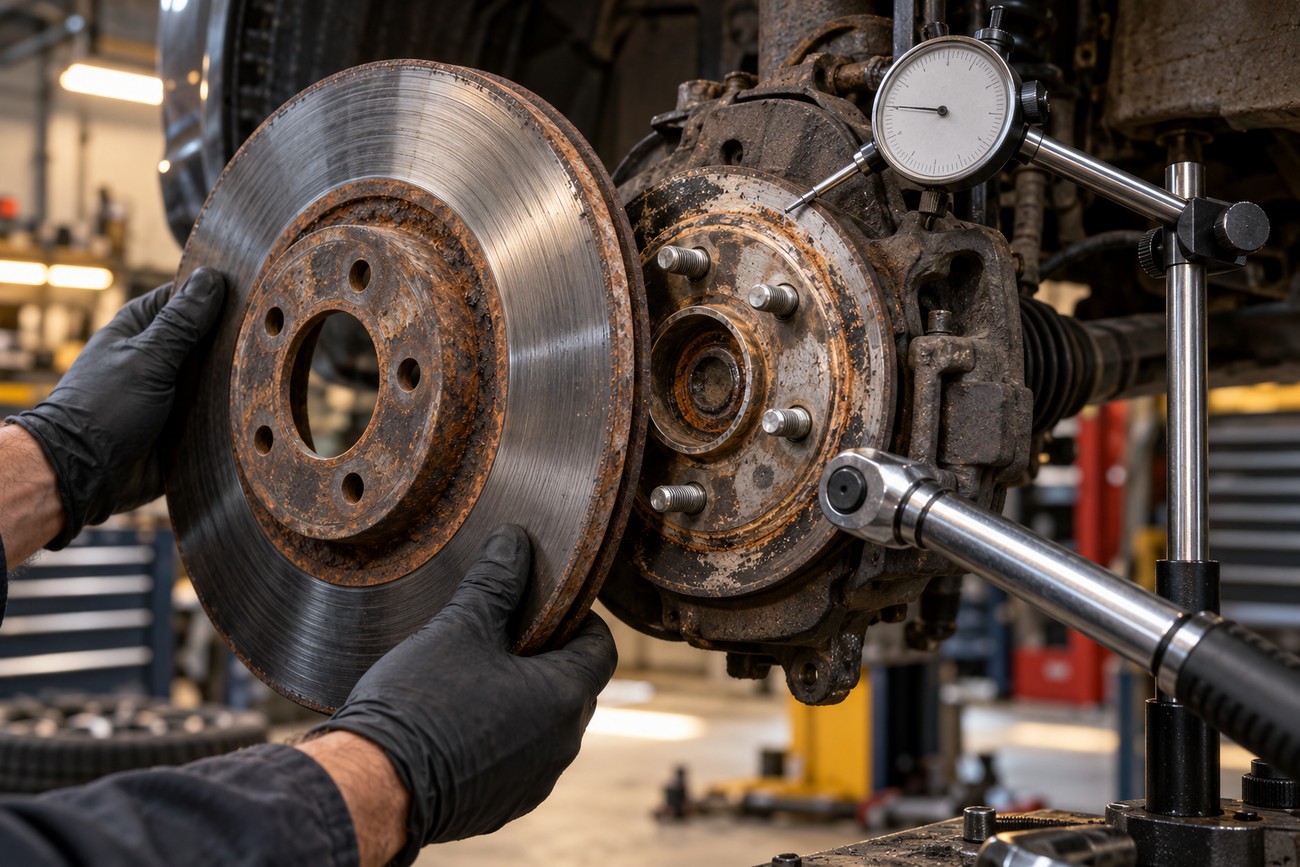
Brake judder can begin with a small runout condition or poor contact between the hub and disc. Rust or dirt trapped between those surfaces changes the disc’s position as it rotates. Uneven or incorrect wheel-nut torque can create a similar problem, especially when the wheel is clamped against a surface that is not sitting flat.
Initial runout can cause the pads to contact one area more heavily on every rotation. Over many braking events, that localized contact may produce uneven wear and disc thickness variation. A sticking caliper or restricted guide pin can add heat and uneven pressure, making the braking surface less consistent.
Repeated heat cycles can also create uneven pad-material transfer. This may look like a heat-damaged or “warped” rotor, although the disc has not necessarily melted or physically bent. A single hard stop can expose an existing problem, but progressive variation is often the result of repeated contact, heat, and installation conditions.
A new rotor does not guarantee a cure. If the hub face remains dirty, the caliper drags, the wheel is installed with uncontrolled torque, or the disc is mounted with excessive runout, the new component can develop the same symptom. Bedding-in can establish proper pad contact, but it cannot correct mechanical runout.
When the Problem Is Not the Brake Disc
A sticking caliper can keep one pad in contact with the disc after you release the brake. Seized or restricted guide pins can produce uneven pad action, pulling, heat buildup, and recurring judder. The vehicle may pull toward one side during braking, although the direction depends on which side is applying more effective braking force.
A wheel that is noticeably hotter than the others after a drive is a warning sign of possible caliper drag. Avoid treating that condition as harmless or continuing to drive normally until it has been checked. Excess heat can affect the disc, pad, bearing, and nearby components.
If the steering wheel shakes while the brake pedal barely pulses, keep the tire, wheel bearing, and suspension in the diagnostic path. A damaged tire carcass can deform under load, while worn bushings or ball joints can allow the wheel assembly to move when braking transfers weight forward. Wheel-bearing play can also alter disc movement and create a misleading brake symptom.
Vibration that appears only after several stops deserves particular attention to caliper release, guide-pin movement, cooling, and pad-material transfer. A cold visual inspection may miss a fault that develops as the components heat up. The absence of obvious scoring or discoloration does not confirm that the disc is healthy.
How to Diagnose the Cause Without Guessing
Begin with the wheel and tire. Check for visible tire damage, uneven wear, loose wheel nuts, and wheel-bearing play, then inspect the suspension for movement at bushings and ball joints. A test drive can help identify whether the vehicle pulls, whether the pedal pulses, and whether the vibration changes after repeated braking.
Remove the wheel and inspect the hub and disc contact surfaces. Rust, dirt, or raised material between them can create assembled runout even when the disc itself is within specification. The caliper should be checked for free guide-pin movement, even pad wear, piston operation, and signs that one pad is remaining in contact.
Measure assembled lateral runout with the disc installed on the hub and a dial indicator positioned according to the service procedure. If the reading is excessive, indexing the disc can help identify the best relative position. This step separates a disc-related condition from runout contributed by the hub, bearing, or contact surfaces.
Measure disc thickness with a micrometer at a minimum of four points around the circumference, keeping each measurement at the same distance from the disc edge. Compare the readings to determine disc thickness variation, and check the thinnest measured point against the manufacturer’s minimum thickness. A visual estimate cannot replace these measurements.
As a general professional reference, new or machined discs may be expected to have disc thickness variation no more than 0.001 inch (0.025 mm) and lateral runout no more than 0.002 inch (0.051 mm). Some manufacturer procedures require substantially tighter limits, including approximately 0.0076 mm for thickness variation and 0.025 mm for runout. The vehicle manufacturer’s specification always controls the final decision.
The Fixes That Work—and the Mistakes That Make It Return
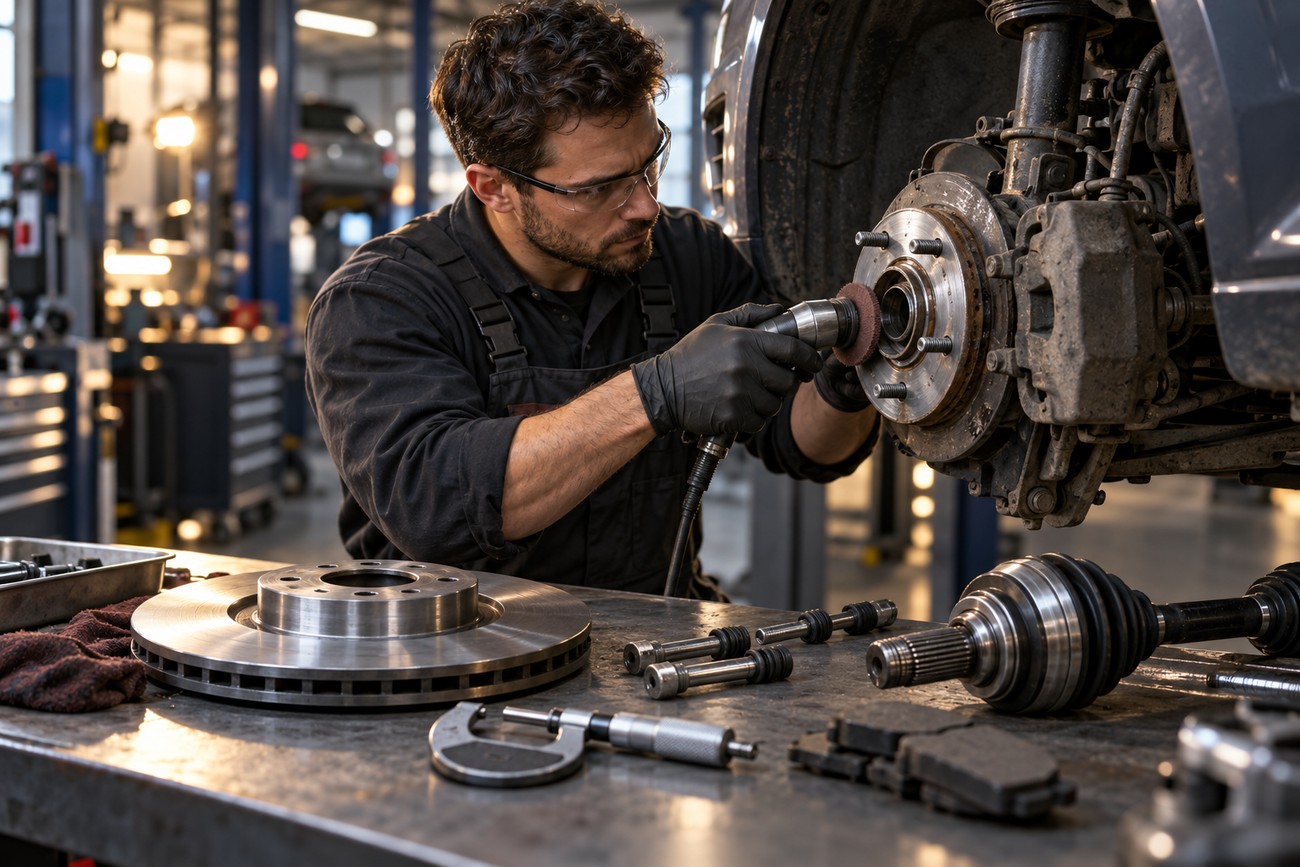
If measurements show a dirty or uneven hub contact surface, clean it correctly and recheck assembled runout. A disc may be replaced when its variation or damage is outside specification, or machined when the procedure permits it and the final thickness remains at or above the vehicle manufacturer’s minimum. The entire axle should be considered so braking performance remains balanced.
A caliper with restricted guide pins, piston problems, or uneven pad movement must be serviced or replaced as appropriate. Suspension, bearing, or tire faults require their own repairs; replacing brake parts will not remove looseness elsewhere in the wheel assembly. Correcting the measured cause is more reliable than replacing the most visible component.
Replacing only the pads will not correct disc variation, hub runout, caliper drag, or suspension looseness. Machining a disc below its minimum thickness reduces its usable margin and may leave it unsuitable for service. Installing a new component on a rusty hub can recreate the original runout immediately.
Wheel nuts should be tightened evenly in a cross pattern and to the specified torque, using a controlled method rather than relying on an uncontrolled impact-gun setting. After repair, confirm hub cleanliness, guide-pin movement, wheel-nut torque, and the actual runout and thickness measurements. Bedding-in may establish proper pad contact, but it cannot repair mechanical runout.
Brake Judder Symptoms: What They Point To
These symptom combinations help set inspection priorities, but they do not replace measurements or a physical safety check.
| Driver symptom | More likely systems involved | Next diagnostic check |
|---|---|---|
| Steering shake with brake-pedal pulsation | Front-disc thickness variation, lateral runout, hub contact, or wheel installation | Measure assembled runout with a dial indicator, then measure disc thickness at multiple points |
| Vehicle pulls during braking | Uneven caliper or pad operation, restricted guide pin, tire condition, or suspension movement | Compare pad wear and caliper operation, then inspect the tire and suspension |
| One wheel is noticeably hotter after driving | Caliper drag, seized guide pin, or a pad that is not releasing | Allow the components to cool safely, then inspect caliper movement and compare wheel temperatures |
| Steering vibration with little pedal pulsation | Tire carcass damage, wheel-bearing play, worn bushings, ball joints, or other suspension faults | Inspect the tire, check bearing play, and load-test suspension joints |
| Vibration appears only after repeated braking | Heat-related pad-material transfer, caliper drag, restricted cooling, or developing disc variation | Check caliper release, guide pins, pad contact, disc measurements, and heat-related symptoms |
| Vibration mainly at a particular road speed | Brake runout or variation, wheel and tire imbalance, tire damage, or bearing and suspension issues | Compare vibration during braking and coasting, then inspect the rotating assembly and brake measurements |
Frequently asked questions
The correct next step depends on the symptom combination and measured condition of the complete wheel-end assembly. General tolerance values can guide discussion, but vehicle-specific brake and runout specifications take priority.
Can wheel alignment cause the steering wheel to shake only when braking?
Wheel alignment is not usually the direct cause of brake judder or brake-pedal pulsation. Incorrect alignment can cause tire wear, pulling, or a crooked steering wheel, and those problems may become more noticeable when braking transfers weight forward.
Inspect the brakes, tires, wheel bearings, and suspension before ordering an alignment. An alignment check is appropriate after those inspections if the vehicle pulls, the steering wheel is off-center, or the tires show irregular wear.
How to fix a shaking steering wheel when braking?
Start by identifying whether the pedal also pulses, whether the car pulls, and whether one wheel becomes unusually hot. Then measure assembled disc runout, measure disc thickness variation, inspect the hub contact surface, and check the caliper, wheel bearing, tire, and suspension.
The repair may involve cleaning the hub, correcting wheel-nut torque, servicing a caliper, replacing or machining a disc within the manufacturer’s limits, or repairing a tire or suspension fault. Replacing pads alone is unlikely to solve the problem if another component is causing the vibration.
Why does my steering wheel shake when I brake at 50 mph?
At 50 mph, a small change in braking force can become easy to feel through the steering wheel. Common possibilities include front-disc variation or runout, although a tire, bearing, or suspension component can produce a similar speed-related symptom.
Compare the behavior during braking with coasting. If the vibration appears only under braking, prioritize brake and wheel-end measurements; if it also occurs while coasting, include tire, wheel, bearing, and suspension checks from the start.
Why does my car vibrate when I brake at 60 mph?
A vibration at 60 mph during braking commonly indicates a rotating brake or wheel-end irregularity that becomes more noticeable at higher speed. Disc thickness variation, lateral runout, caliper drag, tire damage, and bearing or suspension movement are all possible contributors.
Do not use speed alone to identify a “warped rotor.” Measure the assembled disc and hub condition, inspect pad contact and caliper release, and compare the findings with the vehicle manufacturer’s specifications.
Why does my steering vibrate at 70 mph?
If the steering vibrates at 70 mph only when you apply the brakes, brake judder is a likely category of fault, with disc variation or runout among the first checks. If it vibrates at that speed while cruising, wheel and tire balance, tire carcass damage, bearing play, and suspension condition deserve equal attention.
A road-speed symptom can change when the brakes are applied because braking loads the front suspension and alters tire contact. That load change can expose looseness that is not obvious while the vehicle is traveling straight without braking.







