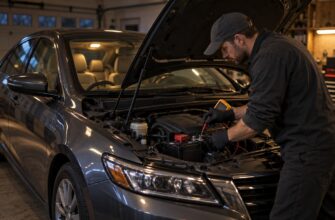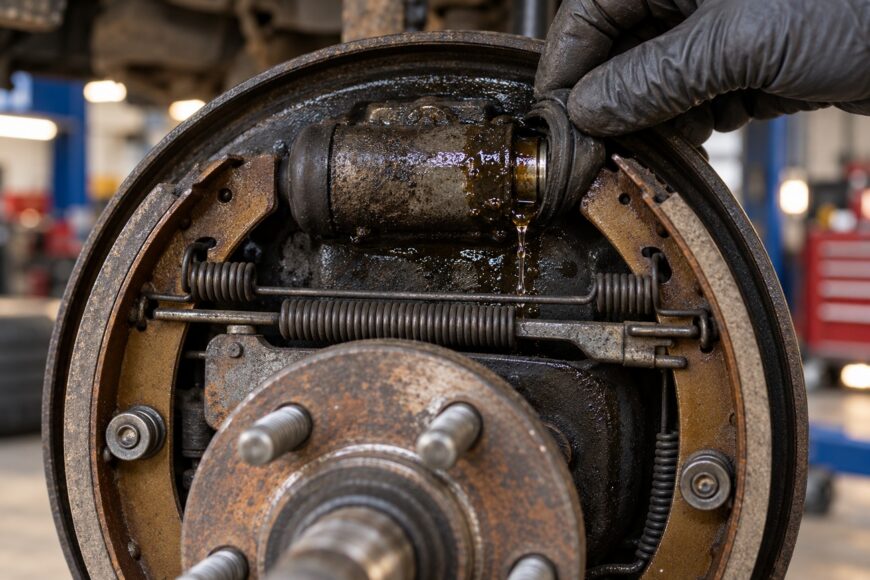
A damp drum brake assembly, weaker braking, or a parking brake that no longer holds as expected can point to a leaking wheel cylinder. Fitting new seals may look like a quick fix, but corrosion or pitting inside the cylinder can make the leak return. Treat any suspected brake-fluid leak as a safety issue until you know where the fluid is coming from.
The repair decision extends beyond the cylinder. Brake fluid can soak into the shoes, and opening the hydraulic line can introduce air that must be removed before the brake can work properly. Vehicle-specific service instructions take precedence for parts, fluid, adjustment, and bleeding; if you cannot complete and verify those steps, leave the vehicle parked and arrange qualified repair.
- Confirm the leak before taking the brake apart
- Replace or rebuild a leaking wheel cylinder?
- Prepare the vehicle and protect the brake assembly
- Remove and install the wheel cylinder
- Inspect the shoes, hardware, and opposite wheel
- Bleed, adjust, and verify the brake before driving
- Why the pedal is still soft or the brake still drags
- Frequently asked questions
- How much does it cost to replace a leaking brake wheel cylinder?
- What if the wheel cylinder’s bleeder screw will not open?
- How do you stop a wheel cylinder from leaking?
Confirm the leak before taking the brake apart
Check the brake-fluid reservoir level, then look for dampness at the wheel and along the nearby hydraulic line and hose. Fluid around the wheel cylinder, especially beneath a lifted dust boot, supports an external-leak diagnosis. A wet line fitting or hose needs its own diagnosis; replacing the cylinder will not stop a leak elsewhere.
With the vehicle safely supported and the drum removed as directed by its service procedure, inspect both ends of the cylinder. Look at the shoes and backing plate for fluid tracks, and check the springs, retainers, and adjuster for damage or displacement. Examine the drum for scoring, cracking, or other conditions that require attention before reassembly.
A low fluid level is a warning, though it does not identify the leaking component by itself. Do not drive with an active brake-fluid leak: hydraulic pressure may be lost, and contaminated shoes may brake unevenly. If the pedal sinks while held and there is no visible external fluid loss, consider other hydraulic faults, including a possible internal master-cylinder leak, rather than assuming the wheel cylinder is responsible.
Replace or rebuild a leaking wheel cylinder?
Choose the repair only after confirming the source of the fluid and the condition of the cylinder.
| Option | Suitable conditions | Main risk | Required verification |
|---|---|---|---|
| Complete replacement | The cylinder leaks, sticks, or has a corroded, pitted, or worn bore or piston. | An incorrect part or an overlooked line leak can leave the problem unresolved. | Match the cylinder to the vehicle and inspect the line connection, shoes, and opposite wheel. |
| Seal-only rebuild | The vehicle-specific procedure permits it, compatible seals are available, and the bore and pistons are sound. | New seals may leak again against corrosion, pits, or wear. | Inspect internal surfaces and verify every seal dimension and material against the specific application. |
| Further diagnosis | Fluid appears to come from a fitting or hose, or pedal symptoms occur without a confirmed cylinder leak. | Replacing a sound cylinder delays repair of the actual fault. | Trace the fluid source or diagnose the hydraulic system before ordering parts. |
Complete replacement is commonly preferred for a leaking wheel cylinder because a new unit removes uncertainty about the condition of its internal surfaces. A seal-only rebuild is unreliable if the bore or piston is corroded, pitted, or worn, even if the cylinder looks acceptable from outside.
Do not select a seal kit by a general-purpose size cited for another brake system. Cylinder dimensions and parts compatibility must be verified for the specific vehicle. If a replacement cylinder is unavailable or the line fitting is damaged, establish a safe, compatible repair route before dismantling more of the brake.
Prepare the vehicle and protect the brake assembly
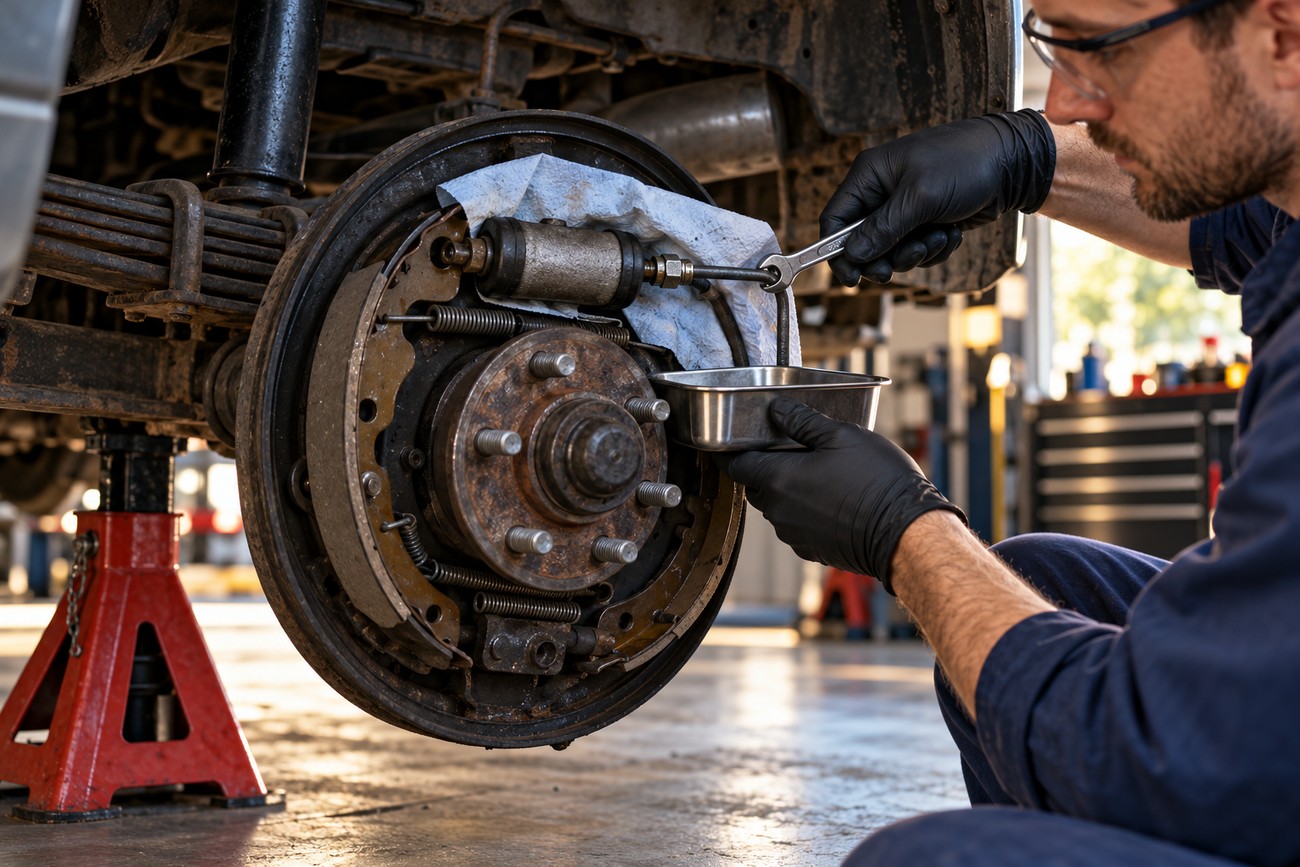
Confirm the replacement cylinder, any required shoes or hardware, and the specified brake fluid before starting. Consult the vehicle’s service instructions for drum removal, hydraulic fittings, fasteners, and adjustment; these details vary. Have the required equipment for bleeding available so an opened circuit is not left unfinished.
Park on a stable, level surface, secure the vehicle against movement, and support it at the specified lifting points with appropriate stands. Never rely on a jack alone. Release the parking brake only when the vehicle is otherwise secured and the service procedure calls for it.
Before disturbing the assembly, photograph the shoes, springs, retainers, parking-brake linkage, and adjuster from several angles. Their orientation can be easy to misread once the parts are on the bench. Incorrectly seated hardware can cause drag or poor parking-brake performance that resembles a cylinder fault.
Clean loose dirt from the outside of the assembly and the line connection without blowing brake dust into the air; use a brake-cleaning method suitable for the vehicle and local safety guidance. Keep debris out of the open hydraulic line and new cylinder. Brake fluid can damage painted surfaces, so catch spills promptly and clean affected areas as the vehicle manufacturer directs.
Remove and install the wheel cylinder
Remove the wheel and drum according to the vehicle procedure. If the drum will not come off, check whether shoe adjustment or a drum wear ridge is holding it rather than forcing the assembly apart. With the layout documented, move or remove only the shoes and hardware needed to reach the cylinder.
Clean around the hydraulic connection before loosening it. Use a tool suited to the line fitting, and stop if the fitting begins to round off or the line twists with it; a damaged line needs repair before the vehicle can return to service. Once disconnected, protect the open line from dirt and limit fluid loss without introducing foreign material.
Remove the cylinder’s mounting hardware as specified, then lift out the cylinder without spreading contamination across the shoes. Check the contact area on the backing plate and the line fitting for damage. If the old cylinder is being considered for a seal-only rebuild, corrosion or pitting in its bore or on its pistons makes it a poor candidate.
Fit the correct replacement, following the vehicle’s mounting and fastener instructions. Reconnect the hydraulic line carefully by hand at first to avoid cross-threading, then secure it to the applicable specification. Keep the new cylinder and its connection clean; mounting arrangements and tightening values are not universal.
Reinstall displaced hardware in its documented positions and check that the shoes seat properly against the cylinder pistons. Inspect the connection for obvious seepage, but do not treat a dry joint at this stage as proof of a completed repair. Opening the hydraulic circuit requires bleeding afterward, followed by pressure and functional checks.
Inspect the shoes, hardware, and opposite wheel
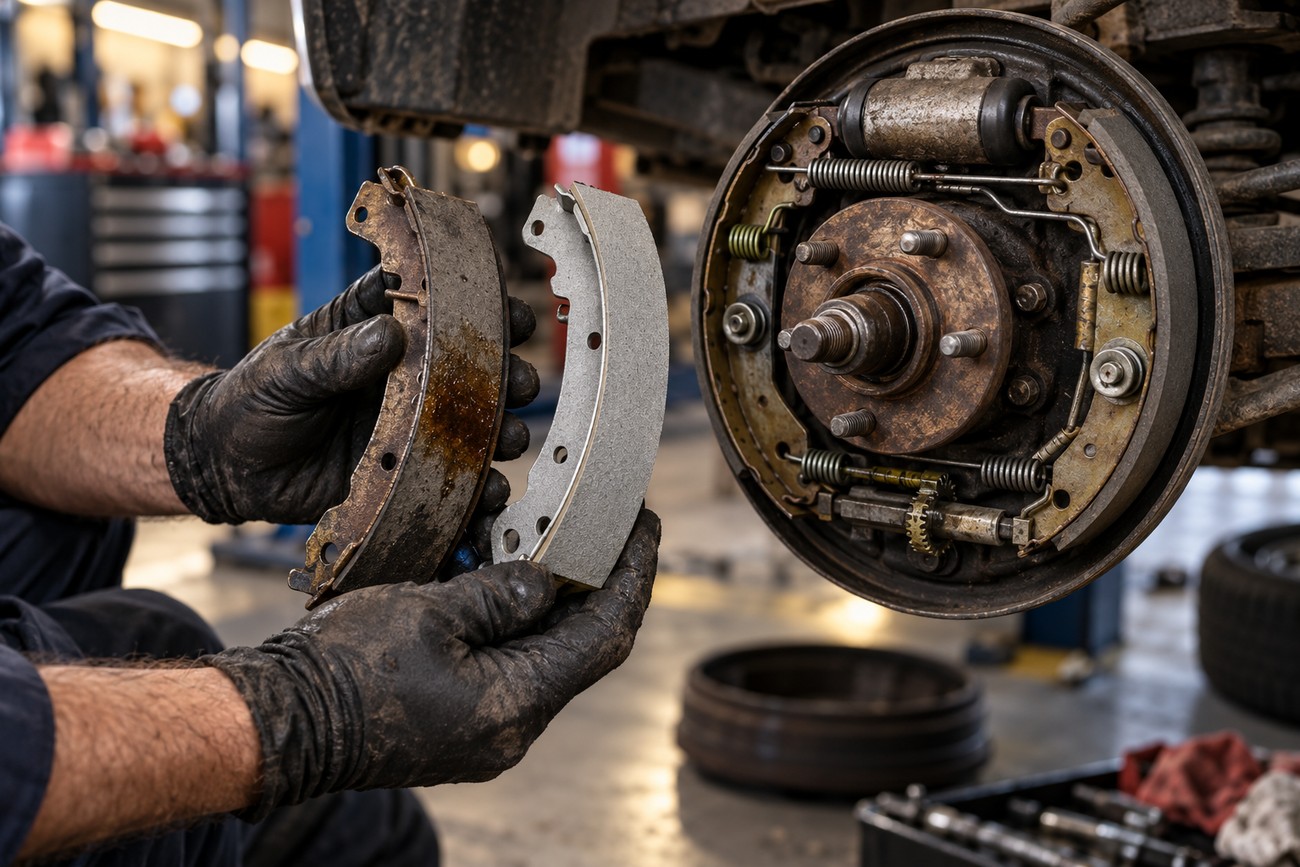
Replace brake shoes contaminated with brake fluid rather than merely wiping them clean. Fluid can soak into the friction material and cause uneven braking after the cylinder itself is dry. Follow vehicle-specific guidance for matching and replacing shoes, including any requirements for the other wheel on the axle.
Assess the remaining shoes for wear and damage, then check the springs, retainers, adjuster, parking-brake linkage, and drum. A leak can coexist with worn friction material or a seized adjuster. Correct those faults before reassembly instead of relying on the new cylinder to cure every symptom.
A dry new cylinder can still lead to a repeat job if fluid-soaked shoes remain in place and the deteriorating cylinder at the opposite wheel goes unexamined.
Inspect the opposite wheel cylinder for dampness beneath its boots and for sticking or uneven movement, using the vehicle’s approved inspection method. Replacing cylinders in axle pairs may be sensible when both are aged or their condition is uncertain, but it is not a universal requirement. Base the decision on inspection findings, parts condition, and the vehicle’s service guidance.
Bleed, adjust, and verify the brake before driving
Bleed the hydraulic system after opening the circuit, following the vehicle-specific procedure and using the specified brake fluid. Keep the reservoir supplied with clean fluid throughout; allowing it to run low can introduce more air. The correct sequence and any additional steps depend on the vehicle, particularly where ABS components are involved.
Once bleeding is complete, set the shoe adjustment by the applicable service method. Excessive clearance can leave a long pedal travel even when the hydraulic system is free of air. Where the parking brake has a separate adjustment or check, complete it in the order specified for that vehicle.
With the assembly installed, apply and hold the brake pedal while checking the cylinder, bleeder, and line connection for seepage. The pedal should feel consistent and should not continue to sink. Bleeding removes air; it does not repair an active leak or make a damaged fitting safe.
Check that the wheels turn and release as expected, and confirm parking-brake operation where applicable. Only after the brake passes leak, pedal-feel, and functional checks should you make a cautious test in a safe location at low speed. Do not drive with an active brake-fluid leak, persistent abnormal pedal feel, or braking that has not passed those checks.
Why the pedal is still soft or the brake still drags
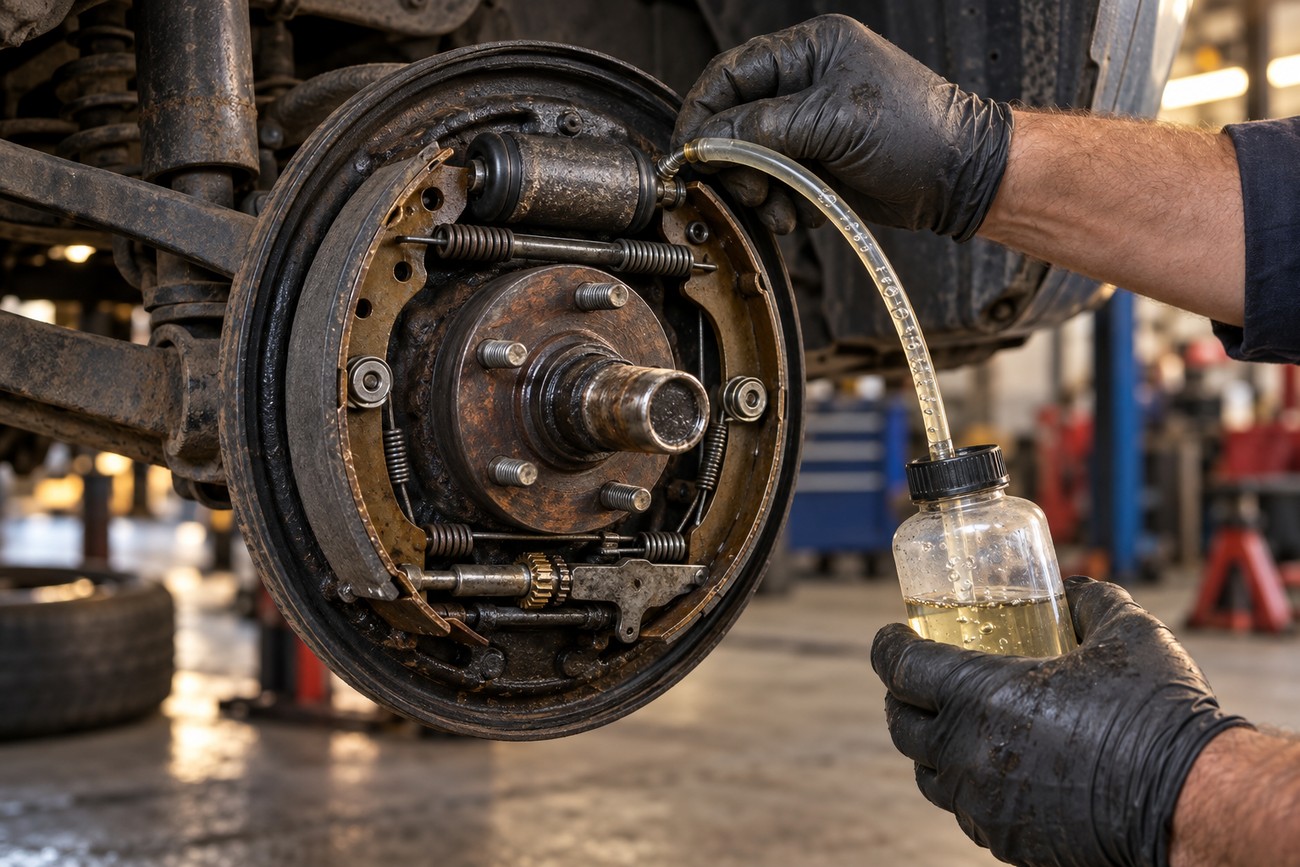
A soft or long pedal after repair can mean air remains in the hydraulic system, but it can also reflect excessive shoe clearance or another hydraulic fault. Recheck the specified bleeding procedure and fluid level, then verify shoe adjustment. If pedal feel remains abnormal, the vehicle needs further diagnosis rather than a road test.
One-sided drag or uneven shoe wear points toward a different set of checks. A sticking piston, incorrectly positioned spring or shoe, seized adjuster, or parking-brake linkage that does not release can hold the shoe against the drum. Compare the assembly with your photographs and the service diagram before changing the hydraulic parts again.
A repeat leak soon after a seal-only rebuild calls for another look at the cylinder bore and pistons. Pits or corrosion can damage new seals and make the rebuilt unit unreliable. If the leak source or any persistent hydraulic symptom remains uncertain, seek qualified diagnosis and keep the vehicle out of service.
Frequently asked questions
The final repair scope is often clearer once the drum is open. These answers address common decisions that can change the work required. Vehicle-specific service information remains the reference for parts and procedures.
How much does it cost to replace a leaking brake wheel cylinder?
There is no useful universal price: the quote depends on the vehicle-specific cylinder, labor access, and whether a seized line fitting needs repair. Fluid-contaminated shoes, damaged springs, or other hardware can also add to the work. Ask for the quote to identify those items separately, including bleeding and the final brake checks.
What if the wheel cylinder’s bleeder screw will not open?
Do not keep forcing a seized bleeder. It can break or damage the cylinder, preventing the required bleed. Stop and determine whether the correct route is a replacement cylinder or another repair specified for that vehicle; do not drive with an opened circuit that has not been properly bled.
How do you stop a wheel cylinder from leaking?
First confirm that the fluid is escaping from the cylinder rather than its line connection or a nearby hose. If the cylinder itself leaks, complete replacement is commonly preferred, especially when its bore or piston may be corroded, pitted, or worn. Adding fluid or bleeding the brake will not seal it, and any brake fluid removed during the work must not be returned to the reservoir.