
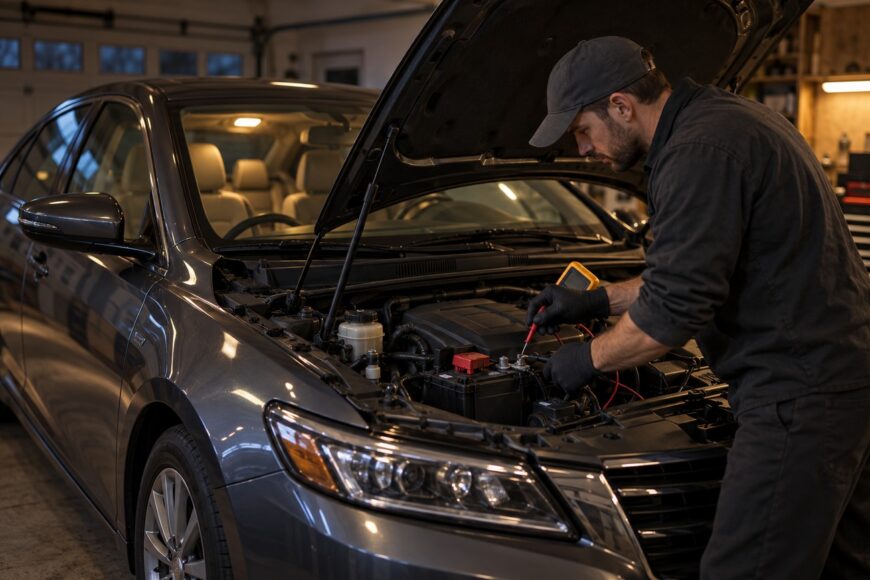
A cabin light left on can leave the battery nearly dead by morning. In a typical 12/14 V vehicle electrical system, an interior lamp may discharge the battery over hours or overnight when automatic shutoff is absent or not functioning.
The fault can look simple because the visible symptom is only a glowing dome lamp. Modern vehicles often use door and trunk switches, latch mechanisms, wiring, LED drivers, and a body control module (BCM) to decide when the light should operate. Changing the bulb alone will rarely correct a false “door open” signal or a control problem.
Start with checks that protect the battery and preserve evidence. A controlled test of each closure input is more useful than repeatedly opening doors, replacing fuses, or assuming the light assembly has failed.
- Stop the Battery Drain Before Diagnosing
- What Normal Interior-Light Behavior Looks Like
- A Door-by-Door Diagnostic Sequence
- Common Causes: Latches, Switches, Wiring, and the BCM
- When LED Bulbs Cause Flicker or a Dim Glow
- Mistakes That Waste Time—and Repairs That Do Not Last
- Frequently asked questions
- Why do the interior lights come on when I hit a bump?
- How can I contain a faint LED glow without replacing the BCM?
- What would cause my interior lights to stay on?
- What to do when your interior lights won’t turn off?
Stop the Battery Drain Before Diagnosing
Close every door, the trunk, and the hood, then confirm that the dome-light selector is not in ON. Put it in DOOR for normal courtesy operation, or OFF if the vehicle allows that setting and you need to prevent further battery drain while arranging a test. Check the owner’s manual before removing a fuse or disconnecting a lighting connector.
The circuit normally operates from the vehicle’s 12/14 V electrical system. A lamp left on can discharge the battery over hours or overnight if the vehicle’s automatic shutoff is absent or not functioning. A weak battery may then create additional symptoms, including slow cranking and unreliable electronic behavior.
Closure inputs can include the doors, trunk, and hood. Close each panel firmly without repeatedly cycling the doors while testing, because every opening event can restart the courtesy-light timer and make normal behavior look like a fault.
Some vehicles provide an approved temporary isolation method, such as a manual light switch position or a specified fuse removal. Use only the method described for that vehicle, since a fuse may also supply a security system, remote locking, alarm function, or another body-control circuit.
What Normal Interior-Light Behavior Looks Like
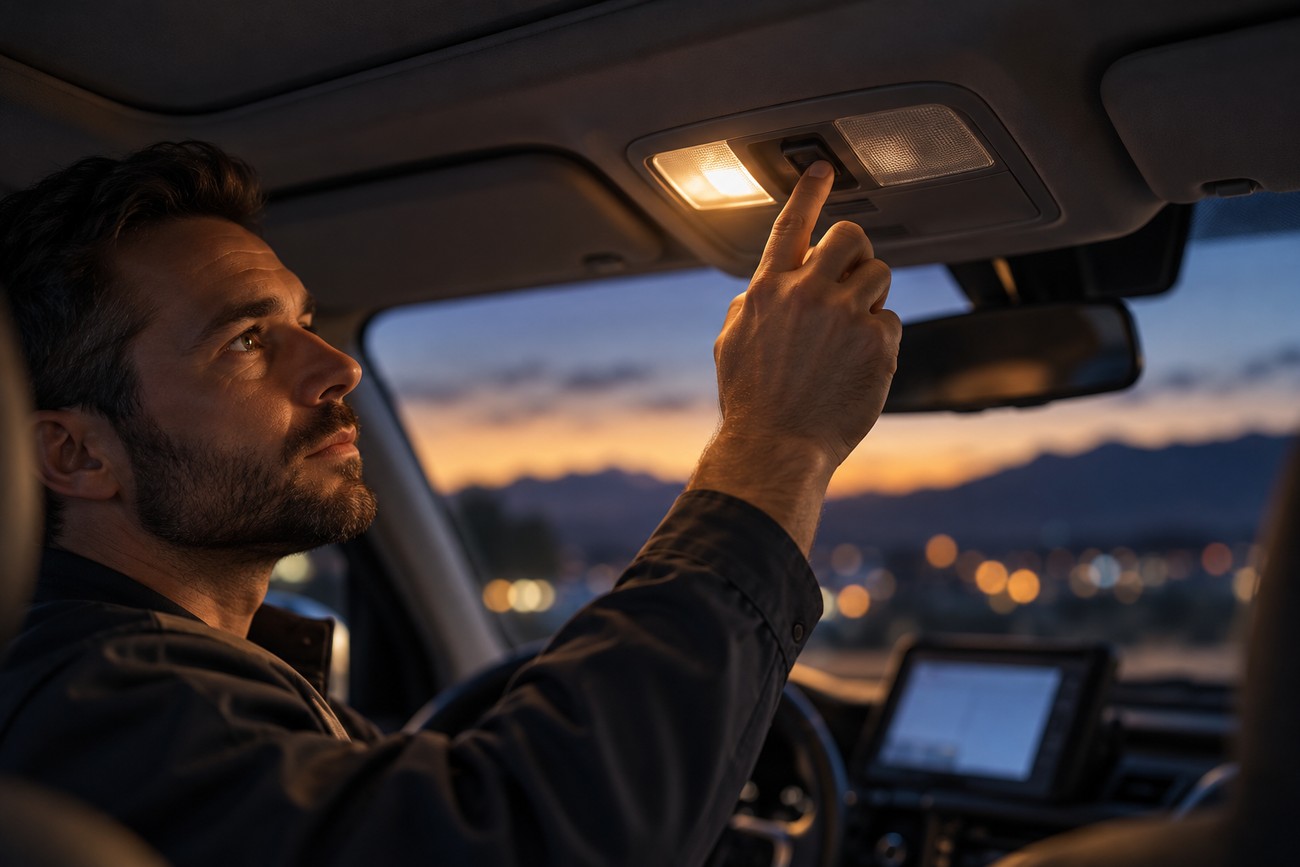
Many modern vehicles use a BCM and courtesy-light logic rather than a direct mechanical switch. The usual selector positions are DOOR, ON, and OFF. In DOOR mode, the BCM receives closure information and controls the lamp, including fade-out and delayed shutoff.
After the last door or other monitored panel is closed, the light may remain on for tens of seconds or a few minutes. The exact courtesy-light timeout depends on the vehicle and settings, so a delay alone does not prove a defect. The owner’s manual is the correct reference for the permitted timing.
Key position and ignition state can also change the result. A light may remain active longer with the key removed, during accessory operation, or after unlocking the vehicle. Some systems alter the delay after the battery has been disconnected or settings have been reset.
Some vehicles provide automatic shutoff, but the actual timeout and operating conditions vary by model and settings. If the light fades out within the specified period, the system may be working normally. A lamp that remains fully illuminated, returns after every closure, or coincides with a persistent door-ajar indication requires further testing.
A Door-by-Door Diagnostic Sequence
Set the lamp to DOOR and observe the instrument panel. Check whether it reports a door, trunk, or hood as open after the relevant panel is closed. Begin with the driver door, then test the passenger door, rear doors, trunk, and hood in that order, allowing the courtesy-light logic to respond after each closure.
Without a scan tool, look for a change in the door-ajar message, warning chime, and lamp behavior as each panel is opened and closed. Inspect whether a door must be pushed inward, lifted, or slammed before the indication changes. That behavior points toward latch movement, striker alignment, or a switch that is not reaching its closed position.
A scan tool with BCM live data provides a more reliable view. The data may show each door, trunk, and hood input as open or closed, even when the dashboard displays no fault code. Compare the reported status with the physical position of each panel and repeat the test several times to catch an intermittent signal.
Intermittent inputs can look normal while the door is stationary. Gently moving the latch, connector, and door-jamb harness while watching live door-status data can expose a switch or wire that changes state only with vibration or movement.
Do not stop after repairing one door if the light remains on. The system sees any unresolved closure input as a possible open condition. If the driver-door signal is correct, continue through the passenger and rear doors, then the trunk and hood before moving toward BCM diagnosis.
Common Causes: Latches, Switches, Wiring, and the BCM
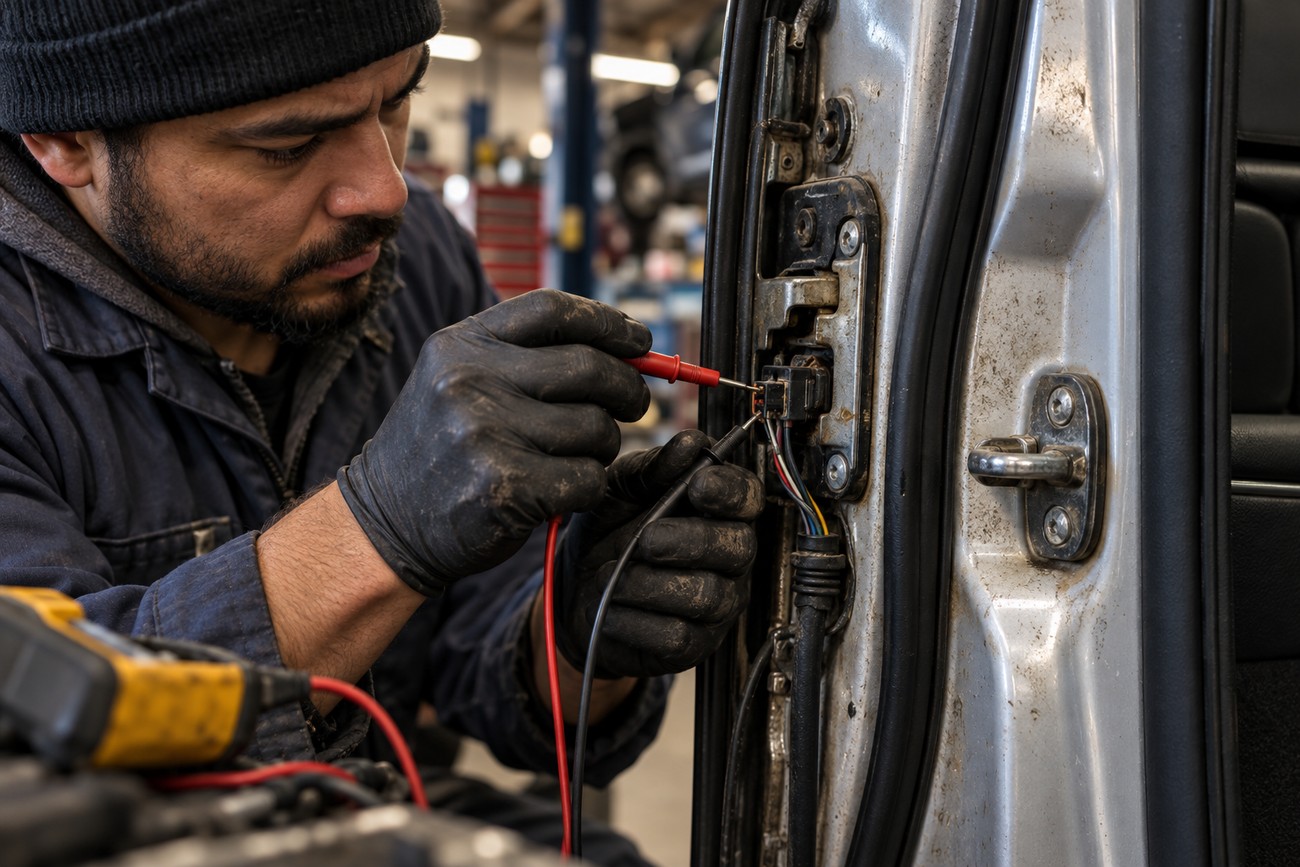
Begin with the mechanical parts that are easiest to inspect. A misadjusted striker, worn latch, or damaged door seal can prevent the latch from reaching its fully closed position. The vehicle may then continue receiving an open signal even though the door appears shut.
Door and trunk micro-switches are often integrated into the latch assembly. A worn switch may work intermittently, especially when the door is moved, the latch is lightly loaded, or the vehicle passes over uneven ground. On some vehicles, replacing the switch separately is impossible or impractical because the complete latch must be serviced.
Moisture and corrosion in door connectors or harnesses can create false open signals. Inspect accessible connectors for water entry, green corrosion, loose terminals, and damaged insulation, particularly near the door hinges and rubber wiring boots. Older vehicles can also suffer from poor grounds or voltage drops that imitate a stuck-light fault.
Replacing a switch alone may not last if the latch, striker alignment, connector, or harness remains faulty. BCM software or programming can contribute to the problem, but input, mechanical, wiring, and voltage checks should come first. A BCM replacement is an expensive conclusion and should follow measured evidence rather than the absence of an obvious physical fault.
When LED Bulbs Cause Flicker or a Dim Glow
An LED replacement can change the way a BCM-controlled interior-light circuit behaves. LED modules draw less current and may respond to small control signals that an original incandescent bulb ignored. The result can be flicker, delayed shutoff, or a faint glow after the doors are closed.
A residual glow may come from leakage through the LED driver, the BCM output, adjacent circuits, or pulse-width modulation (PWM) control. A dim glow is different from a fully powered lamp, so first establish whether the light is merely visible in darkness or bright enough to create a meaningful battery drain.
LED replacements are not automatically compatible with BCM-controlled or dimmed interior-light circuits. Compare the behavior with the original bulb or a confirmed vehicle-compatible LED module. If the original bulb operates correctly, the conversion is the primary suspect and the vehicle wiring should not be condemned.
LED conversion does not guarantee elimination of battery drain or control problems. Avoid adding random resistors or bypasses, since they can create heat, alter the BCM load, or damage wiring. Use a replacement specified for the vehicle’s dimming and courtesy-light system.
Mistakes That Waste Time—and Repairs That Do Not Last
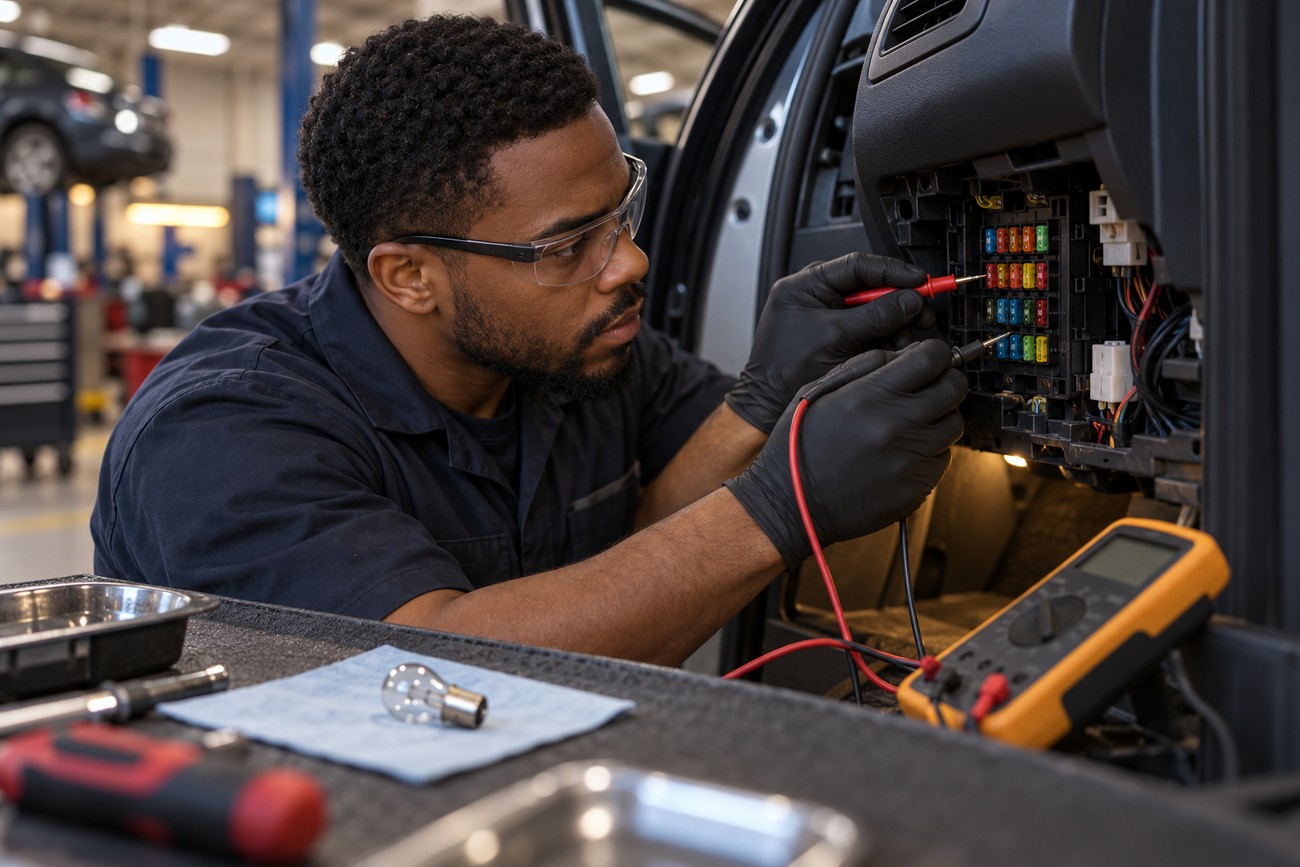
Replacing the bulb first is a common detour. A working bulb can remain illuminated because the BCM is receiving an open-door signal, and a new bulb will reproduce the same symptom. Confirm the mode, closure status, and control input before replacing a lamp.
A fuse normally protects the circuit; replacing it does not repair a faulty input or control problem. If a fuse is open, find out why before installing another one, and use only the specified rating. Repeated fuse replacement can conceal a short circuit or create a safety risk.
An absent dashboard warning does not prove that the closure status is correct. A door or trunk input can be misreported without an obvious fault code, especially when the signal fails intermittently. BCM live data and a controlled physical test are more useful than relying on warning lamps alone.
Disconnecting the battery or resetting settings can temporarily change BCM timing without fixing the underlying input fault. It may also erase settings or require vehicle-specific relearning. Treat a temporary improvement as evidence that the system state changed, not as proof that the cause has been repaired.
Frequently asked questions
The same diagnostic sequence applies to flicker, unexpected activation, and a light that stays on. First verify the selector position and closure status, then check the relevant latch, connector, and harness. Use BCM live data when available, and protect the battery with the vehicle’s approved isolation method during testing.
Why do the interior lights come on when I hit a bump?
Vibration can move a misaligned latch, loosen a connector, or flex a broken wire in the door-jamb harness. The BCM then briefly receives an open signal and turns on the courtesy lights.
Reproduce the symptom safely while monitoring door-status data with a scan tool. Gently move the latch, connector, and harness one at a time; the component that changes the reported status identifies the area requiring closer inspection.
How can I contain a faint LED glow without replacing the BCM?
Reinstall the original bulb first, or fit an LED module confirmed to be compatible with the vehicle’s BCM-controlled and dimmed interior-light circuit. If the glow disappears, the LED conversion caused the behavior.
Avoid random resistors, bypasses, or added loads. They can generate heat and create wiring or control problems. A compatible module is the safer corrective path unless testing proves a separate vehicle fault.
What would cause my interior lights to stay on?
The most common causes are a misreported door or trunk input, a latch-integrated micro-switch that is stuck or worn, poor latch alignment, or wiring affected by moisture and corrosion. The hood can also influence the interior-light state on vehicles that monitor it.
Check the instrument-panel status for each closure and use BCM live data if available. If every input reports closed, test supply voltage, grounds, and the BCM output before considering software programming or module replacement.
What to do when your interior lights won’t turn off?
Close all doors, the trunk, and the hood, then verify that the selector is in DOOR rather than ON. If the light remains on, use the manual’s approved temporary isolation method to protect the battery and avoid repeatedly opening the vehicle during testing.
Record which closure the vehicle reports as open and arrange diagnosis before driving with the lamp isolated. Removing a fuse or disconnecting the battery may affect other functions, erase settings, or require relearning, so follow vehicle-specific instructions.







