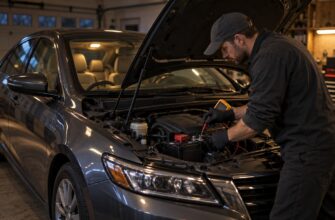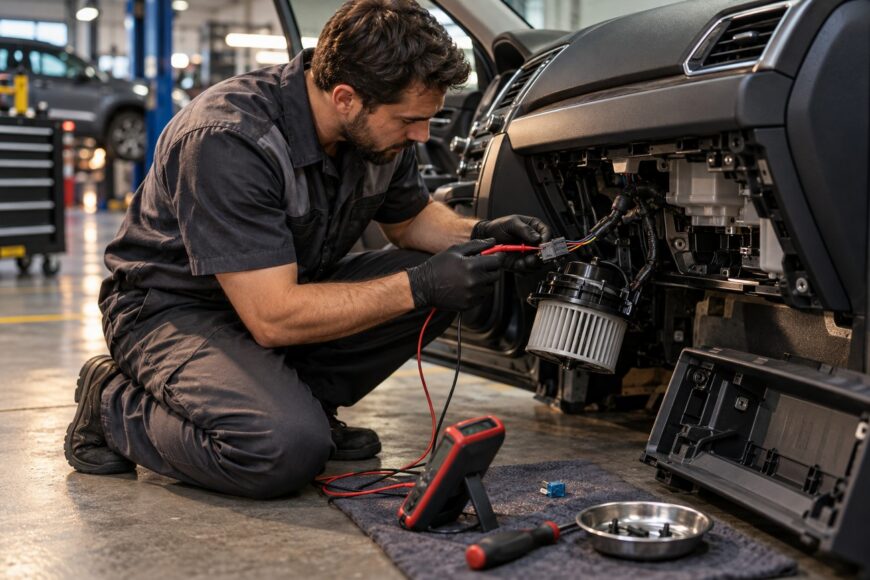
A silent, intermittent, or noisy cabin fan can make the vehicle uncomfortable and obscure the real fault. The motor may be worn, but a blown fuse, loose connector, damaged wiring, failed speed controller, or restricted airflow can create similar symptoms. Replacing a working motor adds cost and may leave the original problem untouched.
Access also varies sharply by vehicle. Some blowers are reachable behind the glovebox, while others require ducts, trim panels, or substantial dashboard disassembly. The repair may therefore take much longer than a simple parts description suggests.
Begin with electrical and airflow checks before removing anything. Once the motor is confirmed as the failed part, use the vehicle-specific repair procedure, disconnect the battery before removal work, and document the dashboard as it comes apart.
- Symptoms, likely causes, and checks before replacement
- Confirm the blower motor is the failed part
- Choose a matching motor and assess access
- Prepare the work area and disconnect the battery
- Remove the old cabin blower motor
- Install the replacement and reassemble the dash
- Test every fan speed and investigate any remaining fault
- Frequently asked questions
- How much does it cost to replace an AC blower motor?
- How do I replace the cabin blower motor on a Ford?
- How to tell if an AC fan motor is bad?
- How hard is it to replace a blower motor?
Symptoms, likely causes, and checks before replacement
These symptoms identify useful inspection points, but none proves motor failure on its own.
| Symptom | Plausible causes | Next useful check |
|---|---|---|
| Fan is completely silent | Fuse, wiring, connector, ground, speed-control fault, or failed motor | Check the fuse and measure power and ground at the motor with the fan commanded on |
| Fan works intermittently | Loose connector, damaged wiring, poor ground, worn brushes, or an internal motor fault | Inspect and gently test the connector and wiring while monitoring voltage during operation |
| Some speeds are missing | Resistor, electronic speed-control module, switch, wiring, or motor fault | Test the speed-control circuit before replacing the motor |
| Airflow is weak | Clogged cabin filter, leaves or debris, airflow-door problem, or a weak motor | Inspect the filter, accessible housing, and airflow doors before condemning the motor |
| Squealing, rubbing, or vibration | Worn bearing or bushing, debris, damaged fan wheel, or an unbalanced replacement assembly | Inspect the housing and fan wheel for debris, contact marks, and damage |
Confirm the blower motor is the failed part
Start with the relevant fuse, using the vehicle’s fuse diagram rather than relying on a label from memory. A blown fuse may indicate a short, an overloaded motor, or another circuit fault. Check the connector for heat damage, corrosion, loose terminals, and signs that the harness has been pulled or trapped.
With the battery connected, command the fan on and measure voltage at the motor connector at different speed settings. Check the ground side as well as the power side, because a poor ground can make a good motor appear dead. If the motor receives appropriate power and ground but does not run, the motor becomes the leading suspect; if power or ground is absent, continue checking the circuit.
Intermittent operation should be tested under operating conditions. A connector or ground may look clean while stationary yet lose contact when vibration, heat, or current load is applied.
Missing speeds deserve a separate check of the resistor or electronic control module. Replacing the motor will not restore speed settings when the control circuit is the failed part. Weak airflow also requires an inspection of the cabin filter, accessible debris, and airflow doors before drawing conclusions about the motor.
Current draw can provide additional evidence after the circuit is proven sound, but it is not a universal pass-or-fail test. Some reported measurements of healthy passenger-car blowers are around 7–8 A; compare the reading with the vehicle-specific specification and operating conditions. A substantially higher reading can point to bearing drag, brush or commutator wear, or a damaged fan wheel.
Choose a matching motor and assess access
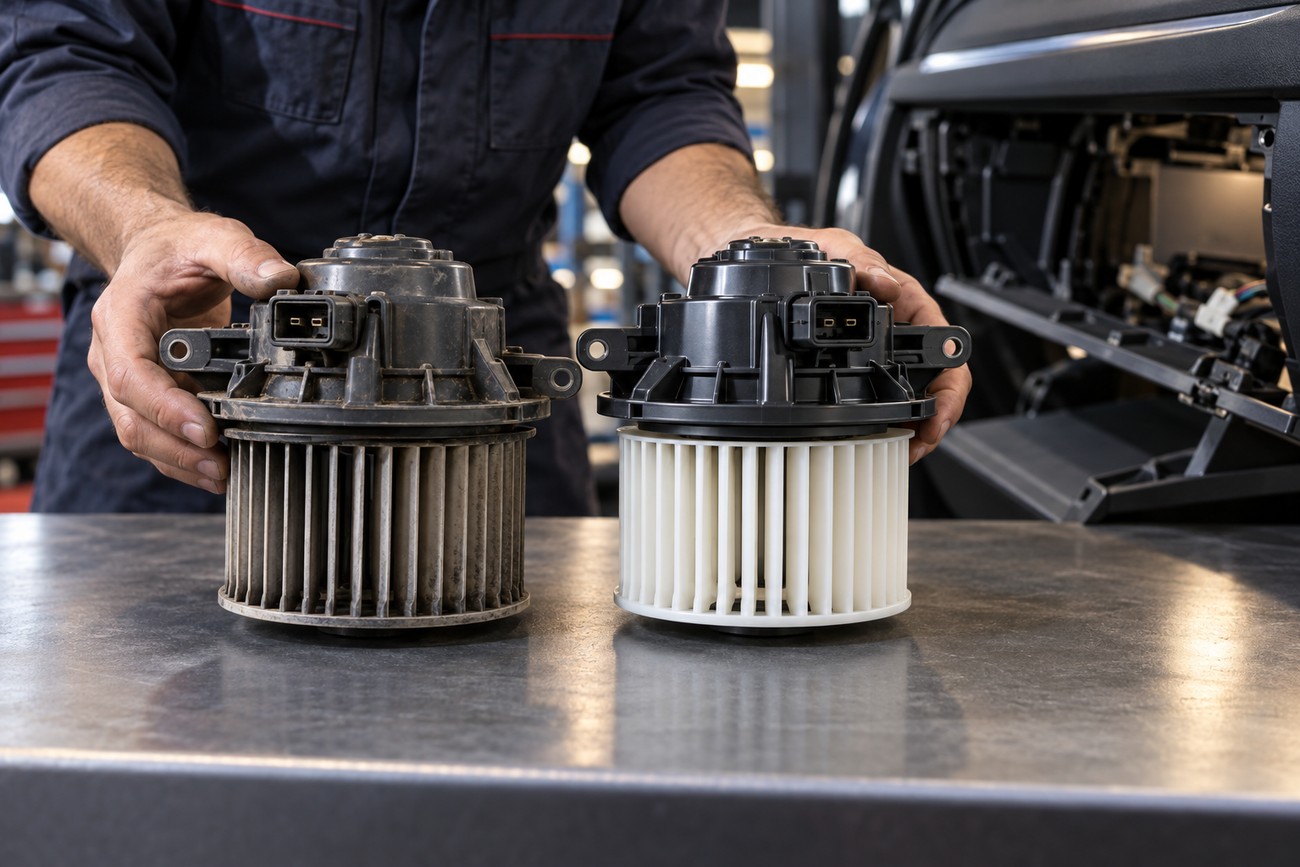
Confirm the exact vehicle, model year, engine or climate-control configuration, and part number before ordering. Compare the electrical connector, mounting points, housing shape, fan-wheel diameter, and wheel position. A motor that appears similar in a product photograph may still have a different connector or mounting pattern.
The fan wheel must also fit the housing without rubbing and rotate in the intended direction. Differences in wheel geometry or balance can reduce airflow and increase noise or vibration even when the motor turns. Aftermarket quality varies, so check the return policy and technical fitment information rather than treating every apparent substitute as identical to the original.
Access may be relatively direct through the glovebox area, or it may require removal of ducts and substantial dashboard trim. Before buying parts, review a repair procedure for the exact vehicle and note whether the motor is removed separately or supplied with the fan wheel. This prevents a promising parts price from becoming an unexpected labor-intensive repair.
Consider the cost of repeating the job if a low-cost assembly produces noise, vibration, or poor fit. A less expensive part can be reasonable when its dimensions, connector, and application are verified. The practical choice depends on the vehicle’s access difficulty, the quality of the replacement, and the consequences of removing the dashboard again.
Prepare the work area and disconnect the battery
Gather the vehicle-specific repair information, screwdrivers, sockets, a multimeter, plastic trim tools, a flashlight, and containers or labeled bags for fasteners. Use a clean, well-lit work area where removed trim can be stored safely. Keep the vehicle stationary, with the ignition off, before beginning removal work.
Complete necessary live voltage and current checks while the battery is still connected. When diagnosis is finished, switch the vehicle off, disconnect the negative battery terminal, and follow the manufacturer’s waiting period and precautions for work near airbag components. Do not probe airbag connectors or use test equipment on them unless the repair procedure specifically permits it.
Photograph each connector, duct, bracket, and trim position before removal. Label connectors if several look alike, and keep fasteners with the part from which they came. Plastic clips can become brittle with age, so release them with an appropriate trim tool instead of forcing a panel until it bends.
Plan for the possibility that the dashboard will not need to come out completely. Remove only the trim and ducts required by the vehicle procedure. Clips, wiring, and air ducts left loose during reassembly can create rattles, restrict airflow, or cause a new intermittent electrical fault.
Remove the old cabin blower motor
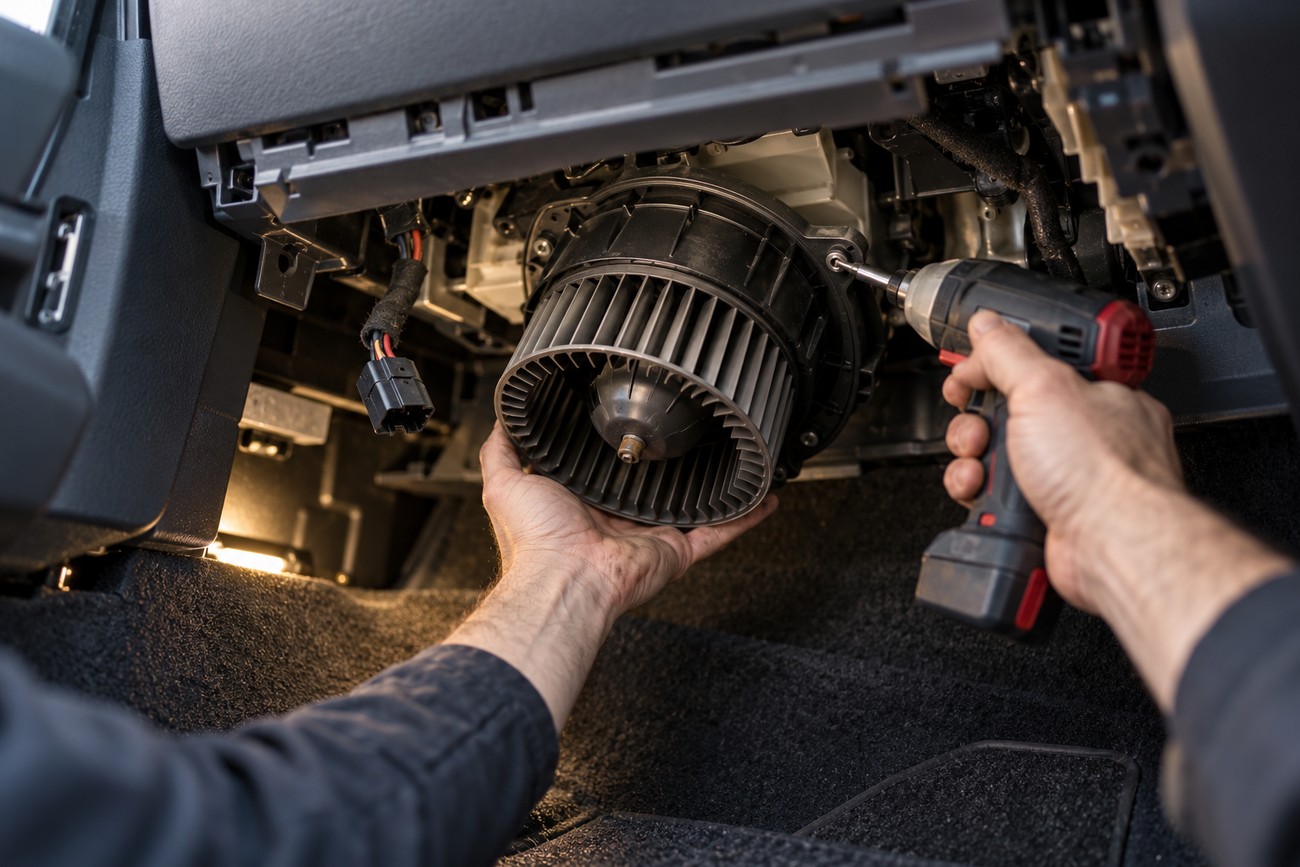
Locate the motor using the exact vehicle procedure. It is commonly reached from the glovebox or dashboard area, but the route, fastener locations, and removal direction vary by model. Confirm that surrounding trim and ducts have been released before applying force to the motor housing.
Unplug the electrical connector by releasing its lock rather than pulling on the wires. Remove the specified screws, bolts, or locking ring, supporting the assembly as the last fastener is released. Some assemblies are awkward or heavier than they appear, and allowing them to drop can damage the fan wheel or nearby wiring.
As the motor comes out, inspect the housing for leaves, dust, and other debris. Look for rubbing marks on the fan wheel, cracked plastic, melted connector terminals, and wiring that has contacted a moving part. Debris in the housing can cause noise even when the motor itself is serviceable.
Keep the fasteners in removal order and photograph the connector position and motor orientation. If the old assembly includes a separate fan wheel, compare its position and retaining method with the replacement before separating anything. Do not assume that a clockwise or counterclockwise removal direction applies to every vehicle.
Install the replacement and reassemble the dash
Compare the old and new assemblies on the workbench before installation. Check the motor, fan wheel, connector, housing, mounting points, and overall orientation. If a connector or mounting feature does not match, stop and verify the part rather than modifying the housing or forcing the assembly into place.
Confirm that the fan wheel has the correct clearance and orientation. It should turn freely without contacting the housing, and its position should match the original assembly or the vehicle procedure. Incorrect wheel fit can reduce airflow, increase noise, and create vibration that may damage the new motor.
Seat the motor fully and secure it with the specified fasteners or locking ring. Reconnect the original electrical connector until its lock is engaged. Route the harness through its original retainers, away from the fan wheel and sharp edges, because an unsecured harness can cause intermittent operation or a dashboard rattle.
Refit ducts and trim in the documented order. Check that no wiring is pinched behind a panel and that each clip is aligned before applying pressure. Replace damaged clips where necessary; forcing a misaligned panel can crack the trim or leave a persistent rattle.
Test every fan speed and investigate any remaining fault
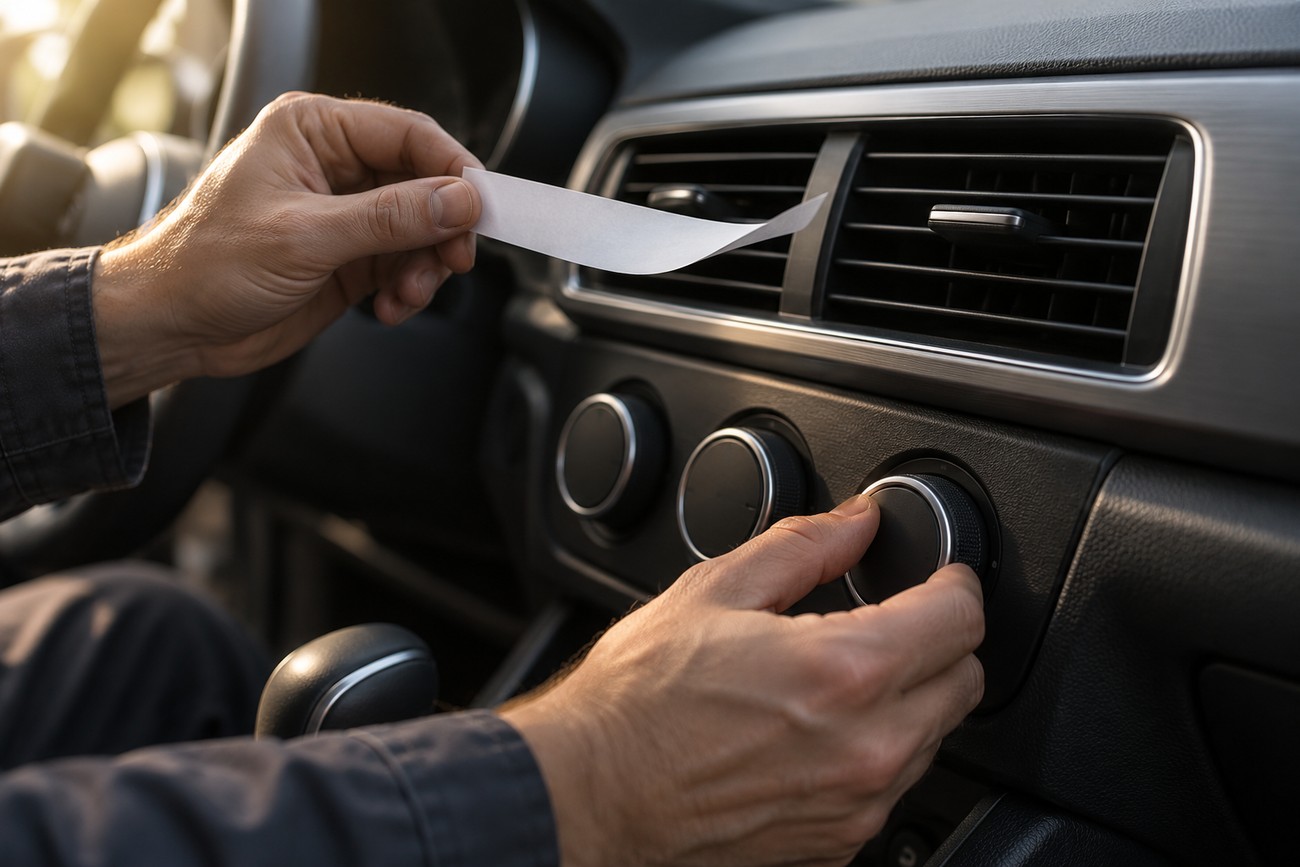
Reconnect the battery according to the vehicle procedure, then run the blower through every speed. Check for steady airflow, rubbing, whistling, vibration, unusual smells, and changes in noise as the speed increases. A short initial smell can come from disturbed dust, but a persistent electrical or burning smell requires immediate investigation.
If one or more speeds remain unavailable, return to the resistor or electronic speed-control module, connector, wiring, and ground. Installing another motor without retesting those parts can repeat the original mistake. Intermittent operation likewise calls for a close inspection of terminals and harness movement under normal operation.
Check the cabin filter and clear accessible leaves or debris from the housing and inlet. A clogged filter can continue to restrict airflow after a successful motor replacement, while debris can recreate the original noise. Inspect airflow doors if the fan sounds normal but air does not reach the selected vents.
Once the system operates correctly, refit any remaining covers and confirm that the dashboard is secure. A final check for loose trim, trapped wiring, and abnormal vibration is worthwhile because these faults are easier to correct before the vehicle leaves the work area.
Frequently asked questions
Costs and difficulty vary by vehicle, particularly when the blower requires extensive trim removal. The questions below cover pricing, model-specific access, diagnosis, and repair complexity.
How much does it cost to replace an AC blower motor?
There is no universal price because parts, labor rates, vehicle access, and regional costs vary. Ask for an estimate that separates diagnosis, the motor or complete blower assembly, labor, and any trim or dashboard-access work.
Also confirm whether the estimate includes checking the fuse, wiring, speed-control components, and airflow restrictions. A low labor quote may assume direct glovebox access, while a vehicle requiring substantial trim removal can take much longer. Confirm that the fault is the motor before paying for a replacement.
How do I replace the cabin blower motor on a Ford?
Identify the exact Ford model, model year, engine, and climate-control configuration first. Ford blower-motor access and fasteners differ across models, so use the repair procedure for that specific vehicle to confirm whether the motor is reached through the glovebox, lower dashboard, or another area.
Follow the stated trim-removal sequence, connector release method, and airbag precautions. Do not apply a generic Ford removal sequence to a different model, because dashboard access and motor mounting are not universal.
How to tell if an AC fan motor is bad?
Check whether the motor receives appropriate power and ground when the fan is commanded on. A motor that has the correct supply and ground but still fails to run is a strong replacement candidate; absent power or ground points toward a circuit fault.
Noise, vibration, high current draw compared with the vehicle specification, or intermittent operation can support the diagnosis, but each requires inspection of the fan wheel, housing, wiring, and control components.
How hard is it to replace a blower motor?
Difficulty depends on the vehicle. Some cars provide relatively direct glovebox-area access, while others require substantial dashboard or duct removal and careful handling of clips and airbag-related components.
Use the exact repair procedure before starting and allow time to document connectors and fastener positions. A professional inspection is sensible when access is unclear or the vehicle requires extensive dashboard disassembly.