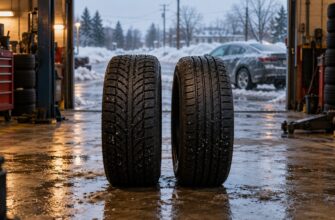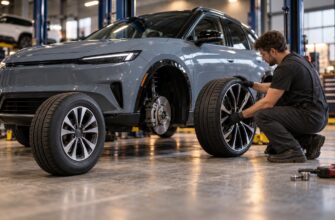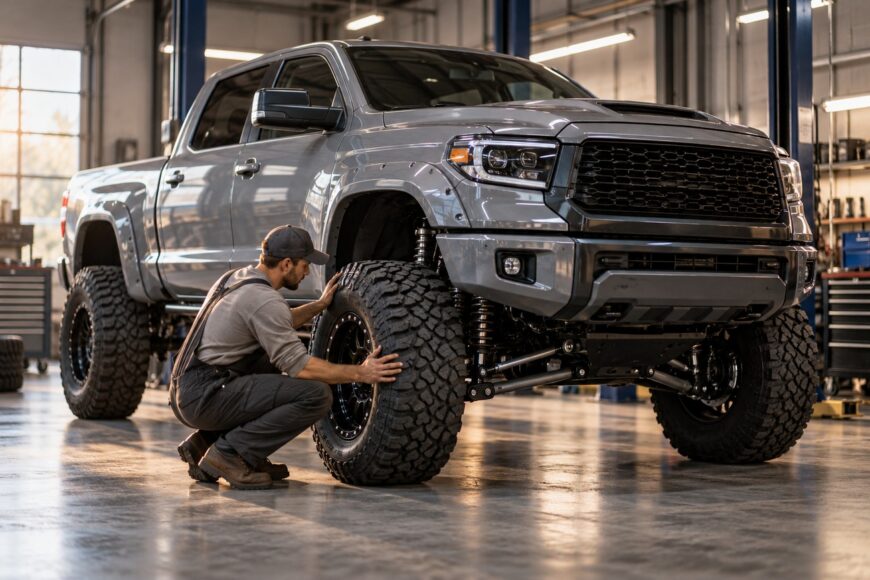
A lift-kit chart or attractive truck photo does not prove that a wheel-and-tire combination will clear at full steering lock, compression, and articulation. A truck can look perfect on a shop lift and still rub the liner, body mount, sway-bar area, or suspension hardware when the chassis rolls on a trail.
Fitment is a system involving tire dimensions, wheel width, offset, backspacing, suspension geometry, brake clearance, gearing, and intended use. The right combination depends on whether the truck spends most of its life commuting, towing, carrying loads, or crawling over uneven ground. Appearance, clearance, reliability, and performance all compete for space in the same decision.
- What a Lift Changes—and What It Does Not
- Choose the Tire for the Job Before Choosing the Lift
- Wheel Width, Offset, and Backspacing: The Fitment Controls
- Clearance at Full Lock, Full Compression, and Articulation
- The Performance Cost of Bigger Tires
- A Practical Fitment Check Before You Buy
- Lifted Truck Fitment Setups: What the Trade-Offs Look Like
- Reliability, Safety, and Legal Checks After Fitment
- Frequently asked questions
- What size tires fit my lifted truck without cutting the fenders?
- Which tire is taller: a 33-inch tire or a 285?
- How big of a tire can I fit with a 4-inch lift?
- How much air pressure should I run in oversize tires on a lifted truck?
What a Lift Changes—and What It Does Not
A suspension lift changes the distance between the chassis and the axles by altering springs, struts, control arms, torsion components, or related hardware. A leveling kit usually raises one end of the truck to reduce the factory rake, while a body lift raises the body away from the frame without moving the axles. Those approaches create different clearance and geometry changes, so the word “lift” alone says little about final fitment.
A practical daily-driver range is typically 2–4 inches of suspension lift plus 1–2 inches of body or leveling lift. That range can provide useful tire clearance while keeping steering, braking, driveline angles, and ride quality within a manageable envelope, depending on the truck. A leveling kit may create room at the front fender, yet it can also reduce available compression travel or alter how the front suspension approaches the bump stops.
Raising the truck does not enlarge every part of the wheel opening. The tire still has to pass the inner fender, body mount, liner, control arm, sway bar, shock, and brake hardware as it turns and moves upward. Suspension lift also changes the relationship between the axle and steering components, so the clearance that existed with stock geometry cannot be assumed after installation.
Above 6 inches generally requires serious modifications to driveline and steering components. The work may include corrected control-arm geometry, differential or transfer-case considerations, longer driveshafts, altered steering linkage, and more careful management of CV-axle angles on an independent front suspension. A tall truck that retains stock-size supporting parts can have an impressive stance but poor high-speed behavior and accelerated wear.
Choose the Tire for the Job Before Choosing the Lift
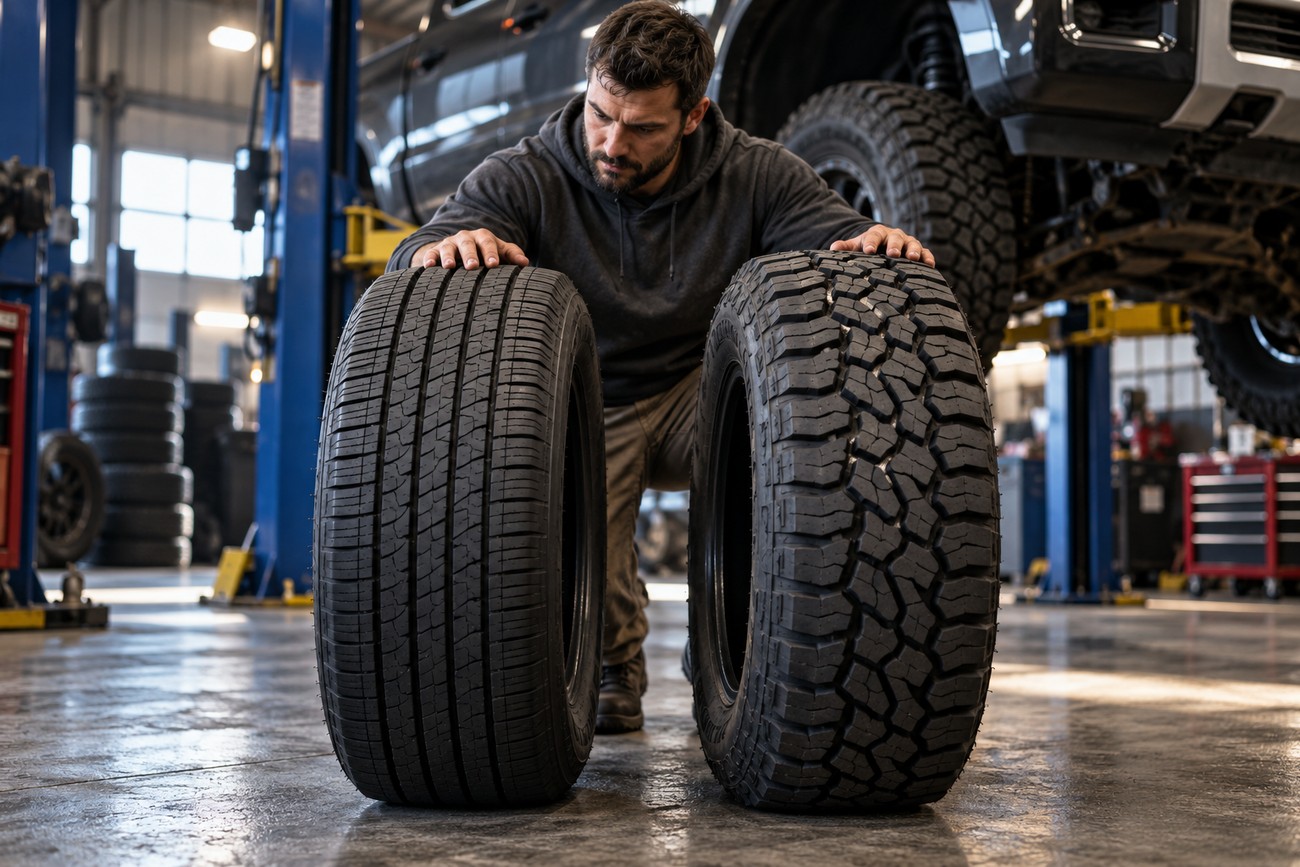
Start with the work the tire must perform. Daily highway use favors predictable steering, balanced construction, controlled noise, and a load rating appropriate to the truck. Towing and hauling add heat and braking demands, while mud, rocks, sand, and mixed trails reward different tread patterns and sidewall behavior. The tire should be selected before finalizing lift and wheel dimensions so the build is based on actual use rather than appearance.
Diameter affects ground clearance, effective gearing, braking leverage, and the space needed inside the wheel opening. Width affects sidewall position, steering clearance, flotation, and the amount of tread exposed beyond the fender. Load rating and casing construction matter as well: a heavy tire can place more demand on the suspension and brakes, while a flexible off-road casing may behave differently from a highway-oriented tire of the same nominal size.
Aggressive shoulder lugs are a common source of unexpected contact. The tread may clear on paper, while the outer shoulder catches the liner during a turn or the inner shoulder contacts a control arm under compression. Wheel width also changes the mounted tire’s shape, so the same advertised tire size can occupy a different space on different wheels.
Experienced owners commonly treat 35–37-inch tires as a practical daily-driver limit without major reinforcement, depending on the truck and fitment. Tires around 38–40 inches generally move the build toward off-road-specific axles, gears, steering, and driveline components. The larger range can work well on a dedicated build, yet it brings a different maintenance and parts budget than a commuter that must remain quiet, stable, and dependable.
Wheel Width, Offset, and Backspacing: The Fitment Controls
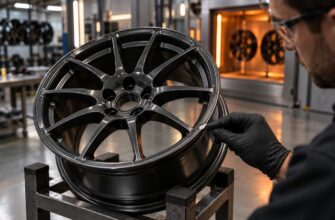
Offset is the distance from the wheel’s mounting face to its centerline. Positive offset places the mounting face toward the outside of the wheel, while negative offset moves it toward the inside. Backspacing measures the distance from the mounting face to the wheel’s inner edge. In practical terms, lower backspacing or more negative offset moves the tire outward.
Moving the tire outward can create room beside the control arm or strut, yet it reduces room at the fender and changes scrub radius. Steering can feel heavier or more sensitive to road irregularities, and the tire may throw more debris onto the body. More negative offset can increase stress on hubs, bearings, ball joints, tie rods, and steering components because the tire’s contact patch sits farther from the bearing and steering axis.
That leverage becomes more significant with a heavy wheel-and-tire assembly, a wide tire, low air pressure, or repeated impacts on rocks and ruts. Excessive negative offset may also shorten the service life of components that were reliable with the factory wheel. The aggressive stance visible in a catalog image therefore has a mechanical cost that the image cannot show.
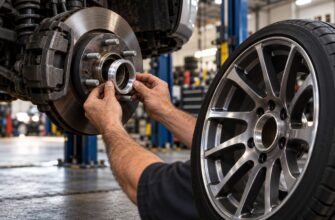
Brake clearance requires a separate check. Verify wheel diameter, inner-barrel shape, spoke profile, mounting face, caliper diameter and height, and clearance around drums or other brake hardware. A wheel can clear the fender and still touch the caliper, or it can have the advertised diameter while its barrel shape leaves insufficient room for the brake assembly.
Some heavy-duty diesel-truck recommendations advise staying at or below 12.5-inch tire width on stock hubs unless stronger hub bearings are installed. That is a club-based recommendation, not a universal rule, because axle design, wheel offset, load, tire construction, and use all change the result. Treat it as a warning to investigate hub loading rather than as a substitute for vehicle-specific engineering.
Clearance at Full Lock, Full Compression, and Articulation
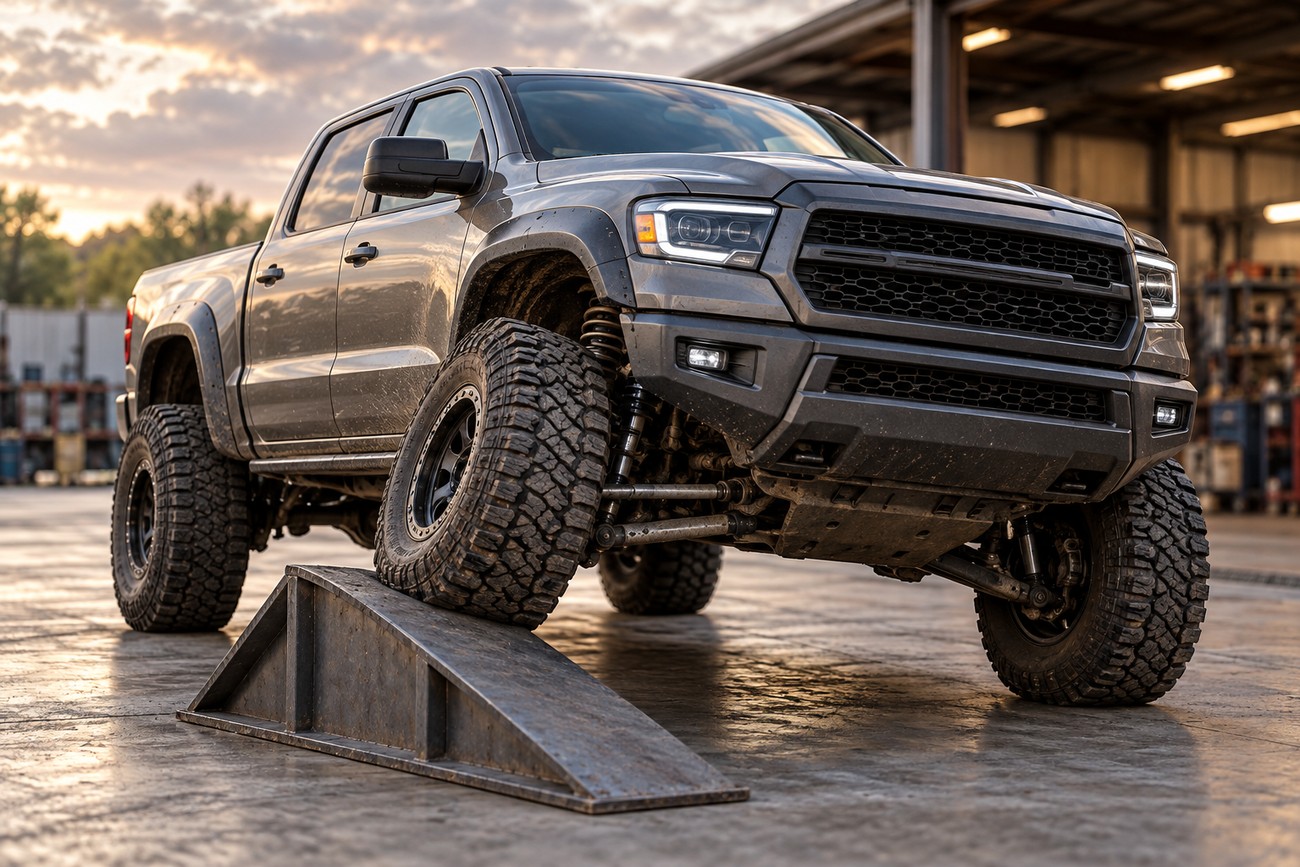
A truck resting on a lift provides almost no useful information about dynamic clearance. The suspension hangs at full droop, the tires are unloaded, and the axle is often centered in a position it will not hold during a turn. Contact can appear only when the steering reaches full lock, the outside suspension compresses, or one side of the axle articulates over an obstacle.
A 3–4-inch lift with 35-inch tires often requires inner-fender trimming, bump-stop changes, or both. The exact work depends on tire width, shoulder design, wheel offset, axle type, control-arm geometry, and the truck’s body shape. Bump stops can prevent contact by limiting upward travel, although reducing travel changes ride quality and available articulation, so they should not be used casually to conceal an unsuitable combination.
A practical minimum clearance target is 10–15 mm from the tire to any stationary component at full articulation and full steering lock. Check the gap at the front and rear of the wheel opening, around the liner, near the body mount, and beside suspension and brake components. Mud packed into a liner can remove a small margin quickly, and body roll can produce contact that a static test misses.
Shoulder-lug contact often appears only on a ramp with the steering at full lock, because the tire twists across the liner as the axle articulates. A suspended truck can hide that contact point completely.
Claims such as “fits up to 35 inches without modifications” can conflict with owner reports of rubbing or caster-related compromises on 33–34-inch tires. Both statements may be based on different wheel offsets, tire brands, suspension packages, or definitions of “fit.” A catalog maximum may mean the tire can be mounted and driven carefully on smooth pavement, while a usable daily-driver fit requires room for turns, potholes, cargo, and trail articulation.
The Performance Cost of Bigger Tires
Larger tires make the effective gearing taller. Their greater rolling circumference lowers engine speed at a given road speed, while a heavier assembly demands more torque to accelerate, so acceleration can soften and the transmission may search for lower gears more often. Towing and steep terrain expose this change quickly. Correcting the axle gearing may restore some response, although it adds cost and must match the truck’s engine, transmission, axle, and intended load.
A change in tire diameter greater than 3% from stock creates noticeable speedometer and odometer error. At approximately 10% larger tire diameter, the speedometer may read about 8–10% low. That affects your actual road speed and recorded distance, so recalibration or a suitable electronic correction should be considered where supported by the vehicle.
Larger and heavier wheel assemblies increase unstrung mass, can accelerate shock wear, and reduce suspension control. The shocks have more work to do when the tire hits a sharp edge, and the tire can be slower to follow uneven ground. A truck may feel firm and controlled with the original wheels, then become busy or underdamped after a heavy wheel-and-tire package is installed.
Braking is another overlooked cost. Larger-diameter and heavier tires can increase braking distance, especially with cargo or a trailer, because the brake system must slow more rotating and moving mass. Mud-terrain tread can also add noise and vibration on pavement. Tire pressure, alignment, tread design, and wheel balance influence the result, yet they cannot fully erase the effects of extra mass and diameter.
After an IFS lift, CV-axle angles change and can accelerate CV-joint wear. Caster and camber must be checked after lifting, since altered geometry can contribute to rubbing, instability, and bump steer. A lifted truck with oversize tires can develop greater body roll and less predictable high-speed behavior when steering geometry, shocks, and alignment are treated as afterthoughts.
A Practical Fitment Check Before You Buy
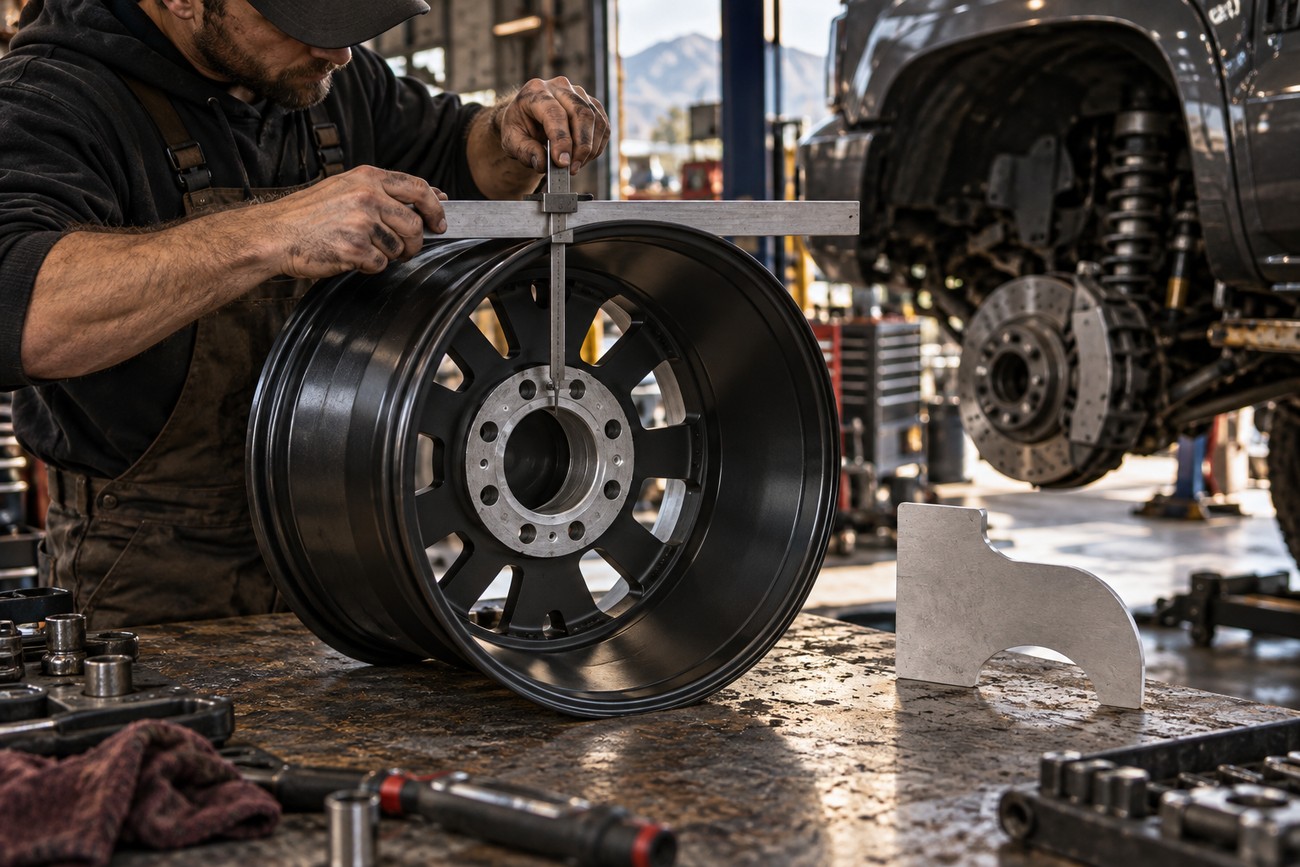
Begin with the stock tire’s measured or published diameter, section width, wheel width, and offset. Compare those figures with the proposed assembly, then calculate the dimensional change rather than relying on labels such as “33-inch” or “285.” Check the tire maker’s actual dimensions, because nominal size does not fully describe mounted width, section shape, or shoulder projection.
Confirm the wheel’s backspacing and offset, then inspect brake clearance using the wheel manufacturer’s application data or a physical template. Verify the bolt pattern, center bore, stud or lug compatibility, wheel load rating, and clearance to the caliper and other brake hardware. A wheel that technically bolts on may still be unsuitable for the truck’s brakes or load.
Test the assembly at full steering lock and maximum suspension articulation, not only with the truck unloaded on a lift. A ramp or equivalent setup allows one side of the suspension to compress while the other extends, which reveals contact near the rear of the liner, body mount, sway-bar area, and shoulder lugs. Turn the steering in both directions, because contact can differ between left and right lock.
- Set the truck at realistic operating weight, including normal cargo or equipment.
- Check the tire at full lock, full compression, and maximum articulation.
- Measure the remaining gap to every stationary component, aiming for at least 10–15 mm.
- Inspect for witness marks after slow test movements over uneven ground.
- Decide whether trimming, revised backspacing, or bump-stop changes preserve the intended travel and reliability.
Complete a professional alignment after the lift and after any change in control arms or steering parts. Caster and camber should be checked and corrected, while toe must be set accurately because a small error can make a lifted truck wander and wear tires quickly. Alignment can improve stability and sometimes reduce rubbing, although it cannot create physical space where the wheel opening is too small.
Lifted Truck Fitment Setups: What the Trade-Offs Look Like
These ranges describe common build directions rather than universal vehicle-specific guarantees. Actual fitment still depends on axle type, suspension design, wheel dimensions, tire construction, and the amount of articulation required.
| Setup | Typical lift and tire range | Likely modification needs | Reliability and use trade-offs |
|---|---|---|---|
| Moderate daily driver | 2–3 inches of lift with 33–35-inch tires | May need careful wheel selection, minor liner work, or alignment parts | Usually the most balanced approach for commuting, light trail use, and reasonable ride quality |
| Common larger daily setup | 3–4-inch lift with 35-inch tires | Frequently needs inner-fender trimming, bump-stop work, or both | Improved clearance and stance with more steering, braking, gearing, and suspension compromises |
| Upper daily-oriented range | 35–37-inch tires | Vehicle-specific trimming and stronger supporting parts may be required | Practical for some trucks without major reinforcement, with increased component loads and maintenance |
| Off-road-specific build | 38–40-inch tires | Purpose-built axles, gearing, steering, driveline, braking, and body-clearance planning | Greater obstacle clearance with reduced daily usability, higher stress, and more specialized upkeep |
Reliability, Safety, and Legal Checks After Fitment
Physical clearance is only the first inspection. Excessively negative offset can shorten hub, bearing, ball-joint, and steering-component life, especially when combined with heavy tires and low-pressure off-road use. Recheck lug torque, wheel balance, bearing play, steering joints, and tire wear after installation and after the first period of driving.
Review braking performance with the truck loaded as it is normally used. A lifted truck with oversize tires can develop bump steer, greater body roll, and less predictable high-speed behavior. Confirm that the shocks control the new wheel-and-tire mass, and inspect CV joints, driveshafts, and steering linkage for altered angles or contact.
Non-stock lift and wheel combinations may raise questions about tire coverage, bumper or headlamp height, warranty, and insurance, depending on the region. Tire protrusion beyond the body, lighting height, bumper position, and suspension modifications can be regulated differently by local authorities. Keep documentation for the parts and installation, and confirm requirements with the relevant inspection authority, insurer, and dealer before assuming the modification is accepted.
For many daily drivers, a moderate 2–3-inch lift with 33–35-inch tires is the practical compromise. Adequate clearance, corrected alignment, suitable gearing, and manageable wheel loading usually produce a more usable truck than an extreme stance chosen only for appearance.
Frequently asked questions
What size tires fit my lifted truck without cutting the fenders?
There is no universal tire size that guarantees a no-cut fit. Determine the tire’s actual width and diameter, then evaluate wheel backspacing, offset, steering lock, suspension type, and the amount of articulation you intend to use. A narrow tire on a suitable wheel can clear where a wider tire with the same nominal diameter rubs, while an aggressive shoulder tread can contact the liner even when the listed dimensions appear safe.
Test the truck at full steering lock and maximum articulation, including realistic vehicle weight. Keep at least 10–15 mm from the tire to stationary components in those positions. If the truck is a daily driver, leave room for body roll, road debris, and potholes rather than selecting a size that clears only during a slow workshop inspection.
Which tire is taller: a 33-inch tire or a 285?
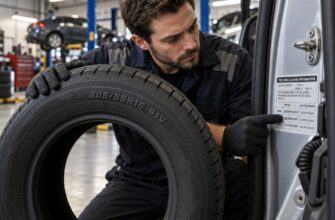
A 33-inch tire describes an approximate overall diameter, while 285 normally describes section width in millimeters. The number 285 does not specify tire height by itself. A 285 tire can have different overall diameters depending on its aspect ratio and the wheel diameter for which it is made.
Read the complete size code, including the width, aspect ratio, and wheel diameter, before comparing it with a 33-inch tire. Use the manufacturer’s published overall diameter and section width for the exact tire model, since construction and tread design also affect the space it occupies.
How big of a tire can I fit with a 4-inch lift?
A catalog may list a maximum tire size, but a usable daily-driver size depends on wheel offset, tire construction, steering lock, articulation, trimming, and bump-stop settings. A 3–4-inch lift with 35-inch tires often requires inner-fender trimming, bump-stop changes, or both. Some combinations advertised as fitting without modification may still rub with a different wheel or tire design.
Separate a static mounting test from a complete fitment test. Check the tire at full lock, full compression, and articulation, and preserve at least 10–15 mm of clearance. Also account for gearing, braking, CV-axle angles, and the truck’s load; a tire that fits physically may still be a poor choice for a daily-driven or towing vehicle.
How much air pressure should I run in oversize tires on a lifted truck?
Set pressure from the tire maker’s load data, the truck’s actual axle loads, and the intended use. Weigh the axles when possible, stay within the tire’s load and pressure limits, and use the door-placard specification as the starting reference for the vehicle rather than copying pressure from another truck. Inspect the contact patch and tread temperatures after the truck has been driven under the conditions you care about.
Highway, towing, rocks, sand, and mud may require different settings within safe limits, with pressure changes made gradually and checked for heat, sidewall damage, and handling. Pressure should never be used to mask rubbing; a tire that contacts the liner at full lock or articulation needs a fitment correction.