Changing a flat tire can look like a simple roadside task until you see how little space separates you from passing traffic. Darkness can make you hard to see, while a soft or sloping shoulder can make the jack unstable. Before touching the tools, decide whether you can reach a firm, level place with enough room to work.
If the vehicle is exposed to traffic or the ground will not support it securely, leave the tire change to roadside assistance. Hazard lights help other drivers see you, but they do not protect someone kneeling beside a moving lane. The safest decision may be to keep everyone clear of traffic and wait for help.
- First decide whether this is a safe place to stop
- Check the spare and secure the vehicle before loosening anything
- Loosen the fasteners, lift the car, and fit the spare
- Lower the car and tighten the wheel correctly
- Know when a roadside tire change has to stop
- Drive on the spare only within its limits
- Frequently asked questions
- How much does roadside assistance cost to change a flat tire?
- What if the wheel will not come off after I remove the lug nuts?
- What is the safest way to change a flat tire?
- How to change a flat tire in 5 easy steps?
First decide whether this is a safe place to stop
If the vehicle can still be moved without losing control, seek the safest available stopping place rather than stopping immediately beside moving traffic. Prefer a firm, level area clear of the roadway, with space to open a door and work around the damaged wheel. Where possible, position the flat tire away from traffic, but do not make a risky maneuver to achieve that.
Switch on the hazard lights and assess the site before getting out. Look at passing vehicles, sightlines, lighting, ground firmness, and the space you would occupy while using the wrench. If you have a reflective vest, putting it on before leaving the vehicle can make you easier to see; requirements for wearing one vary by location.
An exposed shoulder does not become safe because the hazards are flashing. On a narrow roadside, you may have to stand close to traffic or place the jack where a vehicle could strike it. Keep passengers away from the roadway, follow local guidance on where to wait, and call for assistance if there is no safe working area.
A slope raises a different problem: the vehicle may roll or shift as its weight transfers onto the jack. Wheel chocks help resist rolling where an incline is unavoidable, but they do not make a hazardous slope safe. If you cannot find firm, reasonably level ground, do not begin the change.
Check the spare and secure the vehicle before loosening anything

Locate the vehicle manual, spare tire or repair kit, jack, lug wrench, and any locking-lug adapter before removing a fastener. Check that the spare is usable and that you can access all the equipment without entering traffic. Some vehicles carry sealant instead of a spare; it may not address a sidewall cut or major tire damage.
Once the vehicle is safely positioned, select Park or first gear as appropriate and set the parking brake. Use wheel chocks where rolling is possible, especially if a slight incline cannot be avoided. Place them as the vehicle instructions direct and keep people clear while you work; securing the wheels does not compensate for an unsafe site.
Find the manufacturer-approved jacking point for the damaged wheel in the manual. It may be marked on the vehicle, but do not assume a nearby piece of bodywork or suspension is suitable: the wrong point can bend or damage components and may let the jack slip. Larger SUVs and commercial vehicles can have different lifting and securing requirements.
Check the spare’s pressure against its label or the vehicle instructions if you have a gauge. A spare that has spent years in storage can be underinflated even if it looks sound. Vehicle instructions may prohibit jacking on soft ground; although a board is sometimes suggested to spread the jack’s load, it cannot establish that questionable ground is safe.
Loosen the fasteners, lift the car, and fit the spare
With the flat tire still on the ground, use the lug wrench to loosen each nut or bolt slightly without removing it. This lets the ground resist the turning force instead of making you rock a vehicle balanced on a jack. If the fasteners will not move with controlled effort, stop rather than adding an improvised pipe or forcing the wrench beside traffic.
Position the jack at the approved point and operate it according to the vehicle instructions. Lift the car only high enough for the flat tire to clear the ground and the spare to fit. A supplied scissor jack is intended for a brief wheel change; never put any part of your body under a vehicle supported only by a jack.
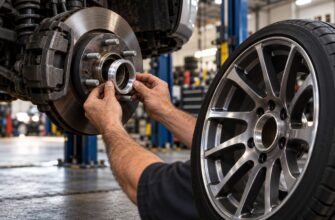
Remove the loosened fasteners and lift the flat wheel off, keeping your hands and feet out from beneath the vehicle. If the wheel remains stuck to the hub after its fasteners are removed, do not kick or strike the vehicle while it is on the jack. Set the wheel aside where it cannot roll into traffic, then align the spare with the hub.
Start each fastener by hand so it engages smoothly, and support the spare until it is held in place. If a fastener binds, back it out and check its alignment rather than forcing it. Watch the jack throughout: if it shifts, tilts, or sinks into the surface, stop the change and seek help.
Lower the car and tighten the wheel correctly
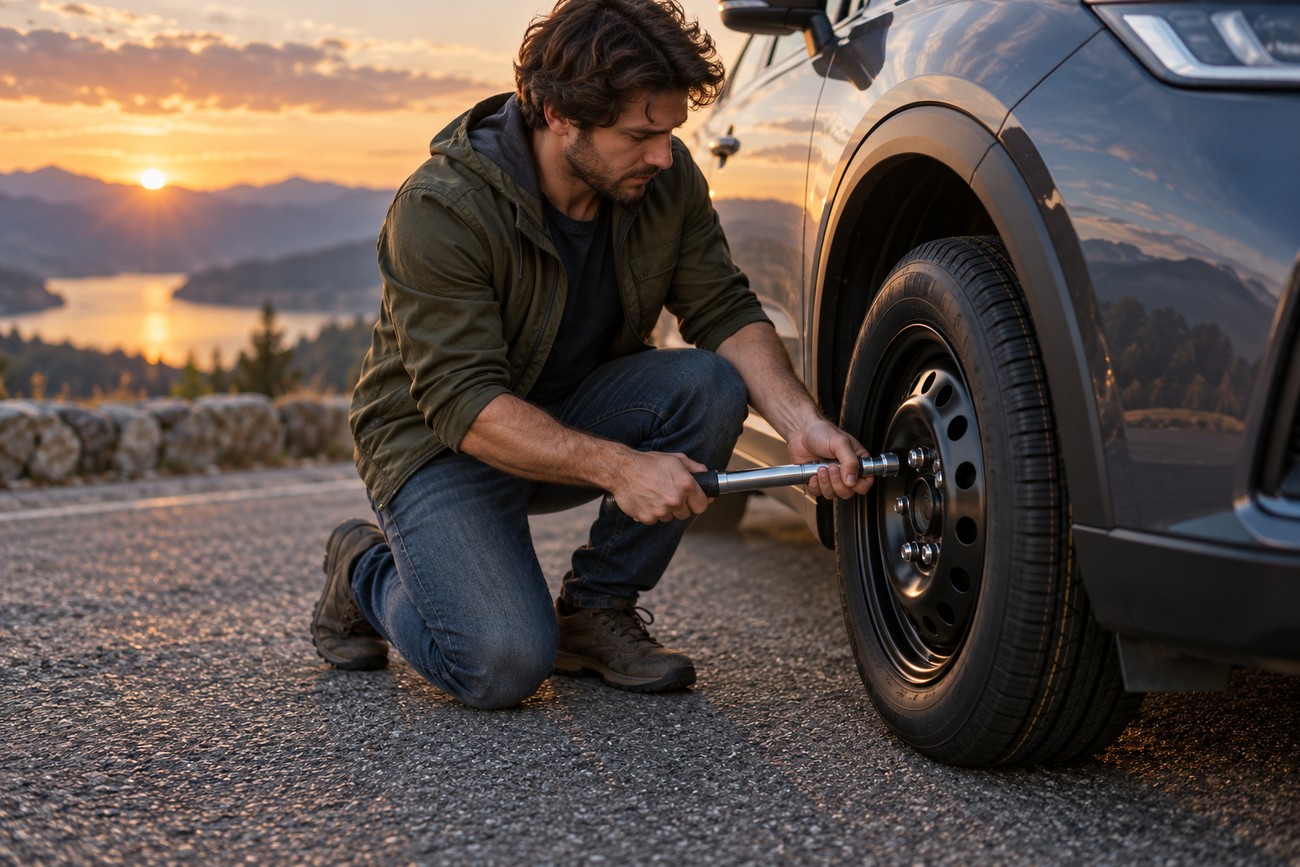
With all fasteners started by hand, snug them in a crisscross pattern so the wheel draws evenly against the hub. Lower the vehicle carefully until the tire is firmly on the ground, then lower it fully and remove the jack as directed. Check that the wheel sits flush rather than appearing tilted or uneven.
An impact wrench may turn a fastener quickly, but its result alone does not establish correct final torque.
Complete the crisscross tightening sequence with a torque wrench set to the vehicle-specific specification. Roughly 90–140 N·m is a typical passenger-car range, not a setting to use in place of the manual. Tightening as hard as possible can damage fasteners or the wheel and make a later removal difficult.
Before moving off, check that every fastener is secure and that the jack, wrench, chocks, and flat tire are stowed in the vehicle. If you cannot verify final torque at the roadside, arrange to have it checked with a torque wrench as soon as practical. Do not continue if the wheel cannot be seated or secured properly.
Know when a roadside tire change has to stop
A missing locking-lug adapter can make wheel removal impossible, even when the jack and wrench are present. Seized fasteners are another stopping point: the short wrench supplied with some cars may not free nuts or bolts that are corroded or were previously overtightened. Excessive force can destabilize the vehicle or damage a fastener.
An unclear jacking point is a reason to consult the manual or call for help before lifting. The same applies if the jack begins to slip or sink. A board is sometimes suggested on soft ground, but vehicle instructions may prohibit jacking there, and a board cannot make an unstable roadside site safe.
Do not proceed with a spare that is missing, damaged, visibly flat, or unsuitable under the vehicle instructions. A sealant kit is also a poor fallback for a sidewall cut or substantial damage. Tell roadside assistance what equipment you have and what failed, so the service can come prepared for the actual problem.
The ordinary passenger-car sequence may not cover a larger SUV or commercial vehicle. Its approved jacking points, spare pressure, and measures needed to prevent movement may differ. If the required equipment or instructions are unavailable, have the vehicle handled by a service equipped for it.
Drive on the spare only within its limits

A temporary spare is a way to reach repair, not a normal replacement tire. Read its sidewall label and the vehicle manual for speed, distance, inflation pressure, and any placement restrictions. A speed limit around 80 km/h (50 mph) is common, but the printed limit and vehicle instructions govern; permitted travel distance also varies.
Allow for unfamiliar steering, braking, or stability behavior, particularly if the temporary spare differs in size from the other tires. Drive conservatively and avoid unnecessary travel. Plan a route to tire repair rather than treating the spare as a reason to postpone it.
If the car pulls, vibrates, or feels insecure after the change, stop in a safe place and arrange an inspection. Those symptoms can indicate a problem with the fitted wheel or another issue that needs attention. Continuing to drive in the hope that the sensation will disappear risks making the situation worse.
A full-size spare may have fewer operating restrictions, but it still needs the correct pressure and must be suitable for the vehicle. Have the damaged tire assessed for repair or replacement promptly, and restore the vehicle’s spare or repair equipment afterward. That leaves you prepared for the next puncture without assuming today’s spare is ready to use again.
Frequently asked questions
Roadside assistance can be the safer choice when the site, equipment, or vehicle prevents a secure tire change. These answers cover common decisions that arise after you have stopped, including what to do when a wheel will not release.
How much does roadside assistance cost to change a flat tire?
There is no universal charge. A membership, insurance policy, or manufacturer program may cover a tire change. An uncovered call can depend on your location and whether you need a usable spare fitted, a tire supplied, or a tow. Give the provider your location, vehicle type, and tire-equipment details, then ask for a quote that includes any callout or towing charge before authorizing the work where practical.
What if the wheel will not come off after I remove the lug nuts?
The wheel may be stuck to the hub even though its fasteners are free. Do not kick it or strike it forcefully while the vehicle is supported by the jack. If it will not release without destabilizing the car, reinstall and snug the fasteners before lowering the vehicle safely and requesting suitable help; tell the provider that the wheel remains stuck to the hub.
What is the safest way to change a flat tire?
The safest way starts with declining to work at an exposed or unstable roadside site. Use a firm, level place clear of traffic, follow the vehicle’s instructions, and stop if a required tool or safe lifting point is unavailable. Roadside assistance is the safer option when those conditions cannot be met.
How to change a flat tire in 5 easy steps?
First, stop only where a roadside change is safe. Second, secure the vehicle and confirm you have a usable spare and the required tools. Third, loosen the fasteners with the wheel on the ground, then lift at the approved point and fit the spare. Fourth, lower the vehicle and tighten to its specified torque; fifth, follow the spare’s limits and obtain tire repair. Stop at any step that cannot be completed safely.