
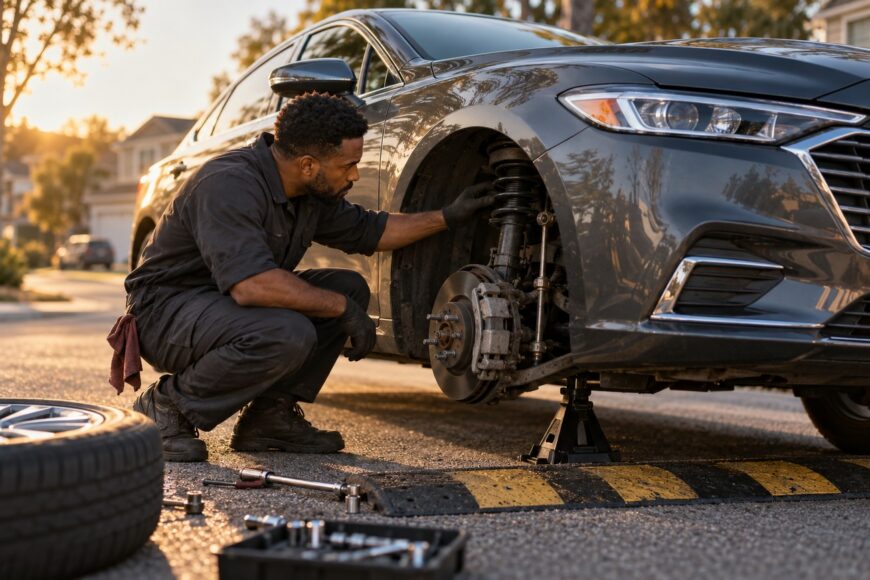
A short, dull clunk over bumps can come from several parts that move, flex, or shift under load. Stabilizer links are common suspects, but strut mounts, control-arm bushings, springs, shock mounts, brakes, subframe fasteners, and loose equipment can produce a similar low-frequency impact.
The trigger provides more useful evidence than the sound label. Record whether it occurs on small or large bumps, during compression or rebound, braking, acceleration, turning, or body roll. A part that was recently replaced, or a shock absorber that is leaking, is not automatically the source. The reliable approach matches the inspection to the exact symptom instead of replacing stabilizer links by guesswork.
- What a Clunk Over Bumps Tells You
- The Most Likely Sources of Suspension Clunk
- Why the Noise Starts After a Repair or in Cold Weather
- How to Diagnose a Clunk Without Guessing
- When the Clunk Is Not the Suspension
- Common Diagnostic Mistakes and What to Do Next
- Frequently asked questions
- Why is my rear end clunking when I go over bumps?
- Why does the clunk disappear after the car warms up?
- Why does my car make a clunk sound when I go over bumps?
- How do I identify the source of a clunk?
What a Clunk Over Bumps Tells You
A clunk is a short, low-frequency impact or dull knock. The sound itself does not identify the failed component because many suspension parts can take up clearance and release it when the vehicle changes direction or the body moves. The first useful observation is the event that produces the noise.
Note whether the clunk appears on small ripples, a larger bump, or the return from a deep compression. A noise during compression can involve a bump stop, spring, mount, or loose fastener, while a noise during rebound may involve a different contact or movement. Braking, acceleration, turning, and body roll add load paths that a straight-line bump may not reproduce.
A bump taken with one wheel can load the stabilizer differently from a bump taken with both wheels. A clunk that appears only when the car turns and crosses a bump may therefore point toward a component affected by body twist or stabilizer movement. These observations are clues, rather than proof, and should guide the physical inspection.
The side you hear inside the cabin can also mislead you. Sound travels through the subframe and body, so a noise that seems to come from the left may originate on the right or near the center of the vehicle. A road test that reproduces the same speed, bump, temperature, and direction of load is more valuable than guessing from the apparent location.
The Most Likely Sources of Suspension Clunk
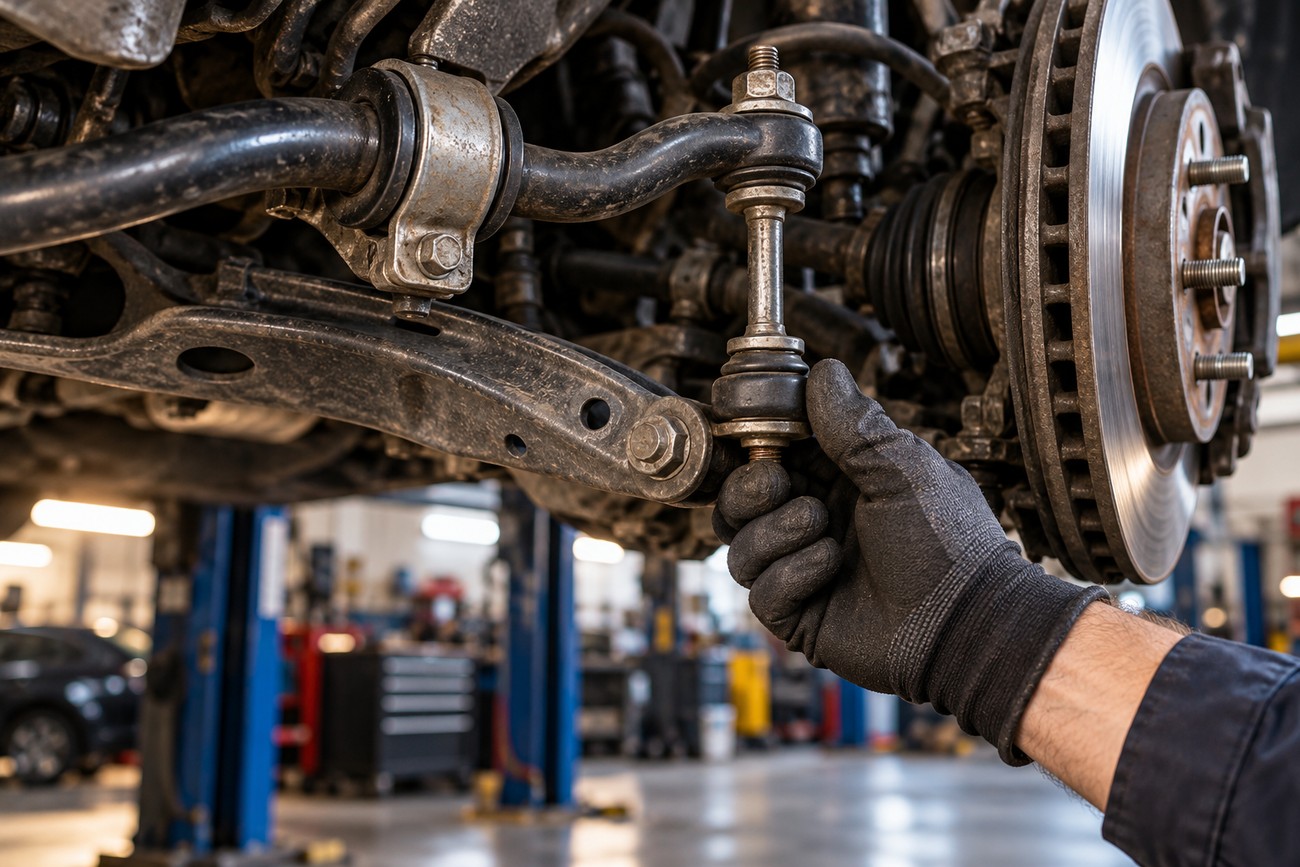
Stabilizer links and stabilizer bushings are frequent inspection points because they react to differences in wheel movement and body roll. A worn link may have play at its ball-and-socket joint, while a bushing can allow the stabilizer bar to shift against its mount. Either condition may be more obvious over uneven surfaces or when one wheel rises before the other.
Ball joints and control-arm bushings can clunk when a wheel changes position under braking, acceleration, or a bump. A bushing may look intact while losing its preload or suffering internal deterioration. Strut mounts and shock absorber mounts deserve equal attention, especially when the noise occurs as the suspension compresses, rebounds, or the steering is turned at the same time.
Springs, bump stops, and spring isolators can create a sharp click or dull knock that is easily blamed on the damper. The spring end must sit correctly in its rubber isolator. A gap, incorrect orientation, damaged isolator, or incomplete seating can let the spring move and strike its seat as the suspension changes direction.
Loose fasteners can imitate a worn component, particularly after recent suspension work. Some official service bulletins associate noise over uneven surfaces with incorrect stabilizer-nut torque. The correct check is the exact torque specification for the vehicle; visual tightness, a hand check, or the feel of an “upgraded” fastener is not sufficient.
A complete inspection also includes shock mounts, subframe attachments, and nearby brackets. A leaking shock does not prove that it creates the clunk, and a dry shock does not prove that its mount or internal damping is sound. The component that shows a visible symptom may be beside the part that actually moves and makes the impact.
Why the Noise Starts After a Repair or in Cold Weather
A new component can still be involved in a noise if it was installed in the wrong orientation, incompletely seated, or tightened with the suspension in an unsuitable position. A damaged spring isolator may have been reused, or a fastener may be under-tightened or over-tightened. These installation details can change how the part carries load without making the part itself defective.
For many suspension designs, final control-arm-bushing tightening is specified at normal ride height rather than with the suspension fully hanging. Tightening a bonded rubber bushing while it is at full droop can leave it preloaded when the vehicle returns to the ground. That stress may contribute to premature deterioration or a noise as the suspension moves through its normal range.
Cold rubber, mounts, bump stops, and isolators can also change the way a suspension responds. A noise may be present first thing in the morning and fade after the material warms, but temperature dependence does not prove that the condition is harmless. Documenting the outside temperature, first road event, and time until the sound changes gives the technician a repeatable starting point.
Visual inspection has limits. A bushing can appear whole while its internal bonding or preload has failed, and a spring can be undamaged yet incorrectly positioned in its seat. After a repair, the sensible review includes torque, seating, orientation, isolators, and adjacent hardware before another replacement part is ordered.
How to Diagnose a Clunk Without Guessing
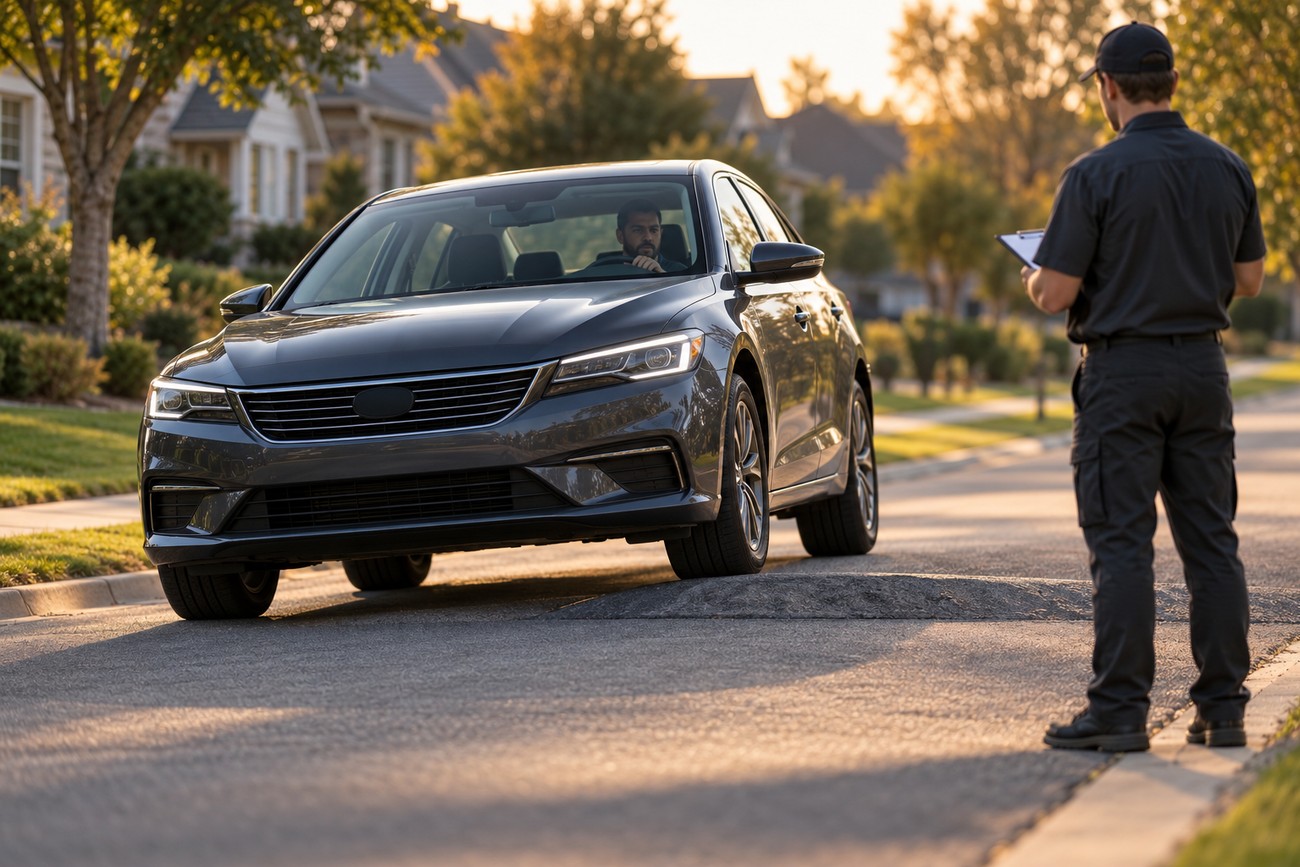
Begin with a controlled road test. Use the same speed, the same bump, the same temperature, and the same direction of load each time. Test a small bump and a larger one if safe, then compare a one-wheel event with a two-wheel event. Changes in the sound show how the load affects the system, which is more useful than simply driving around until the noise happens by chance.
Separate compression from rebound. Listen as the wheel moves upward into the bump, then as the suspension returns. A noise during compression is not automatically caused by the same component or failure mode as a noise during rebound. Also compare straight-line travel with braking, acceleration, and a gentle turn over the same surface, because each condition changes the forces on joints, mounts, and the stabilizer.
Inspection must reproduce the load that creates the clunk. A fully unloaded suspension on a lift can hide a fault that appears only under road load, body twist, or a particular suspension position. Once the vehicle is safely supported, a technician can check play, fastener security, spring seating, mount condition, and nearby components, while recognizing that a lift-only result may not settle the diagnosis.
Repeating the same road event before touching parts can reveal the load direction that a lift removes. One-wheel, two-wheel, compression, and rebound comparisons often narrow the search more effectively than a general visual check.
The stationary bounce test has a limited role. More than three oscillations after releasing a pushed-down body can suggest a damping problem, but the test does not locate a clunk source, and many noises occur only while the vehicle is moving. A mechanic’s stethoscope or chassis ears can help compare left and right and localize sound, but neither replaces a safe mechanical inspection.
When the Clunk Is Not the Suspension
A single clunk can originate in the steering, brakes, subframe, body structure, or suspension. Loose brake pads, caliper movement, or a bracket that shifts during braking can sound like a wheel-area suspension fault. If the noise changes when the brake pedal is applied, brake hardware belongs in the inspection rather than being treated as a separate possibility.
Acceleration and deceleration can move components that are quiet over a vertical bump. Check steering joints, subframe mounts, and body fasteners when the noise changes with load direction. A combined turn-and-bump event is especially useful because it adds body roll and lateral force, which may expose movement that a straight bump does not.
Loose objects should be eliminated before expensive diagnosis. A spare tire, jack, tools, cargo, exhaust component, or heat shield can strike its mounting point and transmit a convincing impact through the body. On a rear-end complaint, inspect rear shock or spring mounts, trailing- or control-arm bushings, cargo and spare-wheel storage, exhaust shields, and body attachment points.
Do not assign the sound to the rear suspension solely because it seems to come from behind the seats. The rear subframe and body can carry noise forward, while an unsecured item in the cargo area can make the source appear lower than it is. Removing loose contents and repeating the same road test is a simple diagnostic step with high value.
Common Diagnostic Mistakes and What to Do Next
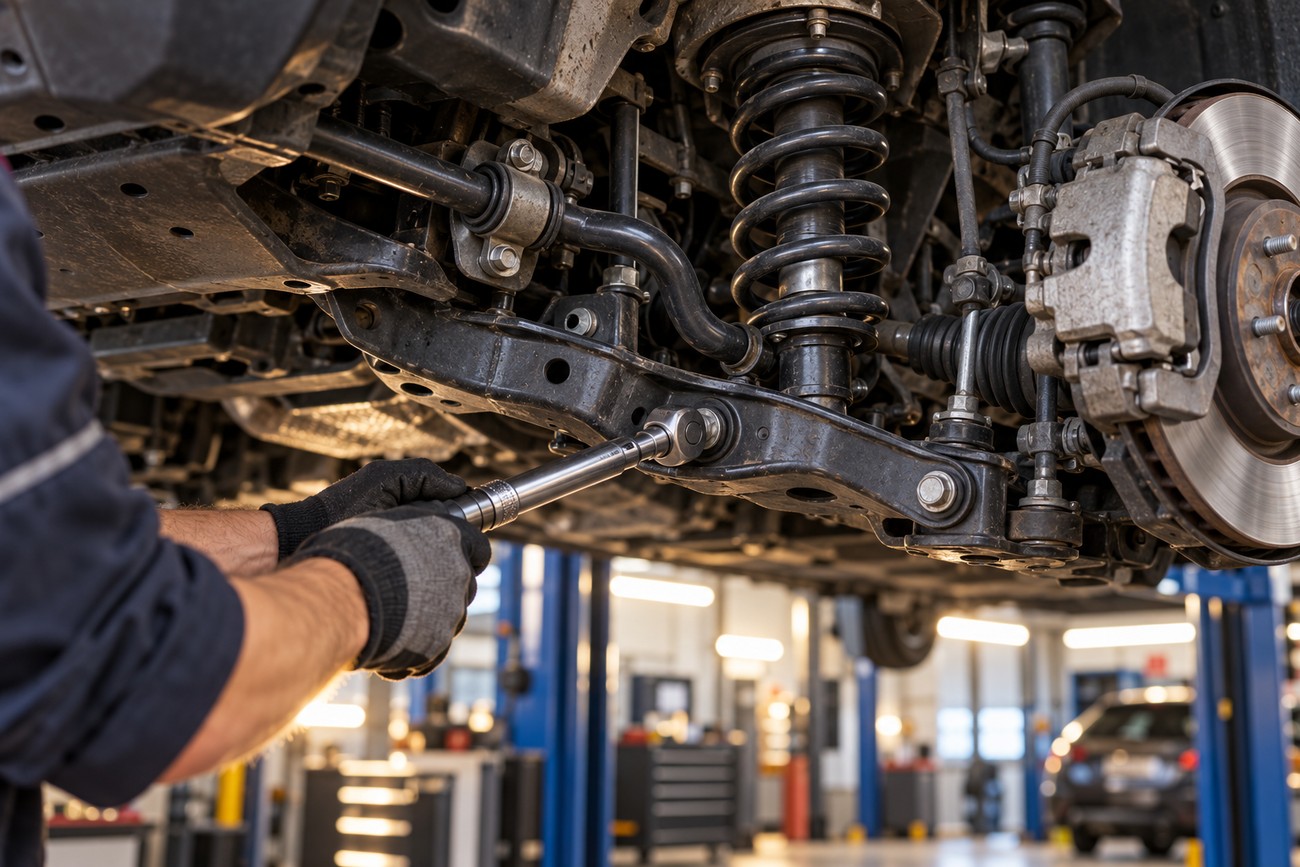
The most common mistake is replacing stabilizer links first without checking play, torque, and neighboring components. A new link will not cure a loose stabilizer bushing, strut mount, spring seat, brake part, or subframe fastener. The same problem occurs when a technician condemns a shock because it leaks, even though the actual impact comes from its mount or another nearby joint.
The reverse assumption is equally weak: no visible leak does not prove that the shock or its mount is sound. Damper condition and clunk source are related but separate questions. A stationary body-rock test also cannot rule out a moving fault because many clunks require wheel travel, body twist, or the return from deep compression.
A practical priority order reduces wasted parts and time:
- Secure the spare tire, jack, tools, cargo, exhaust, and heat shields.
- Review recent work for correct torque, spring seating, isolator condition, and bushing tightening position.
- Inspect joints, mounts, bushings, brakes, subframe attachments, and body hardware under the load that reproduces the noise.
- Use a stethoscope or chassis ears for targeted comparison after basic safety checks are complete.
Stop driving and arrange an inspection if the noise is accompanied by worsening looseness, a steering change, unstable braking, a visibly damaged spring or mount, or a component that is clearly moving out of position. A mild intermittent sound still deserves attention when it is changing, because increasing clearance can alter wheel control and braking stability.
Frequently asked questions
These answers focus on the conditions that help distinguish suspension movement from loose hardware, brake components, or unsecured items. Repeating the same road event and noting the load direction can make the inspection more productive.
Temperature, compression, rebound, and whether one or both wheels encounter the bump are useful details to record.
A safe mechanical inspection is necessary before replacing parts.
Why is my rear end clunking when I go over bumps?
Start at the rear shock and spring mounts, then inspect trailing-arm or control-arm bushings and stabilizer components. Check whether the spring is correctly seated in its isolator and whether the mount shifts during compression or rebound. A rear clunk can also come from cargo, the spare wheel, jack storage, exhaust shields, or body attachment points, so empty and secure the cargo area before repeating the road test.
Why does the clunk disappear after the car warms up?
Cold rubber, bump stops, mounts, and isolators can become less compliant and change how parts contact each other. Record the temperature, time of day, first bump, and whether the noise occurs during compression or rebound before the vehicle warms. The sound disappearing does not establish that the component is safe; it only identifies a temperature-sensitive condition that should be reproduced during inspection.
Why does my car make a clunk sound when I go over bumps?
The cause may be suspension movement, a loose fastener, spring seating, brake hardware, steering or subframe movement, or an unsecured object. The useful distinction is whether the clunk changes on one-wheel versus two-wheel bumps, during braking, or when turning. Those changes indicate how the load reaches the part and help narrow the inspection.
How do I identify the source of a clunk?
Repeat the same road event and compare speed, temperature, bump shape, and load direction. Then compare the sound on compression and rebound, and note whether it changes with braking, acceleration, or body roll. A mechanic’s stethoscope or chassis ears can compare sides, but the final decision requires a safe check for play, loose hardware, damaged mounts, and incorrect seating.







