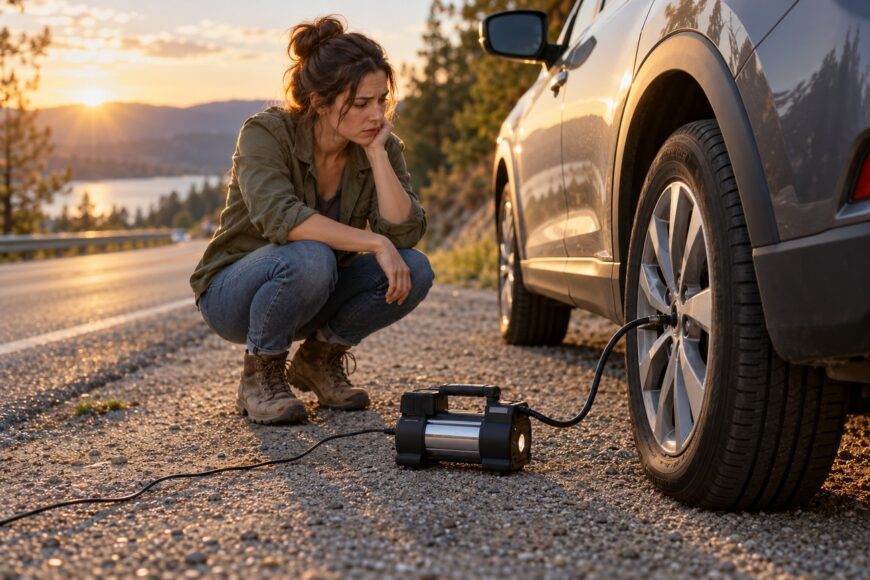
A tire looks low at a stop far from a service station. You have three choices: add air, investigate the loss, or stop driving. A portable inflator can restore pressure through the valve if the tire still holds air. It cannot repair a puncture or make visible damage safe.
That distinction matters most when you are tempted to treat a successful top-up as the end of the problem. Check the tire before connecting the hose, use the vehicle’s recommended pressure, and see whether the pressure holds. If the tire is damaged or losing air again, the next step is repair or roadside help, not another run of the compressor.
- What a tire inflator actually does
- Set the right pressure before the drive
- Using an inflator at a roadside stop
- Why a small inflator may run slowly or stop
- Choose a power setup that matches the trip
- Know when adding air is not enough
- Frequently asked questions
- What is the “4 PSI rule” for tires?
- What is the recommended tire pressure for a road trip?
What a tire inflator actually does
A portable inflator is a small compressor that sends air through the tire valve. It can bring a sound but underinflated tire back toward its recommended pressure before you leave or at a safe stop along the route. That helps you address a low reading without searching for a service station.
Pressure recovery is a limited job. The inflator does not find a nail, seal a puncture, or fix a leaking valve. If the pressure drops again, the air you added has bought time to assess the tire; it has not established that the tire is fit for a long drive.
A sidewall cut or damaged bead—the area where the tire seals against the wheel—cannot be solved by adding air. A tire that will not hold pressure needs a different response, such as a suitable spare or roadside assistance. Avoid driving on it simply because the compressor can still run.
Keep the inflator in its place among your trip equipment. It does not replace a spare, repair kit, jack, or wheel wrench where those items are appropriate for your vehicle. Before departure, know what your vehicle carries and how you would use it safely.
Set the right pressure before the drive
Find the recommended pressure on the vehicle’s tire placard or in the owner’s manual. The maximum PSI printed on the tire sidewall is a tire limit, not the vehicle’s recommended operating pressure. Check whether the placard gives different targets for the front and rear tires or for the load you plan to carry.
Use a cold-tire reading when possible: the tire has been parked for at least 3 hours or driven less than 1 mile. Pressure can rise roughly 4–6 PSI as the tire warms. After a drive, do not release air from a warm tire merely to make its reading match the placard’s cold-pressure target.
Check pressure with a gauge at least once a month and before a long trip, including the spare. Doing this before you pack and leave gives you a chance to investigate a low tire while help is accessible. A spare often has no TPMS sensor, so the dashboard may tell you nothing about its pressure.
TPMS warns of substantial underinflation; it does not replace a gauge check. A quiet warning light is no reason to skip a pre-trip check, especially when a tire looks low. Use the gauge and a visual inspection together rather than waiting for an alert.
Using an inflator at a roadside stop
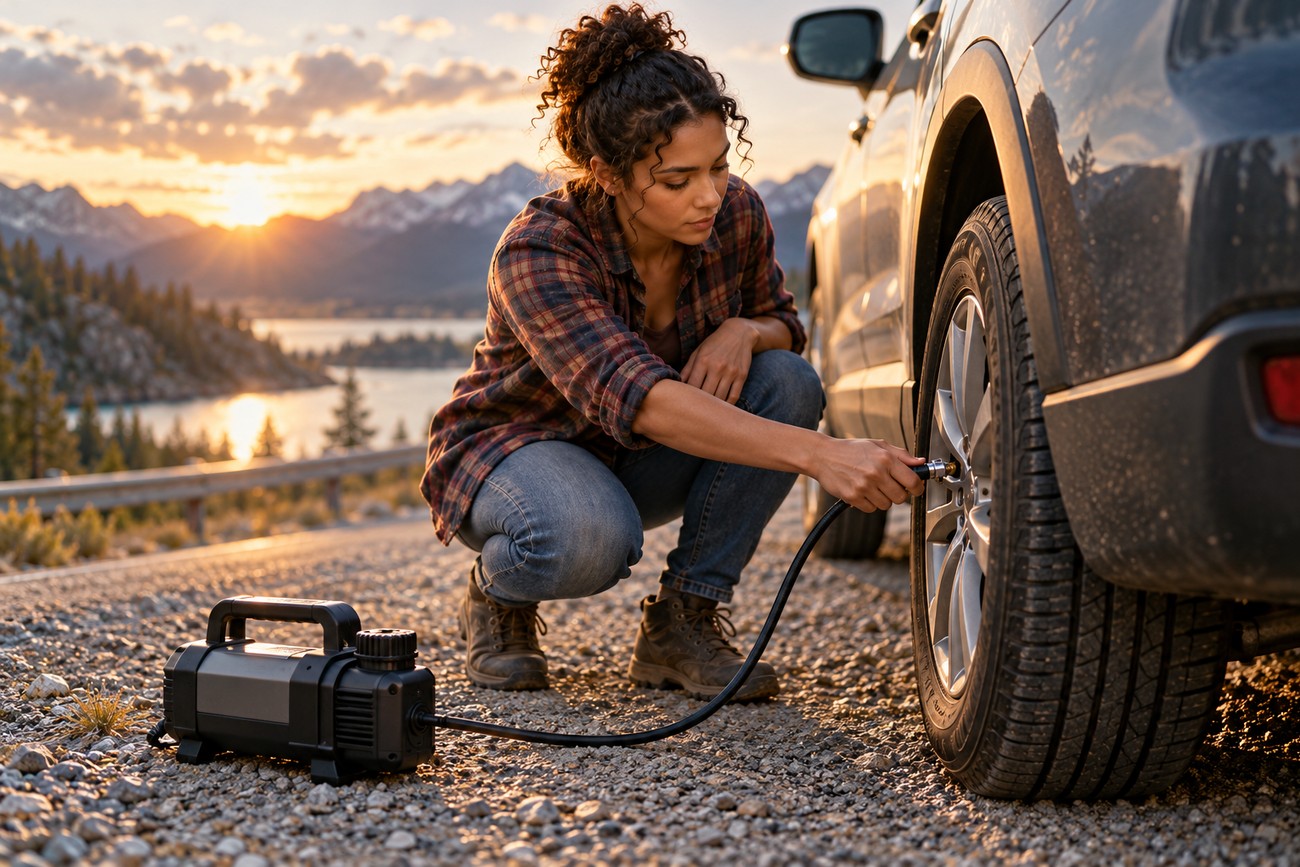
Pull into a place where you can work clear of traffic, then look at the tire before adding air. If you see a sidewall cut, a damaged bead, or a tire that cannot hold air, stop and seek a safer way onward. An inflator restores pressure; it cannot identify or repair the cause of the loss.
For a tire that appears serviceable, connect the inflator to a compatible power source. Remove the valve cap, fasten the fitting promptly and firmly, and set the target from the vehicle placard or manual. Keep the hose clear of moving parts and follow the inflator’s operating instructions.
A threaded fitting can let air escape while you are attaching or removing it. Check the final pressure with a separate reliable gauge after disconnecting; a reading taken while the compressor is attached may hide that loss.
If the unit stops automatically, verify the pressure rather than assuming its sensor is exact. A loose fitting or an inaccurate built-in gauge can leave the tire below the intended pressure even when the display says the job is done. Refit the valve cap, and watch for another drop before treating the tire as ready for the trip.
Why a small inflator may run slowly or stop
Advertised fill times rarely describe every roadside job. A larger tire, a lower starting pressure, limited power, and temperature all affect how quickly an inflator works. A unit that handles a small top-up may take much longer when a tire is nearly flat.
Read the manual’s duty-cycle instructions before relying on the compressor for several tires. Some sellers promote quick fills or uninterrupted use, while manuals may require cooling breaks and users report overheating. A thermal shutoff protects the unit, but it can also leave you waiting when another tire needs air.
Power interruptions have practical causes, too. A weak or incompatible 12-volt outlet may stop the motor, and an insecure connection can waste time. Check that the outlet and inflator are compatible before the trip rather than discovering a mismatch at night beside the road.
Lay out the cable and hose at home to see whether they reach every wheel without stretching. A short lead may force you to reposition the vehicle, which may be unsafe or awkward at a roadside stop. Expect compressor noise as well; at a quiet campsite or near homes, choose a suitable place and time to use it.
Choose a power setup that matches the trip
A rechargeable inflator avoids a power cable running back to the vehicle, making it easier to reach a tire in a tight parking space. Its usefulness still depends on its charge. Cold weather reduces usable battery capacity, so a unit left in a freezing trunk may have less energy available than you expect.
A model powered through a vehicle’s 12-volt outlet does not depend on the inflator’s own stored charge. First confirm that the outlet can supply the unit as its instructions require, and check that the cable and hose reach every wheel. An outlet that cannot support the inflator is of little help far from another power source.
An inflator connected to the vehicle battery may suit a trip where dependable power for repeated work matters more than minimal setup. It requires safe access to the battery and careful connection according to its instructions. Whichever style you carry, try its power connection and valve fitting before departure.
Do not choose solely by the highest advertised PSI. That figure does not establish airflow under load, gauge accuracy, or how long the unit may run before cooling. The useful comparison is whether its power arrangement, reach, and operating limits fit your vehicle and the stops you are likely to make.
Know when adding air is not enough
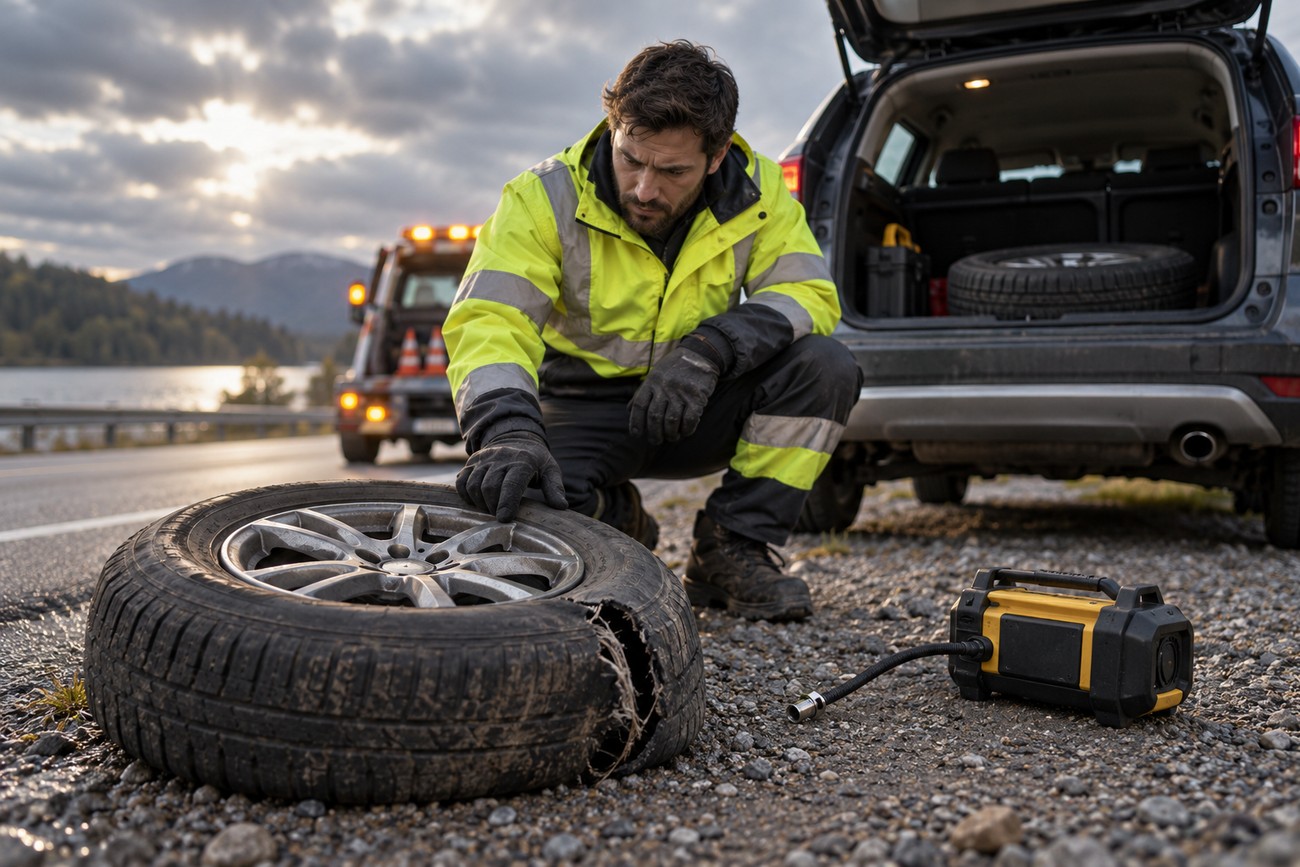
Pressure that falls again after inflation needs investigation. A puncture, valve fault, or wheel-rim damage may be letting air out, and repeated top-ups can hide the pattern until you are farther from help. Note the pressure you measured and seek inspection rather than assuming the next refill will last.
Visible damage changes the decision immediately. Adding air cannot resolve a sidewall cut or damaged bead, and a tire that will not hold pressure is not made usable by a longer inflation session. Stop driving on it and use an appropriate spare or seek roadside assistance where needed.
A tire can also look less obviously damaged while still leaking. Check the reading with a reliable gauge, inspect the tire, and pay attention if handling changes or the pressure drops again. TPMS warns of substantial underinflation; a quiet light does not prove that the tire is sound.
Use the inflator for its narrow purpose: restoring pressure to a tire that can retain it. If you cannot establish why a low tire lost air, plan an inspection even if it reaches the target pressure. Actual repair addresses the fault; another top-up only adds air.
Frequently asked questions
What is the “4 PSI rule” for tires?
It is a rule of thumb comparing pressure before and after driving. A rise of about 4 PSI is sometimes taken as a sign that the starting pressure was suitable. Temperature, load, and driving conditions affect that change; warm tires may read roughly 4–6 PSI higher. The rule is not a fixed amount to add to every tire and cannot replace the vehicle’s cold-pressure specification. Do not bleed a warm tire down to the cold target.
What is the recommended tire pressure for a road trip?
Use the pressure specified on the vehicle’s tire placard or in its owner’s manual, checking any guidance for your planned load. There is no single road-trip PSI for every car. Measure the tires cold when possible, and check the spare’s specified pressure separately.