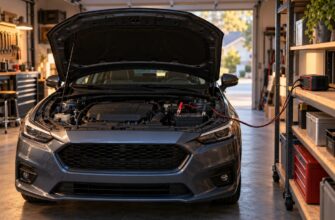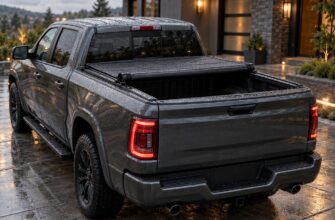
Fog lights can improve your view of the road immediately ahead in fog, heavy rain, or snow. Their value comes from a low, controlled beam that helps you see road edges without throwing excessive light back toward your eyes or into oncoming traffic.
The installation decision is about more than finding lamps that fit the bumper. A suitable kit must mount securely, produce a useful beam, and work with the vehicle’s electrical system. A poor match can create glare, bulb warnings, overheated wiring, or water damage even if the lights appear to work during the first test.
Before removing trim, check the vehicle’s service information, available mounting space, and the kit’s installation instructions. Those checks may show that a vehicle-specific assembly is straightforward, that a universal bracket needs substantial work, or that the proposed location is unsuitable. Vehicle-specific instructions and applicable local rules take precedence over a general installation guide.
- Check Your Vehicle, Mounting Location, and Local Rules First
- Choose Lamps and Parts for Beam Control, Not Lumens Alone
- Plan the Bumper Installation Before Making Any Cuts
- Mount the Lamps and Wire a Protected Circuit
- Test Operation, Seal the Installation, and Aim the Beam
- Troubleshoot the Faults Cheap Kits Often Hide
- Frequently asked questions
- How much does it cost to install fog lights on a car?
- How to install fog lights on a car that doesn’t have them?
- How to install fog lights on bumper?
Check Your Vehicle, Mounting Location, and Local Rules First
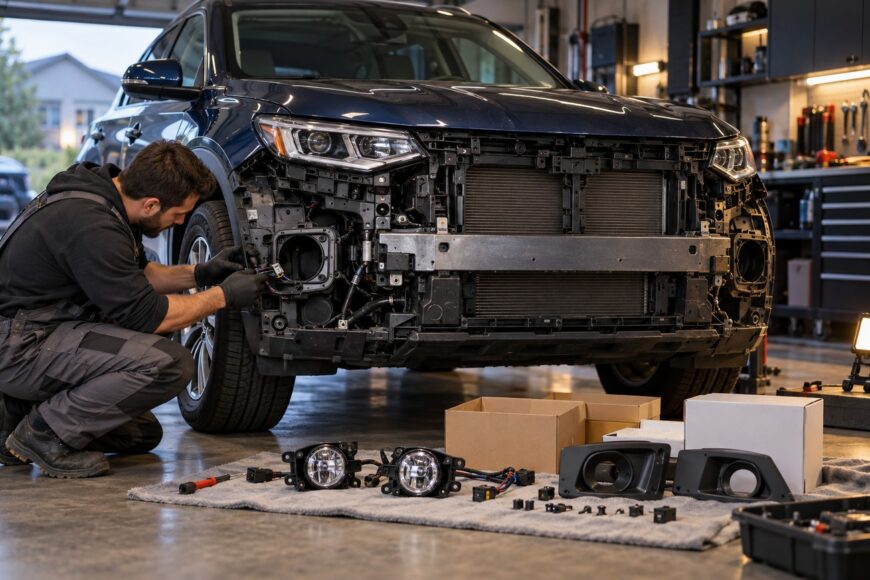
Start by looking for factory fog-light openings, blanking panels, or mounting provisions behind the bumper. An opening in the outer trim does not guarantee a usable support behind it: the lamp still needs a rigid attachment point and room for its housing, connector, and adjustment mechanism. Check both sides, because equipment behind the bumper may differ.
Inspect the proposed location from behind before buying a kit or drilling. Allow for wheel movement, cooling airflow, tow points, and access to serviceable parts. Keep clear of parking sensors, cameras, and other equipment identified in the vehicle’s service information; bumper removal or work near safety-related components may call for vehicle-specific precautions.
Front fog lamps are supplemental lights, not replacements for low-beam headlamps. Their position must also leave required headlamps, turn signals, and other required lamps visible and working as intended. A location that looks tidy on a stationary bumper may still be unsuitable if it blocks a signal from an angle or places a lamp where road debris will quickly damage it.
Check the rules where the vehicle will be driven before committing to a mounting position or wiring plan. Front fog lamps are not required under U. S. FMVSS No. 108, and state requirements may differ. Additional lighting must not impair required lamps; there is no single U. S. federal aftermarket fog-lamp specification that makes a seller’s “DOT approved” claim universal permission to use a kit on the road. Requirements elsewhere also vary, so confirm the applicable local rules rather than relying on packaging.
Choose Lamps and Parts for Beam Control, Not Lumens Alone
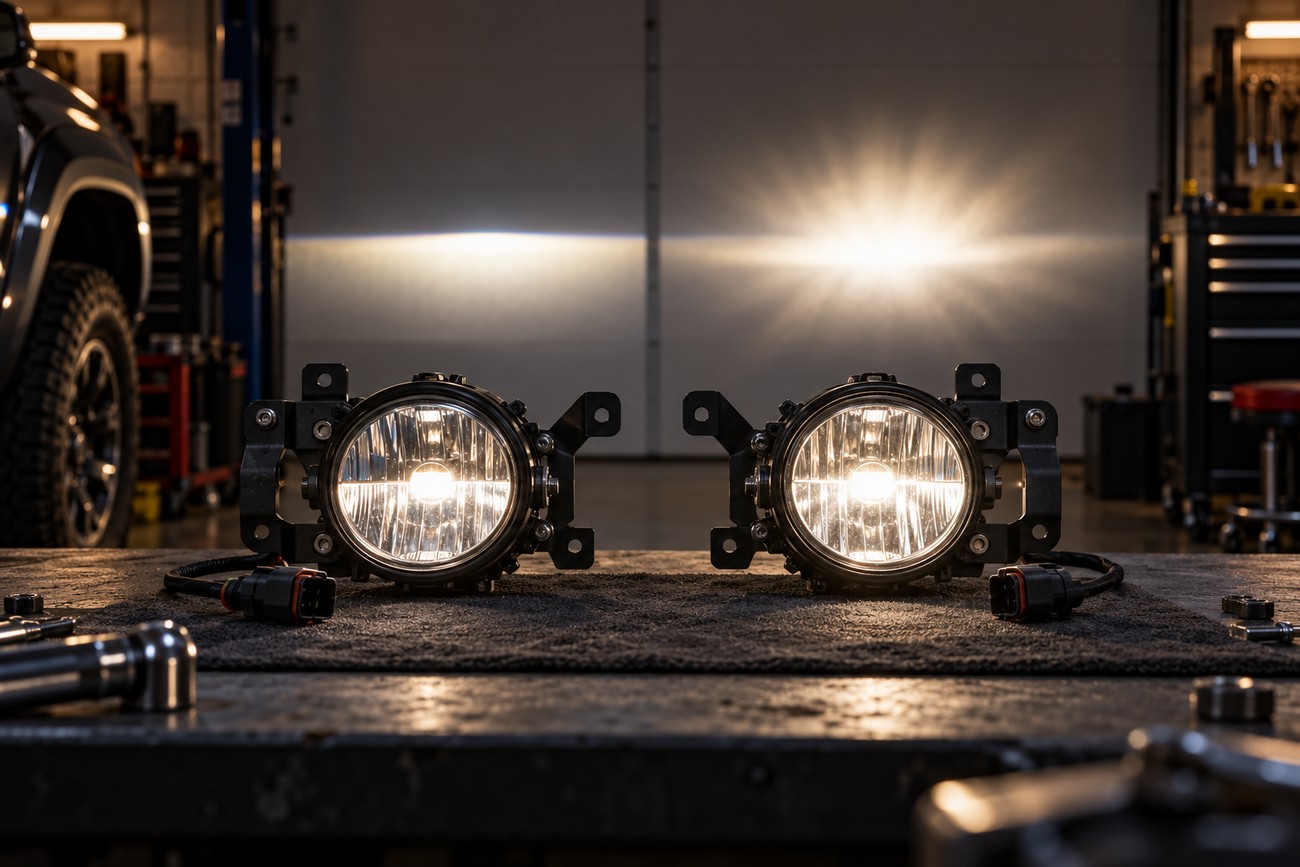
A useful fog-lamp beam lights the area close to the road while keeping stray light under control. A lumen claim does not show where that light goes. Look for a lamp and housing intended to work together, with a defined beam pattern and a practical means of aiming it; excessive light above the intended cutoff can increase glare for other drivers and for you in poor weather.
Vehicle-specific kits may simplify bracket placement and trim fit, but confirm that their connectors and control method suit the exact vehicle. Universal kits offer more mounting choices, yet their brackets may not match a curved bumper or provide enough adjustment. Compare the complete installation requirements, including access behind the bumper, rather than judging a kit by the lamp housing alone.
Be cautious about putting an LED bulb into a housing designed for a halogen source. If the LEDs light-emitting elements sit in a different position, the reflector can send light where the original design did not intend. A bulb that appears brighter on a garage wall can therefore produce a less controlled road beam. Check the housing maker’s approved light sources and any applicable local restrictions before making that substitution.
Account for the parts needed to finish the job: lamps, secure brackets, serviceable fasteners, appropriately sized wire, a separate fuse, a relay, a switch or compatible control interface, and sealed connectors. Kits do not always include electrical parts or mounting hardware suited to the vehicle. Some vehicles also need compatible electronics or body-control configuration; an incompatible LED kit may flicker or trigger bulb warnings.
Plan the Bumper Installation Before Making Any Cuts
Use the vehicle’s service information to identify trim fasteners, bumper removal points, and any connectors that must be disconnected. Protect painted edges and set removed clips and screws aside in an orderly way. If the bumper carries parking sensors or other equipment, note their connections before moving it; broken clips and forgotten sensor plugs can turn a lamp installation into a separate repair.
Test-fit each lamp and bracket with the bumper in its intended position. Confirm that the bracket attaches to sound structure, gives the lamp enough adjustment travel, and holds it clear of nearby components. Universal brackets can sit awkwardly against curved plastic, while weak plastic mounts may flex under vibration and let the beam drift out of aim.
Check the view from in front of the vehicle and from the sides. Neither lamp should obscure a required signal or interfere with a sensor. Behind the bumper, verify clearance for the housing, wiring, cooling airflow, tow equipment, and moving parts. If you cannot establish a secure location with those clearances, choose another mounting method rather than forcing the supplied bracket into place.
Establish the mounting points and proposed harness route together, leaving enough slack for vibration, bumper movement, and later servicing. Only then decide whether an opening or drilled hole is appropriate. Mark and recheck both sides before cutting; a misplaced hole may be difficult to repair and can leave too little room to aim or remove the lamp.
Mount the Lamps and Wire a Protected Circuit
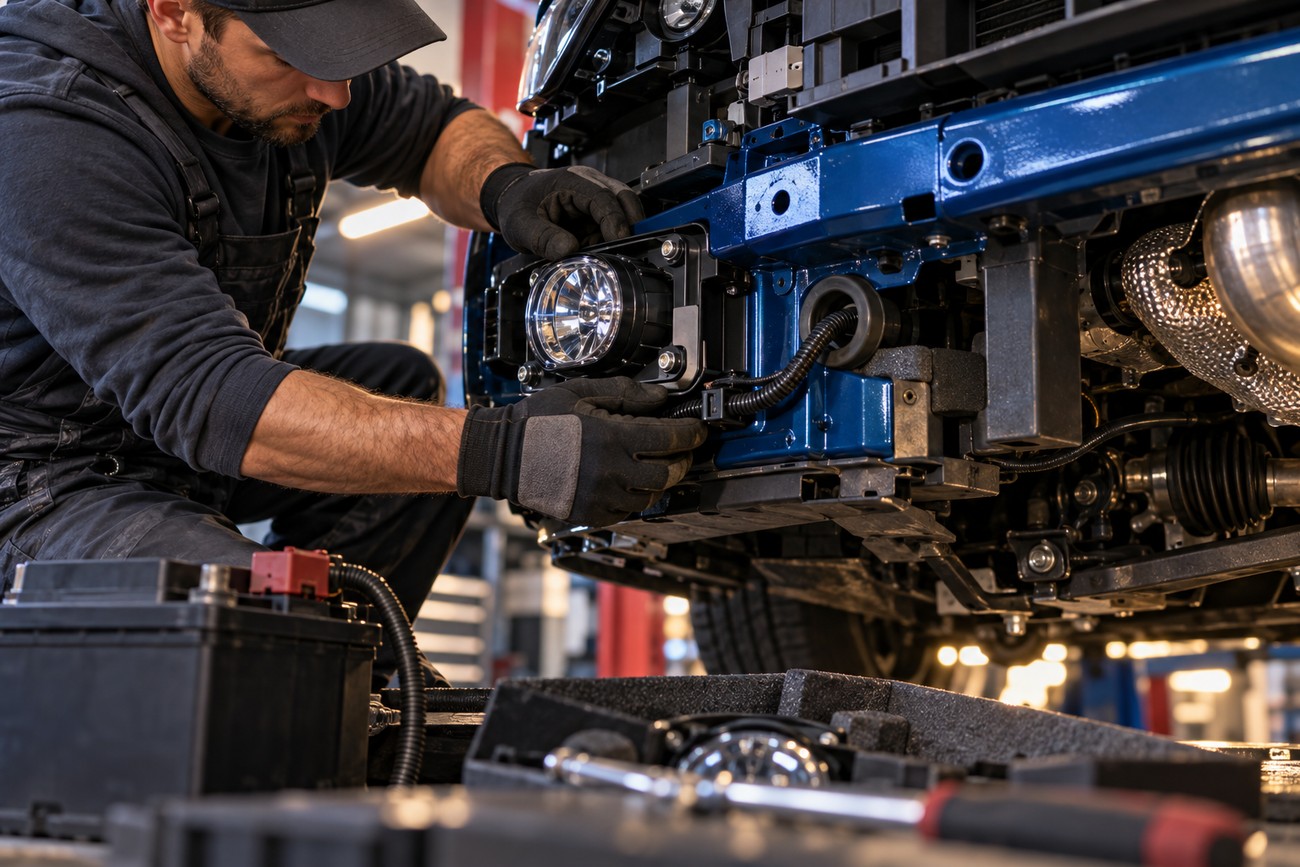
Follow the vehicle’s service instructions for isolating electrical power before working on wiring. Those instructions matter on vehicles with monitored lighting circuits, sensitive modules, or components behind the bumper. Secure the lamps to the confirmed mounting points, then check that adjustment remains accessible after the trim is refitted.
Route the harness away from exhaust heat, sharp edges, belts, fans, and the full path of moving parts. Protect it wherever it passes through metal or plastic, and support it so vibration cannot rub the insulation through. Leave service slack at the lamps without allowing loose wire to hang below the bumper or contact hot components.
A typical protected auxiliary-light circuit uses appropriately sized wire, a separate fuse, a relay, and a switch or compatible control interface. The fuse protects the supply wiring against a fault; the relay lets a suitable control circuit operate the lamps without carrying their full load through the switch. Place and specify these parts according to the vehicle and kit instructions rather than copying a fuse rating, wire size, pin assignment, or splice point from an unrelated installation.
Do not power high-load fog lamps directly from a thin factory marker-light wire or assume a factory lighting connector has spare capacity. Overloading an undersized circuit can heat connectors, damage insulation, or cause a switch to fail. If the vehicle offers factory fog-light provisions, verify their wiring and control requirements in its documentation before using them; a connector’s presence does not establish that every needed component is installed.
Finish with strain relief at the lamps and at each supported section of harness. Use sealed connectors where road spray can reach them, protect pass-throughs, and arrange downward drip loops so water does not track along a wire into a connector. Keep connections accessible enough to inspect later, while leaving no unprotected joint exposed to spray.
Test Operation, Seal the Installation, and Aim the Beam
Restore power as directed by the vehicle’s service procedure, then test the fog lights through every intended switch position. Confirm that both lamps operate and that headlamps, turn signals, and other required lighting still work normally. Check for bulb warnings, fault messages, or parking sensors that stopped responding after bumper work.
With the lights operating, inspect the harness and connectors for unusual warmth, rubbing, or movement. Check that the lamps remain firmly mounted and that connector seals and housing covers are seated. If the vehicle has been exposed to rain or a wash, look for persistent condensation or water inside the housings; a dry initial test cannot reveal every moisture path.
Aim the lamps on level ground using the lamp or vehicle maker’s procedure and the vehicle loading condition that procedure specifies. Set a low, controlled beam rather than raising it to make the foreground look brighter. UNECE R48 specifies a cutoff inclination of −1.5% or lower for front fog lamps of Class B under its stated unloaded-vehicle-with-driver condition; that figure is regulatory context, not a universal adjustment instruction for every lamp, vehicle, or jurisdiction.
Check the result with the low beams on. Fog lamps supplement low-beam headlamps, so a standalone pattern that looks neat on a wall is insufficient if the combined light creates excessive foreground brightness or glare. Recheck aim after tightening the brackets, since a lamp can shift as its fasteners are secured.
Finish with a careful real-world check where use is permitted, without relying on poor weather for the first evaluation. Look for a stable, even near-road pattern and confirm that the lamps do not distract oncoming drivers or mask the reach of the low beams. If the beam remains scattered despite adjustment, investigate the lamp, light source, and mounting angle instead of simply pointing it lower.
Troubleshoot the Faults Cheap Kits Often Hide
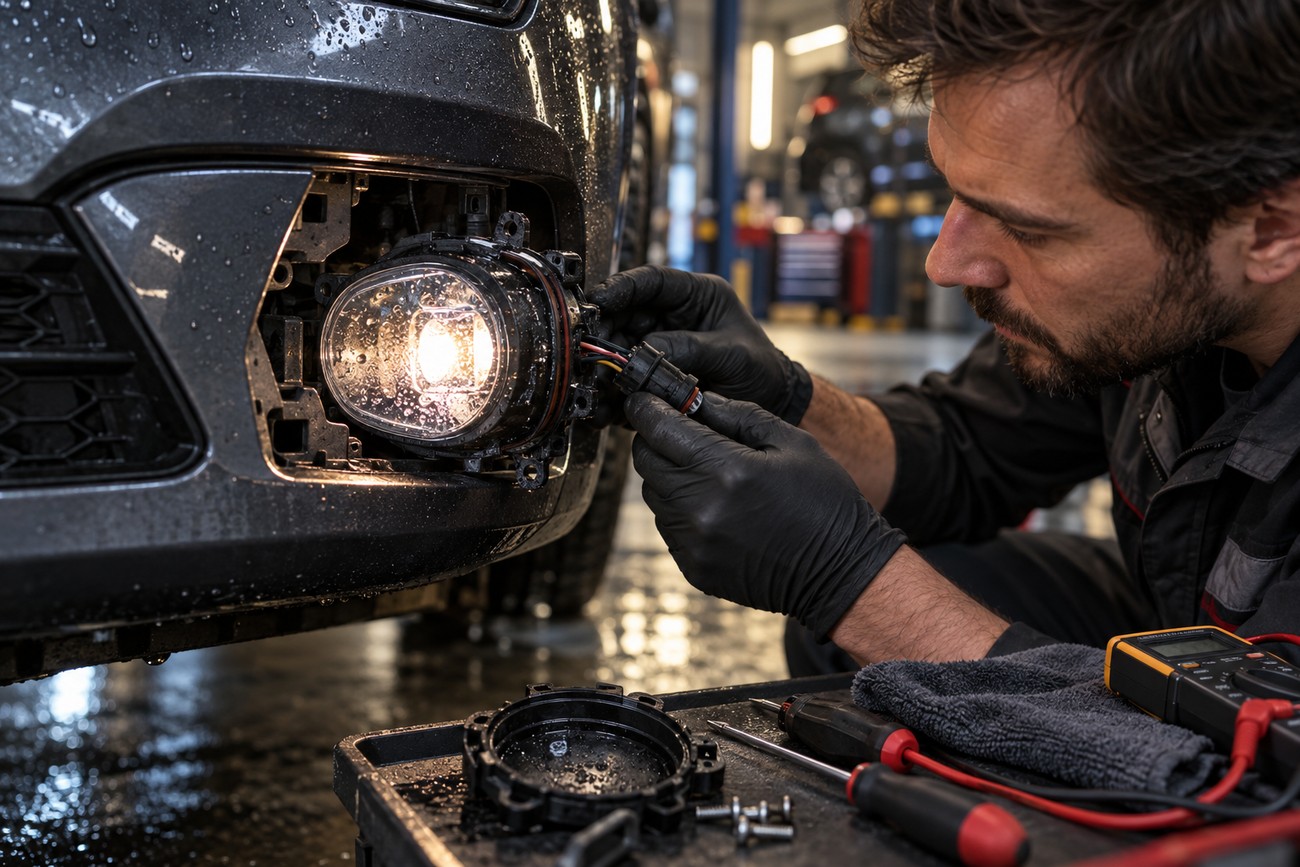
Flickering LEDs or a bulb warning can indicate that the kit is incompatible with the vehicle’s lamp-monitoring system or control interface. First confirm secure power and ground connections, then compare the kit’s compatibility requirements with the vehicle’s service information. Some vehicles need compatible electronics or body-control configuration; guessing at a wiring change can create further faults.
Persistent fogging or visible water inside a housing calls for a seal inspection. Check covers, cable entries, connector orientation, and whether water can run down a wire toward the lamp. A downward drip loop and properly seated seals address the water path, while a housing with a failed seal may need repair or replacement under the maker’s instructions.
If a connector, switch, or section of wiring becomes hot, stop using the lamps until the circuit has been checked. An overloaded factory lighting wire, poor connection, or unsuitable component can cause heating even when both lamps illuminate. Lamps that shake or repeatedly lose their aim point instead to loose fasteners or a bracket that cannot support the housing under vibration.
Radio interference has been reported with some inexpensive LED drivers, although whether it occurs depends on the particular kit. If reception changes only when the fog lights are switched on, check the installation and the kit maker’s guidance before replacing unrelated vehicle electronics. Treat the symptom as a reason to investigate that specific kit, not as a universal LED fault.
Frequently asked questions
The right answer depends on the vehicle’s bumper provisions, electrical system, and the rules where it is driven. Use the kit instructions and vehicle service information to settle fit and wiring details before buying parts. These common questions help narrow down the work involved.
How much does it cost to install fog lights on a car?
The total depends on the lamps and mounting hardware, any electrical parts missing from the kit, and the labor needed to reach the bumper mounting points. A vehicle-specific kit may reduce fabrication work, while a universal kit may need custom brackets, trim work, or additional sealed connectors. Integration with a factory switch or body-control module can add diagnostic or configuration work.
For a useful estimate, identify the exact kit, confirm what it includes, and ask the installer to account separately for bumper access, mounting, wiring, and aiming. That breakdown is more reliable than a price based only on the lamps.
How to install fog lights on a car that doesn’t have them?
First determine whether the vehicle has factory mounting provisions, wiring, and a supported fog-light control option. Some cars have blank bumper panels but lack the harness or body-control configuration needed to operate factory-style lamps. Vehicle service information or a qualified automotive electrical specialist can confirm which provisions are actually present.
If factory integration is unavailable, a suitable aftermarket installation generally needs secure mounting and its own protected circuit with appropriately sized wire, a separate fuse, a relay, and a switch or compatible control interface. Check local lighting rules before choosing the lamps and their position, then aim the finished installation according to the applicable instructions.
How to install fog lights on bumper?
Inspect behind the bumper, test-fit the lamp and bracket, and confirm a rigid mounting point before cutting an opening or drilling. The housing needs clearance for its connector and aim adjustment, while the bumper must still clear sensors, required lights, tow equipment, and moving parts. A flexible plastic panel alone may let the lamps shake out of aim.
Use the vehicle-specific trim removal procedure where access is necessary, protect sensor connections, and establish a harness route with service slack before making permanent changes. If the bumper cannot support the chosen lamps securely, use a mounting solution designed for that vehicle or seek qualified installation advice.