
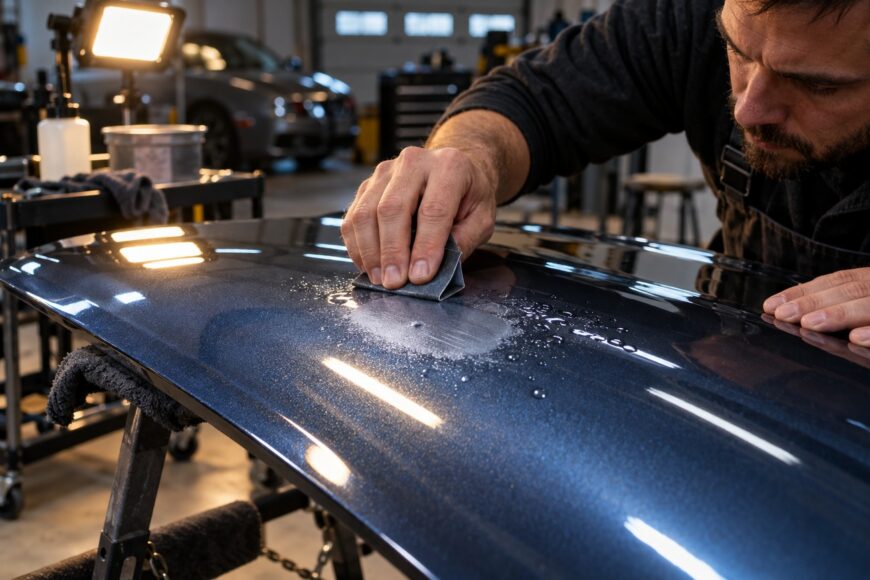
Fresh clear coat can look glossy, dry, and ready for correction while remaining too soft for aggressive sanding or buffing. The surface may hide solvent movement, soft spots, sanding marks, or texture that will become visible after washing. A polished appearance alone does not prove that the film has reached working hardness.
The decision is a balance between removing a measurable defect and preserving clear-coat film build for future polishing. Many technical data sheets allow correction sooner than cautious shop practice, especially when the panel was baked correctly. Garage temperature, hardener choice, coating type, and actual cure behavior matter more than a fixed promise of hours.
Use the manufacturer’s technical data sheet as the minimum reference, then confirm the condition with a small test area. A controlled process gives you a safer answer than sanding the entire panel simply because the calendar says it is ready.
- Decide Whether Fresh Clear Coat Should Be Sanded at All
- Clear Coat Cure Times by Drying Condition
- Tools, Abrasives, and a Low-Risk Setup
- How to Wet Sand Fresh Clear Coat Without Breaking Through
- Buffing and Polishing Fresh Clear Coat Without Holograms
- Common Failures, Hidden Risks, and Recovery Decisions
- Frequently Asked Questions
- How long should you let clear coat dry before wet sanding and buffing?
- How long should you wait before wet sanding 1K clear coat?
- What should you do if fresh clear coat gums up the sandpaper?
- When can you apply wax or ceramic coating after polishing fresh clear coat?
Decide Whether Fresh Clear Coat Should Be Sanded at All
Wet sanding is appropriate for a clear, measurable defect: a dust nib, excessive texture, unevenness, or a surface that needs controlled leveling. It is not an automatic final step after every repaint. Many correctly applied clear coats already have enough gloss and uniformity to finish well without removing another layer of material.
That restraint matters because a typical dry clear-coat film build is about 40–60 micrometers. A conservative sanding or polishing cycle should remove no more than approximately 3–5 micrometers. Repeated correction gradually reduces the reserve available for later detailing, and the thinnest areas are usually the edges, crowns, transitions, and previously repaired sections.
Inspect the panel under a strong inspection lamp and from several angles before choosing an abrasive. Light positioned directly over the panel can make texture appear acceptable, while angled light may reveal nibs, deep sanding marks, or uneven gloss. Wipe the surface clean before inspection; polishing oils and water can temporarily fill defects and create a misleading finish.
A small test spot is more informative than a calendar alone. Choose a representative area away from an edge, use the least aggressive method likely to work, and observe whether the clear cuts into a clean powder or tends to stretch, smear, and load the abrasive. Excellent initial gloss proves only that light is reflecting well at that moment; it does not prove complete cure or adequate film thickness.
Clear Coat Cure Times by Drying Condition
The figures below are cautious working ranges for many 2K systems, not replacement instructions for a specific product. The technical data sheet and the selected hardener control the minimum time, while temperature and ventilation determine whether that minimum is realistic in the workspace.
| Drying condition | Soft first polish | Aggressive wet sanding and correction |
|---|---|---|
| Warm air drying | Commonly 24–72 hours, after a test spot and subject to the technical data sheet | Preferably after 7 or more days when the system and conditions allow |
| Cool garage drying | Wait beyond the normal warm-drying range; below 15°C, technical-data-sheet times may increase by about 1.5–2 times | Often delayed to 3–7 days or longer, depending on hardness and observed cutting behavior |
| Correctly completed 60°C bake, followed by cooling | Some systems allow polishing about 4–8 hours after the panel has cooled | Follow the coating system’s instructions and still use a test spot before heavy correction |
Many modern 2K UV-curing clear coats reach about 90% of pencil hardness or solvent resistance in 24–48 hours. Full hardness can take approximately 7–30 days, depending on the coating system and conditions. That difference explains why a light foam-pad polish may be acceptable before a full defect-removal operation.
Some technical data sheets state that polishing is possible after 12–24 hours at 20°C. Many practitioners choose 48–72 hours, or 3–7 days in an unheated garage, before aggressive work. Neither range is universal: a correctly baked panel with the specified hardener may be ready sooner than a cold panel that feels dry only on its surface.
Separate a soft first polish from aggressive sanding. The first is intended to remove light dust, residue, or minor finishing haze with limited heat and material removal. Heavy sanding, wool-pad cutting, and deep texture correction should generally wait until the system has hardened further, provided the coating maker permits that approach.
Tools, Abrasives, and a Low-Risk Setup
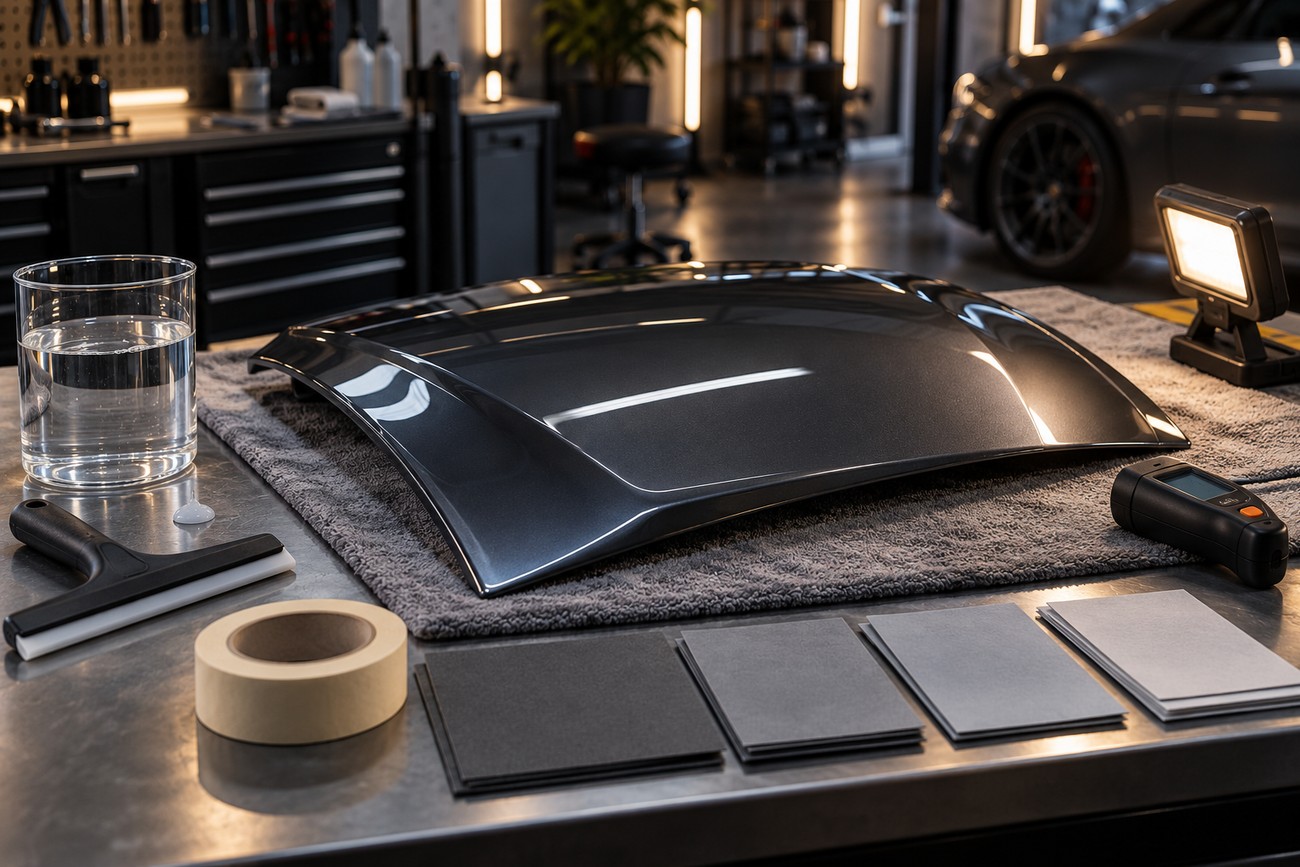
Prepare the panel and the work area before touching the clear. Use clean water with a drop of automotive shampoo or a dedicated sanding lubricant, a clean squeegee, quality abrasive sheets or discs, masking materials, inspection lighting, and a paint-thickness gauge. The lubricant helps reduce abrasive loading and deep random scratches, but it does not make an uncured coating safe to cut.
Typical initial wet-sanding choices are 1500–2000 grit, selected according to the defect. Refine the pattern with 2500–3000 grit or finer before polishing. A cheap abrasive can cut more aggressively than its printed grit suggests, shed unevenly, or leave deep random scratches that require additional clear removal. Use a fresh section of abrasive when the surface begins to clog or the cut changes.
A thickness gauge is especially useful around repaired areas, panel edges, and blend transitions. It cannot identify the exact thickness of clear by itself, but it can expose a thin or inconsistent area that should be left alone. Mark the safe working zone with masking tape and keep abrasive, towels, pads, and the panel free from trapped dirt.
For polishing, begin with the mildest foam pad and compound that can remove the refined sanding pattern. A body-shop-safe compound generally avoids silicone-heavy fillers or sealants, which is preferable if later refinishing may be required. An 8 mm dual-action polisher with a softer pad generally creates fewer holograms than a rotary machine, although it works more slowly.
- Wash and dry the panel, then remove contamination without dragging grit across the fresh film.
- Mask adjacent panels, sharp edges, trim, and gaps where abrasive slurry could collect.
- Prepare fresh lubricant and abrasive, and position inspection lighting before correction begins.
- Measure or assess repaired areas, then establish a small test spot away from edges.
- Work in short sections so the panel, abrasive, and pad remain clean and cool.
How to Wet Sand Fresh Clear Coat Without Breaking Through
Begin by washing and decontaminating the panel. Mask adjacent surfaces, especially weatherstrips, moldings, gaps, and sharp edges. Wet the panel and abrasive with the prepared lubricant, then place the abrasive flat on a small working area. The objective is to level the defect, not to make the entire panel uniformly dull.
Choose 1500–2000 grit only when the defect requires that level of cut. A minor nib may need a smaller, more controlled correction, while heavier texture may justify a broader section. Use light, even pressure and short strokes. Keep the abrasive moving, wipe the slurry away frequently, and inspect the surface before extending the correction area.
Sharp edges are where a good-looking correction becomes a burn-through. Leave direct aggressive sanding off the edge, and use a small test spot to see whether the clear cuts cleanly or stretches and loads.
Stop when the defect is level enough for the next stage. Chasing perfect uniformity can remove clear from a much larger area than the original problem required. Avoid direct work on sharp edges and panel crowns because the clear is easiest to break through there; these areas are usually better handled with a gentle finishing pass.
After the initial cut, refine the scratch pattern with 2500–3000 grit or finer. Keep the abrasive clean and replace it when loading begins. Heavy pressure, clogged abrasive, or holding a tool in one place can create heat, distortion, and deeper scratches. Keep material removal within approximately 3–5 micrometers per correction cycle.
Some professional refinishes make a controlled dry cut with an interface pad and reserve wet sanding for final refinement. That method can make the cut easier to monitor, but it depends on suitable materials, dust control, and experience. It is not a reason to skip inspection, thickness checks, or the test spot; beginners should follow the coating and abrasive system rather than improvise a hybrid process.
Buffing and Polishing Fresh Clear Coat Without Holograms
Polishing should begin only after the sanding pattern has been refined enough for the selected compound. Start with a soft foam pad and a fine or medium compound, then increase the cut only if the test spot shows that the first combination cannot remove the marks. This staged approach reduces heat, haze, and unnecessary film removal.
A first soft polish is commonly attempted after 24–72 hours with warm drying, subject to the technical data sheet and a test spot. Aggressive abrasive detailing is better delayed until at least 7 days when the system and conditions allow. A wool pad and heavy-cut compound designed for fully cured OEM paint can remove material rapidly from fresh clear and leave rotary haze before you have time to react.
Use slow, controlled passes with moderate pad movement and limited pressure. Clean or change the pad before residue becomes a dry abrasive layer. A small-orbit dual-action machine generally lowers hologram risk compared with a rotary machine, particularly on dark colors, although the correction takes longer. Leave edges and crowns for a gentle final pass rather than holding a loaded pad against them.
Remove compound residue before judging the result. Some fast compounds create an oily gloss that temporarily masks 1500–2000-grit scratches, texture, or holograms. Wipe the panel with a suitable inspection cleaner compatible with the fresh coating, then check it under direct and angled light. If the finish changes after residue removal, the correction is incomplete even if it looked excellent immediately after buffing.
Common Failures, Hidden Risks, and Recovery Decisions
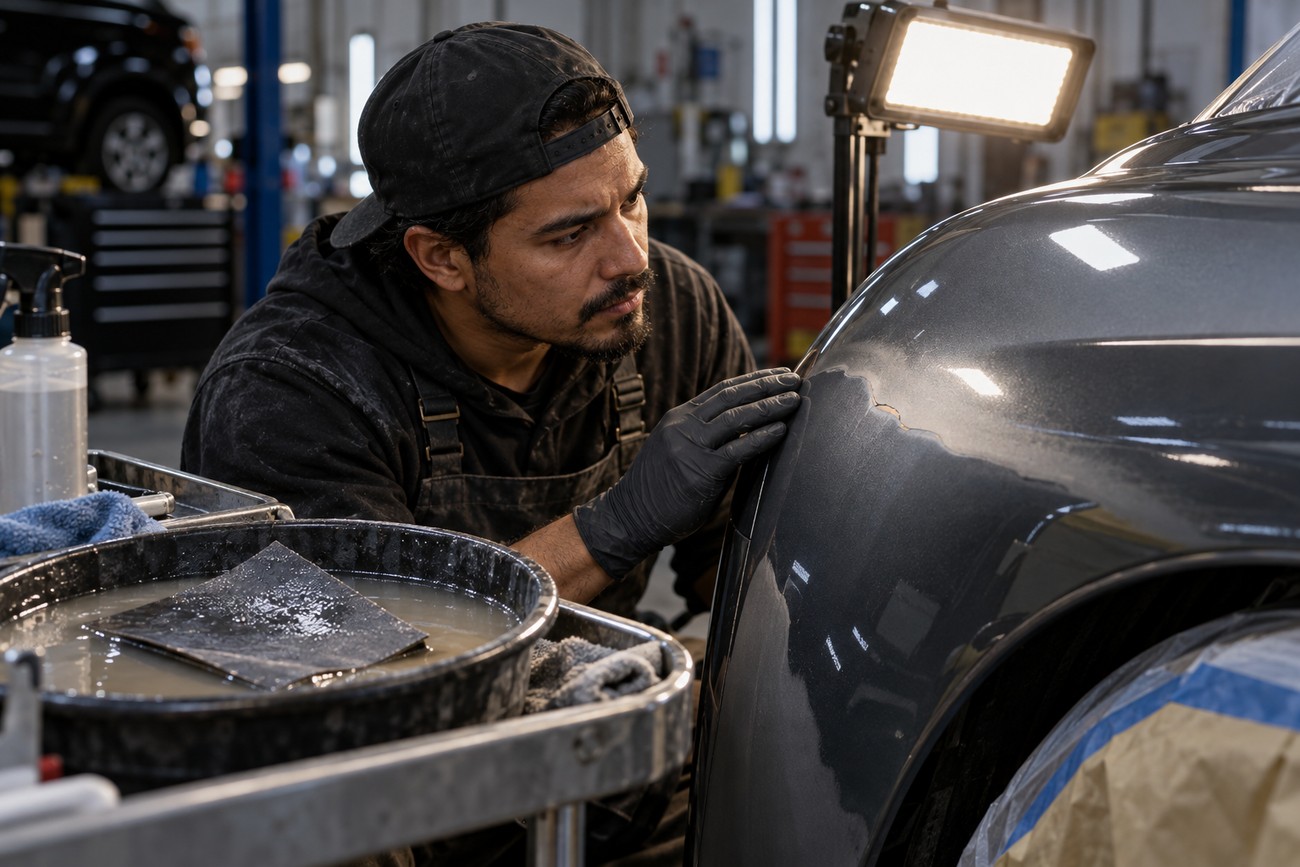
A rubbery feel or rapidly loading abrasive is a warning to stop. Do not compensate by pressing harder or switching immediately to a coarser grade. Clean the panel, replace the loaded abrasive, verify the lubricant, and reassess cure time and temperature. Fresh clear that smears or stretches may simply be too soft for aggressive correction.
Burn-through usually appears first on an edge, crown, or repair transition. Once the basecoat is exposed, continued polishing cannot restore the missing clear. Stop, clean the area, inspect it under proper light, and measure the surrounding film if possible. Depending on the size and location, the correct recovery may be re-clearing or refinishing rather than trying to blend the defect by removing more clear nearby.
Haze and holograms usually come from excessive cut, a hard or contaminated pad, local heat, or rotary technique. Reduce the aggressiveness, allow the panel to cool, and finish with a clean soft pad and a suitable compound. Do not use a stronger compound simply because the first pass looks slow; on fresh clear, speed can mean a shorter path to a thinner film and a more difficult finish.
Scratches that reappear after washing were often masked by oils or fillers rather than removed. The same applies to gloss that changes as the film settles. Clean inspection and different light angles expose this failure before the vehicle leaves the shop. Silicone-heavy products or incompatible solvents can also hinder later repair work on incompletely cured clear, so body-shop-safe products are the safer choice when more refinishing may be needed.
Systems do not all behave alike. Cold curing, polyurethane or high-hardness clear coats, and acrylic systems can require different waiting times and different abrasive behavior. Treat the product data sheet, hardener, bake cycle, and observed test spot as one decision set. Before finishing, check the panel after residue removal:
- Inspect it under direct and angled light.
- Look across edges, crowns, repaired areas, and transitions.
- Confirm that sanding marks have been removed rather than filled.
- Check for holograms after the panel is clean and cool.
- Review whether enough clear remains for future correction.
Two common assumptions cause avoidable damage. Fresh clear does not automatically need show-car sanding, and the most aggressive compound does not automatically give the best result. A correctly applied coating may need only a light polish, while unnecessary sanding reduces its long-term correction reserve.
Frequently Asked Questions
Clear-coat correction depends on the product, hardener, drying conditions, and the coating’s observed behavior. The following answers distinguish between light polishing, aggressive correction, and post-polishing protection. Always compare the timing with the product’s technical data sheet and confirm it with a test spot.
How long should you let clear coat dry before wet sanding and buffing?
For many modern 2K systems, a soft first polish is commonly considered after 24–72 hours with warm drying, but only after a test spot and confirmation against the technical data sheet. Aggressive wet sanding and correction are generally safer after 7 or more days when the system and conditions allow.
Use the bake cycle and actual temperature to adjust the decision. Some systems permit polishing about 4–8 hours after a correctly completed 60°C bake and complete cooling, while below 15°C the stated time may increase by about 1.5–2 times. A manufacturer’s 12–24-hour minimum at 20°C may be valid for that system, yet a cautious garage procedure may require 48–72 hours or 3–7 days before heavy correction.
How long should you wait before wet sanding 1K clear coat?
There is no universal waiting period for 1K clear coat. Do not transfer 2K cure times to it; follow the specific 1K product’s technical data sheet, including its temperature and humidity conditions.
Before committing to abrasive work, test a small inconspicuous area. If the coating stretches, gums up the abrasive, or remains soft under light controlled work, stop and allow more cure time. Protection or surface dryness does not prove that the film is ready for wet sanding.
What should you do if fresh clear coat gums up the sandpaper?
Stop cutting, wipe the panel clean, and inspect the residue. Replace the clogged abrasive, confirm that the lubricant is clean and suitable, and test a small area with lighter pressure. Gumming usually calls for a reassessment of cure and setup, not more pressure.
If the clear still feels rubbery or smears, postpone aggressive correction. Check the technical data sheet, temperature, hardener, and drying method. Continuing can create deep irregular scratches, heat, and excessive material removal before the coating is hard enough to respond predictably.
When can you apply wax or ceramic coating after polishing fresh clear coat?
Many practitioners leave freshly polished clear unsealed for about 1–2 weeks so residual solvents can continue to escape, unless the coating system specifies otherwise. This waiting period is a conservative shop practice rather than proof that every clear coat follows the same schedule.
Do not treat wax or ceramic protection as evidence that curing is complete. Confirm compatibility with the coating system and any future repair plans, and avoid silicone-heavy products when the vehicle may return for refinishing soon.







