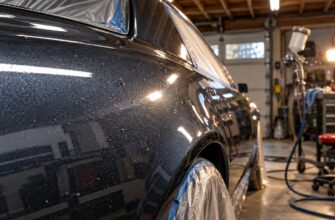
Scratches can appear covered after priming, then return as dark lines after sanding or show through the basecoat. The surface may look uniform in gray while a coarse sanding groove, low spot, or soft primer remains underneath.
The decision is straightforward: remove or repair a deep defect, then use primer surfacer to create a sandable film over fine scratches. Primer surface levels minor sanding marks; it cannot replace filler, proper feathering, or correction of a deep groove or uneven repair edge.
That distinction controls the whole repair. Applying more aerosol material to a defect that is too deep can create runs, softness, and shrinkage while leaving the original problem visible after painting.
- First, decide whether the scratch can be filled
- 1K aerosol vs 2K surfacer: what the film build allows
- Prepare the repair so the primer has less to hide
- Spray for a sandable film, not a heavy wet coat
- Let it cure, then block-sand and check the surface dry
- When scratches return, diagnose the failure before recoating
- Frequently asked questions
- What should I do if sanding exposes the substrate at an edge?
- What primer is best for filling scratches?
- How do I use spray primer surfacer to fill scratches?
First, decide whether the scratch can be filled
Primer surface creates a sandable intermediate film that can be leveled to reduce fine scratches. It works well after the surface has been corrected and prepared evenly. Its filling ability is limited by the dry-film thickness the product is designed to provide.
Run a clean fingernail across the defect after removing dust and loose material. A scratch you can feel with a fingernail is generally beyond what one thin spray coat will fill. A groove, dent, sharp repair edge, or uneven transition needs correction before primer is used.
Fine sanding marks are a different problem. They can often be covered with a suitable surfacer, allowed to reach sanding readiness, and sanded to a consistent finish. Prepare enough surrounding area for the block to blend the transition rather than follow the original groove.
Do not judge the defect only while the panel is wet. Water can temporarily mask scratches and change their contrast. Let the surface dry, inspect it under clear lighting, and check it by touch before deciding that another coat is appropriate.
1K aerosol vs 2K surfacer: what the film build allows
Film-build figures belong to the individual product and application system. The following comparison shows why a thin 1K aerosol should not be treated as a 2K high-build surfacer.
| Product type | Stated dry-film build | Suitable repair scope | Primary limitation |
|---|---|---|---|
| Axalta 400A 1K aerosol | 0.3–0.7 mil for one coat; 0.7–1.2 mil for two coats | Fine sanding marks and light surface preparation where the available film is sufficient | Limited build; the named product specifies at least 0.3 mil for corrosion protection, which is not a general minimum for every primer |
| 2K acrylic-urethane surfacer | Approximately 2–3 mil in an example 2K system | Greater allowance for filling prepared sanding marks and minor surface irregularities | The stated build is product-specific and must be verified in the selected technical data sheet |
Prepare the repair so the primer has less to hide
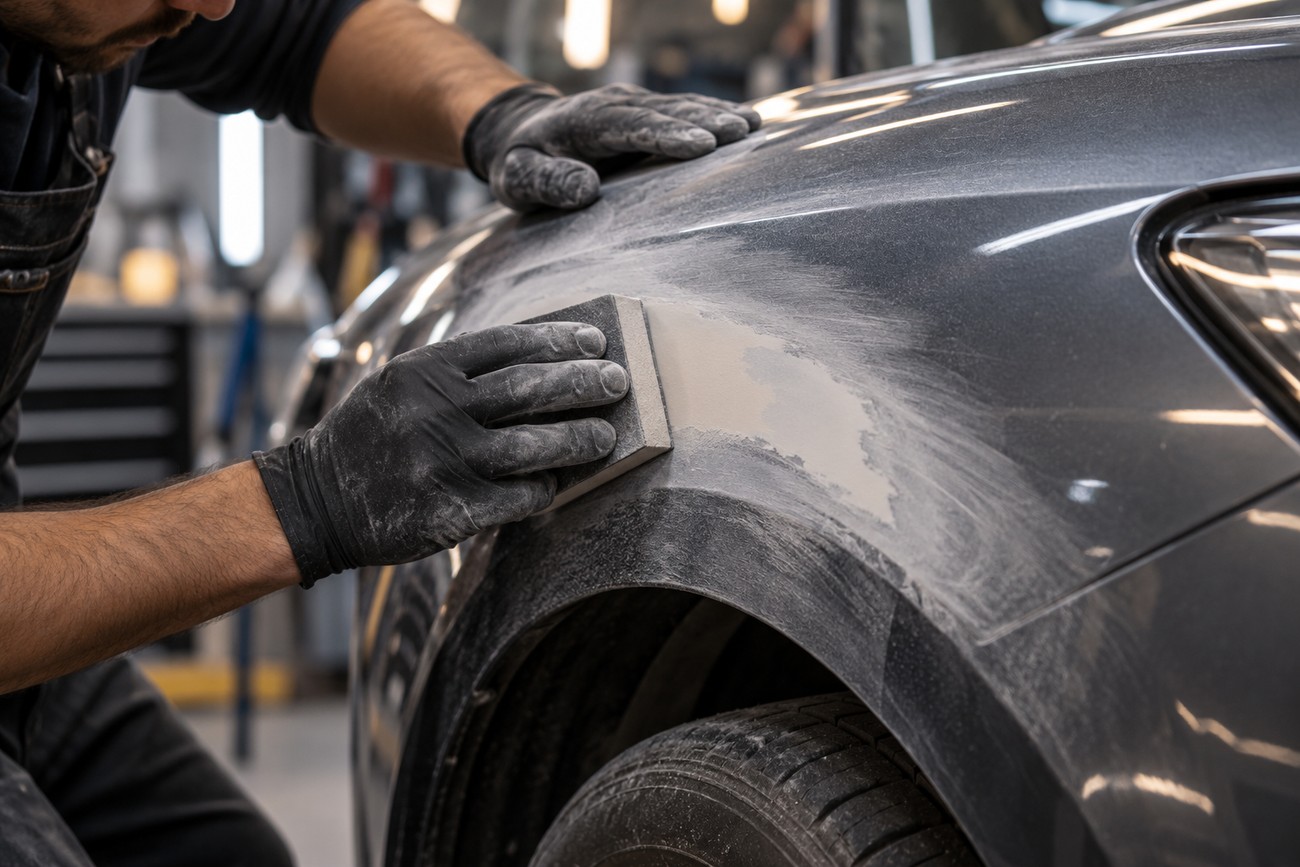
Start by correcting any defect that exceeds the surface’s filling range. A deep scratch may need further leveling, suitable filler, or removal of damaged material before primer is applied. Adding coats over an unstable or sharply defined groove only buries the defect temporarily.
Feather the repair edge so the transition is gradual and firm. A hard edge can remain visible after sanding, especially when the surface film is thin. Keep the surrounding area uniformly prepared so the block cuts the high area without digging into a soft or poorly supported edge.
Remove sanding dust, grease, wax, and other contamination before spraying. Dust trapped under the coating can create raised particles that later tear loose and leave pits or dragged marks. Clean and dry the surface as specified for the selected product system.
Check that the substrate, existing coating, primer, reducer, and any required sealer are compatible. Final abrasive grit, substrate preparation, and recoating rules depend on the selected coating system’s technical data sheet; there is no universal grit that suits every primer and basecoat combination.
Spray for a sandable film, not a heavy wet coat
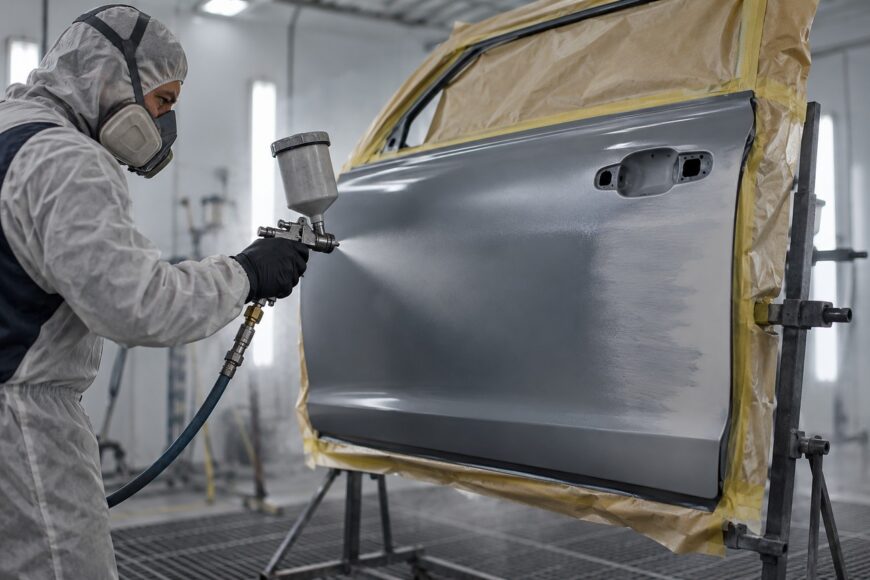
Read the product instructions and safety requirements before mixing or spraying. Set up a clean, well-ventilated work area, protect adjacent surfaces, and use the specified personal protective equipment. The technical data sheet controls application limits, flash intervals, recoat windows, and substrate restrictions.
Apply controlled coats that wet the surface evenly without flooding it. Keep the spray pattern and overlap consistent, and allow each coat to flash as specified. An aerosol offers less control over film thickness and spray profile than a properly applied 2K system.
Axalta 400A states 0.7–1.2 mil of dry film for two coats. An example 2K acrylic-urethane surfacer can provide approximately 2–3 mil, but that figure belongs to the 2K system and cannot be transferred to a 1K aerosol.
A heavy wet coat does not turn a thin 1K aerosol into a 2K high-build surfacer. Excess material can run, remain soft, dry slowly, and shrink as it cures, allowing the original scratch or repair edge to return after basecoat.
Let it cure, then block-sand and check the surface dry
Dry-to-touch does not establish sanding readiness. A coating can feel dry on the surface while remaining soft underneath, particularly when the film is heavy or conditions are cool, humid, or poorly ventilated. Follow the selected product’s technical data sheet under the actual temperature, film thickness, and ventilation conditions.
Use a suitable block and light, even pressure. Excessive pressure can cut through high areas, dig into softer zones, and leave a wavy surface. Level the film progressively rather than forcing the abrasive to remove material quickly.
A guide coat makes the process easier to read. It highlights low spots and remaining scratches that a uniform gray surface can conceal. Continue only while the scratch pattern becomes even; guide coat remaining in one area can indicate a low spot, while exposed substrate indicates sand-through.
Use wet sanding only when the product system permits it. Wet sanding can reduce abrasive loading, but water temporarily masks scratches, so wash and dry the panel before the final inspection.
Before basecoat, evaluate the dry surface by touch and by the consistency of its sanding pattern. A faint, uniform matte pattern can be acceptable when it matches the selected system’s requirements. Pits, dust nibs, a groove, or an edge that catches the fingernail still requires correction.
When scratches return, diagnose the failure before recoating
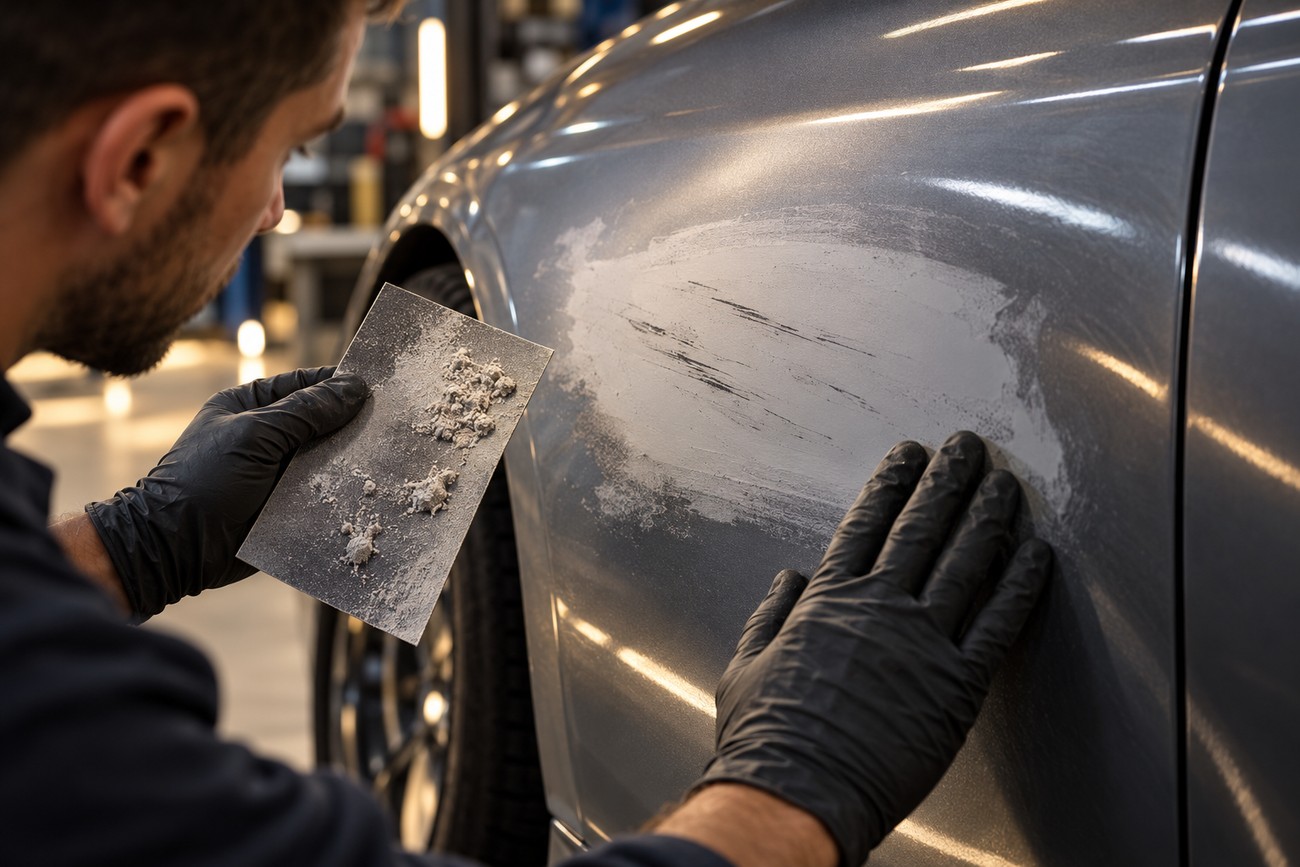
Deep gouges after sanding can point to insufficient cure, excessive pressure, or an abrasive that is too coarse for the finishing stage. Stop and identify which layer is being removed before recoating. More primer is useful only when the remaining defect is within the product’s intended filling range.
When the abrasive clogs into soft balls, the coating may be insufficiently cured, too thick, or contaminated with sanding dust. A loaded abrasive can drag particles across the panel and cut additional grooves. Replace or clean the abrasive, remove loose residue, and reassess the cure rather than continuing with a dirty sheet.
Clumps dragged through soft primer leave a torn, irregular track, while a scratch that was never leveled remains a cleaner, continuous groove beneath the film. The two defects require different decisions: address cure and sanding control in the first case, and correct the underlying surface in the second.
Primer that tears, rolls, or feels soft during sanding should be treated as a cure or film-build problem until the product data sheet and conditions show otherwise. Sanding through it can create false low spots and make the repair less stable.
Defects that appear only after basecoat may be pits, dust, an uncorrected groove, or shrinkage from excessive film build. A faint, even sanding pattern is a normal surface texture for a sanded primer; a distinct line, crater, or isolated raised particle needs targeted correction rather than another heavy coat.
Frequently asked questions
The right next step depends on what the dry surface reveals. An exposed edge needs its coverage restored, while a remaining groove needs correction before more surface is applied. Use the selected product’s technical data sheet to check application and sanding requirements.
What should I do if sanding exposes the substrate at an edge?
Stop sanding that area and remove loose dust. A sand-through beneath basecoat can affect color, adhesion, corrosion protection, or solvent resistance, depending on the substrate and coating system.
Restore coverage according to the selected product’s technical data sheet. That may require cleaning, reapplying compatible primer, allowing it to reach sanding readiness, and sanding again. Do not leave the exposed edge simply because the surrounding surface looks smooth.
What primer is best for filling scratches?
The best choice depends on scratch depth, substrate, repair size, and the coating system that will follow. A 1K aerosol suits limited fine-scratch filling when its permitted film build is enough; a suitable 2K surfacer provides a larger build range in systems that allow it.
Product labeling such as “filler” does not make every surface equivalent. Compare the selected product’s technical data sheet for dry-film build, substrate compatibility, cure, sanding, recoating, and local VOC requirements. Deep grooves still need correction before either product is applied.
How do I use spray primer surfacer to fill scratches?
Prepare and level the defect first, clean the surface, and confirm compatibility. Spray controlled coats within the product’s stated limits, observing the required flash intervals and safety requirements. Allow the primer to reach sanding readiness, then sand with light pressure and inspect the dry surface for remaining grooves, pits, and low spots.
Use a guide coat when the surface is difficult to read, and stop if the abrasive clogs or the primer tears. Those symptoms indicate a cure, contamination, pressure, or film-build problem that should be corrected before another coat is considered.