Color sanding a show-quality finish means leveling a visible defect while leaving a scratch pattern you can polish away. Cut too little, and the dirt nib or uneven texture remains. Cut too aggressively, and you may spend the saved time chasing deep sanding marks—or remove clear coat that polishing cannot put back.
The right abrasive depends on the coating, the defect, the tool, and the planned polishing step. A small nib on a cured topcoat calls for a different approach from broad texture leveling, and a dark panel may reveal marks that seemed gone under shop lighting. Start with the least aggressive method that can do the work, then verify the result before extending it across the panel.
- First, Separate Color Sanding From Pre-Paint Sanding
- Color Sanding Grits by Job and Finishing Goal
- Build a Sequence That Removes Scratches Without Chasing Grit Numbers
- Wet, Dry, Hand or Machine: Why the Same Grit Can Cut Differently
- Prevent Pigtails, Visible Scratches and Clear-Coat Breakthrough
- Know When to Stop Sanding and Start Polishing
- Frequently asked questions
- How soon after spraying can you color sand a finish?
- Which sanding grit is the finest?
- What should you do if sanding exposes the basecoat?
First, Separate Color Sanding From Pre-Paint Sanding
Color sanding works on a cured automotive topcoat to level defects and refine the surface for polishing. In a clear-coated finish, that usually means removing a controlled amount of clear coat. Defect correction commonly uses P1500 and finer abrasives, with the starting choice governed by the defect and the amount of coating available. Even a fine abrasive removes material, so the number alone cannot establish that a panel is safe to sand.
Pre-paint sanding has another purpose: preparing primer for the next coating. Reported options include P360–P500 dry and P600–P800 wet, with some wet workflows extending to P1200. Those grades describe preparation routes for a particular substrate and paint system; transferring a primer grit to finished clear coat can leave scratches that require excessive leveling to remove. The applicable primer and basecoat technical data sheets (TDS) determine the preparation method and final scratch profile.
The P prefix denotes FEPA/ISO 6344 grading. CAMI grit numbers are not directly interchangeable with P-grades, even when a package shows a similar-looking number. Keep the grading system consistent when selecting replacement sheets or discs, especially if a process specifies a particular P-grade. An apparent step to a finer number is only useful when the abrasives are compared on the same basis.
Primer recommendations also differ over the final wet step: some specify P500–P800 before paint, while others call for P800–P1000. Neither range overrides the coating manufacturer’s instructions. A preparation scratch that the next coating does not cover can remain visible in the finished paint, while unnecessary extra sanding adds work and may affect the intended surface for adhesion.
Color Sanding Grits by Job and Finishing Goal
Use these grades as candidate steps, not a fixed ladder. Confirm the substrate and paint-system requirements first, then let a small test area show whether the chosen step levels the defect and can be finished safely.
| Substrate or task | Candidate P-grit | Intended result | Decision before moving on |
|---|---|---|---|
| Primer preparation before basecoat | P360–P500 dry or P600–P800 wet; some wet workflows extend to P1200 | Prepare the primer surfacer for the specified paint system | Follow the primer and basecoat TDS. Wet final-preparation recommendations also vary between P500–P800 and P800–P1000; these are not clear-coat correction grades. |
| Initial leveling of a defect in a cured topcoat | P1500 or finer, selected for the defect | Level a nib or uneven texture while limiting coating removal | Check that the coating is ready to sand and that enough topcoat remains, particularly near edges. Stop once the defect is level. |
| Scratch refinement before polishing | P2000 in many workflows | Replace the initial sanding pattern with marks the planned polishing process can remove | Inspect a clean test area and polish it. P2000 is a common transition, not a guaranteed final sanding grade. |
| Optional finer finishing step | P2500 in some workflows, or a finer grade where the process calls for it | Reduce the sanding marks left for polishing | Use it when testing shows a benefit and the coating permits more sanding; it is neither universally required nor universally sufficient. |
The rows describe separate jobs as well as possible stages within a repair. A primer-preparation grade belongs to the coating stage specified by its TDS, while topcoat grades address defects in an existing finish. Before choosing an abrasive from the table, identify what is on the panel and what must happen after sanding.
Keep the eventual polish test in mind. A finer sanding step can make polishing more manageable, but it also takes time and removes some coating. If the current scratch pattern polishes out cleanly without leaving the defect visible, another sanding step offers little benefit.
Build a Sequence That Removes Scratches Without Chasing Grit Numbers
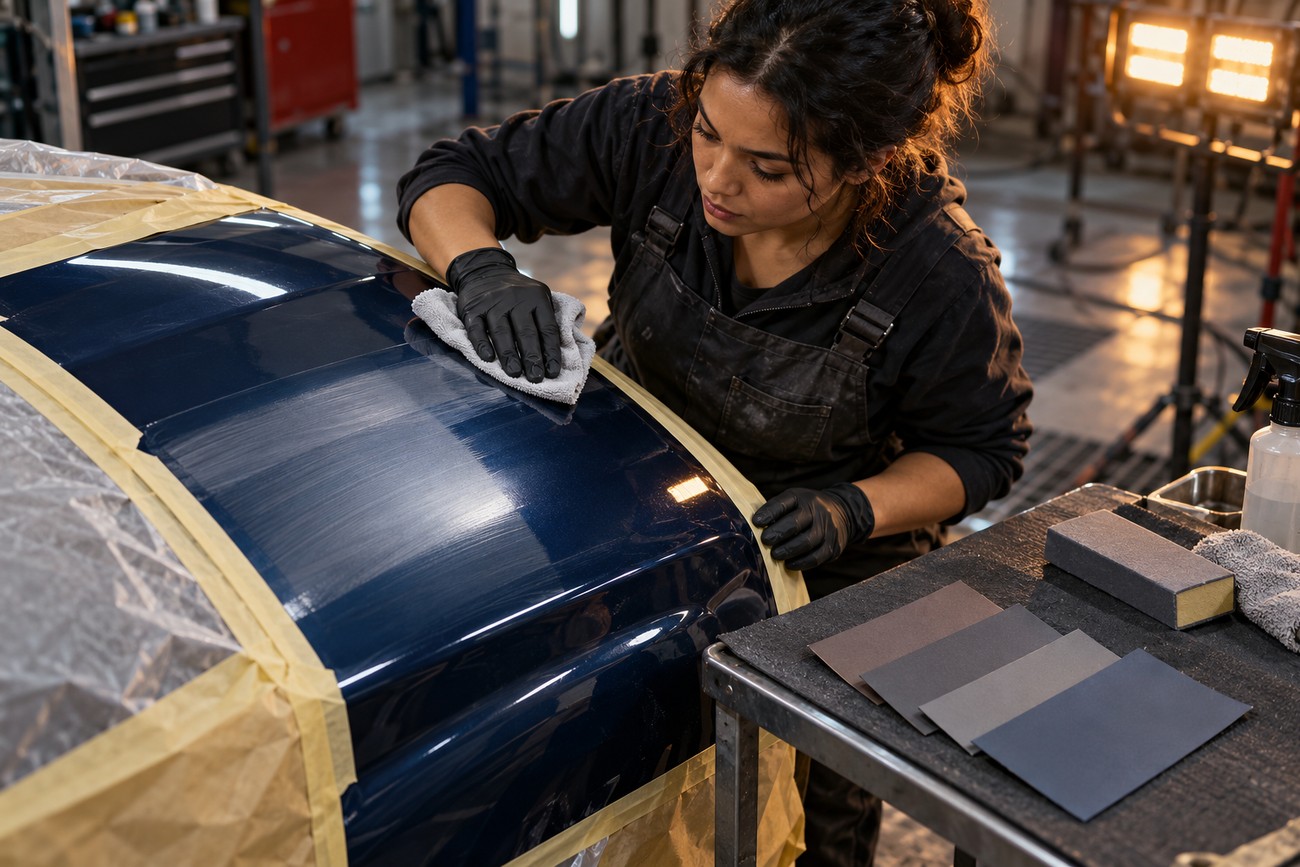
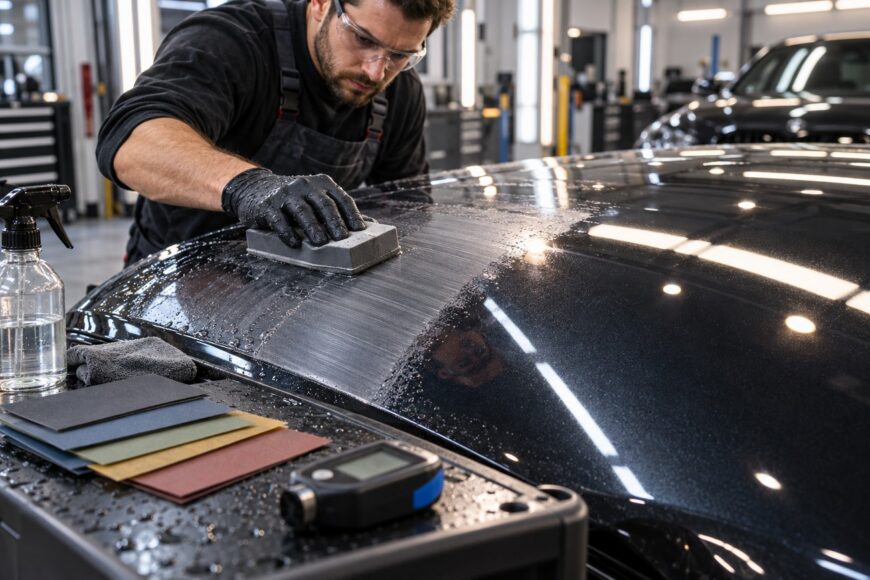
Begin with the least aggressive grade that will level the specific defect in a controlled test area. A raised dirt nib may need only a small, localized cut; a wider texture mismatch presents a different task. Coarser abrasives cut faster, but their deeper scratches demand more refinement afterward. Starting coarse “just in case” can make the sanding damage harder to correct than the original defect.
At each change of grade, remove the scratch pattern from the preceding step rather than simply adding finer scratches over it. Clean and inspect the area before deciding that it is ready for compound. If the first cut remains visible after a jump to polishing, repeated compounding may consume coating without removing the deepest marks. Black and other dark finishes make those remaining marks particularly easy to see.
P2000 is commonly a scratch-refinement step before polishing. It is not proof that the surface is finished: the coating, pressure, backing, and initial cut all affect what remains. A P2000 test spot that polishes clear is a stronger guide than a prescribed sequence. If marks persist, identify whether they are uniform remnants of the earlier sanding step or new isolated scratches before selecting another abrasive.
A tested P2500 refinement can reduce the work left for polishing in some systems, especially where a dark finish reveals the existing sanding pattern. It is not a mandatory stop, and finer paper will not rescue a deep scratch that has not been properly leveled. Make each step answer a visible need; stop adding stages when the polish test confirms the finish.
Wet, Dry, Hand or Machine: Why the Same Grit Can Cut Differently
Wet sanding uses lubrication to help carry away residue and lets you feel changes in the surface, provided the abrasive is suitable for wet use. Wipe and inspect often: water can hide a remaining nib or scratch until the panel dries. Dry sanding makes the cut easier to see during work and can pair with effective dust extraction, but dust left between the abrasive and coating can score the finish. Neither method inherently produces a cleaner finish; abrasive condition and control matter more than the label.
A machine can keep work moving consistently across accessible, broad areas, yet its backing, movement, and pressure influence the tracks it leaves. Hand sanding gives more direct control around a localized defect or sensitive contour, though finger pressure can create an uneven cut without suitable backing. The same P-grade can therefore produce different scratch patterns on the same coating. There is no universal hand-to-machine grit conversion.
Keep the abrasive and backing clean, use controlled pressure, and watch the contact area as you work. A loaded disc can drag trapped material in small arcs, while poor dust removal can introduce scratches unrelated to the nominal grit. Changing to finer paper without correcting that cause simply creates a finer background around the same conspicuous marks.
Machine sanding tracks and polishing holograms should be diagnosed separately. Sanding tracks originate in the abrasive cut and may remain beneath a polished sheen; holograms arise during polishing and show as directional reflections under revealing light. Inspect after cleaning rather than assuming every visible swirl needs more sanding. The wrong remedy can remove clear coat while leaving the actual cause untouched.
Prevent Pigtails, Visible Scratches and Clear-Coat Breakthrough
An isolated deep track or pigtail amid an otherwise even pattern is a signal to stop. Inspect both the panel and the abrasive for dust, hardened residue, or a damaged contact surface. Clean or replace the abrasive and remove loose material before continuing. Sanding over a trapped particle can extend the mark farther than the defect you set out to correct.
If a uniform scratch pattern persists after polishing, look back at the preceding sanding step. A coarse cut may not have been fully refined, or the chosen polishing process may be unable to clear the final sanding marks. Reclean the area, examine it under revealing light, and run another small polish test before committing the entire panel to more abrasion. This is especially important on black and other dark finishes, where faint lines remain apparent after the gloss returns.
Edges, body lines, and tight contours deserve a separate safety decision. Contact pressure concentrates there, and a flat sanding approach that behaves predictably on an open panel may cut unevenly as it crosses a shape. Keep work localized and stop if the coating appears thin or the risk of breakthrough rises. A finer grit may slow the cut, but it does not eliminate material removal.
Once sanding exposes basecoat or primer, the topcoat has been breached. Stop abrading and assess the repair under the applicable paint-system procedure rather than trying to polish the area into uniformity. Compound can change the appearance of surrounding clear; it cannot replace clear coat that has been removed. Continuing to chase the edge of a breakthrough usually enlarges the area requiring refinishing.
Know When to Stop Sanding and Start Polishing
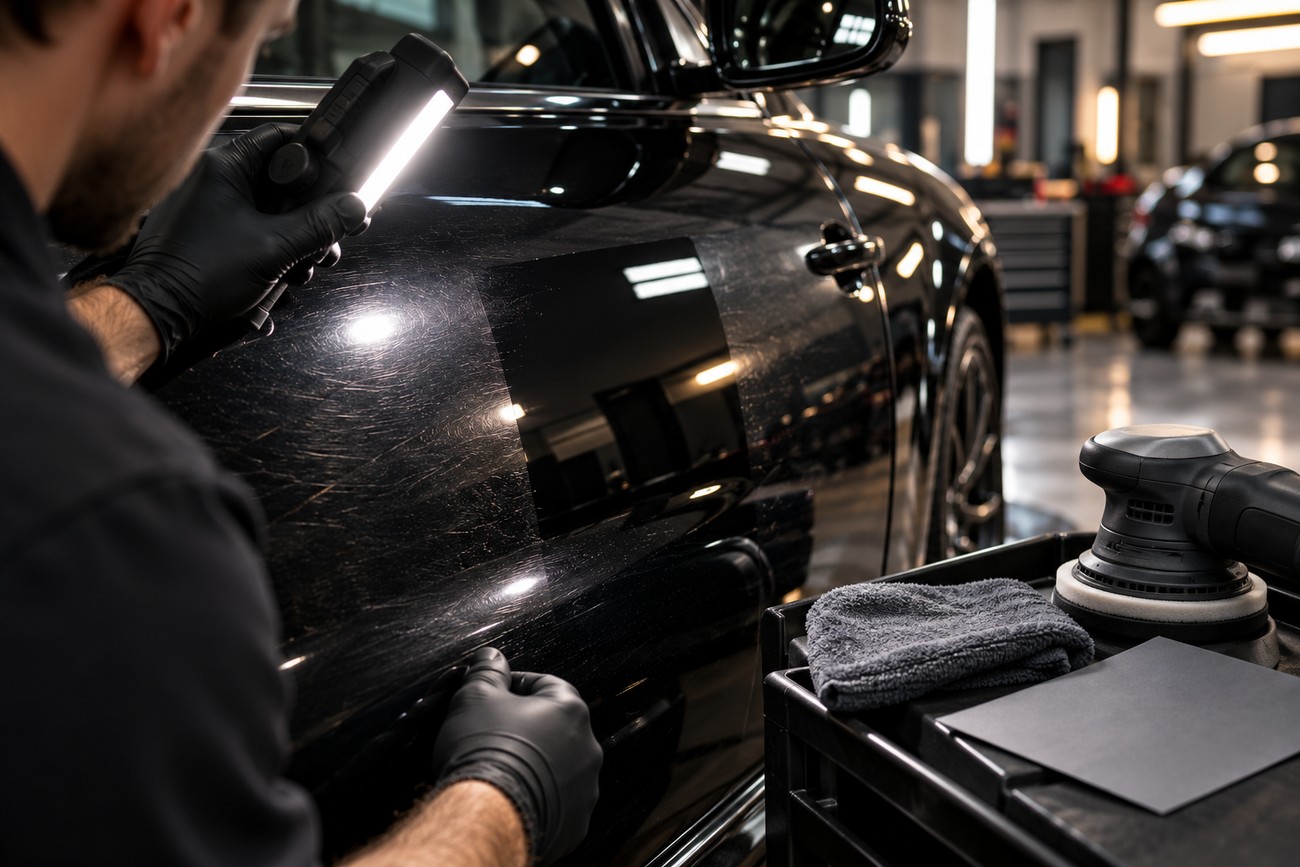
Make a small, representative test area before sanding a full panel. Include the type of defect you need to remove, but choose a location where you can control the tool and inspect the result. After each step, clear away residue and inspect the surface without slurry or dust. A clean inspection tells you whether you have leveled the defect, introduced a new scratch, or reached the limit of a useful cut.
Next, polish that test area with the process intended for the job. P2000 may be suitable before polishing in many workflows; others benefit from P2500 or finer refinement. The polish test helps determine whether those additional steps are worth taking on this coating. Do not assume that a uniformly dull sanded surface will produce a uniformly clear polished one.
Inspect from more than one angle under lighting that exposes fine marks, particularly on a dark panel. Look for the original defect, the previous sanding pattern, and isolated tracks, then distinguish them from marks introduced by polishing. A test that looks sound only while wet or under soft light has not settled the finishing decision. Let the surface and the intended viewing conditions set the standard.
Finer sanding can shorten the polishing effort, yet it adds work and removes more coating. Continue refining only when the present scratch pattern does not polish out and the coating permits further sanding. If the defect is level and the polish test is clean, stop cutting. Preserving clear coat is part of a show-quality result.
Frequently asked questions
These decisions depend on the coating in front of you, so a grit chart cannot settle them alone. Check the paint-system instructions before sanding a fresh finish, and treat exposed basecoat as a repair issue rather than a polishing challenge. The answers below address those limits directly.
How soon after spraying can you color sand a finish?
Color sand only when the specific coating’s TDS says it is ready for sanding under the conditions used. Surface dryness is not the same as adequate cure for controlled cutting and polishing. Check the product instructions for the relevant process rather than applying a waiting period taken from another paint system; if readiness is uncertain, avoid sanding until it is confirmed.
Which sanding grit is the finest?
There is no useful universal “finest” grit for color sanding. First verify the grading system: the P prefix denotes FEPA/ISO 6344 grading, and CAMI numbers are not directly interchangeable with P-grades. Then choose the finest step the specified polishing process needs to clear the marks left on that coating. A higher number alone does not establish a better finish or justify further clear-coat removal.
What should you do if sanding exposes the basecoat?
Stop abrading the area and assess refinishing under the applicable paint-system procedure. Exposed basecoat means the protective clear layer has been removed there; finer paper and compound cannot replace it. Avoid expanding the spot while trying to blend it by polishing, and determine the appropriate coating repair before further finishing work.