
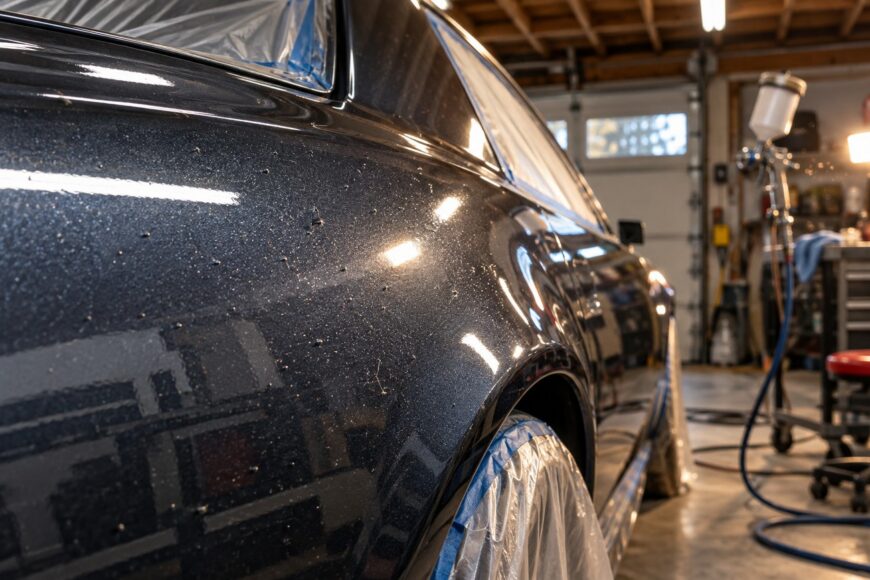
Finding gritty bumps in a freshly cleared panel is frustrating: each one can mean careful sanding and polishing after the clear coat has cured. A few inclusions may be manageable, but removing them takes time and can reduce clear-coat thickness if correction is too aggressive.
The practical priority is to limit contamination before spraying rather than count on polishing afterward. A home garage cannot reliably reproduce a professional booth, so aim for a cleaner work area, controlled airflow, and realistic expectations—not a dust-free finish.
- Why Dust Nibs Show Up in a Fresh Clear Coat
- Prepare the Garage Before You Prepare the Panel
- Control Airflow Without Blowing Dust Back onto the Paint
- Keep Dust Off the Panel, Painter, and Spray Equipment
- Decide When to Prevent, Accept, or Correct Dust Nibs
- Frequently asked questions
- How can I tell a dust nib from solvent pop or a fisheye?
- How to paint a car in a garage?
- How to make garage rustproof?
- What does WD-40 do to automotive paint?
- How to make paint rustproof?
Why Dust Nibs Show Up in a Fresh Clear Coat
A dust nib is a dust particle or fiber trapped in the finish. Airborne material can settle on a panel while the coating is still tacky, while dust already resting on walls, wires, hoses, or other surfaces can become airborne and land on the paint.
A garage can look clean at floor level and still contain contamination overhead or on surfaces you rarely wipe. Clothing, hair, and lint-producing materials can add fibers, too. Dust may reach the panel at different points during painting and drying, so there is no single moment to target.
A raised speck is not automatically a dust nib. Solvent pop, fisheyes, and other coating defects can look different and have different causes; sanding before identifying the problem may make a repair harder. Check the paint system’s troubleshooting guidance if the defect is unclear.
Conditions in the garage matter as well. Low humidity can increase static attraction, making dust more likely to cling to a panel, while high humidity can interfere with solvent evaporation and increase the risk of other coating defects. Follow the coating maker’s temperature and humidity limits rather than changing conditions to address dust alone.
Prepare the Garage Before You Prepare the Panel
Start by removing obvious dust sources and separating sanding from spraying wherever possible. Abrasive work creates fine debris that can linger on surfaces and in the air; a dedicated preparation area reduces the chance of carrying it into the spray zone. Clear away cardboard, loose insulation, and other materials that shed fibers or collect dust.
Clean with damp methods instead of dry sweeping or blasting surfaces with compressed air. Wipe reachable surfaces with suitable low-lint materials, and pay attention to bare concrete, unfinished walls, overhead wires, and hoses. A clean-looking floor does not tell you whether dust remains on those less obvious surfaces.
Overhead wires, hoses, and unfinished surfaces can hold dust after the floor looks clean. Damp cleanup followed by time for airborne particles to settle is more useful than a last-minute blast of compressed air, which can send settled debris back into the work area.
After cleaning, minimize movement and allow the garage to settle before spraying. Allowing 30–60 minutes is a practical suggestion, not a guaranteed threshold. Some painters lightly mist the floor to bind dust, but this is disputed: excess moisture can raise humidity or create other coating risks, so it is not a universal step.
Control Airflow Without Blowing Dust Back onto the Paint
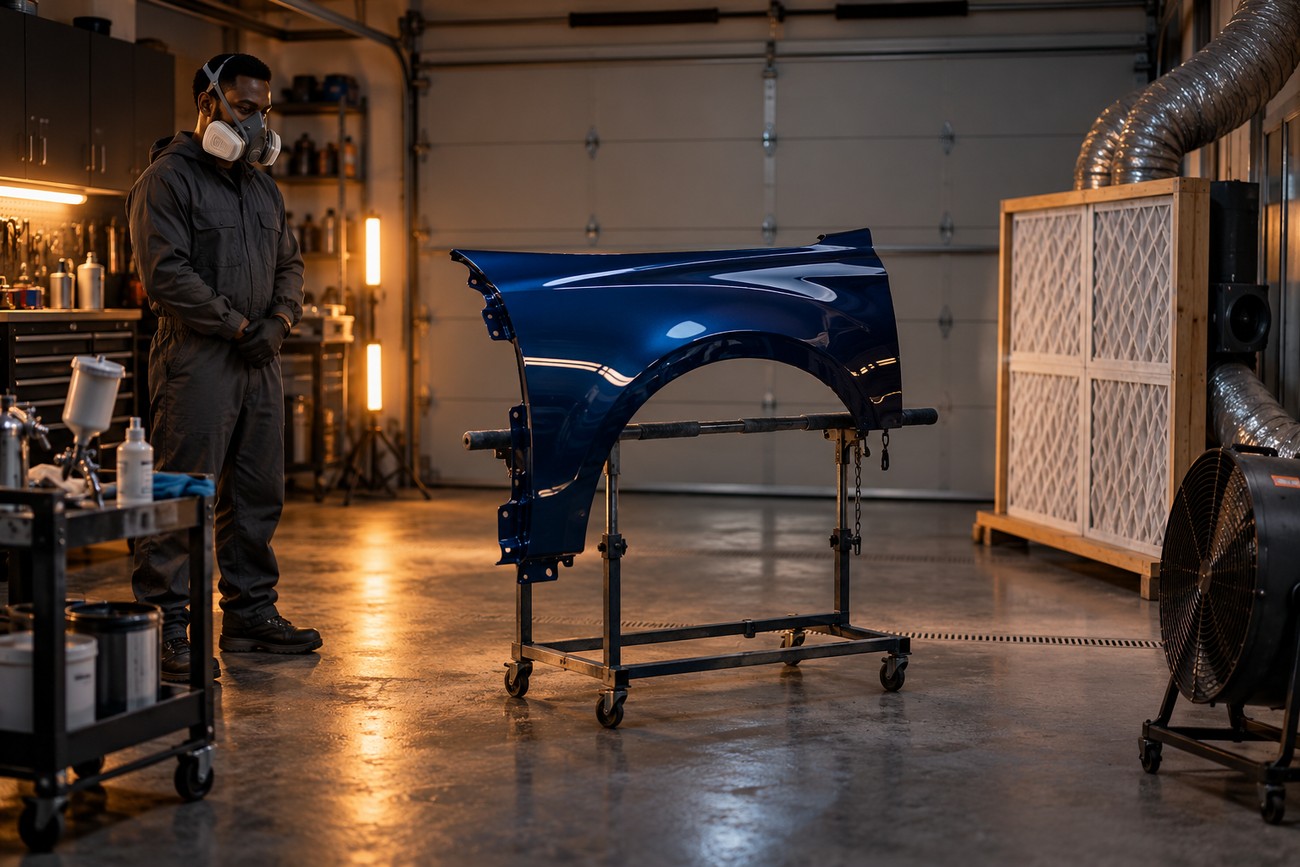
Professional booths use managed, filtered airflow to carry overspray and particles away from the work area. A fan in a garage does not provide the same control: strong or turbulent air can lift dust from the floor and surfaces, then move it across the panel.
Once the area is clean, avoid unnecessary movement in and out, and keep doors and gates closed where doing so does not compromise required ventilation. Opening a door can bring in outdoor dust, while an improvised fan may recirculate debris instead of removing it. Minimizing disturbance before spraying helps airborne dust settle, but spraying still requires suitable ventilation.
Inflatable booths and curtain enclosures may reduce some contamination, yet they do not automatically provide stable airflow or effective filtration. Treat them as partial barriers, not as equivalent to a professional booth. The result depends on the enclosure, its filters, and how air moves through it.
Any ventilation setup must suit the coating system and safe spraying conditions. A fan-and-filter arrangement is useful only if it provides appropriate filtration and directs air so it does not carry debris back over the work. Follow the product maker’s safety and ventilation instructions; a general-purpose garage fan is not a substitute for a suitable spray environment.
Keep Dust Off the Panel, Painter, and Spray Equipment
Wear clean, low-lint clothing, cover your hair, and use clean gloves when handling the panel. Fibers from clothing and hair, along with skin particles, can become inclusions. Avoid fuzzy fabrics and lint-producing shop towels near the prepared surface.
Use a tack cloth intended for the paint system and follow its directions. It can pick up surface dust, but it cannot remove particles still circulating in the air. An unsuitable or poor-quality cloth may leave lint or residue, so wipe gently and replace it if it becomes dirty or contaminated.
Compressed air can create problems beyond stirring up garage dust. Moisture, oil, or debris from a compressor, old hose, or fittings may reach the surface or spray equipment. Use appropriate air-line filtration and moisture control, and check the line before relying on it; newer equipment does not remove the need to manage air quality.
Static-prone plastics and other materials can attract dust, particularly in dry conditions. Keep plastic sheeting, tape, and other auxiliary materials from rubbing against the panel after cleaning. A final surface wipe helps only with what is on the panel at that moment; it cannot compensate for airborne contamination during application and drying.
Decide When to Prevent, Accept, or Correct Dust Nibs
Prevention usually has more leverage than correction. Cleaning the work area, reducing dust sources, and avoiding unnecessary air movement can prevent multiple inclusions at once, while each cured nib may require individual attention. Even careful garage preparation cannot guarantee a dust-free finish.
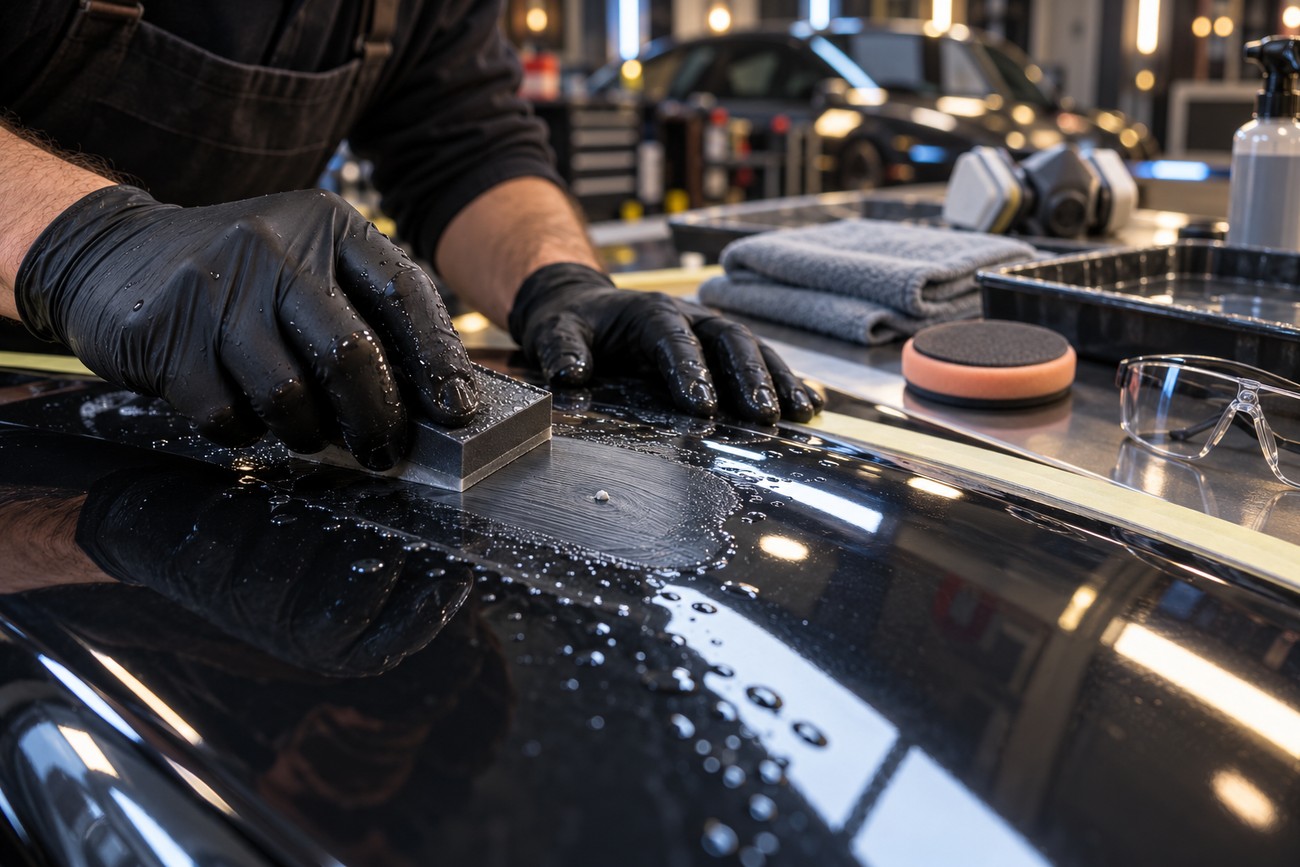
After the coating has cured sufficiently, a dust nib may be corrected with localized wet sanding and polishing if the coating system allows it and enough film thickness remains. Follow the product instructions for cure time and repair methods. If you are unsure how much clear coat is present, aggressive correction can create a worse problem than the original speck.
P1500–P3000 is a range cited for planned final clear-coat sanding, not a universal starting grit or instruction for every coating. The appropriate approach depends on the clear coat, its cure state, and the available film thickness. A finer or more conservative repair may be appropriate in one case, while another defect may not be safe to sand out.
Plan for a small number of minor nibs rather than promising yourself that every speck can be polished away. Repeated or aggressive sanding and polishing reduce clear-coat thickness. If a defect is deep, widespread, or not clearly a dust inclusion, consult the coating maker’s repair guidance before attempting a correction.
Frequently asked questions
Dust control starts with identifying the defect correctly, preparing the garage and panel, and managing airflow during application and drying. These steps can reduce contamination, but a home garage cannot guarantee a dust-free finish.
Correction may be possible after the coating has cured sufficiently, provided the repair method suits the paint system and enough clear-coat thickness remains. The product instructions should guide both diagnosis and repair.
The questions below address common concerns about dust nibs, garage spraying, surface contamination, rust protection, and paint preparation.
How can I tell a dust nib from solvent pop or a fisheye?
A dust nib is typically a raised particle or fiber trapped in the finish. Solvent pop and fisheyes have different causes and may show a different surface pattern, so a bump or crater should not be assumed to be dust. Compare the defect with the paint system’s troubleshooting guidance before sanding or polishing.
Look closely under good lighting and consider when the defect appeared, but treat appearance as a clue rather than proof. If the repair instructions do not clearly match what you see, ask the coating supplier or a qualified refinisher before removing material.
How to paint a car in a garage?
Use a coating system designed for the job and follow its instructions for surface preparation, application conditions, ventilation, personal protection, and curing. Prepare the panel in a clean area, keep sanding debris away from the spray zone, and use suitable spray equipment and air-line filtration. A typical home garage does not provide the controlled conditions of a professional booth.
Check local requirements and the product safety information before spraying. Automotive coatings can require specialized ventilation and protective equipment; dust control alone does not make a garage safe or suitable for spraying.
How to make garage rustproof?
A garage itself cannot be made fully rustproof, but you can make it far less likely to promote rust on your car, parts, and tools by controlling moisture. Fix roof and door leaks, make sure water drains away from the slab, and consider sealing or coating the concrete floor so it holds less dampness. Keep the space ventilated, run a dehumidifier in humid weather, and in winter rinse road salt off the car and let slush drain away instead of pooling under it. Store bare-metal parts and tools with a light film of oil or a rust-inhibiting spray.
What does WD-40 do to automotive paint?
WD-40 is not a paint-preparation cleaner. Its oily residue can interfere with refinishing by contaminating a surface intended for painting, so do not use it to clean a panel before spraying.
If WD-40 has contacted the area, follow the paint system’s approved cleaning procedure before applying any coating. Do not assume that wiping once with a cloth removes all residue.
How to make paint rustproof?
Paint slows rust only when it completely seals properly prepared metal; it cannot make a panel rustproof on its own. Remove all corrosion down to clean, bright steel, then apply a corrosion-resistant primer, such as an epoxy or etch primer, before the base coat and clear, following the paint system’s instructions. Seal seams with seam sealer, treat hidden cavities with a rust-inhibiting wax or coating, and keep drain holes open. Afterward, touch up chips and scratches promptly so moisture and road salt cannot reach bare metal.







