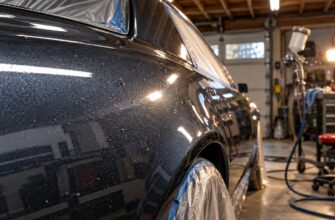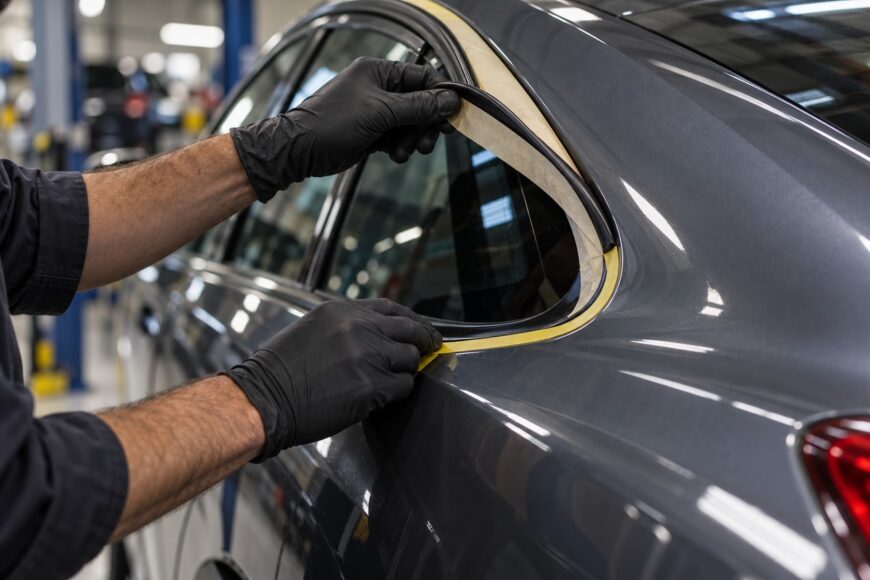
Paint can creep beneath a window seal, build a ridge beside the glass, or tear along the edge when the mask comes off. Each defect starts at a different point in the job. A clean line depends on where you place the boundary, how the trim sits against the body, and whether the tape stays secure through spraying and drying.
Ordinary automotive masking tape can hold a cover or define a straightforward edge. Fine-line tape gives more control over a visible paint boundary, while perforated trim tape lifts a suitable molding so paint can extend beneath it. None compensates for a dirty substrate, a damaged seal, poor installation, or a bake cycle beyond the product’s rating.
- Choose the Masking Method for the Edge You Need
- Tape Options for Trim, Glass, and Tight Curves
- Prepare the Surface and Install Tape Without Losing the Edge
- Match Tape to the Substrate and Bake Conditions
- Prevent Bleed-Through, Paint Ridges, and Ragged Removal
- When Masking Is Not a Substitute for Removing Trim
- Frequently asked questions
- What are effective ways to mask a car before painting?
- What does WD-40 do to automotive paint?
- How can you get rid of paint stripes on a car?
- How do you get clean paint lines with masking tape?
Choose the Masking Method for the Edge You Need
Start by deciding whether the finished paint line should remain visible. For a deliberate boundary on a panel, plastic part, or curved detail, use fine-line tape at the critical edge. 3M identifies products such as 218, 471, and 233+ for critical paint edges; the right choice still depends on the surface and coating process.
A window molding calls for a different approach when the paint needs to finish beneath its lip. Perforated trim masking tape uses a stiffer strip to lift a suitable molding slightly, reducing the chance of a visible paint ridge where the rubber meets the body. It is intended for areas around window moldings and glass, including suitable flush-mounted windshields and rear glass.
Protect the rest of the glass and nearby panels with masking film or dense masking paper. Crepe automotive masking tape can secure the covering at its perimeter so film does not billow into the spray area. Broad-area covering keeps overspray off adjacent surfaces; it does not replace careful edge tape where the finish line matters.
Inspect the trim before committing to a masked-in-place repair. A seal that is brittle, distorted, or packed with old residue may resist an even lift. Specialized tape can reduce disassembly on a suitable vehicle, but its advertised edge quality depends on the part and the installation.
Tape Options for Trim, Glass, and Tight Curves
Choose the material by the job it must do at the edge, then check its compatibility with the actual surface and drying process.
| Material | Suitable use | Edge behavior | Key limitation |
|---|---|---|---|
| Automotive masking tape | Securing covers and masking straightforward boundaries on approved substrates | Can form a defined edge when firmly seated | Does not lift a window molding; tight curves can wrinkle or pull loose |
| Fine-line tape | Critical visible paint boundaries and tight curves | Gives close control of the finished line | Does not create a paint-under-trim gap |
| Perforated trim masking tape | Suitable window moldings and glass edges | Its stiff strip lifts the molding slightly to reduce a visible ridge | Worn or distorted seals may not lift evenly; placement takes care |
| Masking film or dense masking paper | Covering glass and large adjacent areas against overspray | Needs tape to secure its perimeter | Cannot define a critical paint line by itself; choose anti-static film or dense masking paper rather than dusty newspaper |
Prepare the Surface and Install Tape Without Losing the Edge
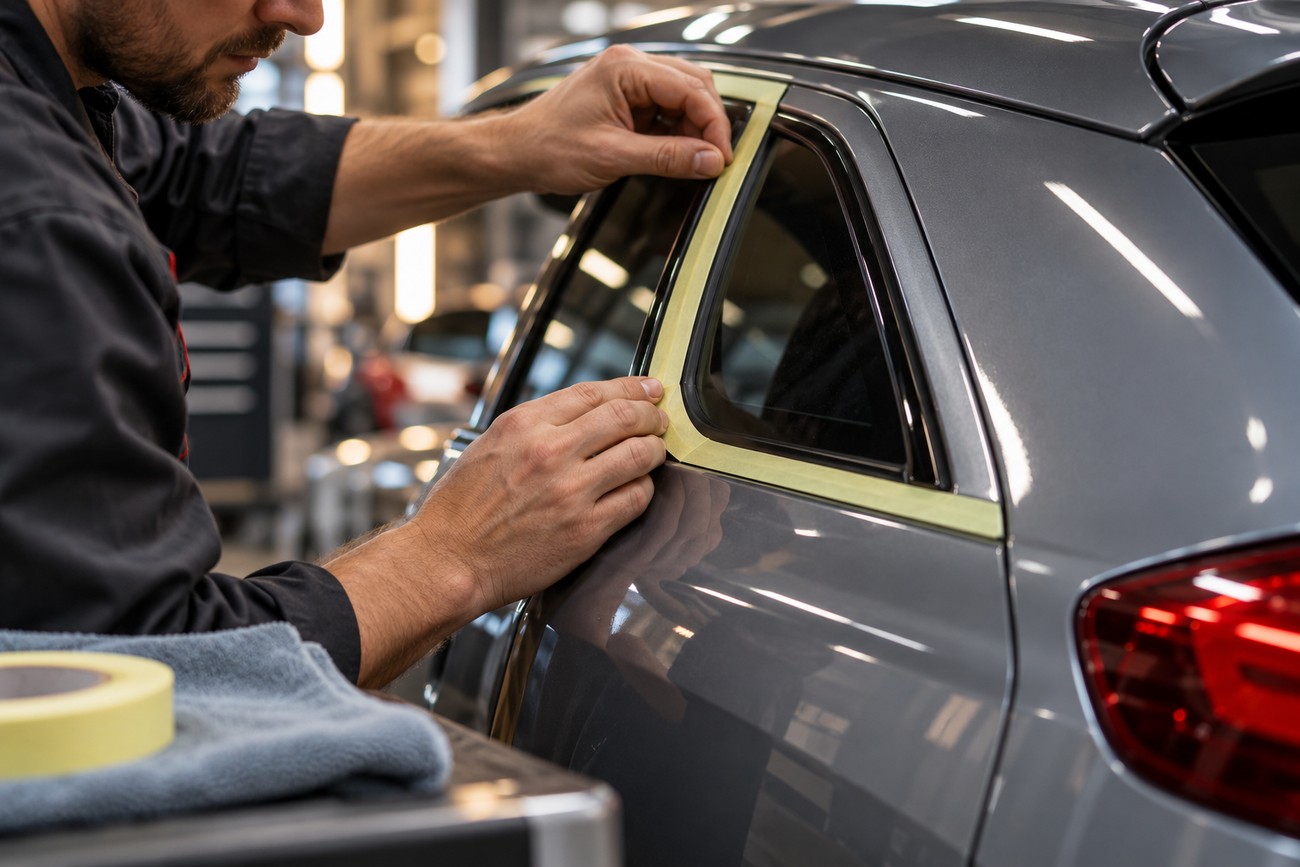
Clean the glass, trim, and painted surface first. Remove dirt and dressing, use a cleaner compatible with each substrate to decrease it, and let everything dry before applying tape. Contamination weakens adhesion, allowing corners to lift or paint to travel beneath the edge during spraying.
Test adhesion on a discreet part of each relevant surface, particularly aged rubber, refinished paint, or sensitive plastic. Then lay the tape without stretching it out of shape. Seat the edge that must seal against overspray with steady pressure, checking curves and corners for gaps rather than pressing harder across the entire strip.
For perforated trim tape, place the stiff strip toward the glass or paint-entry line and lift the molding gently. Forcing the tape inward can flatten the gap needed for paint to extend beneath the trim. On a curve, shorter pieces follow the contour more readily; the trim-tape manufacturer recommends segments approximately 6–8 inches (150–200 mm) long, overlapping adjacent pieces by about 1/8 inch (2–3 mm).
Once the edge is set, secure film or masking paper over the surrounding area without pulling on the trim tape. After removal, check that the molding drops back into position. A lip that stays raised may be bent, contaminated, or paired with an unsuitable tape, and needs attention before the job is considered finished.
Match Tape to the Substrate and Bake Conditions
Automotive masking tapes are designed for specified surfaces such as glass, metal, plastic, rubber, and painted substrates. That scope varies by product. Office tape is a poor substitute: its adhesive and backing are not selected for the same refinishing surfaces, solvents, and drying conditions, increasing the risk of lifting or residue.
Check application conditions separately from heat resistance. For example, 3M 03432 has a stated application-temperature range of 60–90°F (16–32°C) and heat resistance up to 250°F (121°C) for 30 minutes. Applying a tape outside its stated range can affect how it bonds before the panel ever enters a booth.
Other ratings belong to other products. 3M 401+ is rated for surfaces up to 250°F (121°C) for 30 minutes, but it is an industrial product rather than a universal body-repair choice. 3M trim masking tape documentation states up to 250°F (121°C) for 40 minutes; specifications can vary by version or region.
Match the exact tape’s technical sheet to the substrate, booth schedule, and expected time on the vehicle. A temperature limit does not, by itself, establish that the adhesive is suitable for a particular rubber seal or existing finish. When compatibility is uncertain, test first rather than relying on another tape’s rating.
Prevent Bleed-Through, Paint Ridges, and Ragged Removal
Paint beneath rubber often points to a gap the mask failed to control. Standard masking tape can seal an accessible surface, but it cannot lift a molding like perforated trim tape. If the seal is intended to hide the paint termination, check that it rises evenly and that the mask protects the glass without blocking the intended paint path.
A stepped line beside the glass usually means the paint stopped against an exposed masking edge or the molding was never lifted enough. At a visible boundary, fine-line tape and a carefully burnished edge offer better control. Burnish the sealing edge firmly enough to remove small gaps, while keeping the raised portion of a trim-tape installation free to do its job.
The stiff strip can appear seated while the molding still lies flat against the body. Check the gap from along the glass before spraying: the strip should face the paint-entry edge and support a gentle lift, not be driven inward until that gap disappears.
Lifting corners can expose glass or trim partway through the job. Recheck overlaps, tight curves, and the tape securing any film before spraying, especially where a cover pulls against the edge tape. An old, damaged, contaminated, or dried-out seal may not lift consistently even with the appropriate trim tape; adding pressure can make the finish line worse.
Plan removal around the tape and coating instructions. Late or forceful removal can tear a clearcoat edge, while removal before the coating has reached the specified stage can disturb it. Some product guidance describes removing tape while the coating is still warm, about 15–30 minutes after the final clearcoat, but the correct point depends on the paint system and product instructions.
Peel in a controlled motion and watch the paint boundary as it releases. If the edge starts to pull or residue remains, stop and check the coating’s condition and the approved cleaning method rather than jerking the tape free. Leaving a mask on longer than directed can make removal harder, particularly after heat exposure.
When Masking Is Not a Substitute for Removing Trim
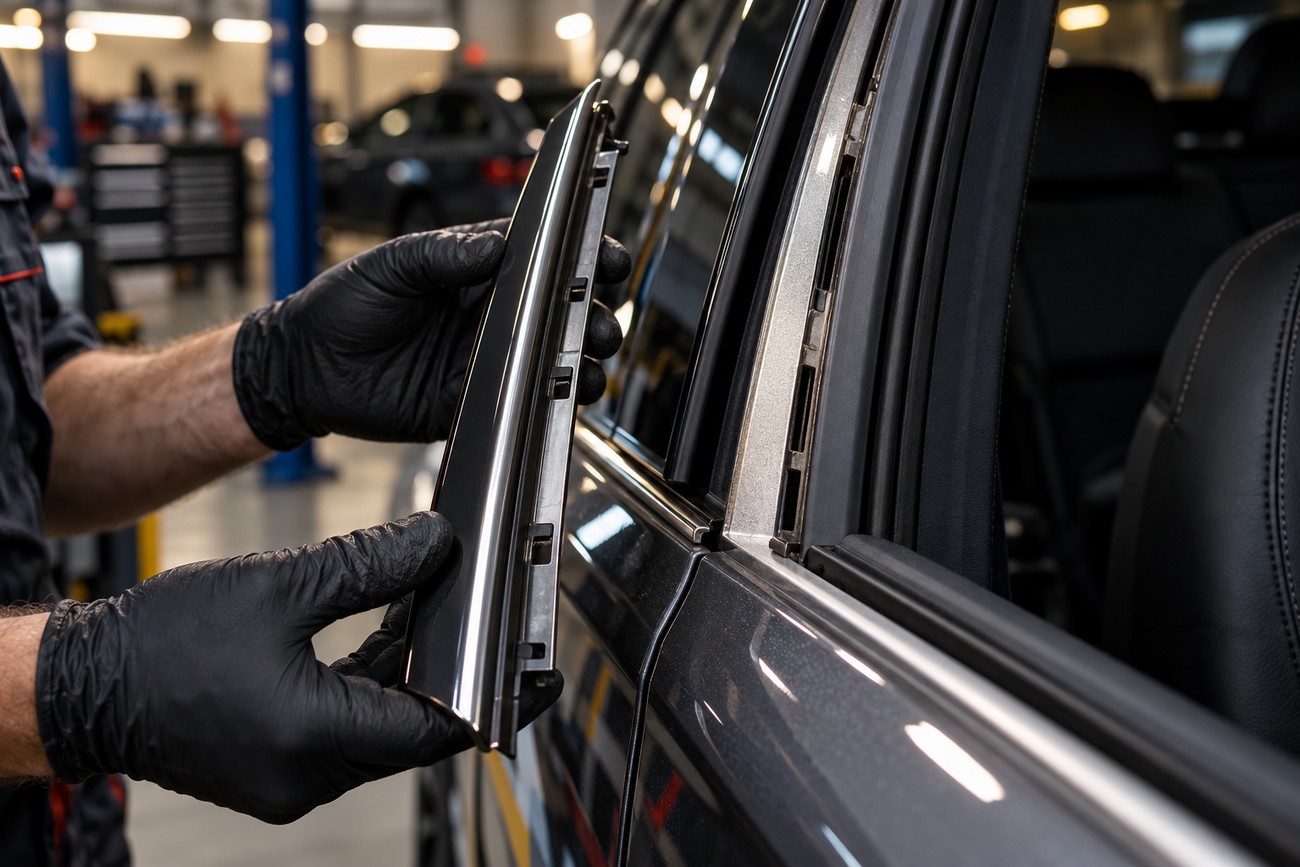
Perforated trim tape can protect edges around bonded glass and some exterior trim without removing certain components. That can avoid the disruption and risks of glass removal where the vehicle design and repair procedure allow masking in place. It still takes time to clean the seal, position the strip, and verify the paint path.
Some vehicle-maker repair procedures do not permit exterior moldings to be painted with incomplete removal; they require either removing the molding or fully protecting it with a mask that reaches the specified hidden edge. Check the applicable procedure for the specific vehicle before choosing a shortcut. The required access may determine whether the molding must come off or be protected to a specified hidden edge.
Physical condition matters as much as permission. A cracked seal, a distorted molding, or a lip that will not return after lifting is a poor candidate for a concealed edge. In that situation, removing or replacing the relevant part may be more reliable than building coats against a mask that cannot hold a stable line.
Make the decision before mixing paint. A trial placement can show whether the tape follows the contour, the molding lifts evenly, and the glass can be fully protected. If any of those checks fail, revise the repair plan rather than expecting another coat to hide the resulting ridge.
Frequently asked questions
The right masking method depends on where the paint must end and what needs protection. Surface preparation also matters: oily residue can interfere with tape adhesion. If a paint line is already damaged, identify the defect before choosing a remedy.
What are effective ways to mask a car before painting?
Choose the mask according to what must be protected and where the paint must end. Use fine-line tape for a critical visible boundary, perforated trim tape where a suitable molding needs to lift, and secured film or dense masking paper for broad areas such as glass and adjacent panels. Check each material against the surface and drying conditions before spraying.
What does WD-40 do to automotive paint?
WD-40 can leave an oily film; it is not a paint-stripe remover or a refinishing preparation product. Even if the finish appears unchanged, residue near a repair area can interfere with later cleaning, tape adhesion, or coating preparation. Use the cleaner specified for the surface and refinishing process, then confirm the area is clean and dry before masking.
How can you get rid of paint stripes on a car?
Identify the defect before trying to remove it. A raised ridge at a masking line, overspray sitting on an existing finish, and a torn or otherwise damaged paint edge require different remedies. A controlled finishing or repair process may be appropriate depending on coating condition and film build; scraping near glass or trim is not a safe default because it can damage the finish or the adjacent surface.
How do you get clean paint lines with masking tape?
Before spraying, test the tape on the actual substrate, burnish the critical sealing edge, and inspect corners and overlaps under good light. Confirm that any raised trim edge still has its intended gap. Remove the mask at the stage specified for the coating and tape, using a controlled peel while watching for an edge that begins to pull.