
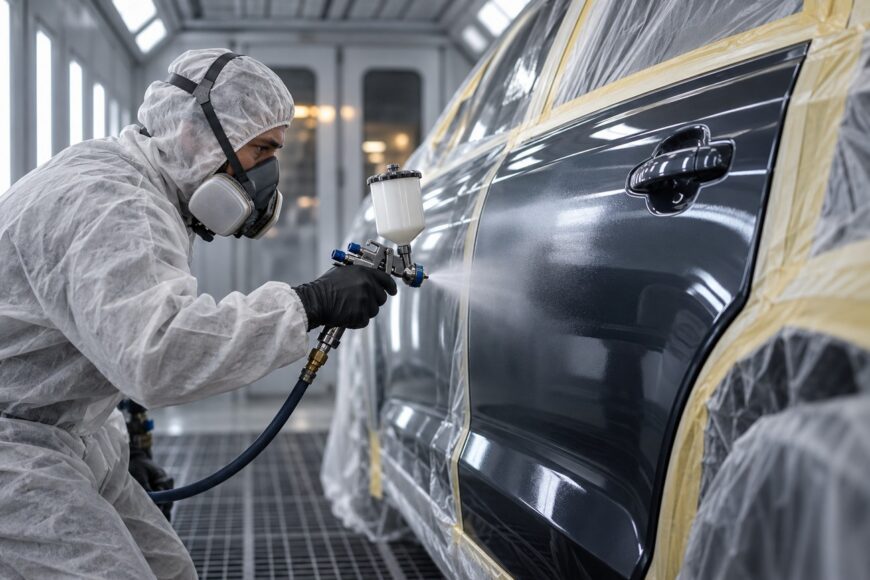
A tiny paint repair can leave a surprisingly large cloud of overspray. Even if the color covers the damage, a sharp edge may show up once the panel is polished or viewed in angled light. A detail gun gives you a smaller, more controllable spray pattern, but it does not remove the need to prepare the surface and protect the area around it.
The useful question is whether the gun can produce the fan your repair needs with the coating you intend to spray. From there, the job depends on a stable air supply, a sound test pattern, and enough room to blend the new finish into the old one. A small gun can make that work more manageable; it cannot guarantee that the repair will disappear.
- When a detail gun is the right tool
- Prepare the surface, air supply, and surrounding area
- Mix and test the spray before painting the repair
- Build coverage without leaving a hard edge
- Troubleshoot spitting, dry spray, and excess mist
- Clean the gun and judge the result before the next repair
- Frequently asked questions
- What is a good small spray gun for touch-ups?
- What is a good small paint sprayer for touch-up work?
When a detail gun is the right tool
A detail gun suits a localized repair that needs a spray pattern wider and softer than a brush or airbrush can comfortably provide, without the broad fan of a full-size finishing gun. It is useful for small prepared areas where you need controlled, overlapping passes. For a tiny chip, a brush may place material with less masking and cleanup.
An airbrush offers fine control over a very small area, although it may be a poor match for some automotive coatings or a repair that needs broader, even coverage. A larger finishing gun makes more sense when the blend must extend across a substantial part of a panel. Choose the tool around the repair area, the coating, and the fan it can produce—not the smallest nozzle on the shelf.
Nozzles around 0.8–1.2 mm are commonly used for small touch-ups, but suitability depends on the coating and gun. Fan width and the softness of its edge can matter more than nozzle diameter: a narrow, harsh pattern may leave stripes or a distinct boundary. Check the gun’s specifications and the coating manufacturer’s application guidance before committing material to the panel.
A compact cup can let you mix a smaller batch for a small job, yet the gun cannot correct a poor color match. Complex colors and metallic finishes can reveal a difference in shade or particle appearance even when the coating goes on smoothly. Allow enough blend area to manage the transition, and expect that some repairs will remain visible.
Prepare the surface, air supply, and surrounding area
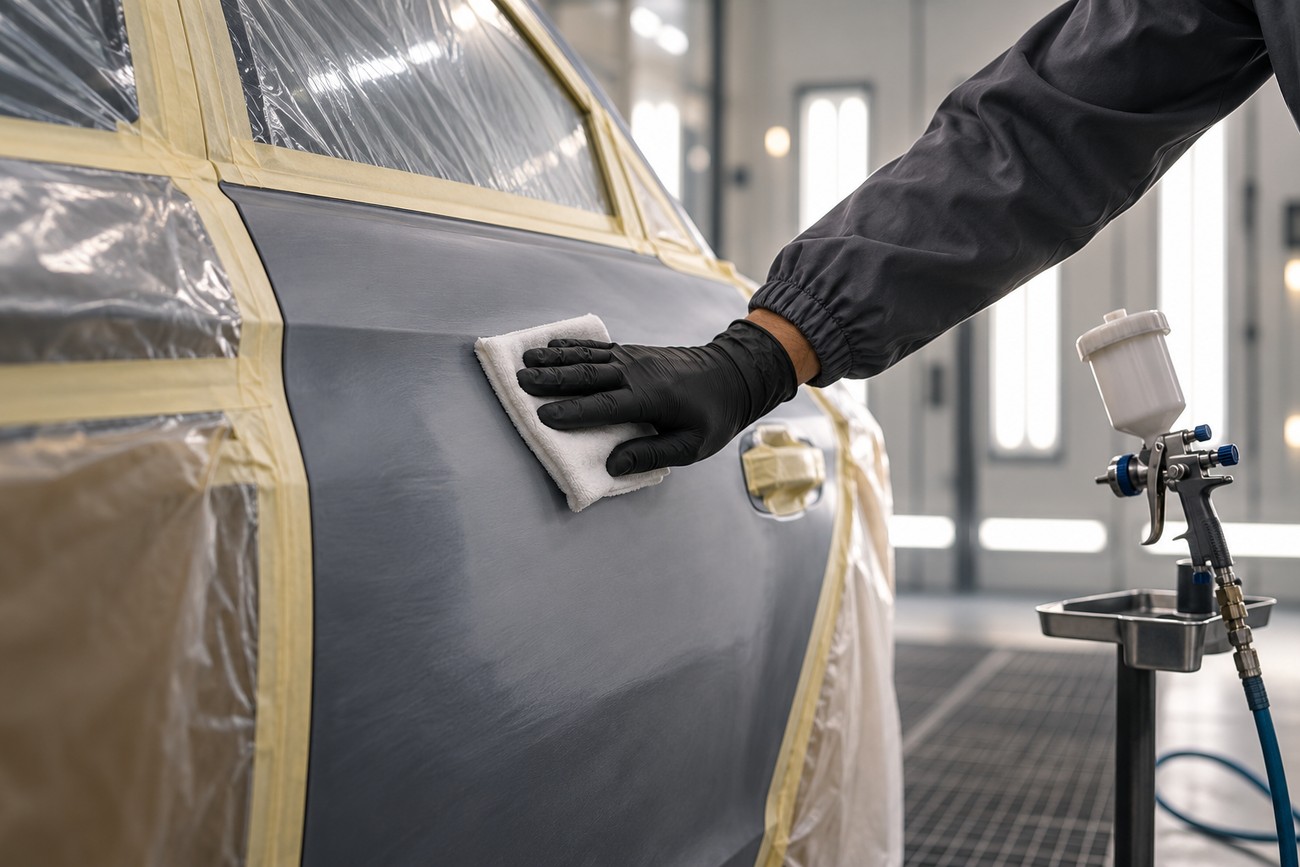
Clean and decontaminate the repair area before mixing paint. Dust can become trapped in the finish, while silicone or polish residue can cause craters and other visible defects. Follow the coating system’s surface-preparation instructions, and keep cleaning products and handling residue off the prepared area afterward.
Mask beyond the spot you plan to paint. Include nearby trim, glass, and panels that could collect airborne coating, while leaving the intended blend area accessible. HVLP can reduce overspray when set up correctly, but it does not eliminate it; a small spray pattern still needs protection around it.
Check that the compressor can meet the gun’s air requirements while spraying, rather than relying on a pressure reading taken with the trigger released. Use suitable, stable pressure and dry, filtered air. A small gun can produce an inconsistent finish if the air supply fluctuates or carries moisture.
Spray only in a suitably ventilated work area, and follow the coating’s safety information for respiratory protection and other protective measures. Reduced overspray does not make spraying in an unventilated space safe. Temperature and humidity also affect evaporation and drying, particularly with fast-drying materials, so check the product guidance and test how the coating behaves under the conditions you have.
Mix and test the spray before painting the repair
Follow the coating manufacturer’s technical data sheet for mixing, thinning, application, and flash times. The gun’s small size does not change those requirements. There is no universal detail-gun viscosity target: the workable mixture depends on the coating and its approved application method.
Confirm that the material suits the gun and nozzle, then mix only what you can use within the product’s instructions. Fill the cup sufficiently for a steady test and the planned passes without allowing material to sit unused. A small cup saves material, but it needs closer attention as its level falls.
A test fan can look sound with a full cup and begin pulsing later. Before changing pressure, check the material level and whether the gun is still drawing steadily in the position you are using.
Spray a card or, where possible, a comparable prepared surface before touching the panel. Look for an even fan, fine and consistent atomization, and steady delivery through a complete pass. A test surface closer to the panel’s color and substrate also gives you a better view of coverage and the proposed blend than bare cardboard alone.
Adjust pressure, material flow, and fan shape within the gun and coating instructions, changing one setting at a time so you can see its effect. If the material remains coarse or dries before it reaches the surface, do not assume more pressure will solve it. Recheck the mix and whether the nozzle and gun are suitable for that coating before spraying the repair.
Build coverage without leaving a hard edge
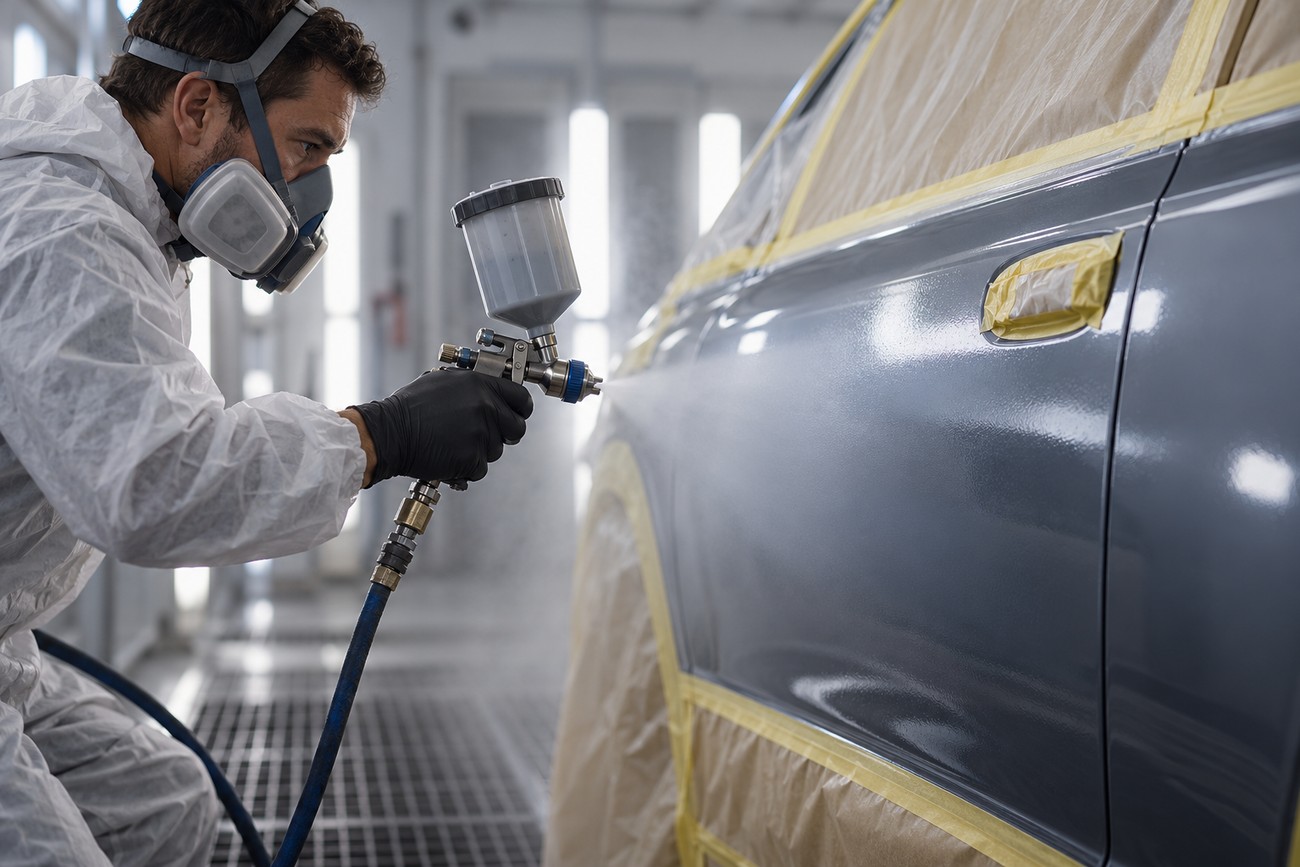
Once the test pattern is stable, use controlled, overlapping passes across the prepared area. Keep your movement and distance consistent, and release the trigger as you finish each pass rather than lingering over the defect. The appropriate pace and distance depend on the gun, coating, and fan you established during testing.
Build coverage according to the coating manufacturer’s application and flash instructions. Trying to hide the defect with one heavy coat can produce excess film, runs, or a different texture from the surrounding finish. Let each application stage do its intended job before deciding whether more material is needed.
Plan a feathered blend rather than stopping every pass at the same boundary. An abrupt edge can remain visible after polishing, especially when light travels across the panel. Keep the surrounding blend area clean and available from the start; masking too close to the defect can leave you nowhere to soften the transition.
Consider the finishing area before you spray, including where any clear-coat transition will sit and what can be safely polished later. Follow the coating system’s guidance for blending and finishing rather than treating polishing as a way to erase an unsuitable edge. It can refine texture, but it cannot reliably correct a poor color match.
Inspect the developing repair from more than one angle before adding another coat. Metallics and complex colors may look acceptable straight on yet show a shade or particle difference from the side. If the available blend area cannot accommodate the transition, a larger repair may be the more honest route to a consistent panel.
Troubleshoot spitting, dry spray, and excess mist
If the gun spits or the fan pulses, stop and test away from the panel. Check the material level first, then inspect the nozzle and fluid path for contamination and confirm that the air supply is stable. A nearly empty cup or dried material around the nozzle can disturb delivery, although neither is the only possible cause.
A dry, rough finish or pronounced orange peel calls for a review of atomization and how the coating is reaching the surface. Check the mixture against the technical data sheet, the gun and nozzle compatibility, and your tested settings and movement. Increasing pressure alone may create more airborne material without resolving a coating or nozzle mismatch.
If mist reaches farther than expected, check fan width, pressure, distance, and where each pass begins and ends. HVLP can reduce overspray with correct setup, but it does not eliminate it. Improve masking and ventilation before continuing; a small gun is no reason to leave neighboring surfaces exposed.
Correct an unstable setup before spraying another coat. Additional paint will not level out debris from a dirty nozzle or hide a pattern that repeatedly breaks up. Return to the test surface, make one change at a time, and resume on the panel only when the fan is consistent.
Clean the gun and judge the result before the next repair
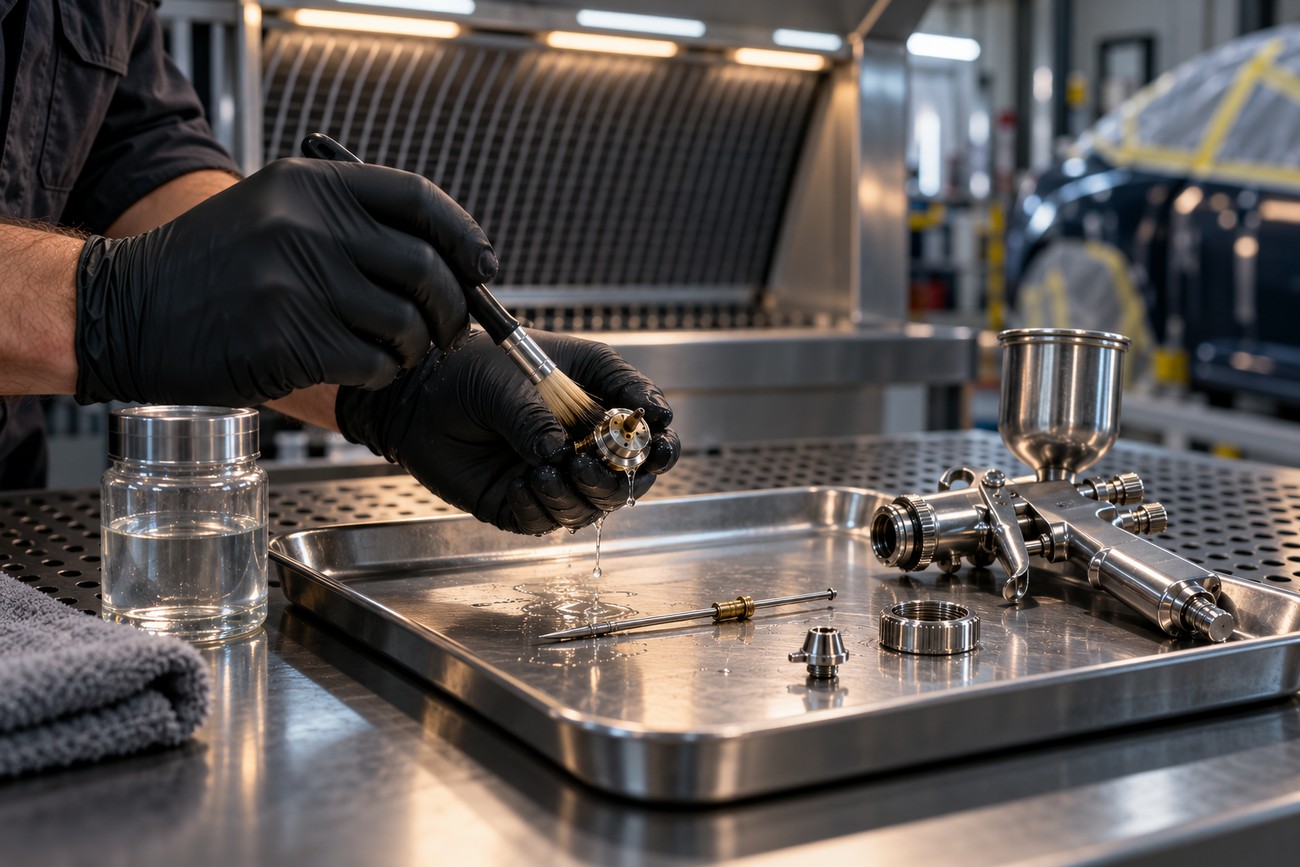
Clean the gun promptly after even a short session, using products and methods compatible with both the coating and the equipment. Clear the fluid path, nozzle, and needle according to the gun manufacturer’s instructions. Dried coating left in any of these areas can disrupt the next spray pattern.
Inspect the cleaned parts without damaging precision surfaces, then reassemble the gun as instructed. Before its next repair, spray a test pattern rather than assuming yesterday’s settings and cleaning will produce the same result. This catches residue or unstable delivery before it reaches a prepared panel.
Judge the finished repair in direct and angled light, looking separately at texture, color, and the edge of the blend. A smooth repair can still show a shade difference, while a well-matched color can still reveal a hard boundary. Give the coating the handling and finishing time specified in its technical data sheet before any further work; there is no universal polishing time for a small touch-up.
Frequently asked questions
What is a good small spray gun for touch-ups?
Look for a detail gun that can produce a steady, adjustable fan with your coating and available air supply. Check its stated air requirements, compatible nozzle options, and whether replacement parts are available. A nozzle around 0.8–1.2 mm is common for small touch-ups, but the coating manufacturer’s guidance should determine suitability.
What is a good small paint sprayer for touch-up work?
For a localized automotive repair, a detail spray gun is often a suitable choice if it can apply the specified coating and cover the required blend area. A brush may be simpler for one tiny chip, while a larger finishing gun may provide a better fan for a broad blend. Do not assume every compact sprayer can apply automotive basecoat or clear coat.







