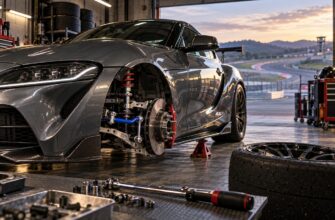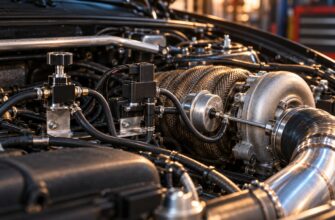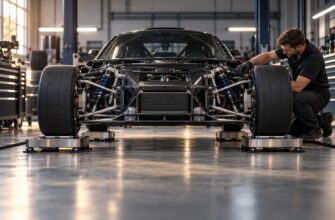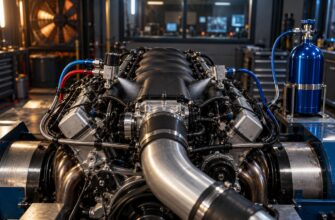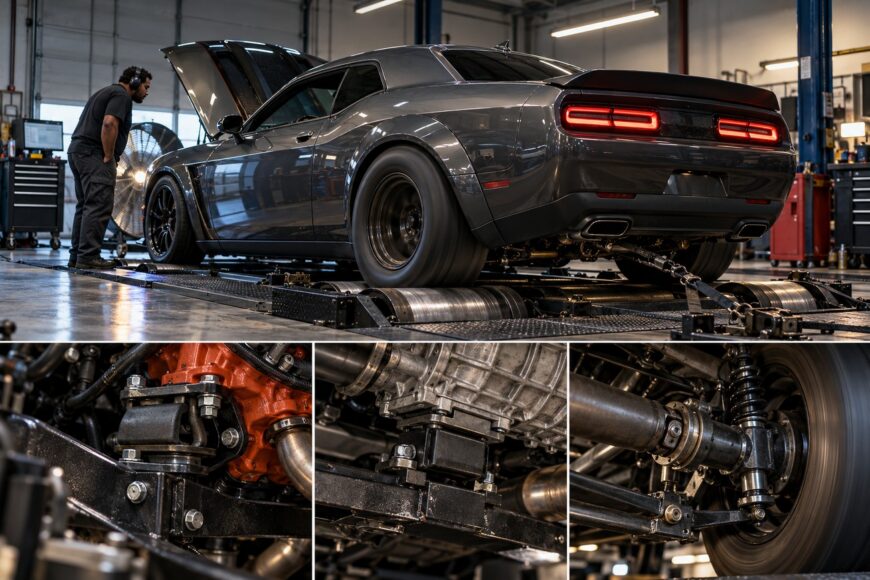
Wheel hop can survive an apparently successful engine-mount upgrade. The engine may move less, throttle response may feel sharper, and the launch can still produce a repeating loss and recovery of tire grip. That is because wheel hop is a system problem involving the tires, suspension, powertrain, driveline components, and road surface.
Stiffer mounts limit engine and transmission movement, which can reduce powertrain wind-up and delay during throttle changes. The trade-off is reduced vibration isolation, with more noise, vibration, and harshness transmitted into the cabin and greater impact loads sent through brackets, bolts, subframes, axles, and bushings. The best result usually comes from a diagnosed, proportionate change rather than the hardest mount available.
- Why Wheel Hop Happens—and Where Engine Mounts Fit
- Diagnose the Existing Mounts Before Buying Upgrades
- Choose the Least Aggressive Mount Strategy That Solves the Problem
- Mount Options: What Changes and What You Give Up
- Install the Mount Without Creating a New Problem
- When Less Wheel Hop Comes With More Noise
- Frequently asked questions
- How do you stop wheel hop without making a daily driver unbearably harsh?
- What does upgrading engine mounts change besides wheel hop?
- How do you stop wheel hop?
- What does upgrading engine mounts do?
- What causes excessive wheel hop?
Why Wheel Hop Happens—and Where Engine Mounts Fit
Wheel hop is a repeating loss and recovery of tire grip. During a hard launch or aggressive throttle application, the tire can alternately grip and slip as the suspension, driveline, and powertrain load and unload. Engine movement can amplify that cycle, but it is only one part of the mechanism.
Engine and transmission mounts locate the powertrain while isolating vibration. A stiffer mount limits the rocking and wind-up that occur when torque is applied, so throttle response may feel more direct and the likelihood of hop may decrease. That improvement depends on the direction of movement the mount controls.
On many transverse front-wheel-drive platforms, the lower torque-arm or doggone mount is especially important for controlling longitudinal powertrain movement. It may therefore have more influence on launch behavior than replacing every primary mount. A mount that controls fore-and-aft movement, however, may have little effect on vertical wheel hop caused by tire loading, suspension geometry, or damper behavior.
Tires, pressure, dampers, suspension bushings, wheel alignment, axles or driveshafts, and the road surface all affect the result. A mount upgrade cannot repair a weak damper, a separated bushing, a damaged axle, or a tire that cannot maintain a consistent contact patch. On an uneven road, excessive mount stiffness can also reduce compliance and make it harder for the tire to follow the surface.
Diagnose the Existing Mounts Before Buying Upgrades
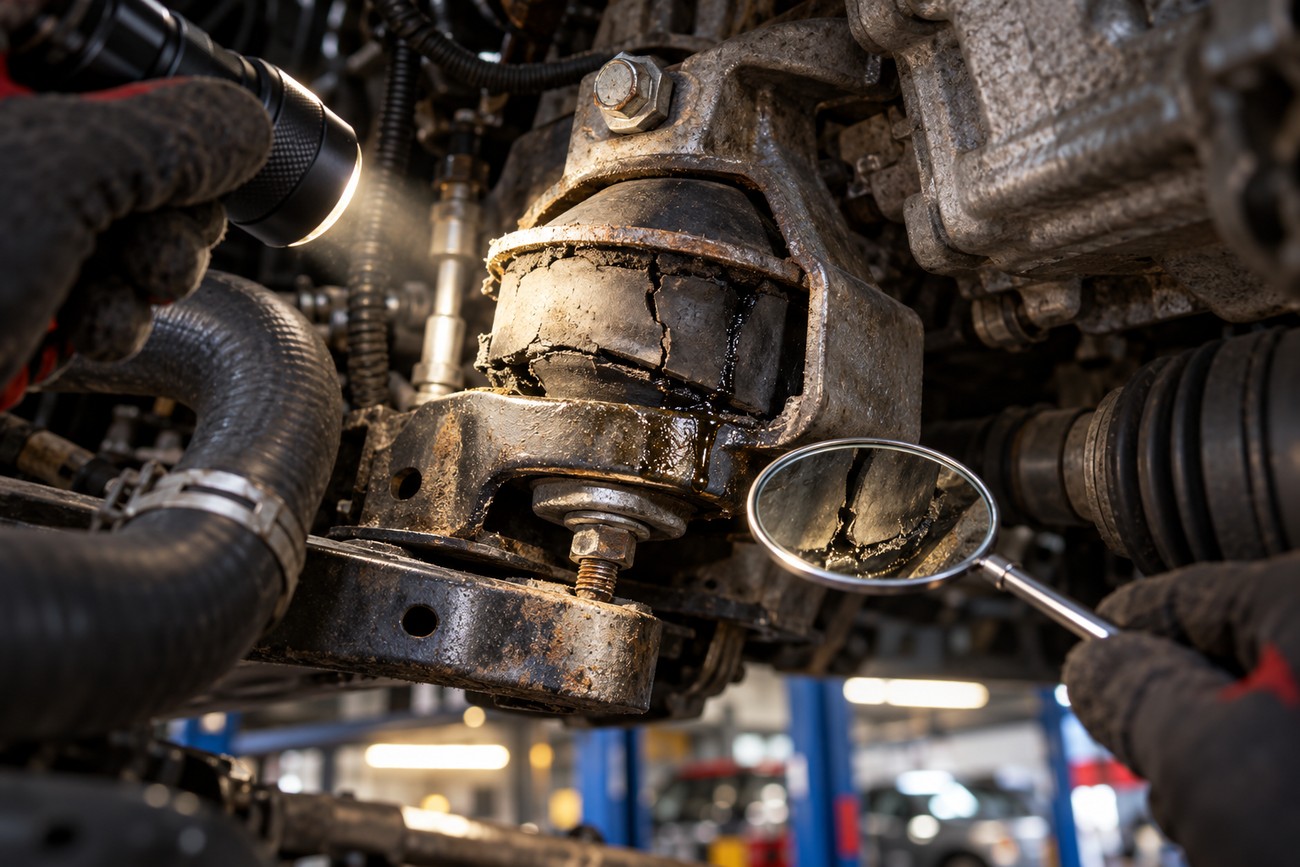
Begin with the condition of the original mounts. Look for cracked or sagging rubber, separation between rubber and metal, fluid leakage where a hydraulic mount is used, distorted brackets, and loose or damaged hardware. A worn stock mount can contribute to wheel hop by allowing excessive powertrain movement, so replacing it with a healthy OEM-style part may solve more than adding stiffness to an otherwise sound system.
Static inspection should be combined with controlled observation. Excessive movement during idle, gear engagement, a quick throttle transition, or a carefully managed launch can identify a mount that is no longer locating the powertrain correctly. Use safe workshop procedures and avoid placing hands near moving components; a helper observing from a safe position is more useful than guessing from the driver’s seat.
Replacing every mount without identifying the failed part can waste money and change the load balance of the entire mounting system. The mounts work together, so stiffening one location transfers more force to the others. A new doggone can expose a weak side mount or transmission mount and accelerate its wear if those parts are already cracked, collapsed, or loose.
If hop remains after a failed mount is repaired, inspect tire condition and pressure, dampers, suspension bushings, alignment, axles, and the broader drivetrain. A failed mount may be both a contributor to driveline shock and a result of repeated shock from another fault. On some platforms, owners report that Power Plant Frame alignment matters more than mount replacement, but that is an isolated discussion-based claim rather than a general diagnostic rule.
Choose the Least Aggressive Mount Strategy That Solves the Problem
A healthy OEM-style rubber or hydraulic mount preserves the intended balance between powertrain control and vibration isolation. It is often the sensible choice when the original part has failed on a street car that spends most of its time in traffic. Restoring the designed geometry can matter more than adding stiffness to a component that was never defective.
A polyurethane insert is usually stiffer than rubber and often costs less than a complete mount. Its limitation is that it can retain a worn or damaged OEM component, including sagging rubber or compromised geometry. Insert fitment also matters: insufficient clearance, incorrect seating, or contact with the housing can create vibration and premature failure.
Polyurethane behavior varies with construction, fill, and compound stiffness. Labels such as “street,” “race,” and “hard” are not universal stiffness ratings, so two products carrying similar marketing language can produce different levels of movement control and NVH. The expected result should be judged from the complete design and the vehicle’s use, not the label alone.
For many street cars, selectively strengthening the torque-arm or doggone while keeping healthy primary hydraulic or rubber mounts is a proportionate starting point. A complete performance mount is more appropriate when the original housing or bushing is damaged, or when the vehicle’s use accepts more cabin vibration. Change one controlled variable at a time so you can identify whether the result improved launch behavior or simply made the car louder.
Mount Options: What Changes and What You Give Up
Each option trades movement control against NVH isolation and load transfer. None guarantees the elimination of wheel hop because the rest of the chassis system still matters.
| Mount option | Movement control | Likely wheel-hop effect | NVH | Load on surrounding components | Best use |
|---|---|---|---|---|---|
| Healthy OEM rubber or hydraulic mount | Designed balance and compliance | Restores normal control if the original mount is worn; limited upgrade effect when healthy | Lowest of these options in normal condition | Generally closest to the vehicle’s intended load path | Daily driving, diagnosis, and repair of a failed mount |
| Polyurethane insert | More control than a compliant original bushing, depending on design | May reduce powertrain wind-up, but cannot correct other causes of hop | Usually more idle vibration, gear-engagement shake, and cabin noise | Can increase loads on the retained mount and nearby hardware | Selective street use when the original mount is sound and fitment is correct |
| Complete performance mount | Highest control when properly matched to the vehicle | May reduce movement and improve throttle transitions; no guaranteed cure | From acceptable to harsh, depending on stiffness and platform | Greater impact loads may reach brackets, bolts, subframes, axles, and bushings | Vehicles that accept higher NVH or need a complete replacement |
The table shows why a complete performance mount can be a better repair than an insert when the original mount is damaged. It also shows why the hardest option is not automatically the most effective. A mount that prevents movement in one direction may leave the actual wheel-hop mechanism unchanged while adding stress elsewhere.
Fitment should include clearance around the exhaust, axles, subframe, and body. A design that works on a smooth track surface may be unnecessarily harsh on a daily car that encounters potholes, expansion joints, and uneven pavement. The useful choice is the one that controls the relevant movement without compromising tire contact or the condition of neighboring parts.
Install the Mount Without Creating a New Problem
Support the powertrain correctly before removing or loosening a mount. The engine and transmission must be held in the position specified for the vehicle, with the replacement part seated without forcing the assembly into place. If the mount is tightened while the powertrain is sitting out of position, the bushing can be preloaded and create constant vibration even when the part itself is suitable.
Mount position under load is a frequent source of false diagnosis: verify preload and clearance before judging the mount’s NVH or durability.
Follow the vehicle’s service documentation for torque values, tightening sequence, powertrain positioning, and alignment procedure. Universal torque figures are unsafe because fastener size, joint design, and mounting geometry differ. Some applications require replacement of torque-to-yield or otherwise single-use bolts, and reusing them can compromise clamping force.
Before lowering the vehicle, check that the powertrain, exhaust, axles, and brackets have adequate clearance through their expected range of movement. Look for contact with the body or subframe and confirm that wiring, hoses, and heat shields are not trapped. A mount that touches a nearby component can turn a small movement into a persistent boom or metallic knock.
Post-install testing should be gradual. Check idle vibration, cold-start behavior, gear engagement, light throttle transitions, and progressive acceleration before attempting a hard launch. Recheck fasteners and clearances after the initial drive according to the manufacturer’s procedure, particularly if the mount uses an insert or a design that settles into an existing housing.
When Less Wheel Hop Comes With More Noise
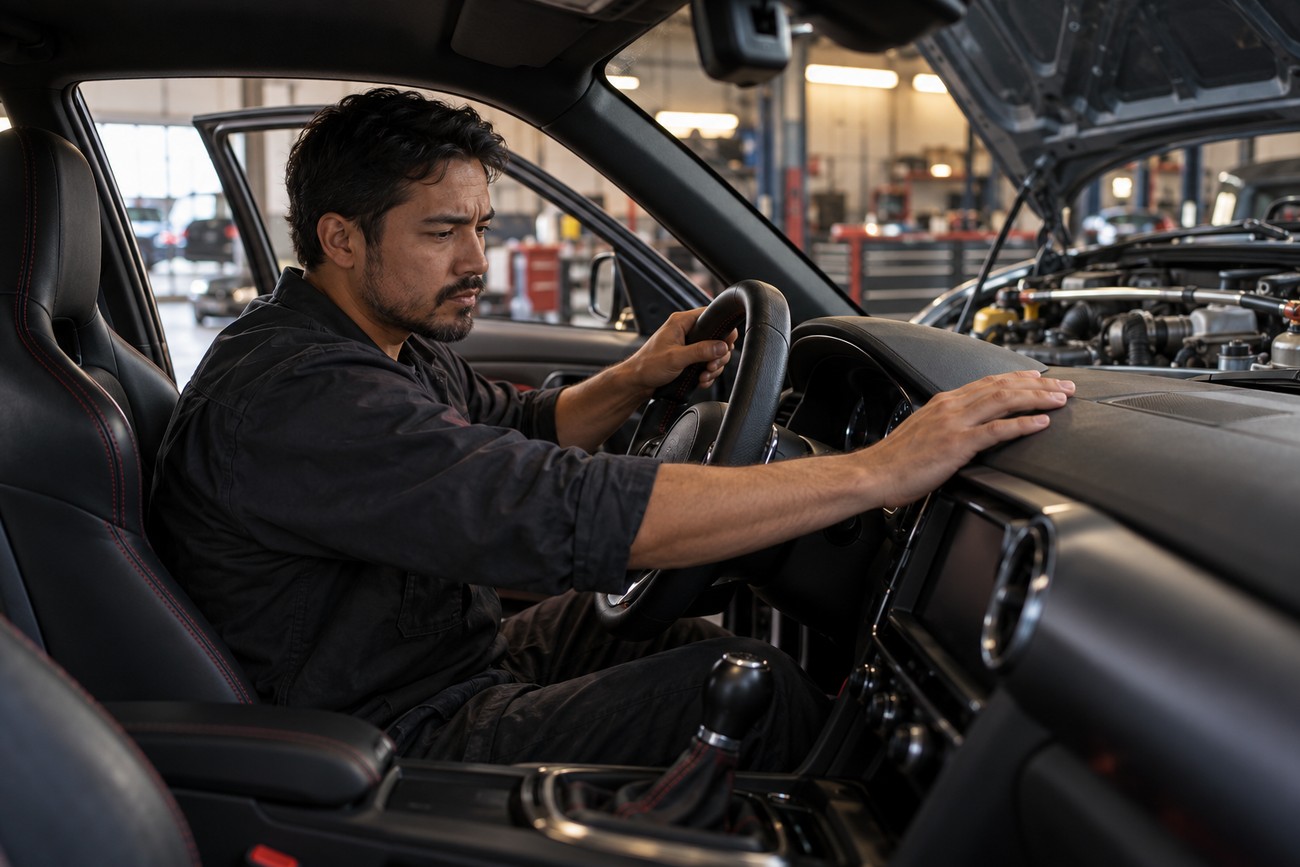
Increased stiffness inevitably removes some vibration isolation. Common complaints after polyurethane or multiple mount replacements include idle vibration, cold-start shake, harsher gear engagement, cabin boom, and a generally harder feel. The change can be acceptable for a performance-focused car and unpleasant in a daily driver, even if launch behavior improves.
NVH may change after the material heats, settles, or deteriorates. A vehicle that feels reasonable immediately after installation can develop more vibration later, while a mount that becomes softer or damaged may allow movement and renew the original hop. This is one reason to inspect the part and its clearances rather than assuming every new noise is a normal characteristic.
Very high stiffness can also transfer greater impact loads into brackets, bolts, subframes, axles, exhaust components, and other bushings. On uneven pavement, reduced compliance may worsen tire behavior because the wheel has less opportunity to follow the surface. Limiting engine movement is useful only if the tire still receives a manageable and consistent load.
Marketing claims such as “minimal vibration” or “reduced wheel hop” are platform- and compound-dependent. Practical results range from acceptable street manners to noticeable drone and shake. Mounts can reduce movement and improve throttle transitions, but they do not create grip by themselves or solve every condition that produces wheel hop.
Frequently asked questions
How do you stop wheel hop without making a daily driver unbearably harsh?
Start with tire condition and pressure, then repair failed mounts, bushings, dampers, or driveline parts before adding stiffness. If the system is healthy, make one controlled change at a time, usually beginning with a moderate torque-arm or doggone solution on a transverse FWD car rather than replacing every mount with the hardest available part.
Test the car on the same type of surface where the problem occurs and record idle vibration, gear engagement, and throttle behavior separately from launch performance. This prevents a small improvement under acceleration from being mistaken for an acceptable overall result when the car has become tiring to drive.
What does upgrading engine mounts change besides wheel hop?
Mount upgrades can make throttle transitions and shifts feel more immediate because the powertrain changes position less under load. They can also change the way driveline shock reaches the cabin, alter exhaust movement, and increase the load path through brackets and subframes.
The result may include more gear-engagement harshness, cabin boom, or vibration at idle. A mount that is too stiff for the rest of the vehicle can make traction less consistent on rough pavement, so comfort, surface conditions, and the condition of surrounding hardware should be part of the decision.
How do you stop wheel hop?
Correct the cause rather than treating the symptom alone: inspect the mounts, tires, pressure, dampers, bushings, alignment, axles, and road conditions. Repair damaged parts first, then evaluate whether controlled powertrain movement is still contributing to the problem.
Driving technique and surface also matter. A launch that repeatedly overloads a tire on an uneven road can produce hop even with sound mounts, while a stiffer mount may simply transfer the event into the chassis.
What does upgrading engine mounts do?
It restricts engine and transmission movement and can reduce powertrain wind-up, throttle-response delay, and some driveline shock. The amount of change depends on which mount is upgraded and which direction of movement it controls.
It also reduces vibration isolation. That can mean more idle shake, harsher shifts, or cabin resonance, especially when several mounts are stiffened together.
What causes excessive wheel hop?
Excessive wheel hop can result from worn mounts, inconsistent tire grip, unsuitable pressure, weak or mismatched dampers, worn suspension bushings, alignment problems, damaged axles or driveshafts, and an uneven road surface. Powertrain movement is one contributor within that chain.
Look for a repeating grip-and-release event rather than assuming the engine mounts are solely responsible. The failed component may be the source of the movement, or it may have been damaged by repeated driveline shock from another part of the system.