Sharper turn-in and less body roll are the main attractions of an adjustable sway bar. A correctly chosen setting can make steering response more immediate and help the car hold a clearer line through a corner. The result depends on the entire suspension system, however, and a quicker response is not the same as greater usable grip.
An adjustable sway bar changes the handling balance between the front and rear axles. It resists relative vertical movement between the left and right wheels, which reduces their independence over bumps. It also changes how roll stiffness is distributed; it does not eliminate total lateral load transfer, which is mainly governed by vehicle mass, center-of-gravity height, and track width.
The useful choice is therefore a compromise between response, grip, ride quality, and forgiveness. More rear stiffness can reduce understeer and make turn-in feel sharper, yet it can also move the car toward sudden oversteer during braking or throttle lift. Progressive testing matters more than selecting the stiffest hole.
- What an Adjustable Sway Bar Actually Changes
- How Adjustment Holes Change Handling Balance
- Choosing a Baseline Before You Tune
- Installation Details That Decide the Result
- The Hidden Cost of More Roll Stiffness
- Common Tuning Mistakes and Safer Testing
- Frequently asked questions
- How can I tell whether a new bar is too stiff or the tires are the real problem?
What an Adjustable Sway Bar Actually Changes
An adjustable sway bar links the suspension on the left and right sides of an axle. When one wheel moves upward relative to the other, the bar twists and resists that difference. This limits body roll while also transmitting some of the load from one side of the suspension to the other.
The important tuning effect is the change in roll-stiffness distribution between the axles. A stiffer front bar generally increases understeer: the car responds more firmly, but the front tires reach their useful slip range sooner. A stiffer rear bar generally increases oversteer, helping the car rotate while making the rear axle less forgiving.
Reduced roll is easy to feel and easy to market, yet it does not prove that the car has gained cornering grip. A flatter body can improve driver confidence and make steering inputs more consistent. On a rough corner, greater bar stiffness can instead reduce compliance and cause the inside and outside tires to influence each other more strongly.
Total lateral load transfer remains part of the vehicle’s basic physics. The bar mainly changes how that transfer is shared between the front and rear axles, along with the way each axle responds to bumps and steering inputs. Tire condition, alignment, dampers, and suspension geometry still determine whether the available grip can be used effectively.
How Adjustment Holes Change Handling Balance
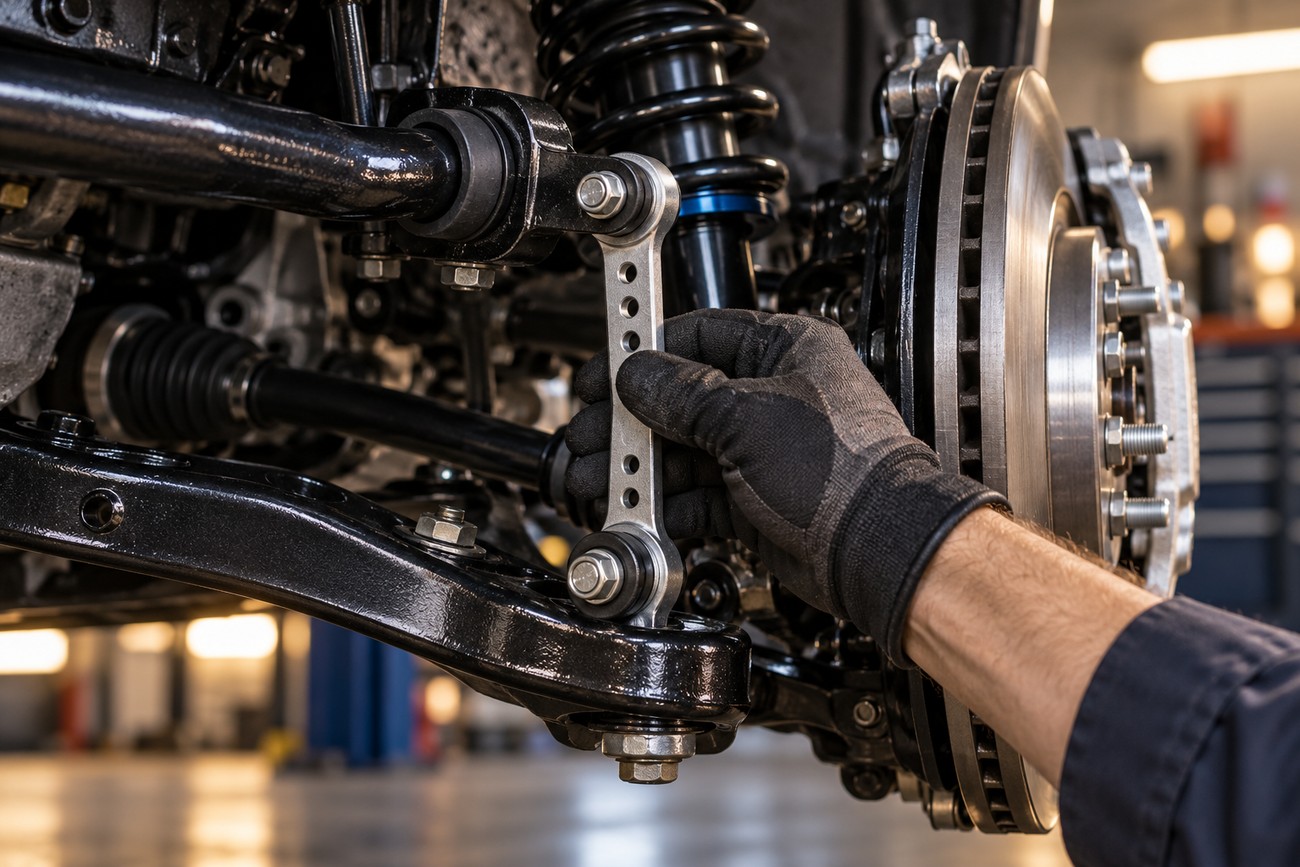
The holes in an adjustable bar alter its effective working arm. A shorter working arm produces a stiffer setting because the suspension applies force closer to the bar’s effective leverage point. A longer arm produces a softer setting and usually allows more independent wheel movement.
More front stiffness can make the first steering input feel cleaner and reduce roll at turn-in while increasing understeer in the middle of the corner. More rear stiffness can improve rotation and reduce the need for steering lock, but it also increases the chance of oversteer when the driver lifts the throttle or brakes while cornering. These changes affect balance and response speed as much as they affect the visible amount of body roll.
A larger diameter is not a complete stiffness specification. Shape, length, material, mounting points, working-arm length, and suspension kinematics all influence the force reaching the bar. Two bars with the same diameter can produce different results, and a catalog claim based only on diameter may tell you little about the installed system.
Choose a hole according to the behavior you need to correct. If the car already rotates readily, a stiffer rear setting may create a narrow operating window. If the car feels slow to respond but has a stable rear axle, a modest front adjustment or a carefully selected rear change may be appropriate. The final choice should be verified on the actual vehicle rather than inferred from the hardware alone.
Choosing a Baseline Before You Tune
Begin with the condition of the vehicle, not with the adjustment lever. Uneven or unsuitable tires, incorrect pressures, poor alignment, weak dampers, excessive suspension stiffness, excess mass, and limited grip can all produce handling complaints that a sway bar cannot solve. A bar may hide one symptom while leaving the underlying problem untouched.
Persistent understeer, slow response, excessive rear rotation, and poor grip on rough corners require different approaches. A softer rear setting generally shifts the balance toward understeer and can reduce rear-axle reaction on uneven surfaces. That may feel slower during an initial steering input, yet it can provide a more stable platform for road driving.
Use a soft or middle setting as the initial baseline rather than the maximum-stiffness position. Record tire pressures, alignment settings, weather, road surface, and the exact bar position. This makes it possible to separate a real setup change from a difference caused by temperature, tire condition, or driver expectation.
Change one variable at a time. Drive the same safe test section at a controlled pace, describe turn-in, mid-corner balance, exit behavior, and ride response, then return to the baseline before trying the next change. A useful setup record should include whether the car becomes more stable or less stable during braking and throttle lift, since a neutral steering sensation alone can conceal a less forgiving rear axle.
Installation Details That Decide the Result

Adjustable hardware still needs correct geometry. The selected holes may be difficult to align if the suspension is loaded unevenly, and an end link can sit at an unsuitable angle even when the fasteners appear to fit. Excessive articulation or side loading can create binding, noise, and a setting that does not behave as intended.
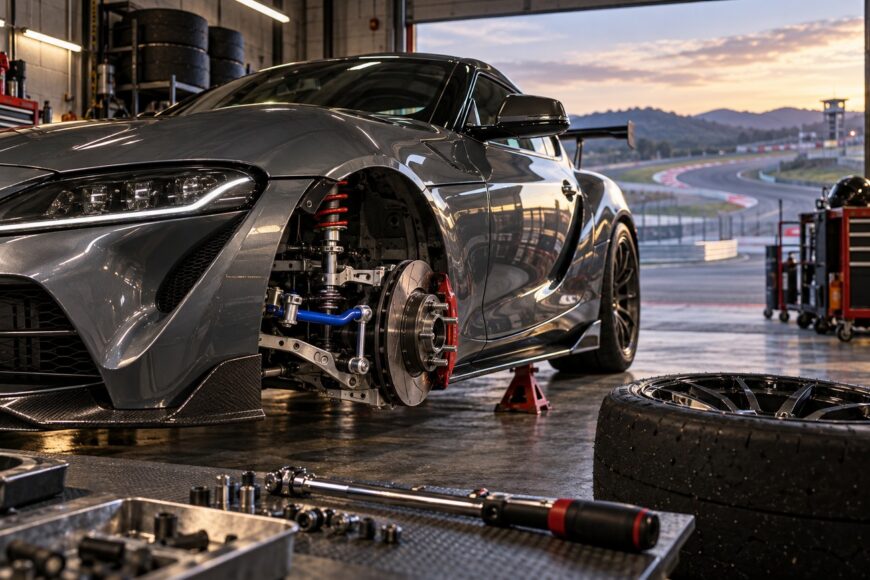
Inspect the bar, end links, brackets, and bushings at normal ride height, then check the full range of suspension movement. Clearance is required at full compression and full droop, as well as at full steering lock. Adjustable end links can contact an inner fender, wheel, spring, damper, or nearby suspension component only at one part of that range, where a static visual check may miss the problem.
End-link geometry and component clearance should be checked at static ride height, full compression, full droop, and full steering lock before handling changes are evaluated. A small contact mark can explain an apparent tuning problem more reliably than a new adjustment.
Bushings and brackets affect how the bar transmits force. Unsuitable bushings can change compliance, create squeaks during slow steering movement, or allow the bar to sit off-center. A bolt-on part may still require a geometry inspection, alignment check, and fastener recheck after the suspension has settled and completed its first controlled drive.
The Hidden Cost of More Roll Stiffness
Increasing bar stiffness couples the two wheels on an axle more strongly. On smooth pavement, this can make the car feel composed and precise. On a rough corner, one wheel’s movement can influence the other more than before, reducing compliance and making it easier for the axle to lose usable grip.
Roll stiffness also changes suspension working angles and camber behavior. A flatter body does not guarantee that the tire maintains a better contact patch throughout the corner. Depending on the suspension design, altered movement can change available grip and the balance between the two axles.
This explains why a sharper car may fail to produce higher cornering speed or lateral acceleration. The steering can feel more responsive because the body reacts sooner, while the tires receive little additional capacity. On public roads, a slightly softer setup may deliver a more consistent line over surface changes and require fewer corrections.
A rear-biased stiffness change deserves particular care. It can make a car feel fast on a smooth circuit, then become nervous when the driver brakes into a corner, lifts the throttle, or meets a bump while turning. The same setting that improves rotation in one phase of a corner can reduce the margin for correction in another.
For a road car, the most useful balance is usually the one that remains predictable when the surface, temperature, and driver input change. A neutral car may demand less steering correction, yet it can be less forgiving when grip falls suddenly. Evaluate consistency and recovery behavior alongside the first impression of sharpness.
Common Tuning Mistakes and Safer Testing

The maximum-stiffness hole is not automatically the best setting. Selecting it immediately can create a false sense of improvement because the steering feels more urgent. The car may then have less grip on uneven pavement, more noise from stressed components, or a rear axle that reacts faster than the driver expects.
Changing the rear bar without considering oversteer is another common error. Greater rear stiffness generally moves the balance toward oversteer and can make the car tail-happy, especially during braking or a throttle lift. If the rear becomes nervous, return to the previous setting or soften the rear before making further changes elsewhere.
Judge more than steering sharpness. Check whether the car holds a steady line, whether it needs correction over bumps, whether the rear remains settled during deceleration, and whether the tires retain consistent contact. A setup that feels exciting for one corner may be slower and less safe across a complete drive.
- Inspect the tires, pressures, alignment, fasteners, bushings, and clearance before testing.
- Drive the baseline in a safe environment at a controlled pace, recording specific behavior.
- Change one bar position or one other setup variable, then repeat the same test.
- Stop if the car develops sudden oversteer, binding, contact, or unexplained noise.
- Recheck the installation and fasteners before any higher-speed evaluation.
Testing should progress from low-risk observation to more demanding evaluation. A safe, repeatable surface is more useful than a public road where traffic, bumps, and changing conditions obscure the result. If the handling change cannot be described clearly, it should not be treated as a confirmed improvement.
Frequently asked questions
An adjustable sway bar should be assessed as part of the complete tire, alignment, damper, and suspension system. Noise, binding, contact, or an unexplained balance change calls for an installation inspection rather than another increase in stiffness.
How can I tell whether a new bar is too stiff or the tires are the real problem?
Repeat the same corner or controlled test section with the same tire pressures and bar setting, then inspect tire condition and temperature patterns if suitable equipment is available. Look for a consistent change in balance, such as earlier front push, sudden rear rotation, or reduced compliance over the same bump. A single drive based only on steering feel cannot reliably identify the cause.
Return to the original bar setting and repeat the test before changing tire pressures, alignment, or another suspension part. If the behavior follows the bar position while the tires and conditions remain consistent, the bar is likely contributing. If grip varies from corner to corner or changes with pressure and surface temperature, investigate the tires and alignment before making the bar stiffer.