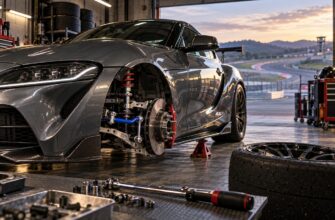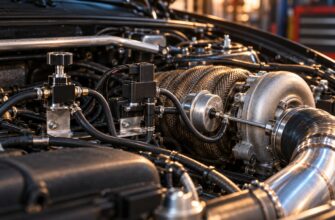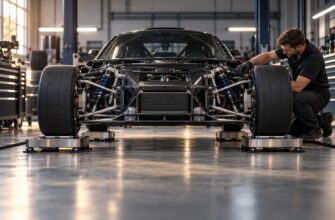
An extreme drop can look right at a show and feel wrong on the road. As the car settles, it may lose usable damper stroke, move its suspension geometry into a poor operating range, and wear tires quickly. A preset that looks level while parked can also behave differently over bumps or with passengers aboard.
For a show-and-go build, establish the height at which the car drives predictably first. Measure travel, check clearance and alignment, and tune the dampers there. Then save a separate low setting for display. One height and one pressure target cannot serve both jobs equally well.
- Why Show-and-Go Air Suspension Is a Compromise
- Know the Hardware Before You Tune It
- Set a Usable Drive Height Before Chasing Maximum Drop
- Tune Pressure, Damping, and Load Response Together
- Check Alignment at Every Working Height
- Build Separate Show and Drive Profiles
- Show Mode vs Drive Mode: What to Change
- Fix the Problems That Make Air Ride Feel Unreliable
- A Repeatable Air Suspension Calibration Sequence
- Frequently asked questions
- What PSI should I run in my air suspension?
- How can I tell whether my air suspension is safe to drive at a low setting?
- How often should I inspect an air-ride system used year-round?
Why Show-and-Go Air Suspension Is a Compromise
Maximum drop and active driving ask the suspension to do different things. A parked car needs to clear little more than the ground beneath it; a moving car needs room for its wheels to rise into the body and for its dampers to control that motion. If the car spends ordinary road bumps on its bump stops, more damping adjustment cannot restore the missing stroke.
Ride height changes geometry as well as appearance. At very low positions, control-arm angles, bump steer, and roll-center behavior can move outside their intended ranges. The result may be vague steering or an abrupt response to an uneven corner, even if the car feels acceptable on smooth pavement.
A well-tuned air suspension can deliver usable street performance, especially when its drive height leaves travel and alignment reserves. Its repeatability still depends on load, air control, and consistent maintenance. If stable track-lap behavior is the primary goal, well-tuned coilovers are generally the more straightforward choice; air suspension takes more compromise to deliver both a display stance and dependable pace.
Know the Hardware Before You Tune It
A basic system has air springs or struts, air lines, a tank, compressor, valves, and a controller. Advanced systems may add height or pressure sensors and wireless control. Before changing settings, identify which parts are installed: a controller can only regulate what its sensors measure, and a damper can only offer the adjustment built into it.
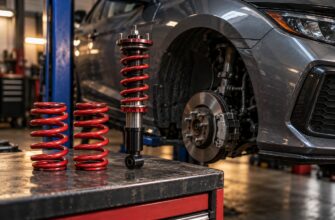
Performance Series kits commonly use monotube dampers with 30-level damping adjustment; many also have integrated camber plates. That gives you more scope to match damping and front camber to a chosen drive height, provided the vehicle has adequate travel and clearance. The adjustment range and hardware still depend on the specific application.
Show-oriented Slam Series kits generally use twin-tube dampers with 0 or 9 damping levels and no camber adjustment. Their emphasis on drop can suit a display-led build, but limited adjustment narrows what you can correct when the car feels unsettled at speed. Check the exact kit specification rather than assuming every Air Lift setup has the same tuning range.
Double-bellows or sleeve air springs have a progressive response: they can feel softer early in travel and become stiffer as they compress. That progression helps manage movement, but it does not create space that the tire, strut, or body no longer has. Physical clearance remains the first limit to establish.
Set a Usable Drive Height Before Chasing Maximum Drop
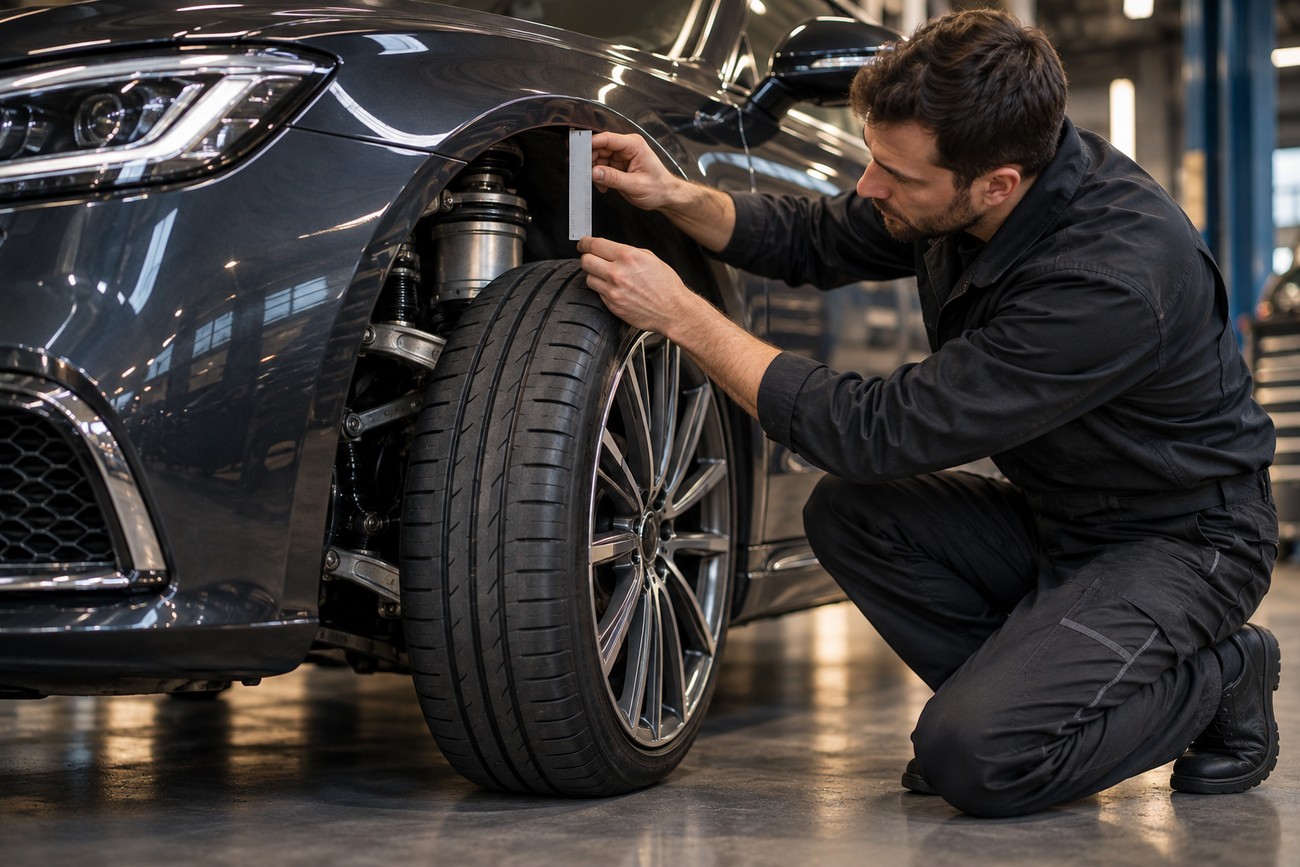
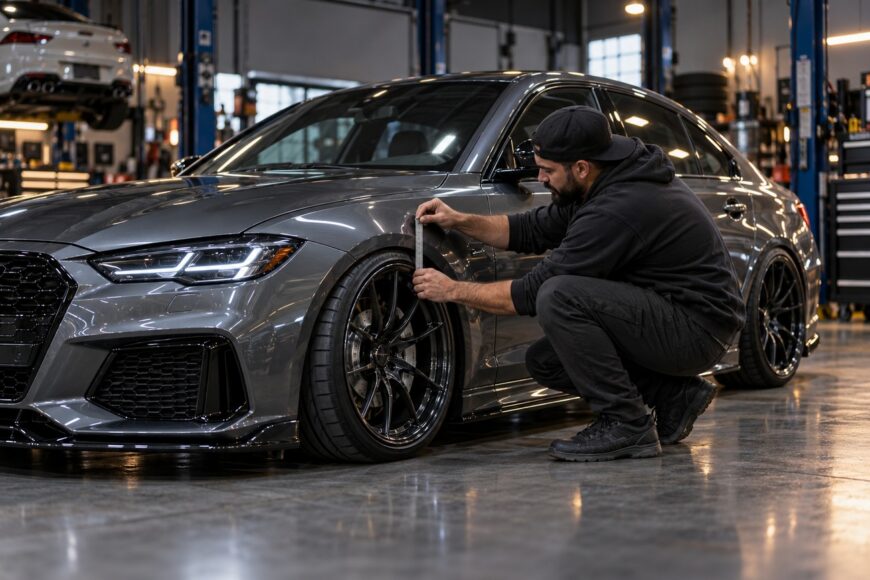
Set the drive height with the car at its normal operating load, on level ground. Check tire-to-body clearance through steering and suspension movement, available damper stroke, when the bump stops engage, and where the control arms sit. A height that clears while parked may still rub or bottom when the wheel moves.
Modern Air Lift Performance kits may provide approximately 90–130 mm of height adjustment from stock, depending on the vehicle model. That is a range of available positions, not a promise that every position is suitable for driving. Save the lowest setting only after you have identified a higher drive setting with usable stroke and workable geometry.
More pressure generally raises the car and increases spring stiffness. Less pressure generally lowers it and reduces spring stiffness while increasing the risk of bottoming and bump-stop impacts. If a low setting hits the stops, raising pressure may help by raising the car; treating pressure as a way to keep the same extreme height while recovering lost travel will not.
Record the chosen height at each wheel and recheck it after a short drive. Suspension can settle differently once it has moved, and the result matters more than the initial parked stance. Keep the drive preset above the extreme slammed position, even if that means the show preset is used only after arrival.
Tune Pressure, Damping, and Load Response Together
Pressure is a useful reference, but it is not a universal ride-height setting. The same pressure can produce a different height when passengers or cargo change the load, and the four corners need not carry equal weight. Pressure-based control is quick to adjust; height-sensor control can maintain more consistent clearance as vehicle mass changes.
Start with a drive height that has adequate travel, then assess how the car moves over the surfaces it actually uses. More pressure generally increases height and spring stiffness; less reduces both and raises bottoming risk. Smooth pavement may tolerate a firmer setup, while uneven city roads usually demand more compliance and room for wheel movement.
Adjust damping after changing height or spring stiffness. If the car continues to float after a bump, review damper control as well as ride height; if it repeatedly strikes the bump stops, check travel before turning the adjusters further. Performance dampers may offer 30 levels of adjustment, while show-oriented kits commonly offer 0 or 9, so work within the control your kit provides.
Retest with the load you normally carry. A setting that feels composed with only the driver may run lower or respond differently with passengers. If load changes are common, verify that the controller restores the intended clearance and that the resulting pressures still produce acceptable ride and grip.
Check Alignment at Every Working Height
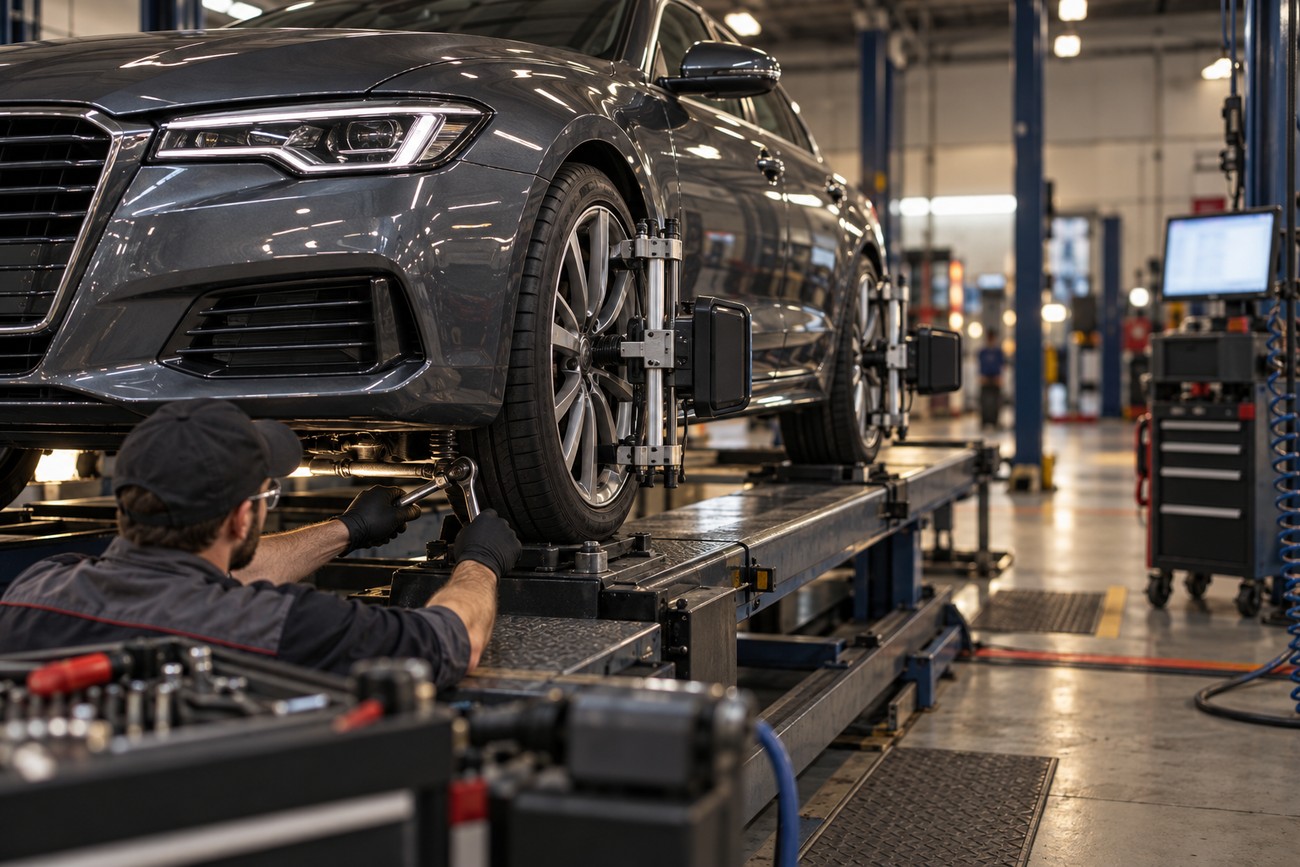
Alignment is tied to ride height. Check camber, toe, and caster where applicable at each meaningful operating height, beginning with the one used for driving. An alignment measured at stock or normal height does not automatically carry over to a slammed position.
Toe deserves particular attention because a car can wear tires quickly without looking dramatically misaligned. Extreme lowering may also produce excessive negative rear camber. A show stance may accept angles that would be a poor choice for regular driving, so judge tire wear and steering behavior at the drive height.
Many performance-oriented kits include integrated camber plates, while typical Slam Series kits do not. Plates can help set front camber where the vehicle design permits, but they do not correct every height-related geometry change. Confirm which adjustments the car actually has before choosing a target height that depends on them.
Align for predictable response and acceptable tire wear at the drive height. Measure the show position too, so you know how far its angles move, then restrict its use accordingly. If the car cannot reach a satisfactory drive alignment at the chosen height, change the height or address the available alignment hardware rather than saving an attractive but costly compromise.
Build Separate Show and Drive Profiles
A practical show-and-go setup uses at least a drive profile and a show profile. The drive profile keeps reserve suspension travel, stable clearance, controlled damping, and a workable alignment compromise. It should be the setting the car returns to before normal road use.
The show profile targets maximum drop for display or careful low-speed maneuvering. At that height, limited stroke and changed geometry can make bumps or quick steering inputs unpredictable. Label the presets clearly and verify the car has reached drive height before leaving a venue.
Pressure and damping deserve separate consideration in each profile. A setting developed on smooth pavement may feel harsh or reach its travel limits on a broken city road, so test the drive profile on the surfaces you use. If your dampers require manual adjustment, a height preset alone will not change their setting; account for that before driving harder.
Expect alignment to be a compromise between positions, not a value the controller can switch. Protect the tires and steering response at the working height, and treat the lower position as a limited-use stance. That division makes each preset’s purpose clear when you revisit the setup later.
Show Mode vs Drive Mode: What to Change
Use the profiles for distinct jobs, and check the car’s actual clearance and response before relying on either one.
| Setting | Show mode | Drive mode |
|---|---|---|
| Height | Maximum practical drop for appearance | Measured height with stable clearance and workable geometry |
| Available travel | Limited; bump-stop contact is more likely | Enough working stroke for expected bumps and loads |
| Damping priority | Low-speed positioning and display use | Controlled response over the roads being driven |
| Alignment objective | Measure and understand the changed angles | Predictable steering and acceptable tire wear |
| Pressure strategy | Enough to reach the intended parked position | Set for measured height, load, travel, and surface |
| Intended use | Display and careful low-speed movement | Normal road driving and active use after validation |
Extremely low settings increase the chance of bottoming, bump-stop impacts, and unsettled behavior over uneven surfaces. Switch to drive mode before asking the suspension to absorb speed, load, or rough pavement.
Fix the Problems That Make Air Ride Feel Unreliable
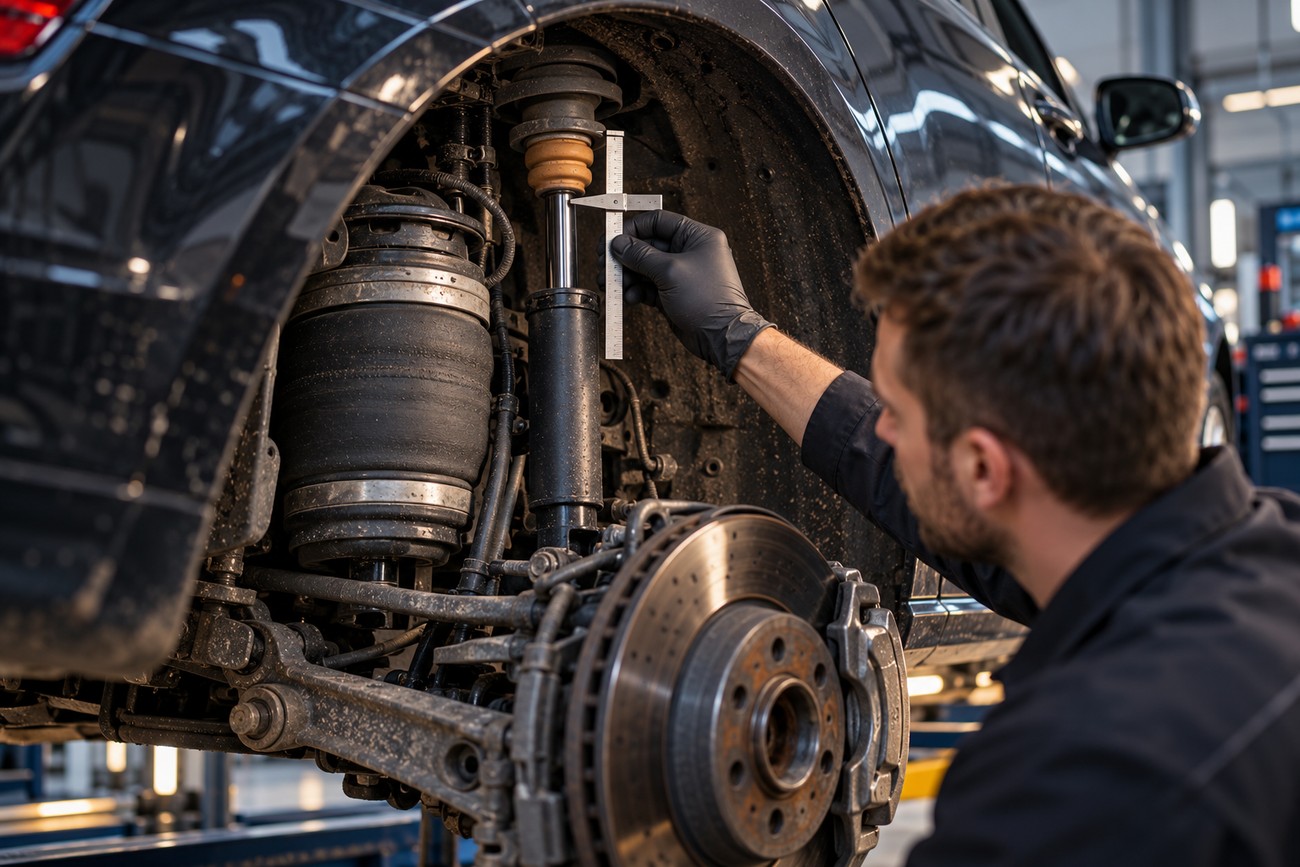
A car that floats over waves or repeatedly hits its bump stops needs a travel and damping check. Floating may indicate insufficient damper control, while bump-stop impacts may mean the car is driven too low or has insufficient usable stroke. Measure what remains at ride height before trying to cure every symptom with more pressure or firmer damping.
If passengers change how the car sits or steers, verify its height under load rather than trusting a saved pressure number. Pressure-based presets cannot guarantee identical clearance at different loads. Recheck tire clearance and travel with the load that causes the complaint.
Frequent compressor cycling is a fault to investigate, not a normal characteristic to ignore. Reports of cycling every 15–20 minutes call for checks of fittings, lines, valves, and the rest of the air circuit. A leak that changes parked height overnight also changes the starting point for every carefully saved preset.
Moisture, salt, and dirt can damage fittings, air lines, valves, and electrical connections. Condensation can freeze in winter and contribute to valve faults or overnight sagging. Protect line routing from abrasion, keep contamination out during assembly, manage moisture, and inspect exposed parts after harsh-weather use.
Erratic presets or a car that lifts unevenly may point to sensor, valve, wiring, or ground faults rather than a need to recalibrate repeatedly. The compressor, tank, valves, and lines also add mass that can affect suspension response at higher speeds. Sound installation and maintenance improve consistency, but they do not erase that hardware trade-off.
A Repeatable Air Suspension Calibration Sequence
Begin with the installation: inspect line routing, fittings, electrical connections, moisture control, and the controller’s readings. On level ground, establish reference heights with the intended driver load. Record the pressure and measured height at each corner rather than applying one universal pressure to all four.
At the proposed drive height, check tire clearance, available stroke, bump-stop engagement, and control-arm position. Set camber, toe, and caster where applicable, then tune damping over a repeatable route. Revisit damping whenever a height or pressure change noticeably alters the car’s response.
Validate the result with the passengers and cargo the car is expected to carry, and confirm it returns to a usable height after unloading. Save the drive profile only when its clearance and behavior are repeatable. Build and label the lower show profile afterward, then check that switching between them works as intended.
Frequently asked questions
The right settings depend on the vehicle, its load, and where it is driven. These checks help turn a saved preset into one you can use with confidence.
What PSI should I run in my air suspension?
There is no PSI value that transfers reliably between cars, loads, and air-spring installations. Use pressure as a recorded result: set a measured drive height, confirm available travel and tire clearance at each corner, then note the pressures needed with your normal load.
Test that setting on the intended surface. If the car bottoms on city streets or feels harsh over small bumps, reassess height, travel, and damping before chasing a new pressure number.
How can I tell whether my air suspension is safe to drive at a low setting?
Before driving, check for existing bump-stop contact, remaining damper travel, control-arm position, and tire clearance through steering movement. Confirm that the car reaches the intended height evenly and that no line or fitting can contact a moving or hot part.
Start with a careful low-speed test. If steering response changes abruptly, tires rub, or ordinary bumps use all the travel, raise the drive setting and inspect the cause before driving harder.
How often should I inspect an air-ride system used year-round?
Inspect it routinely and whenever its behavior changes; there is no single interval that suits every climate and usage pattern. Compressor cycling more often than usual, overnight sag, uneven lifting, or a changed controller reading calls for a prompt check rather than waiting for scheduled service.
After exposure to salt, heavy dirt, or freezing conditions, look closely at lines, fittings, electrical connections, and moisture management. Visible abrasion, corrosion, or a damaged fitting should be addressed before it turns a small fault into an unreliable drive preset.