
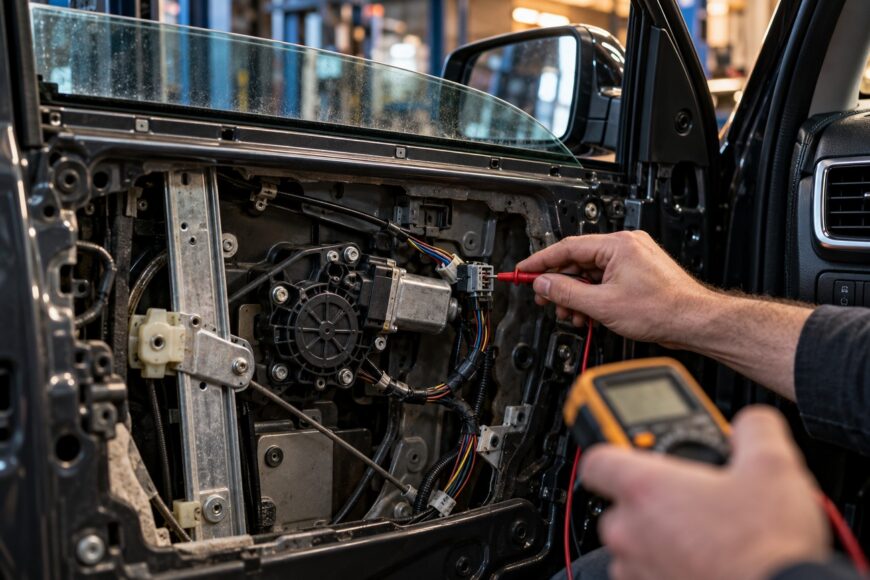
A silent window, a clicking switch, and a genuinely failed motor can produce similar symptoms. A motor may be receiving no usable power, while a regulator can jam even though the motor still runs. Replacing the motor first can therefore leave the original fault in place.
Reliable diagnosis separates the power supply, switches, wiring, control modules, motor, regulator, and glass mechanism. The correct fuse rating and expected current depend on the vehicle, so there is no universal fuse or current value that can safely be applied to every power window.
Work carefully inside the door. The glass can drop when its clips or attachments are released, and direct battery power can damage wiring or the motor if it is applied without a fuse and control. Support the glass, protect the circuit, and test the system in a logical order.
- What a Dead Power Window Motor Actually Looks Like
- Check the Fuse, Controls, and Door Wiring First
- Test Voltage at the Motor Connector Under Load
- Direct-Test the Motor Without Damaging the Circuit
- Separate a Failed Motor from a Jammed Regulator
- Replace the Failed Part Without Creating a Second Failure
- Frequently asked questions
- How do you know if a power window motor is bad?
- Why would only one power window not work?
- How can you get a power window up if the motor is bad?
- What does it mean if the motor connector shows the same voltage in both directions?
What a Dead Power Window Motor Actually Looks Like
A completely silent window can indicate a loss of power, a failed switch, an open wire, a relay or BCM problem, a thermal breaker that has opened, or a motor with an internal fault. A single dead window often points toward a local door circuit, although the main switch and shared control systems still need checking. The sound, timing, and behavior of the other windows help narrow the search.
A click may come from a relay or switch rather than the motor. Humming or a rotating sound with no glass movement commonly indicates a failed cable, gear, regulator, guide, glass attachment, or mechanical obstruction. If the glass moves unevenly, tilts, drops, or stops at the same point, inspect the mechanism before condemning the motor.
Intermittent operation also needs careful interpretation. A motor that works after several attempts may have worn internal contacts, a weak connection, excessive mechanical resistance, or a self-resetting thermal breaker that has cooled and restored the circuit. Temporary recovery does not prove that the fault has disappeared.
A direct motor test helps separate the vehicle-side circuit from the motor. If the motor runs in both directions with correctly fused direct power, investigate the switch, wiring, relay, module, or related controls. If it remains still with correct direct power, the motor or its internal contact becomes the leading suspect, although a jammed regulator can still create misleading symptoms.
Check the Fuse, Controls, and Door Wiring First
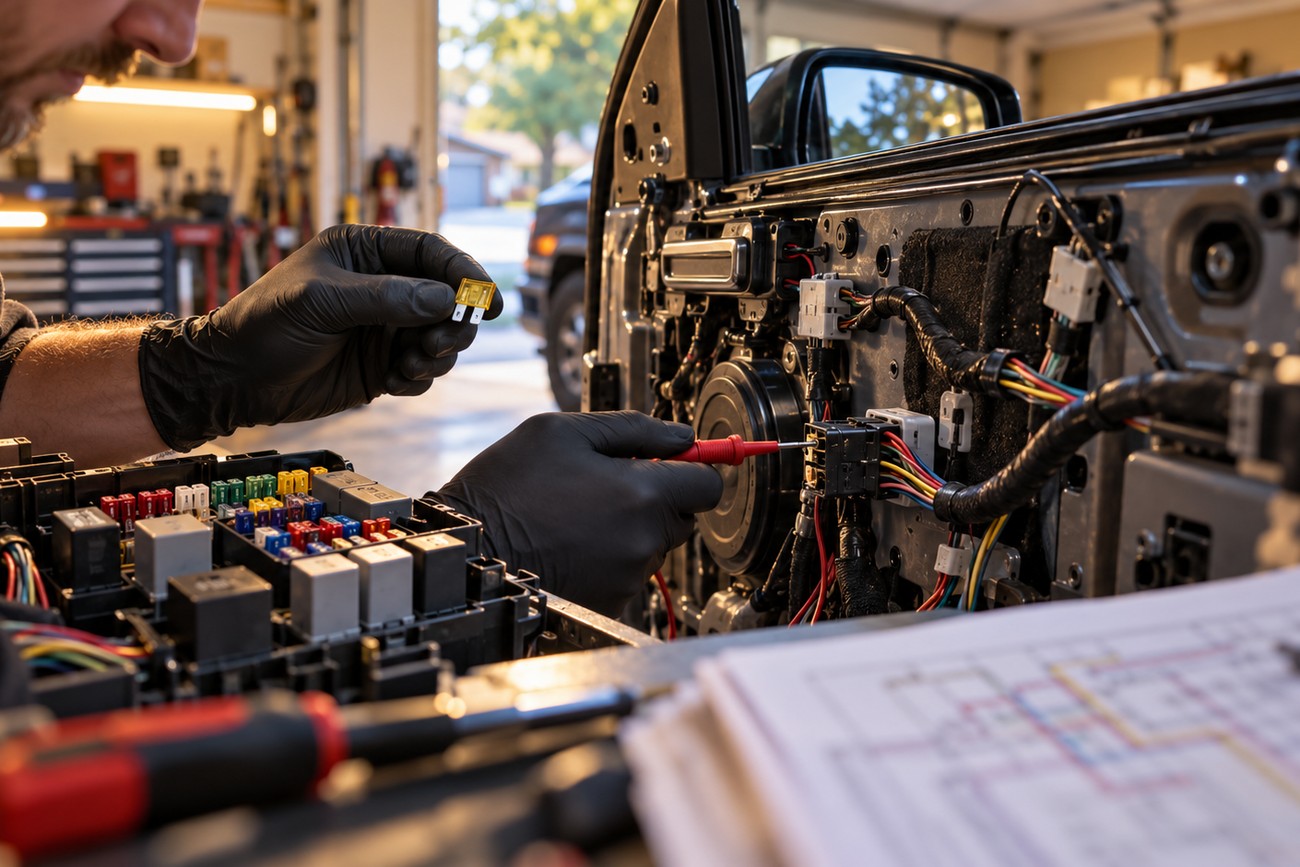
Begin with the vehicle’s wiring diagram and fuse information. Power-window protection may involve a fuse, relay, BCM, or self-resetting thermal breaker, depending on the vehicle. Some systems distribute control through the driver’s master switch, while others use door modules or network commands.
Use the specified fuse rating for that vehicle. Generic references may mention roughly 20–25 A protection, but that value is not universal and must not be transferred to another vehicle. Installing a larger fuse can allow damaged wiring or an overloaded motor to heat beyond its intended protection.
A fuse that looks intact does not prove that the circuit is healthy. Check for power at the fuse, relay operation where applicable, switch inputs and outputs, connector condition, and the harness inside the door-jamb rubber boot. Broken conductors can work when the door is still and open when the harness bends.
If a fuse blows again, stop replacing it and find the cause. Possible causes include a short circuit, rubbed or pinched wiring, a failing motor, or excessive mechanical load. A stored diagnostic trouble code in the BCM or another module may also direct the diagnosis, especially when the motor connector does not behave as expected.
Test Voltage at the Motor Connector Under Load
A typical power-window motor is a two-wire DC motor; reversing polarity reverses rotation. Disconnect or back-probe the motor connector according to the service procedure, then measure across the two motor terminals while pressing the window switch in the up direction and again in the down direction. Avoid relying only on a voltage reading at the fuse or switch.
The circuit should reverse polarity between the up and down commands. A reading near battery voltage in one direction, followed by the opposite polarity in the other direction, shows that the controls are sending a command to the motor connector. The motor still needs a direct test and a mechanical inspection before it can be judged defective.
A meter can display battery voltage through a weak switch contact or a partly broken conductor because the meter draws very little current. A loaded test and a voltage-drop check reveal whether the connection can deliver the working current the motor requires.
Measure voltage while the circuit is operating, and check for excessive voltage drop across switches, connectors, grounds, and wiring. If the connector shows usable voltage under load in both directions but the motor does not operate, suspicion shifts toward the motor, regulator, internal motor contact, or mechanical binding. If polarity does not change, recheck the meter leads, both motor terminals, the switch commands, and the wiring.
Direct-Test the Motor Without Damaging the Circuit
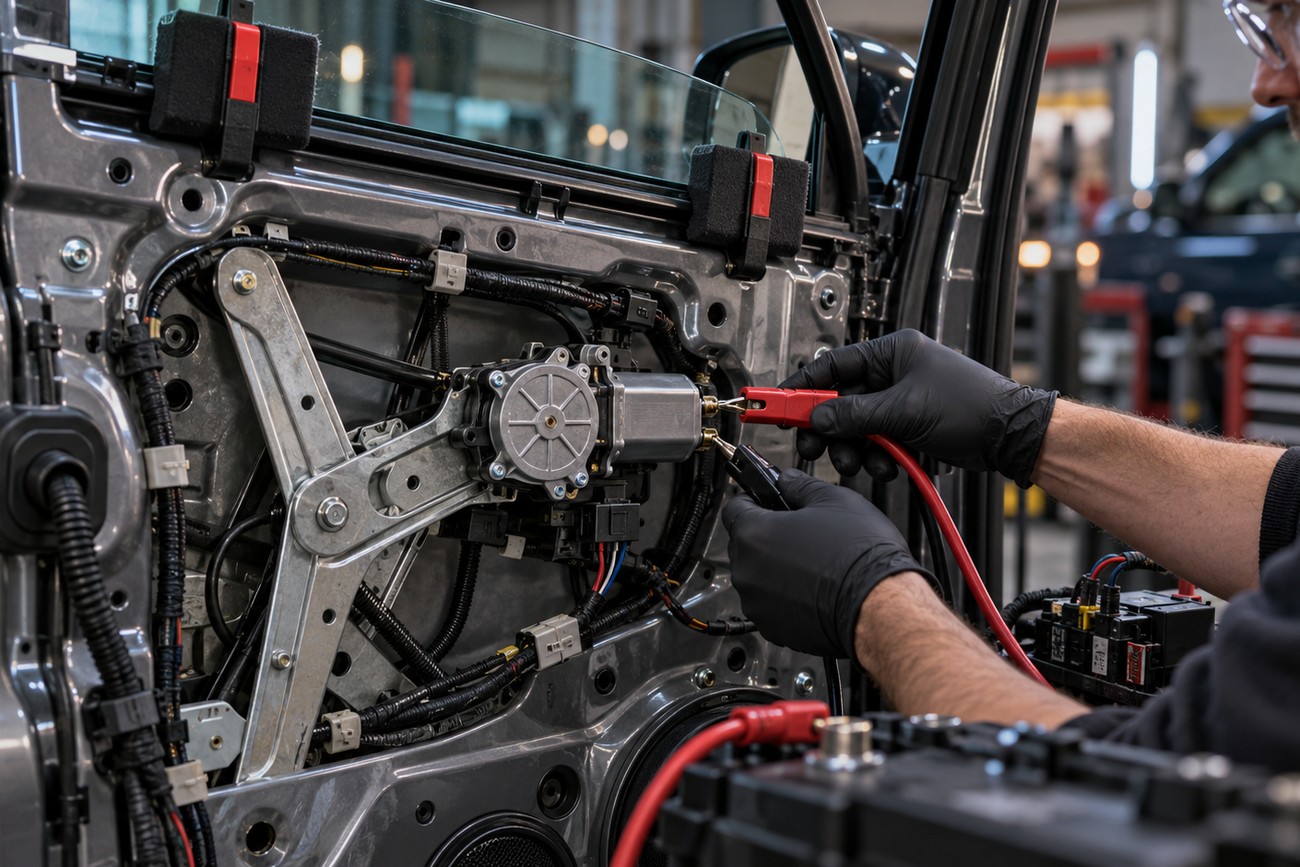
Direct testing should use a fused connection and a brief application of 12 V. Secure the glass before disconnecting the regulator or motor, keep fingers clear of moving parts, and use suitable jumper leads. Apply power across the two motor terminals briefly, then reverse the connections and test the opposite direction.
The motor should rotate in opposite directions when polarity is reversed. Movement in both directions shifts suspicion toward the vehicle-side circuit, such as the switch, relay, BCM, connectors, or door-jamb wiring. No movement with correct fused direct power points toward the motor or its internal contact, provided the test leads and connections are sound.
Direct power is a diagnostic test, not a reason to bypass the vehicle’s protection. Do not connect an unused jumper directly from the battery, hold the motor against a mechanical stop, or continue powering a motor that draws excessive current. A stalled motor can heat the wiring and trigger protection quickly.
Current specifications are vehicle-specific. One Toyota factory procedure lists about 7 A during movement and about 14.5 A or more at stall; these figures are not universal. Generic references may mention roughly 5–10 A operating current or 20–25 A protection, but model-specific factory data takes priority.
Separate a Failed Motor from a Jammed Regulator
The motor and regulator should be diagnosed as a pair. A motor that runs while the glass remains still commonly indicates a failed cable, gear, regulator, guide, glass attachment, or mechanical obstruction. The motor may be doing exactly what it was commanded to do while the mechanism fails to transfer motion to the glass.
Inspect the glass for tilt, loose clips, damaged attachments, and contact with the frame or guide. Check the regulator for a frayed or detached cable, broken gear teeth, bent tracks, and areas where movement becomes tight. A hardened seal, distorted guide, or misalignment can create enough resistance to overload an otherwise serviceable motor.
A jammed or misaligned mechanism increases motor current and can trigger a self-resetting thermal breaker. The window may work again after cooling, creating the impression of an electrical fault that has corrected itself. Repeated operation under those conditions can damage the motor, regulator, wiring, or switch.
Before replacing the motor, check whether the glass and regulator move freely as permitted by the service procedure, and look for visible damage. A catalog motor may be sold separately even when the regulator is causing the overload. Installing a new motor without correcting that load can produce a second failure.
Replace the Failed Part Without Creating a Second Failure
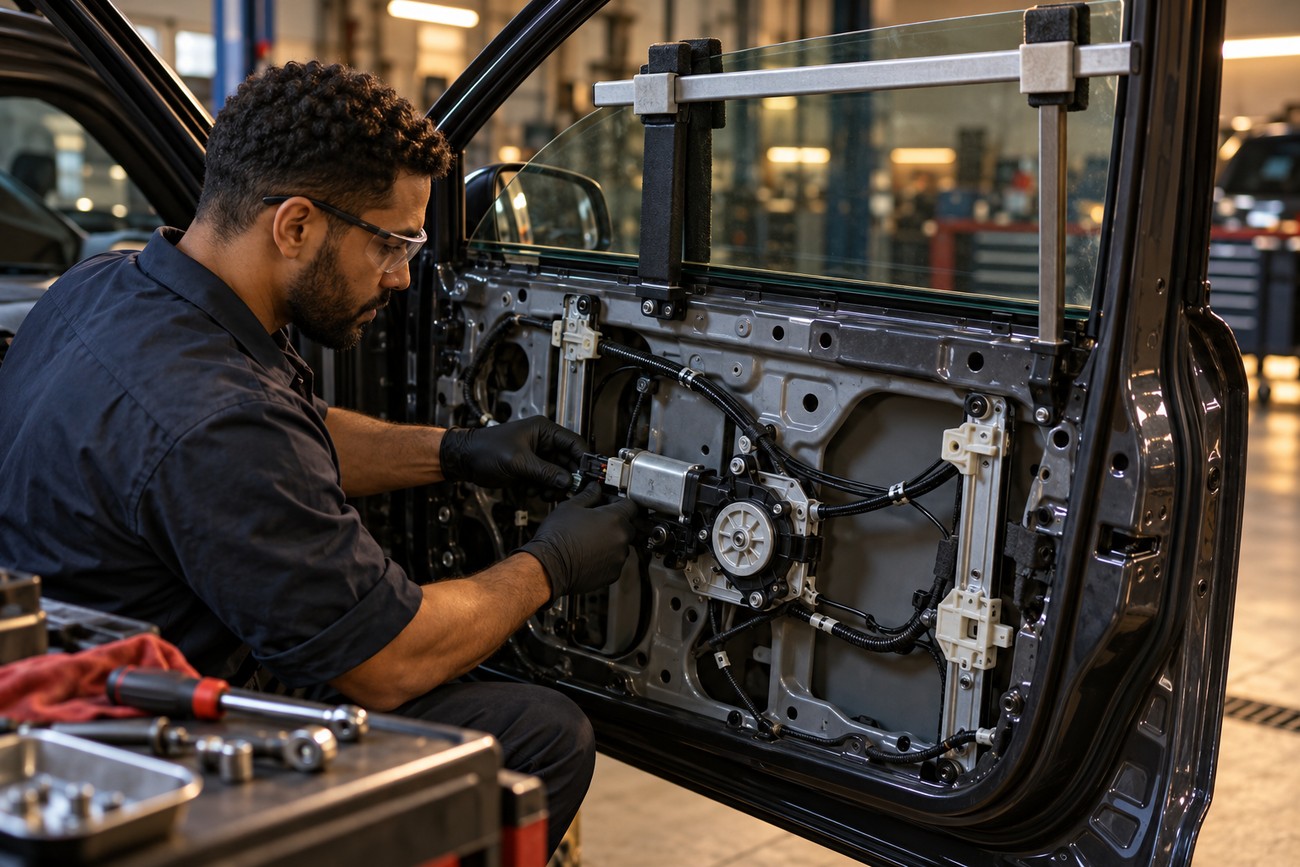
Motor access normally requires removing the door card and protective trim. Before releasing clips, bolts, or glass attachments, support the glass securely in the raised position with an appropriate support method. Unsupported glass can drop when the regulator or motor is disconnected.
Decide whether the repair requires a motor alone or a complete regulator assembly. Motor-only replacement may be suitable when the regulator moves freely and its cable, gear, guides, and attachments are sound. A complete assembly is often the more appropriate repair when the mechanism is bent, frayed, cracked, or difficult to move.
Inspect the motor connector, terminals, door switch, and door-jamb harness before final assembly. Look for looseness, corrosion, heat damage, high resistance, and broken conductors. A new motor cannot compensate for a poor connection or a wire that opens when the door moves.
After installation, test both directions briefly and watch the glass for smooth travel, proper alignment, and full engagement with the guides. Do not hold the window switch after the glass reaches the mechanical stop because current rises during stall. Recheck the fuse, trim fit, connector locking, and any window initialization procedure required by the vehicle.
Frequently asked questions
Power-window faults can come from the motor, regulator, controls, wiring, or circuit protection. The answers below explain how to distinguish these causes and handle a failed window safely.
Testing voltage under load and checking the mechanism are essential before replacing parts. Direct battery power should always be fused and applied briefly.
The correct procedure and specifications remain vehicle-specific, so use the applicable wiring diagram and service information.
How do you know if a power window motor is bad?
A motor is strongly suspect when it fails to move with correct fused 12-volt power applied briefly in both polarities, while the test leads and mechanical setup are sound. Reversing polarity should produce opposite rotation in a healthy two-wire DC motor.
Do not condemn the motor from one unloaded voltage reading. Confirm voltage at the motor connector during both commands, check polarity reversal and voltage drop, and inspect the regulator for binding. A motor that works during the direct test has shifted the fault toward the vehicle-side circuit.
Why would only one power window not work?
One failed window often has a local fault in its door switch, motor connector, regulator, or door-jamb harness. Compare its behavior with the other windows: if the other windows work normally, a shared fuse or main power supply becomes less likely, while the affected door’s wiring and controls deserve close inspection.
If the window works from the driver’s master switch but not from the door switch, test the local switch, its connector, and the wiring in the door hinge area. If several windows fail together, investigate shared power, the main switch, the BCM, relays, and stored diagnostic trouble codes.
How can you get a power window up if the motor is bad?
If the motor still responds, a brief fused direct-power attempt may raise the glass, provided the glass is supported and the regulator is not visibly jammed. Use the vehicle’s correct circuit protection and stop immediately if the motor stalls, the wiring heats, or the glass moves out of alignment.
If the motor does not respond, support and secure the glass in the closed position rather than forcing it by hand or bypassing protection. A temporary cover may help protect the opening from weather, but the regulator and glass attachments should be repaired before normal operation.
What does it mean if the motor connector shows the same voltage in both directions?
Unchanged voltage or polarity can indicate a measurement mistake, a switch fault, or a wiring problem. Recheck that the meter is connected across both motor terminals, test during both up and down commands, and verify that the leads have not been placed on a constant power and ground circuit.
If the reading remains unchanged under load, inspect the switch outputs, connector terminals, door-jamb harness, relay or BCM commands, and voltage drop. A healthy motor circuit should reverse polarity between the up and down commands.







