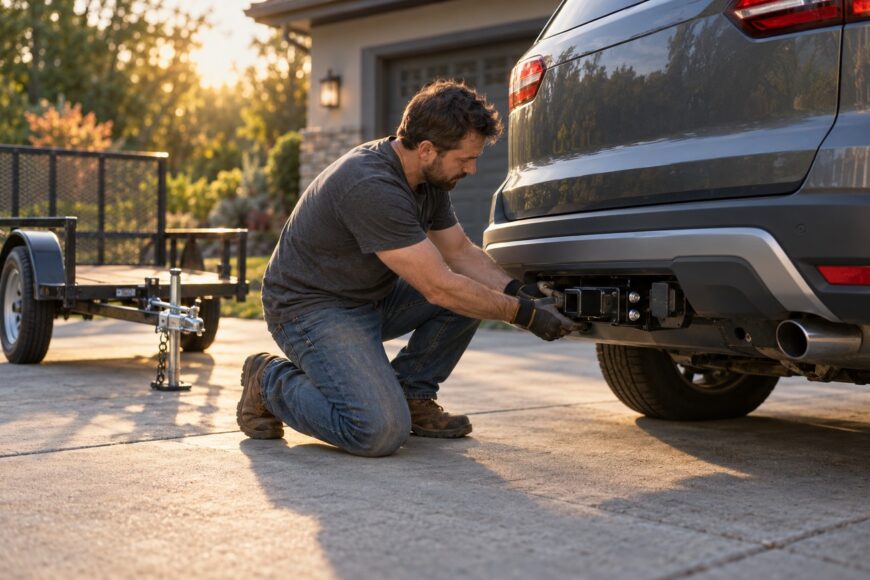
A hitch advertised as bolt-on can still demand careful access to hidden mounting points, correct fastener torque, and a separate trailer-light installation. The receiver may be the visible part of the job, while the difficult work happens behind the bumper, near the exhaust, or inside the vehicle’s wiring system.
A capable DIY mechanic can handle a suitable kit with clear instructions, safe support, and the required tools. A shop is the safer choice when structural drilling, damaged mounting points, difficult electrical integration, or uncertain vehicle-specific procedures are involved.
- Confirm the hitch fits before buying or unbolting anything
- Plan for the access the product listing may not mention
- Mount the receiver and tighten it in the right sequence
- Connect the wiring and prove the lights work
- Check the coupling, tongue weight, and trailer load
- Finish the inspection and know when to use a shop
- Frequently asked questions
- How much does trailer hitch installation cost?
- What is the 60/40 rule for loading a trailer?
- What does the 80/20 rule mean when towing?
Confirm the hitch fits before buying or unbolting anything
Start with the exact vehicle year, body style, bumper design, exhaust layout, and trim. Fit depends on the vehicle’s configuration and mounting points, not simply its make or model. Check the hitch manufacturer’s application list and installation manual before removing any vehicle parts.
Inspect whether the vehicle has factory mounting holes, threaded points, reinforcement plates, or other provisions intended for a hitch. A product described as “universal” may still have restrictions involving model years, bumpers, exhaust routing, or clearance. Confirm the intended use as well: a receiver for a cargo accessory may have different requirements from one used for trailer towing.
Receiver and ball compatibility are separate from the permitted towing load. A 2-inch ball is 50.8 mm, while a 1 7/8-inch ball is about 47.6 mm; a specified 50 mm coupling is a separate size and must not be assumed interchangeable with either. The coupler, ball, receiver, trailer geometry, and safety hardware must all match.
For each load limit, use the lowest applicable published rating of the vehicle, hitch, ball, coupler, and other towing components. The vehicle’s maximum towing capacity does not override a lower hitch or trailer rating. Where the hitch carries a D-value marking in newtons, interpret it through the manufacturer’s documentation and applicable standard rather than treating it as a universal receiver rating.
Plan for the access the product listing may not mention

Read the complete installation and operating instructions before lifting the hitch into place. Look underneath the vehicle for corrosion, blocked holes, wiring provisions, and damaged threads. Check whether the kit includes all specified hardware, spacers, brackets, and reinforcement parts before supporting the vehicle.
Prepare stable vehicle support, suitable wheel chocks, lighting, hand tools, a torque wrench, and any extensions or swivels needed to reach recessed fasteners. Depending on the vehicle, access may require removal or repositioning of the spare tire, heat shield, exhaust, bumper, or bumper reinforcement. A standard socket set may not provide enough room around those parts.
Some kits require drilling or trimming, while others use existing mounting points. Follow the vehicle-specific instructions before modifying metal or plastic; a product listing may omit that detail. Any exposed metal created by an authorized modification needs appropriate corrosion protection before the assembly is finished.
Some sellers cite 2–3 hours as a rough installation estimate. Actual time varies with the vehicle, kit, access, corrosion, and wiring. Allow extra time for seized fasteners and inspection rather than starting immediately before a planned towing trip.
Mount the receiver and tighten it in the right sequence
Secure the vehicle on suitable supports, disconnect or protect nearby components as instructed, and clear the access area. Prepare the specified mounting points by removing debris, checking thread condition, and installing any required plates or spacers. Keep the supplied hardware organized because similar-looking bolts can have different purposes or grades.
Position the receiver as directed, start every fastener by hand, and leave enough movement for alignment. Once the receiver is centered and its clearances match the instructions, tighten the fasteners in the specified order. Apply final torque with a torque wrench using the values supplied for that particular hitch and vehicle.
Check the torque-wrench path before final alignment. A receiver can accept every fastener during loose assembly, then leave no room for the wrench head or socket once it is raised into its final position.
Existing mounting points do not guarantee easy tool access. Tightening one side fully before the receiver is aligned can create rework, cross-threading, or uneven positioning. Final torque belongs in the receiver’s instructed position, never on the floor and never by guessing how tight the bolts feel.
Connect the wiring and prove the lights work
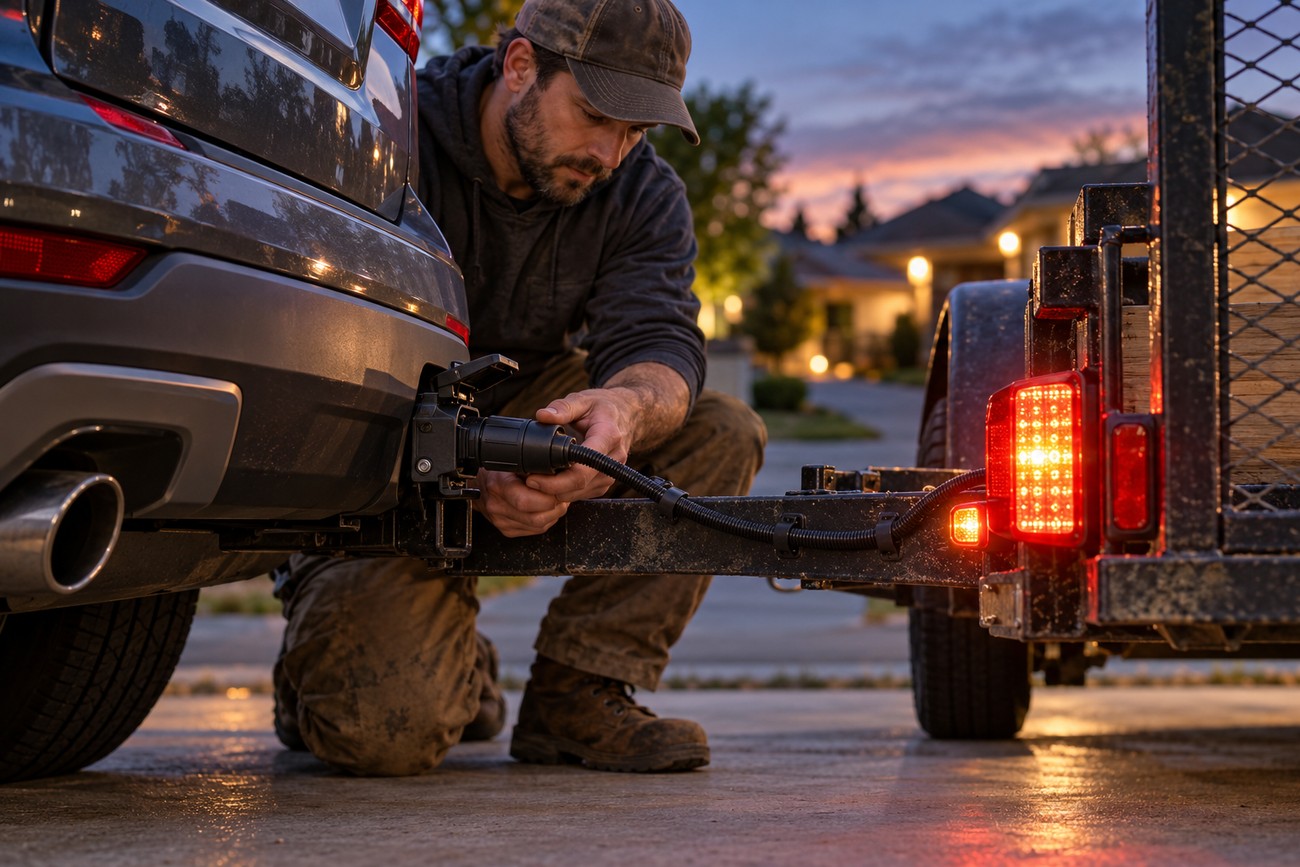
A fitted receiver does not mean the vehicle already has a compatible trailer-light connector. Look for a vehicle-specific plug-in harness, the correct trailer connector type, and any required module or power supply. The wiring solution depends on the vehicle’s electrical system and on the connector used by the trailer.
Follow the harness instructions for routing, grounding, fusing, and module placement. Keep wires away from the exhaust, sharp edges, suspension travel, and moving parts, and secure them so vibration cannot pull on the connectors. Modern vehicle wiring may require a dedicated interface; tapping circuits without the correct instructions can create faults or damage.
Test the completed installation with the intended trailer or a suitable tester. Check running lights, left and right turn signals, brake lights, and any reverse or auxiliary circuits required by the setup. A connector that looks installed can still have a poor ground, an incorrect pin arrangement, or a loose connection.
Inspect the wiring again after lowering the vehicle and restoring removed panels. Confirm that the socket is protected from impact and water as specified. Resolve electrical faults before towing, since a mechanically secure receiver does not compensate for missing trailer signals.
Check the coupling, tongue weight, and trailer load
Towing capacity and static tongue weight are different limits. Towing capacity concerns the permitted loaded trailer mass, while tongue weight concerns the downward force applied at the hitch ball. For each type of load, use the lowest applicable rating across the vehicle, hitch, ball, coupler, trailer, and other towing components.
A 40–150 kg tongue-weight range appears in some passenger-vehicle contexts, but it is not a default permissible limit. Use the particular vehicle and hitch documentation, and account for the trailer’s loaded condition. Excessive tongue weight can affect the front axle, steering, and braking; too little can make the trailer more prone to sway.
Place cargo over or slightly ahead of the trailer axle as a starting point, then check the actual tongue weight against the specified limit. A rear-heavy trailer can sway even when its total mass appears acceptable. Moving cargo forward may improve stability while also creating an overloaded ball, so both conditions must be checked together.
Before travel, verify the matched ball and coupler, the locking mechanism, safety chains, breakaway system where fitted, and the trailer’s loaded clearances. Ball size alone does not establish coupling, load-rating, or trailer-geometry compatibility. Secure loose cargo and reassess the load after any major change in what the trailer carries.
Finish the inspection and know when to use a shop

Use the hitch’s documentation, installation manual, and operating instructions as the final authority for the assembly. Check every fastener, the receiver’s alignment, clearance from the exhaust and moving parts, and the restoration of the bumper, heat shield, spare tire, and other removed components. Follow any specified inspection or re-torque procedure after installation and initial use.
Inspect protected wiring along its full route and confirm that the socket cannot contact the ground, exhaust, or suspension. Look for pinched harness sections, unsupported panels, and contact marks that may appear only when the vehicle moves. A short road test without a trailer can help reveal rattles; follow it with another visual inspection.
Pause and seek professional help if the structural mounting is uncertain, drilling is required without clear authorization, threads are damaged, corrosion has weakened a mounting area, or the receiver cannot be aligned correctly. Electrical integration also deserves specialist attention when the vehicle’s system requires a module or has unresolved warning lights.
Documentation and regulatory requirements vary by jurisdiction. Some vehicles and certified hitch systems may fall under local provisions that simplify approval, while other installations may require inspection or registration. Keep the hitch documentation with the vehicle and verify the rules that apply where the vehicle is registered and used.
Frequently asked questions
Installation costs depend on the vehicle, kit, and work required. Trailer-loading rules of thumb can be useful starting points, but they do not replace measured tongue weight or published ratings. The answers below explain what to check before relying on a quote or a loading ratio.
How much does trailer hitch installation cost?
Request separate quote lines for the receiver, wiring harness or electrical module, labor, and access-related work such as bumper, exhaust, heat-shield, or spare-tire removal. Drilling, corrosion repair, seized fasteners, and vehicle-specific electrical integration can change the labor substantially. A universal price would be unreliable without the vehicle and kit details.
Ask whether the quote includes final torque verification, wiring testing, replacement clips, and any required inspection documentation. Comparing those items prevents a low initial quote from excluding the work needed to make the installation usable.
What is the 60/40 rule for loading a trailer?
The 60/40 rule is an informal cargo-placement heuristic commonly used to describe keeping a larger share of the load toward the front portion of the trailer. It is not a substitute for measured tongue weight, the trailer manufacturer’s instructions, or the vehicle and hitch ratings.
Place cargo over or slightly ahead of the axle as a starting point, secure it, and check the actual tongue weight. The correct result depends on the trailer’s design and loading arrangement; a percentage cannot authorize an overloaded ball or compensate for a rear-heavy load.
What does the 80/20 rule mean when towing?
The label “80/20 rule” is used for different informal margins and loading advice, so it has no universal regulatory or manufacturer status. One source may use it for a suggested capacity margin, while another may apply it to cargo distribution or operating limits.
Identify the exact rule being claimed, then disregard it if it conflicts with published vehicle, hitch, trailer, coupler, or tongue-weight limits. The lowest applicable rating and the actual loaded condition govern safe use.