
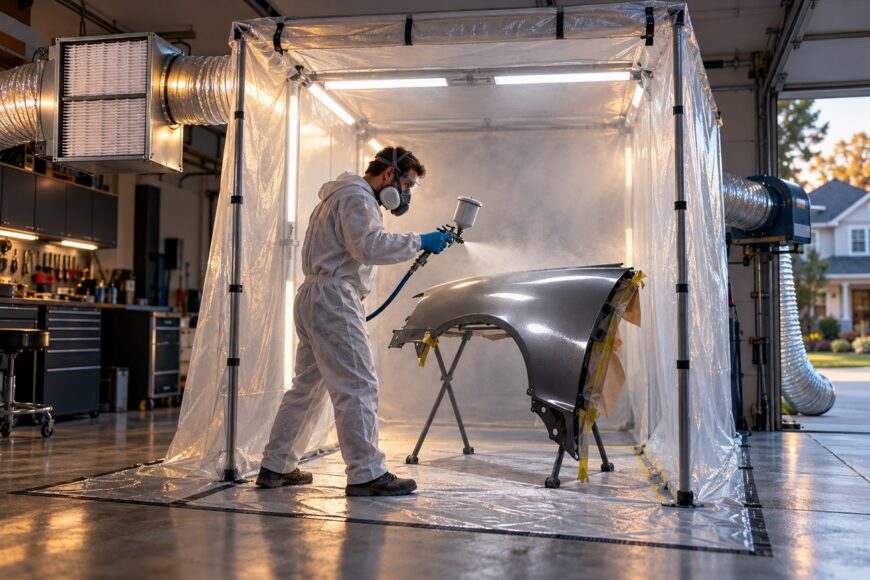
Spraying base coat and clear coat at home is a control problem, not simply a matter of buying better paint. You must control dust, temperature, humidity, airflow, surface condition, flash time, and material compatibility at the same time. A garage that looks clean can still contain enough airborne dust, condensation, or solvent vapor to spoil the finish and create a safety problem.
The main conflicts are practical: airflow must remove vapors without stirring dust, thin coverage must build without dry spray or runs, and fast work must still allow the base coat to release solvent before clear coat application. Appearance comes after ventilation and material safety. If your space cannot provide suitable forced ventilation, local exhaust, and protection for the products being sprayed, postponing the job or using a professional facility is the responsible choice.
- Is Your Home Setup Safe Enough for Spraying?
- Control Temperature, Humidity, Airflow, and Dust
- Surface Preparation: Where Most Home Paint Jobs Fail
- Spraying Base Coat for Even Coverage and Color
- When and How to Spray Clear Coat
- Why Runs, Dry Spray, Cloudiness, and Edge Chips Happen
- Frequently asked questions
- How soon can I spray clear coat after base coat?
- How can I match a metallic color across two panels?
- What should I do about dust nibs after the clear coat cures?
Is Your Home Setup Safe Enough for Spraying?
A closed garage is not automatically a spray area. Manual spraying of coatings in enclosed indoor spaces requires forced supply-and-exhaust ventilation; work without local exhaust is not allowed. The system must bring in controlled replacement air and remove contaminated air while preventing the exhaust flow from passing through occupied areas or creating a backdraft.
A household fan does not meet that requirement. It may move air around, spread overspray, pull dust from the floor, or discharge vapors toward another part of the building. Air movement can also change how the spray lands on the panel, producing dry spray on exposed edges and uneven coverage in sheltered areas.
Product chemistry adds another limit. Epoxy and polyurethane coatings may be manually sprayed only in ventilated chambers. Two-component materials can create hazardous vapors and isocyanate exposure without suitable protection and ventilation, even when the amount being sprayed seems small.
Read the product safety information and technical sheet before opening the gun cup. Use the specified protective equipment, keep other people and animals away, and remove ignition sources where the product requires it. A clean-looking garage with an improvised fan remains unsuitable if it cannot provide the required ventilation and exposure control.
Control Temperature, Humidity, Airflow, and Dust
The spray environment is part of the coating system. Do not apply coating to a wet surface or during precipitation, and do not rely on a dry-looking panel if the metal is below the dew point. Condensation can form on cool panels before the surface appears visibly wet, weakening adhesion and changing how the coating flows.
Relative humidity above 85% is considered unacceptable in some technical recommendations. High humidity can slow solvent release, affect waterborne base coats, and contribute to cloudiness or a poor clear-coat appearance. Most materials recommend application at +5°C to +35°C; below-freezing work requires special systems and no frost or ice.
Airflow needs direction and control rather than maximum speed. Excessive turbulence lifts settled dust and can dry the coating before it levels, while weak extraction leaves vapors and overspray in the work area. Dust, condensation, and ventilation backdraft are common hidden sources of coating defects.
Prepare the area before mixing material. Clean the floor and nearby surfaces, allow disturbed dust to settle, check that replacement air is not coming through a dirty opening, and keep the exhaust path clear. Covering the entire garage can reduce secondary dust, although it does not replace compliant ventilation or make an unsuitable space safe for hazardous spraying.
Surface Preparation: Where Most Home Paint Jobs Fail
The surface must be sound, dry, clean, and compatible with the coating system. Loose paint, unstable filler, corrosion, and poorly bonded old coatings will remain weak under a fresh finish. New paint can hide these problems briefly, then reveal them through lifting, edge failure, shrinkage, or chips.
Degreasing needs discipline. Use a compatible cleaner, wipe with a clean, lint-free cloth, and change cloths before they become contaminated. A surface can look clean while carrying silicone, wax, oil, sanding residue, or fibers that interfere with adhesion and create defects visible under clear coat.
Metal and plastic also need suitable surface texture. Smooth material often holds a coating poorly, so matting and adhesion preparation must match the substrate and product instructions. Plastic may require a compatible adhesion promoter or primer; the correct choice depends on the coating system and the type of plastic.
Check the complete product system before spraying. A random primer, base coat, and clear coat from unrelated lines can react, soften, wrinkle, or lose adhesion. Preparation is a larger source of defects than paint branding in many DIY jobs, so a test panel or inconspicuous test area is useful when compatibility or the old finish is uncertain.
Spraying Base Coat for Even Coverage and Color
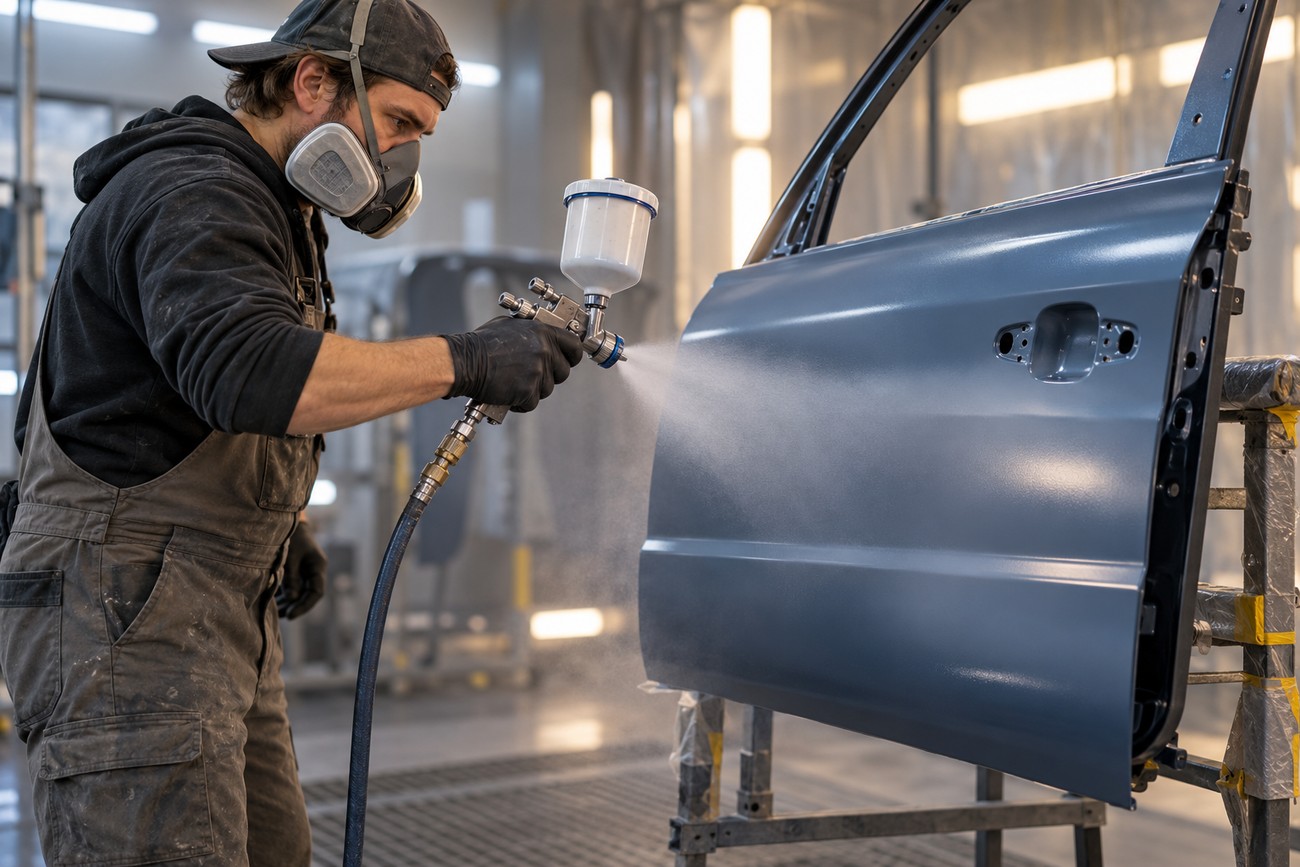
Apply the base coat through controlled passes with consistent distance, speed, and fan overlap. Keep the gun moving before and after the panel, and pay particular attention to edges and corners where the spray pattern can concentrate or lose material. The aim is an even film, not a wet-looking first pass.
Thin coats with intermediate drying are preferred over one thick first coat. Ordinary automotive paints are often applied in 4–6 thin coats, while waterborne base coats are often applied in 2–3 base coats. The product’s technical sheet controls the final count because hiding power, color, substrate, and application method vary.
On metallic and pearl colors, the final orientation pass can influence the match more than simply adding another coat. A controlled, consistent pass helps the pigment settle in the intended direction across the panel.
Dry spray and orange peel usually point to inconsistent distance, speed, overlap, or airflow. Runs usually indicate that too much material reached one area too quickly, often after the operator tries to correct weak coverage with a heavier pass. Reduce the cause rather than chasing the defect with another wet layer.
Metallic and pearl colors need a repeatable method across adjacent panels. Keep the gun movement, overlap, angle, and final pass consistent, and allow the surface to reach the prescribed condition between coats. A panel can have the correct number of coats and still look different if the last pass changes pigment orientation.
When and How to Spray Clear Coat
Clear coat should follow the base coat only after the base has released enough solvent for the system. Clear coat is often applied approximately 15–20 minutes after base coat under normal conditions, subject to the product’s technical instructions and solvent release. The interval is a guide, not permission to ignore temperature, humidity, film thickness, or the actual condition of the base.
A base that is still releasing solvent can trap that solvent under the clear. The result may include bubbles, cloudiness, adhesion problems, or shrinkage as the layers continue to dry. Applying clear too early is especially risky after an overloaded base coat or in a cool, humid garage.
Follow the clear-coat mixing ratio, induction time, application window, and recoat limits specified by the manufacturer. Lay down the material with controlled overlap and avoid flooding edges, body lines, and corners. Clear may look smooth while wet, then sag or retain solvent if the film is too heavy.
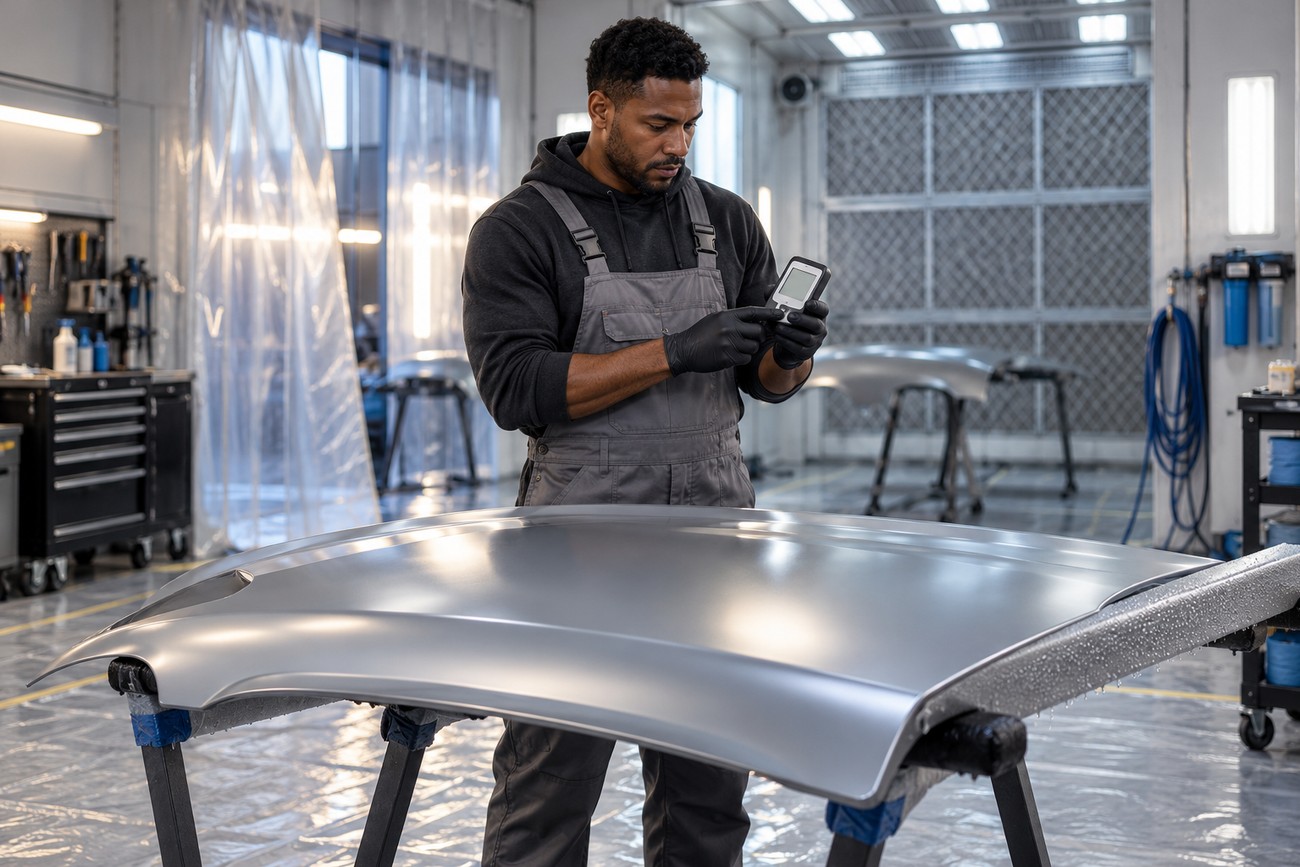
A reference range for total automotive factory paint thickness is 90–160 µm; it is not a universal specification for every coating system. A thickness gauge measures the combined coating thickness, so it cannot identify whether excess material is in the primer, base coat, or clear coat. Use the gauge as one diagnostic aid rather than as proof that each layer is correct.
Why Runs, Dry Spray, Cloudiness, and Edge Chips Happen
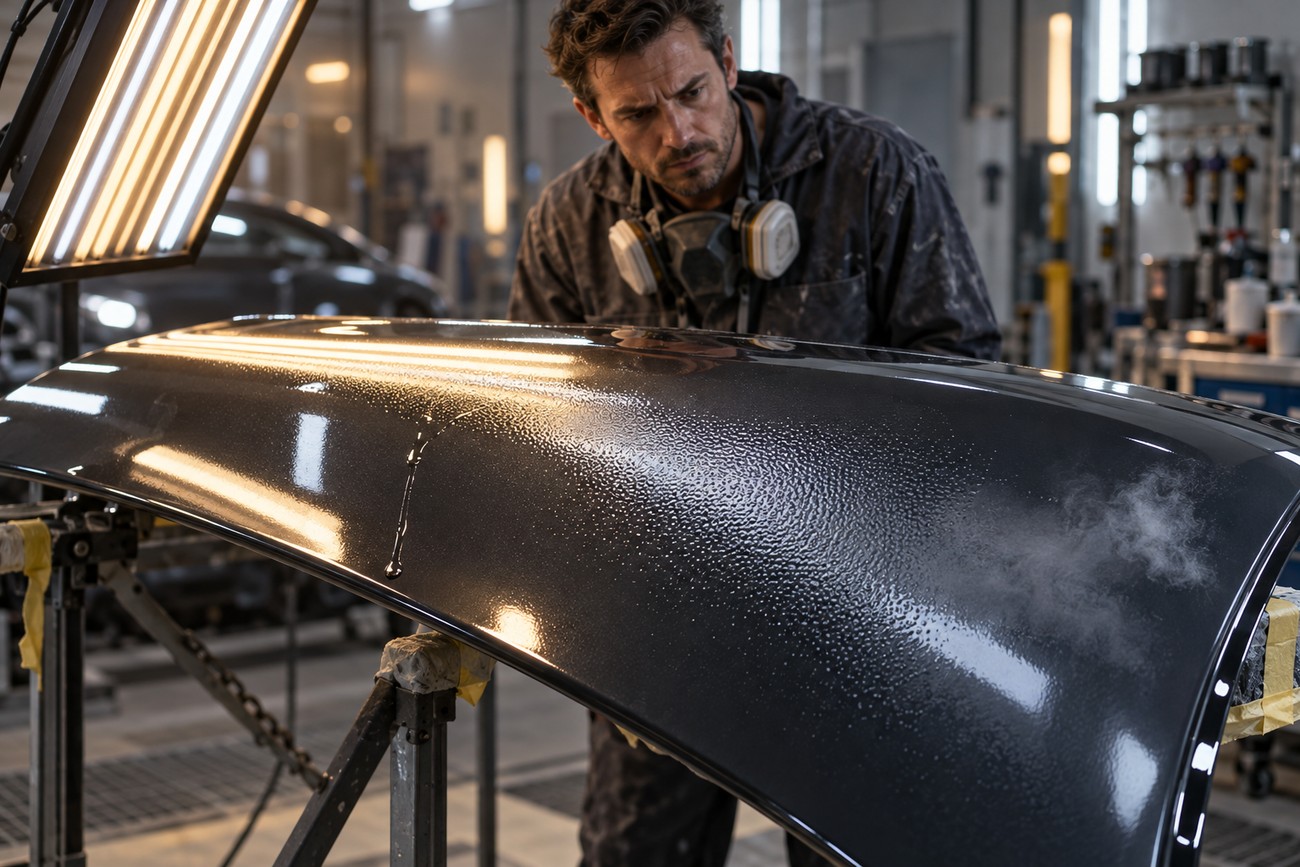
Dry spray and orange peel commonly develop when the gun distance, speed, overlap, or airflow changes during a pass. Edges and corners are frequent trouble spots because the operator slows down, angles the gun, or turns the fan toward an already coated area. Consistent movement and a planned pass pattern reduce these variations.
Runs come from excess wet material in one location. An overloaded first coat, repeated correction passes, or lingering on a corner can create a sag even when the rest of the panel looks thin. Let the coating cure according to its instructions before sanding and correcting it; trying to bury a run with more material usually increases the repair.
Dust nibs and sanding marks become more obvious after clear coat because the clear adds gloss and makes surface irregularities more visible. If the base looks acceptable only from a distance, inspect it under the lighting you will use for the final assessment. Clean preparation, lint-free wiping, and controlled air movement are more effective than relying on a premium clear coat to hide the defect.
Cloudy clear in a damp garage can relate to humidity, condensation, solvent release, or incompatible materials. Ventilation backdraft can carry contaminated air back over the wet panel, while cold metal can condense moisture during the coating process. Check the environment and the product system before blaming the clear coat.
Uneven metallic color often comes from changed spray orientation between panels or from an inconsistent final pass. Edge chipping after curing can reflect poor adhesion, an unprepared substrate, incompatible layers, contamination, or excessive film stress. A thickness gauge can show total build, but it cannot tell whether the failure began in the primer, base coat, or clear coat.
Frequently asked questions
These answers address practical decisions that basic spray-paint guides often reduce to a timer, a fan, or a coat count.
How soon can I spray clear coat after base coat?
Clear coat is often applied approximately 15–20 minutes after base coat under normal conditions, but the product’s technical sheet and actual solvent release take priority. The base should be sufficiently flashed for the system, with no wet or unstable areas, and the temperature and humidity should remain within the product’s working conditions.
A cool, humid environment or an excessively heavy base coat can extend the wait. If the surface still feels wet, looks unevenly soft, or shows signs of trapped solvent, spraying clear immediately can contribute to bubbles, cloudiness, adhesion problems, or shrinkage.
How can I match a metallic color across two panels?
Use a test area before committing to both panels. Compare the mixed material under the same lighting, then apply the same number of coats, gun movement, overlap, and final orientation pass that you plan to use on the vehicle. Metallic and pearl pigment orientation depends on the final pass as well as the number of coats.
Keep the panels in the same environmental conditions and avoid changing speed or distance to compensate by eye halfway through the job. If the test area differs, correct the application method or color formula before clear coat makes the mismatch harder to evaluate.
What should I do about dust nibs after the clear coat cures?
After the clear has cured according to its technical instructions, inspect each nib under good light. Small surface contaminants can often be leveled carefully with suitable finishing abrasives and then polished, provided enough clear remains and the defect is confined to the surface.
Do not treat sinking, bubbling, lifting, or widespread cloudiness as ordinary dust. Those symptoms can indicate solvent entrapment, adhesion failure, moisture, or system incompatibility and may require sanding back and refinishing. If the defect reaches the base or substrate, surface correction and renewed preparation are safer than polishing harder.







