
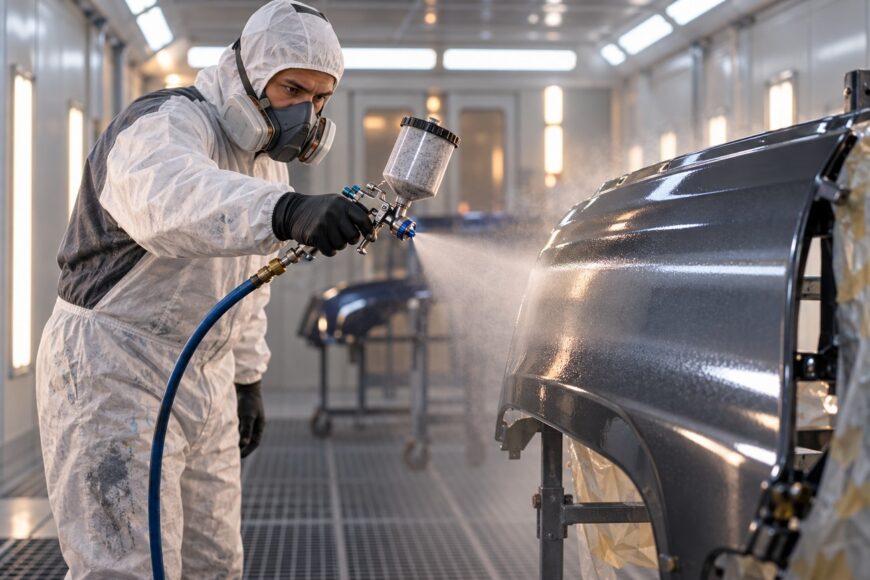
Working too close produces a concentrated, wet fan that can overload edges, create runs, and leave heavy transfer in the center. Working too far away allows the coating to lose wetness before it reaches the surface, so the fan becomes dry, dusty, and less efficient. Both failures can occur even when the operator believes the hand movement is steady.
Distance works together with overlap, gun angle, travel speed, air pressure, fan width, and material behavior. About 50% overlap and a commonly quoted working distance are useful starting points, not universal settings. The correct technique depends on the spray system, coating viscosity, part geometry, and the equipment instructions for that material.
- Why Spray Gun Distance and Overlap Control the Finish
- Working Distance by Spray System and Material
- How to Keep a Consistent 50% Overlap
- A Repeatable Spray Pattern for Flat and Contoured Parts
- Diagnosing Runs, Orange Peel, Dry Spray, and Striping
- Setup, Testing, and Safety Before the First Pass
- Frequently asked questions
- How long should I wait between spray paint coats?
- What is the number one rule when using an airless spray gun?
- How can I keep spray gun distance consistent on a large panel?
Why Spray Gun Distance and Overlap Control the Finish
Distance changes how concentrated and wet the fan arrives at the surface. A shorter distance generally delivers more material into a smaller area, while a longer distance spreads the fan and gives droplets more time to lose solvent or momentum. The same adjustment can therefore create a wet, heavy film in one setup and a dry, weak film in another.
Overlap controls how neighboring passes blend. If the next pass does not reach far enough into the previous fan, the film separates into visible bands. Irregular overlap produces striping and inconsistent film thickness, even when each individual pass looks acceptable. Excessive overlap can hide stripes while increasing material use and loading selected areas.
Fan width and material flow must be considered with distance. A wide fan held too close can put excessive material onto edges and the center of the stroke. A narrow fan held too far away may lose coverage before it reaches the panel. Air pressure also changes atomization, so correcting a poor pattern by moving the gun alone can create a second defect.
Travel speed completes the relationship. Slowing the gun while the material flow remains unchanged increases film build; speeding up reduces it. Problems become harder to diagnose when distance, speed, and pressure all move outside their useful range at the same time. Adjust one variable at a time on a test surface, then judge wetness, texture, and coverage together.
Working Distance by Spray System and Material
The ranges below are reference windows from different spray systems, so they are not interchangeable prescriptions. Material instructions, nozzle selection, viscosity, fan pattern, and part geometry govern the final setting. Use the closest applicable starting range, then confirm it on a test panel.
| Spray system or application | Reference working distance | Practical qualification |
|---|---|---|
| Conventional or manual spray painting | 25–30 cm | A common starting range for hand application; one coating instruction specifies 15–20 cm for conventional spraying. |
| Airless or profile spraying | 15–25 cm | A range often cited in industrial guidance; the tip, pressure, material, and profile affect the usable window. |
| Powder coating | 200–300 mm | Some guidance notes 20–25 cm as an efficient close working distance; part geometry and the powder system remain decisive. |
These figures describe the gun-to-surface distance, measured from the relevant spray outlet rather than from the rear of the gun. Keep the reference point consistent during setup. A change in hand position can alter the actual distance enough to change film build across a large panel.
Powder and airless systems also depend heavily on nozzle, deflector, and fan configuration. A distance that works on a flat face may leave shadowed areas on a profile or recess. If the coating manufacturer specifies a narrower working window, follow that instruction instead of averaging the ranges in the table.
How to Keep a Consistent 50% Overlap
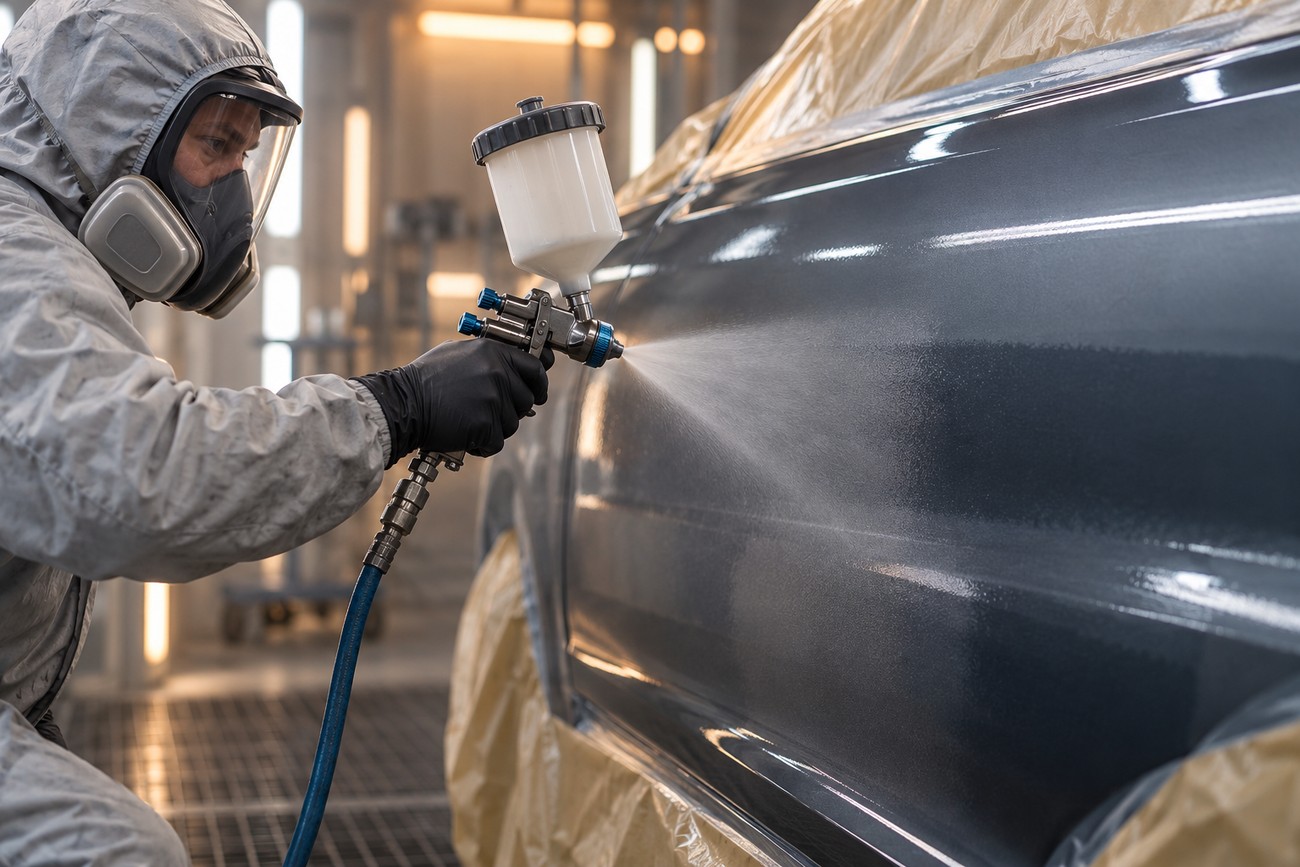
About 50% overlap is a practical starting point for blending adjacent fan passes. Begin each stroke so that roughly half of the previous fan remains inside the new fan. The exact visual amount changes with fan shape, spray width, material flow, and the finish required, so treat the mark as a repeatable reference rather than a fixed law.
Keep the gun perpendicular to the surface during straight passes. Tilting the gun changes the distance from one side of the fan to the other, which makes one edge wetter and the opposite edge drier. The problem is especially clear on broad panels, where a small wrist angle can create a long band of uneven thickness.
Use a steady rhythm: the same entry point, the same exit point, and the same travel speed on every pass. Triggering at inconsistent locations creates heavy starts and light ends. Excessive overlap may make a panel look temporarily uniform, yet it increases consumption and can produce local buildup where passes meet or where the gun slows near an edge.
For a new coating, check the overlap on a sample with the same substrate and orientation as the finished part. If the fan is narrow or the material is unusually wet, a smaller overlap may be appropriate after testing. If the fan shows a weak center or pronounced edges, correct the spray pattern and material flow before trying to compensate with hand placement.
A Repeatable Spray Pattern for Flat and Contoured Parts
Start by spraying a test surface and inspecting the fan without chasing the final finish. Confirm that the pattern is even, establish the working distance, and choose a speed that produces a continuous film. Begin moving the gun before opening the trigger, and keep the hand height stable through the stroke. Release the trigger before stopping the movement.
On a flat panel, long, parallel passes usually give the most predictable result. Keep the gun perpendicular, maintain the chosen distance, and use the same overlap from one side to the other. Edges deserve controlled attention because stopping on them or turning the gun around them can deposit more material than the main face.
Relief and shadowed areas are usually solved by changing the trajectory or fan configuration while preserving the working distance. A suitable nozzle or deflector can reach a pocket more evenly than abruptly moving the gun closer, which often overloads the nearby edge.
Contoured parts require a planned sequence around corners, recesses, and raised details. Change the angle of the part or the direction of the pass where access demands it, while keeping the gun perpendicular to the local surface as far as possible. If the fan cannot reach a pocket, review the nozzle, deflector, or fan configuration before reducing distance.
Apply the same entry, exit, speed, and hand height each time the part is coated. That repeatable pattern makes defects easier to trace. If a problem appears only in a recess, the geometry or spray configuration is likely more relevant than a general change in hand speed.
Diagnosing Runs, Orange Peel, Dry Spray, and Striping
Runs and heavy edges usually indicate that too much wet material reached one area. Working too close, moving too slowly, pausing at the end of a pass, or carrying excessive material flow can all contribute. The correction is normally a controlled check of distance, flow, pressure, and movement on a sample. Simply accelerating the hand may reduce the symptom while leaving the spray pattern poorly set.
Dry spray appears when droplets lose too much wetness before reaching the surface. Excessive distance, unsuitable pressure, weak material flow, or a fast pass can produce dusting and poor deposition. Bringing the gun closer may help within the permitted working window, but the coating instructions and fan condition should be checked first. A dry fan can also signal that the material is too viscous for the current atomization setup.
Orange peel results when atomization and film flow do not work together. Distance, air pressure, and viscosity are linked: a setting that creates acceptable droplets may still leave a surface that cannot level properly. Compare a small sample after adjusting one variable, allowing the coating to develop its normal appearance before making another change. Avoid changing pressure, thinning, distance, and speed simultaneously, because the cause then becomes impossible to isolate.
Striping points toward unstable overlap, an uneven fan, inconsistent travel speed, or a tilted gun. Check whether the operator is keeping the same reference distance at both ends of the stroke. A fan that is physically uneven can mimic a technique problem, so inspect the nozzle, air cap, and material supply before repeatedly repainting the panel.
Film defects are often cumulative. A slightly long distance, a slightly fast pass, and a slightly low material flow may combine into a dry surface; the opposite combination can produce sagging. Correct the largest visible deviation first, then retest with the same overlap and hand position.
Setup, Testing, and Safety Before the First Pass
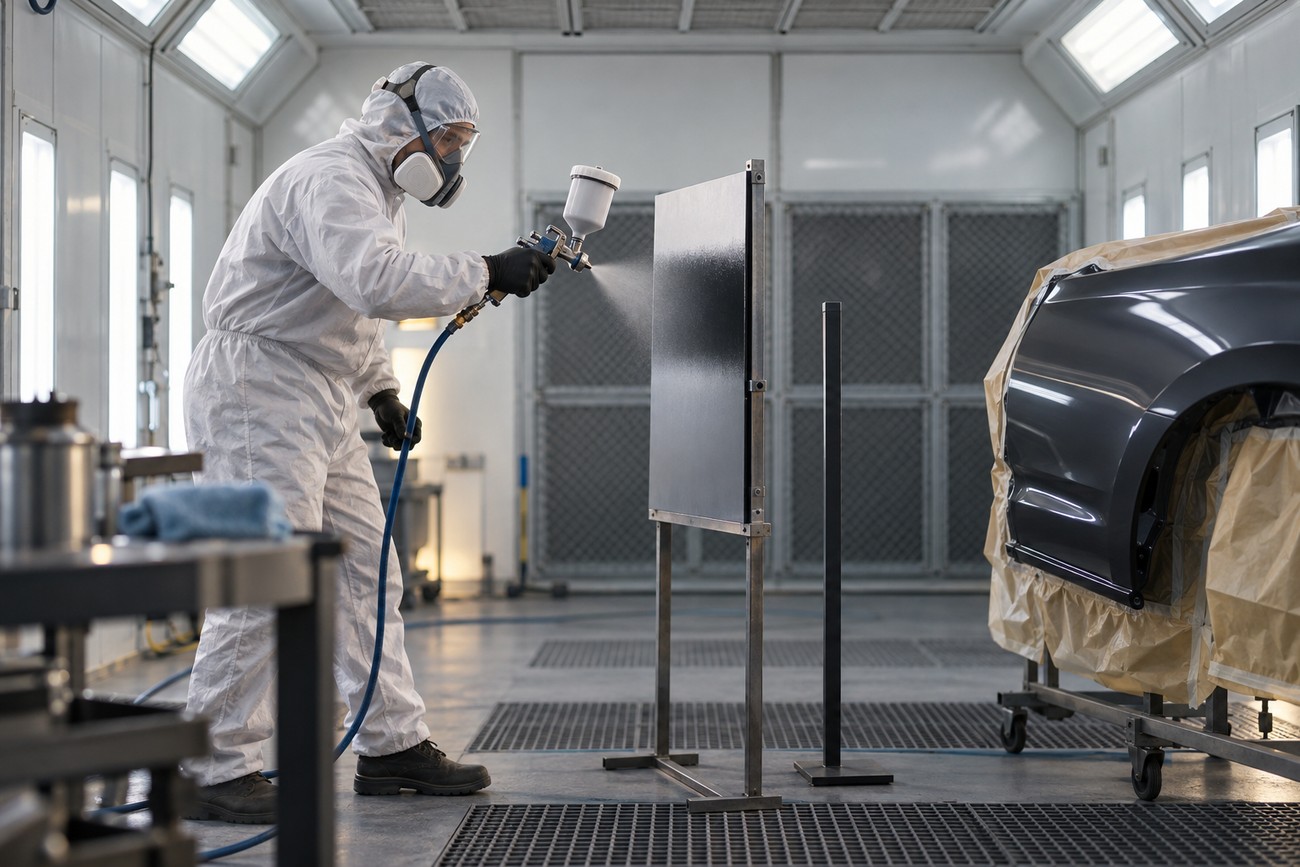
Use a test panel or sample before coating the finished part. Check fan shape, material flow, wetness, edge behavior, and appearance after the coating has had time to settle. Marking a reference distance on the setup or using a simple spacer can help reproduce the same position while you compare adjustments.
Verify the equipment limits before changing pressure. Some Graco guidance limits air pressure at the air cap to 10 psi for regulatory compliance, but that is not a universal setting for every gun or coating. The correct pressure depends on the equipment and material instructions. Treat a published limit as a system requirement rather than transferring the number to another spray gun.
Manual spray application requires local exhaust ventilation under the cited sanitary guidance. Ventilation affects worker exposure, overspray control, and the behavior of the spray cloud, so it is part of the process rather than an afterthought. Internal cavities create an additional problem: the coating must reach the surface while the aerosol and solvent-laden air are controlled.
For internal cavities, cited guidance requires at least two openings and an induced-air speed of 5–7 m/s. Follow the applicable site and safety requirements before spraying into enclosed or poorly ventilated spaces. If the airflow is wrong, moving the gun closer may increase aerosol loading and overspray without improving coverage.
Frequently asked questions
The questions below address common timing, trigger-control, and distance issues. The same principles apply across the spray process: establish a repeatable setup, test it, and adjust one variable at a time. Always use the coating and equipment instructions as the final reference.
How long should I wait between spray paint coats?
Wait according to the coating manufacturer’s specified recoat window. Flash time is the period needed for solvents to leave between coats, while dry-to-touch time only describes how the surface feels when touched carefully. Neither automatically confirms that the next coat can be applied safely or will bond correctly.
Check the product instructions for the difference between flash time, dry-to-touch time, and the recoat window. Temperature, humidity, film thickness, and ventilation can change the result. Applying the next coat before the specified window can trap solvent or disturb the previous layer; waiting beyond a stated window may require a different preparation step.
What is the number one rule when using an airless spray gun?
Start moving the gun before opening the trigger, and release the trigger before stopping the movement. This trigger discipline prevents a concentrated burst at the beginning of a pass and a heavy deposit at the end. Keep the gun moving continuously through the active part of the stroke.
Plan the overlap before triggering, and avoid correcting a missed area with a stationary burst. Airless application still requires coordinated distance, fan direction, and travel speed, even though the system does not use the same air-atomization process as a conventional gun.
How can I keep spray gun distance consistent on a large panel?
Choose a repeatable visual reference or use a simple spacer during setup. Verify the fan on a test surface, then keep the same arm extension and hand height as you work across the panel. A temporary guide, marked position, or fixed relationship to the panel edge can make distance easier to reproduce than relying on feel alone.
Divide a large panel into planned passes and preserve the same entry and exit points. Stop to inspect the pattern only after a controlled section, rather than changing distance continuously while spraying. This makes it easier to distinguish a distance error from a fan, overlap, or material-flow problem.







