
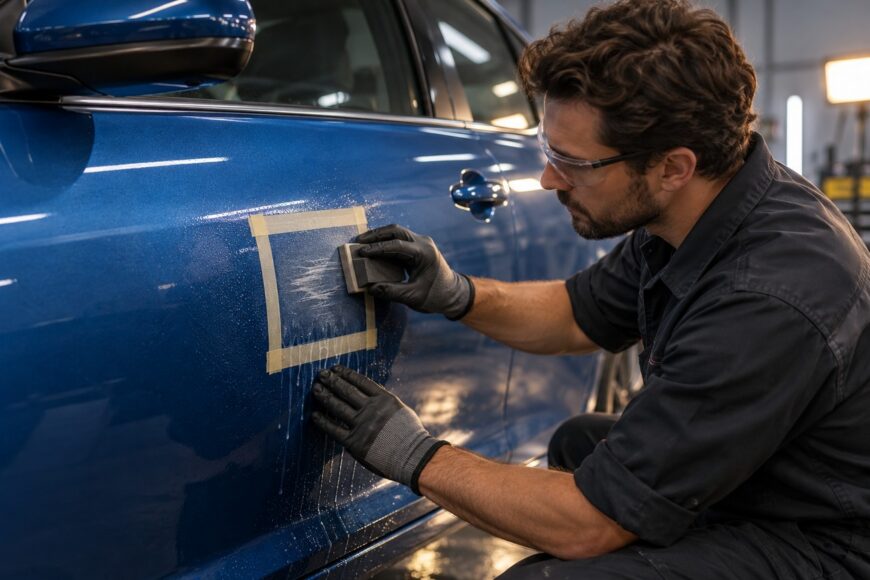
A small scratch can turn into a visible color spot, a halo, a peeling edge, or a texture mismatch after an apparently successful repair. Sunlight often reveals defects that were invisible in the booth, while polishing can expose a clearcoat boundary that initially seemed to disappear.
Spot repair saves material and time when the damaged area is genuinely small, but it carries a durability compromise. A reliable result depends on scratch depth, color complexity, surface preparation, blend-zone control, and the product manufacturer’s technical data sheet (TDS). Full-panel clearcoat is generally more durable than a locally blended clearcoat edge.
- What Spot Repair Painting Can—and Cannot—Fix
- Decide Whether the Scratch Is Suitable for a Spot Repair
- Prepare the Surface and Match the Color Before Spraying
- Apply Basecoat, Control the Blend, and Finish with Clearcoat
- Why Small Scratch Repairs Fail After They Look Finished
- Spot Repair or Full-Panel Refinishing: The Durability Trade-Off
- Frequently asked questions
- How can I paint minor scratches on my car without repainting the whole panel?
- How can I fix minor paint scratches on my car if the scratch catches a fingernail?
- How can I paint minor scratches on my car?
- How can I fix minor paint scratches on my car?
What Spot Repair Painting Can—and Cannot—Fix
In a basecoat/clearcoat system, spot repair means applying color only to the damaged area while normally extending clearcoat across the entire panel. That process differs from simply wiping a scratch clean and covering it with paint. The surrounding finish must be prepared for adhesion, the color transition must be controlled, and the final surface must match the panel’s gloss and texture.
A shallow mark limited to the clearcoat may need careful sanding and polishing rather than color. Once the scratch reaches the color layer, primer, substrate, or metal, the repair usually requires leveling, compatible primer, and a controlled basecoat application. Paint alone cannot reliably fill a deep groove or correct corrosion risk beneath the coating.
Metallic and pearl finishes are more demanding because the visual match depends on particle orientation as well as the color formula. Gray shades can also show a mismatch under a different viewing angle or light source. A repair that looks acceptable straight on may appear cloudy, dark, or bright from the side.
Spot repair is most practical on a genuinely small, accessible area with a defensible blend location. A locally blended clearcoat edge remains a durability compromise rather than a full factory-style panel refinish. The smallest possible repair is not automatically the best repair if it leaves a narrow edge exposed to weather.
Decide Whether the Scratch Is Suitable for a Spot Repair
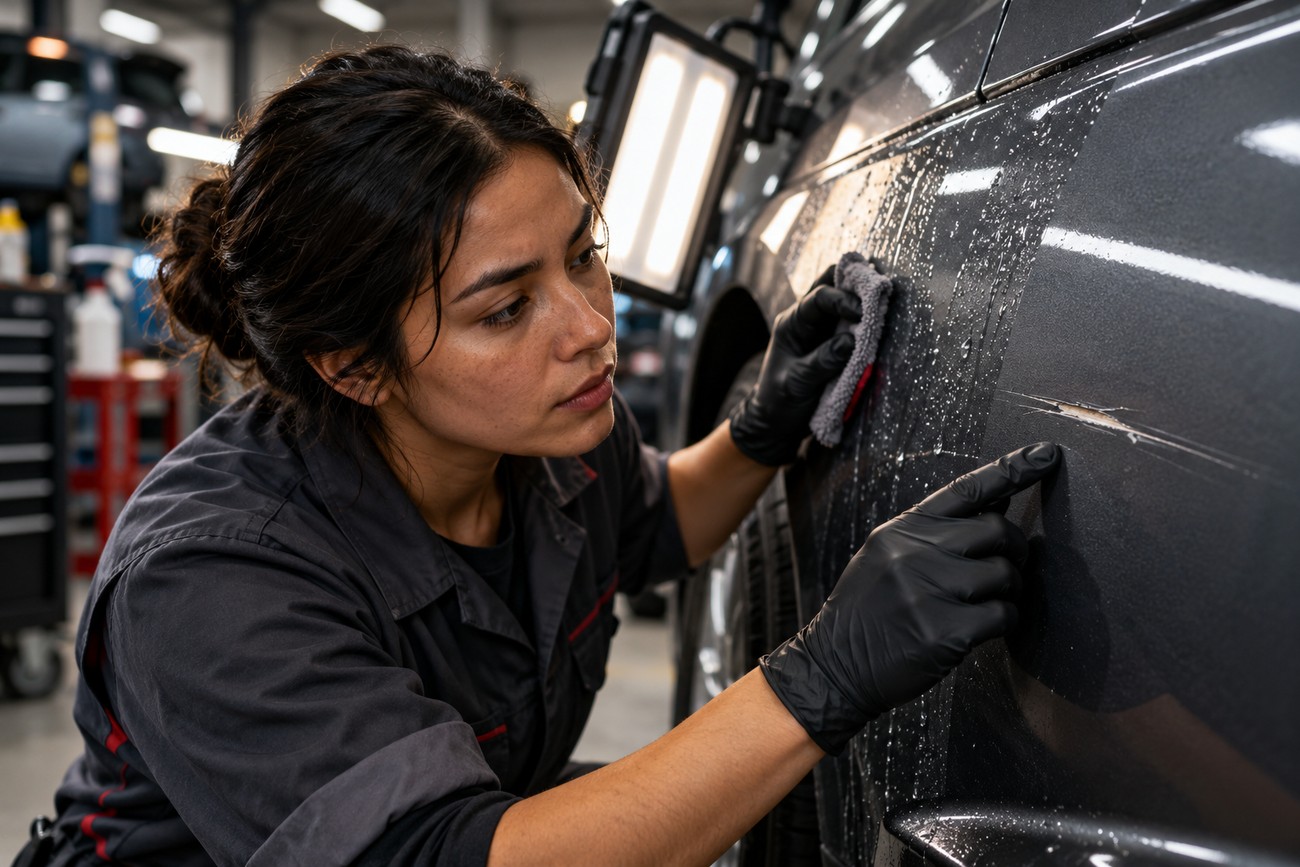
Start by washing and inspecting the damage under strong, even light. A scratch that changes appearance when wet may be largely within the clearcoat, while a sharp groove that catches a fingernail is more likely to have reached a deeper layer. This screening method is useful, although it does not replace inspection of the substrate.
Look for exposed primer, bare metal, or a different-colored layer at the bottom of the scratch. Deep damage may require leveling and primer, followed by confirmation that the substrate or metal has not been exposed. If metal is visible, the repair plan must address protection and compatibility before color is applied.
Location also determines whether a localized repair will be convincing. Damage on a sharp body line, panel edge, or large open panel is harder to hide with a small blend because changes in reflection make the transition easier to see. Natural panel boundaries, moldings, and body lines can provide better stopping points than the center of a flat panel.
Complex colors, multiple scratches, and a repair zone that keeps expanding are signs to consider refinishing the complete panel. Full-panel work gives the clearcoat a continuous film and reduces the risk of a visible blend edge. It may use more material and preparation time, but it is often the safer choice for appearance and long-term durability.
Prepare the Surface and Match the Color Before Spraying
Clean the panel before sanding so dirt and road film do not become embedded in the abrasive work. After matting, clean it again to remove sanding residue. Silicone, wax, grease, dust, and other residue can reduce adhesion and cause craters or fisheyes in the new coating.
A typical blend-zone preparation uses P800 abrasive together with a gray scuff pad. The abrasive creates a controlled surface for adhesion, while the pad helps reach contours and areas that a rigid abrasive may miss. Keep the prepared zone wide enough for the planned blend, and mask adjacent panels, trim, openings, and glass against overspray.
Color evaluation should include different viewing angles and lighting conditions. Metallic, pearl, and gray finishes can appear matched from one direction and different from another because of particle orientation, flop, or surrounding reflections. Spray-out cards or test panels are useful when the formula, variant, or existing finish is uncertain.
Color is only one part of the match. Factory clearcoat texture, gloss, and DOI, or distinctness of image, also affect how the repair reads in reflected light. A correct formula with a different application technique can still leave a visible patch because the surface texture does not agree with the rest of the panel.
Apply Basecoat, Control the Blend, and Finish with Clearcoat
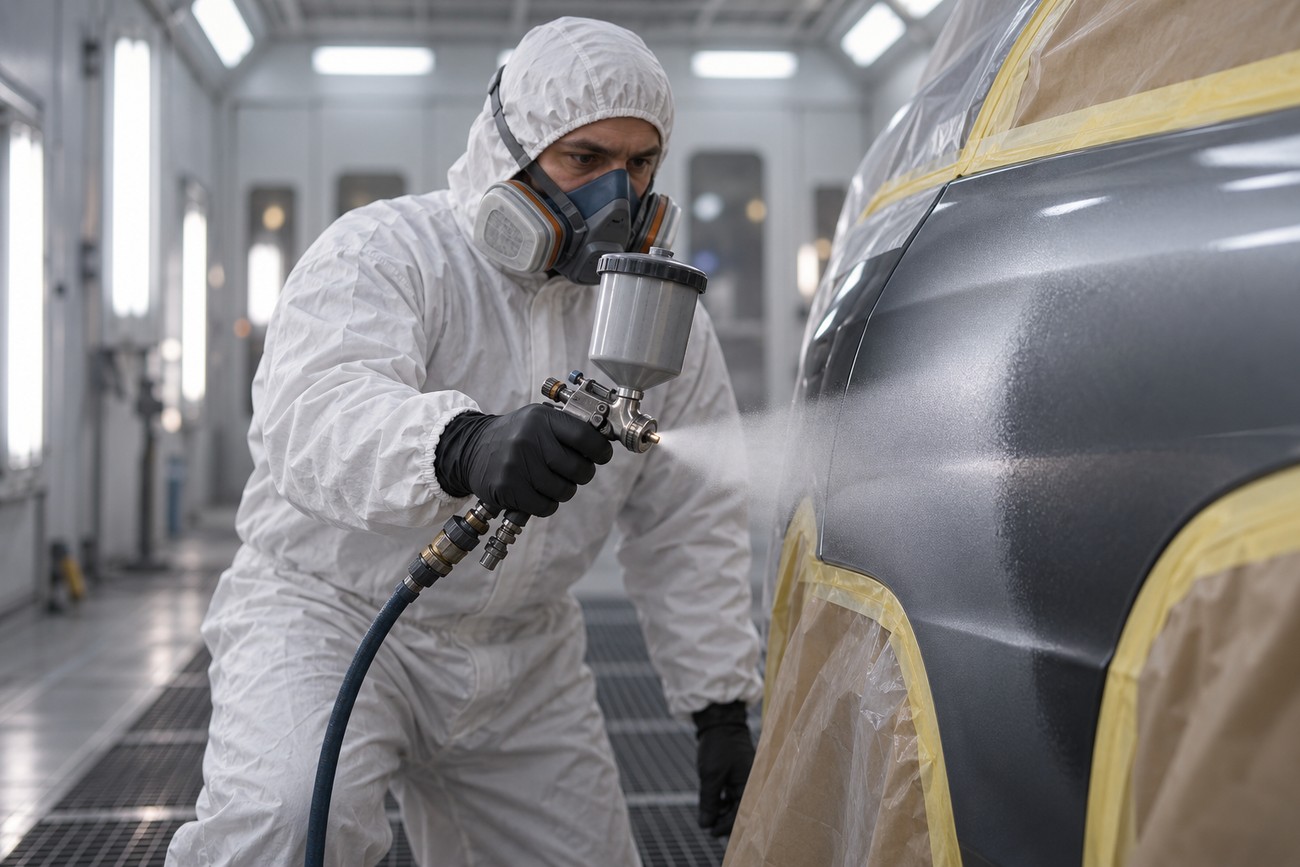
Apply basecoat in thin, controlled coats, keeping the color concentrated over the repaired area and widening the transition gradually. Avoid trying to fill a deep defect with heavy color; excessive film build can create lines, shrinkage, or sink-back. The application distance, pressure, flash time, and reducer must follow the product TDS.
For metallic and pearl colors, use a light drop coat at reduced pressure when the system calls for it. This helps improve particle orientation and smooth the color transition. The final appearance should be checked before clearcoat because clearcoat can increase gloss and make a color mismatch more noticeable.
Particle orientation and surface texture are part of the color match. Following the system TDS is safer than copying a universal ratio or flash time from another paint line.
Allow the basecoat to flash before applying clearcoat. One professional system example specifies approximately 10–20 minutes before clearcoat, but the product TDS controls the actual time. Applying clear too early can trap solvent and contribute to cloudiness, sinkage, or other finish defects.
Clearcoat mix ratio, hardener, and pot life vary by system. Examples include a 4:1 clearcoat ratio and approximately 1 hour of pot life for a spot-repair system, but these figures are product-specific. Measure the components accurately and discard material after the stated pot life rather than extending it with an unsuitable solvent or hardener.
For the most durable result, extend clearcoat across the entire panel. If a local blend is permitted by the system, a blending solvent may be required immediately after clearcoat; some TDS documents specify two light passes with a short interval. This step is system-specific and should never be improvised with a universal thinner.
Why Small Scratch Repairs Fail After They Look Finished
A color spot that appears in sunlight usually indicates a mismatch in formula, variant, particle orientation, or viewing angle. On metallics and pearls, an uncontrolled spray pattern can leave an obvious cloud even when the color appears close in the mixing cup. Differences in gloss or texture can create the same impression after the color itself has been matched.
Peeling around the scratch generally points to poor cleaning, insufficient matting, incompatible materials, or contamination at the edge. A glossy surface gives the new coating little mechanical grip. Silicone, wax, grease, dust, and residue can also create fisheyes or craters that become more visible as the finish levels.
Dust, uncontrolled texture, and overspray halos can result from incorrect pressure, excessive spray distance, unsuitable solvent, or poor masking. A repair sprayed too widely may create a dull ring around the original damage. Excessive primer or paint can leave lines and later shrinkage, while too little material leaves the original groove or depression visible.
A clearcoat edge may disappear after polishing and then become visible again after sunlight and atmospheric exposure. A narrow blended edge is particularly vulnerable to this appearance change. Fast drying does not equal complete polymerization, so early washing, polishing, or chemical exposure can damage the fresh repair even when it feels dry.
Spot Repair or Full-Panel Refinishing: The Durability Trade-Off
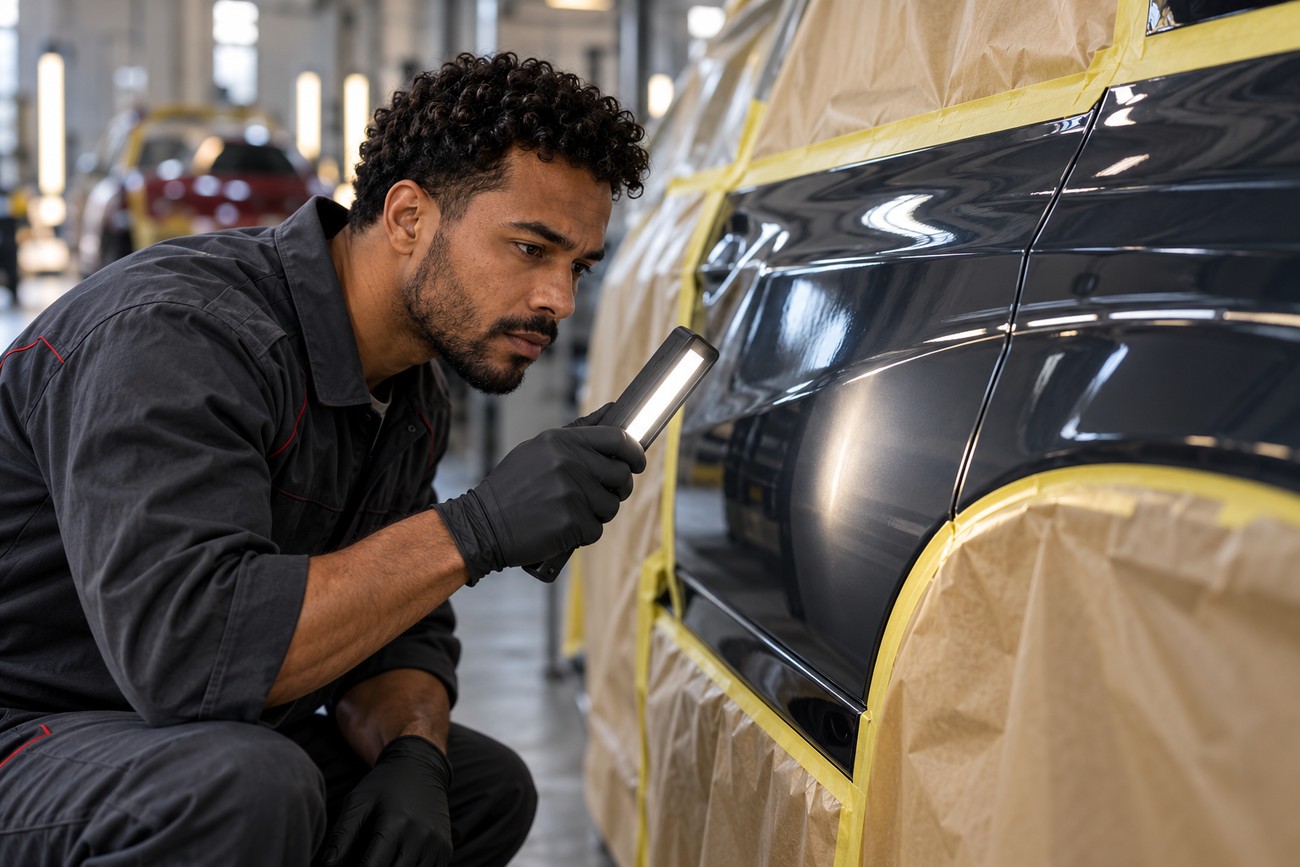
Spot repair is economical when the damage is small and the transition can be placed where reflections will not emphasize it. It reduces material use and limits preparation, which can make sense for minor damage on an otherwise sound panel. The benefit declines as the blend area grows or the color becomes harder to control.
Natural panel boundaries, moldings, and body lines can conceal a transition more effectively than the center of a flat panel. They guide the eye and interrupt reflected lines, although they do not guarantee an invisible result. A transition placed in an exposed flat area is more likely to show changes in color, gloss, or texture.
Full-panel clearcoat is generally more durable than a locally blended clearcoat edge because the panel receives a continuous protective film. BASF and PPG guidance warns that a thin blended clearcoat edge can become visible under sunlight and weather exposure and may not satisfy long-term OEM warranty expectations. Local blending may therefore be unsuitable where factory-style durability is required.
The smaller the blended clearcoat zone, the greater the risk that its edge will appear early. A slightly larger repair with a sound transition can outlast a tiny repair that leaves an exceptionally thin edge in an exposed location. Choose the repair size according to durability and appearance, rather than treating minimum material use as the main objective.
Frequently asked questions
Minor scratches can sometimes be repaired locally, but the decision depends on depth, location, color, and the intended durability. The following rules help separate a controlled spot repair from a repair that needs more extensive refinishing.
How can I paint minor scratches on my car without repainting the whole panel?
Keep the color application inside a properly prepared blend zone after cleaning and matting the surrounding surface. Limit the repair to a small area where the color and texture can be evaluated from several angles. If the clearcoat transition cannot be placed at a natural panel boundary, molding, or body line, use a full-panel clearcoat instead of forcing a narrow blend in the middle of the panel.
How can I fix minor paint scratches on my car if the scratch catches a fingernail?
A fingernail-catching scratch may have reached beyond the clearcoat and can require leveling and primer rather than a simple color touch-up. Inspect the bottom of the groove for exposed substrate or metal before choosing materials. Filling the mark with heavy color alone can leave shrinkage, a visible depression, or poor adhesion around the repair.
How can I paint minor scratches on my car?
Clean the area, assess the depth, prepare the blend zone, verify the color under different lighting, and apply compatible materials in thin coats. Follow the product TDS for flash-off, mixing, pressure, and curing. A professional result depends on matching surface texture and gloss as well as color.
How can I fix minor paint scratches on my car?
Choose polishing only when the damage is confined to the clearcoat and the surrounding finish remains stable. If color is missing, prepare the surface and apply the correct basecoat system; if the scratch is deep, include leveling and primer. Allow the repair to cure according to the TDS before washing, polishing, or exposing it to strong chemicals.







