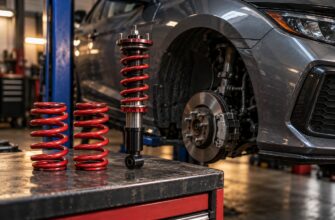
A car that skips over bumps can lose grip, while one that bottoms out with passengers or luggage runs out of suspension travel. Copying another driver’s coilover spring rate can produce either result: the cars may differ in weight, suspension geometry, tires, or ride height.
The rate on a spring is a useful starting point, not a verdict on how the car will ride. A sound choice also has to fit the coilover seats, stay secure through the suspension’s movement, and leave enough travel to absorb the roads you drive.
- What a coilover spring rate actually tells you
- Calculate a starting rate from the car, not a forum post
- Choose the front–rear balance for your roads and use
- Confirm diameter, free length, and travel before ordering
- Match the springs to dampers and remaining suspension travel
- Test the setup and correct the cause, not just the number
- Frequently asked questions
- What are good spring rates for coilovers?
- How do you calculate coilover spring rate?
- How do you choose the correct spring rate?
- How do you choose a spring for a coilover shock?
What a coilover spring rate actually tells you
A linear spring rate describes how much additional force compresses a spring by a given distance. A higher rate resists further compression more strongly. That figure describes the spring on its own; it does not tell you how far the wheel moves, how the damper responds, or when the suspension reaches its bump stop.
Check units before comparing catalogs. A listing marked “kg/mm” commonly means kgf/mm, or kilograms-force per millimeter; 1 kgf/mm ≈ 9.81 N/mm. A number in N/mm therefore cannot be compared directly with a number in kgf/mm. If the listing is unclear, confirm the unit with the supplier rather than guessing from the number.
The wheel rate—the stiffness felt at the wheel—also depends on suspension leverage. If the spring moves less than the wheel, the wheel rate is lower than the spring’s catalog rate. Two cars using springs with the same label can therefore have different effective stiffness at the tire.
A progressive spring adds another qualification: its effective rate can rise as it compresses. Ask which part of its travel a quoted rate describes. Neither a single catalog figure nor a familiar market range establishes that a spring will be comfortable once installed.
Calculate a starting rate from the car, not a forum post
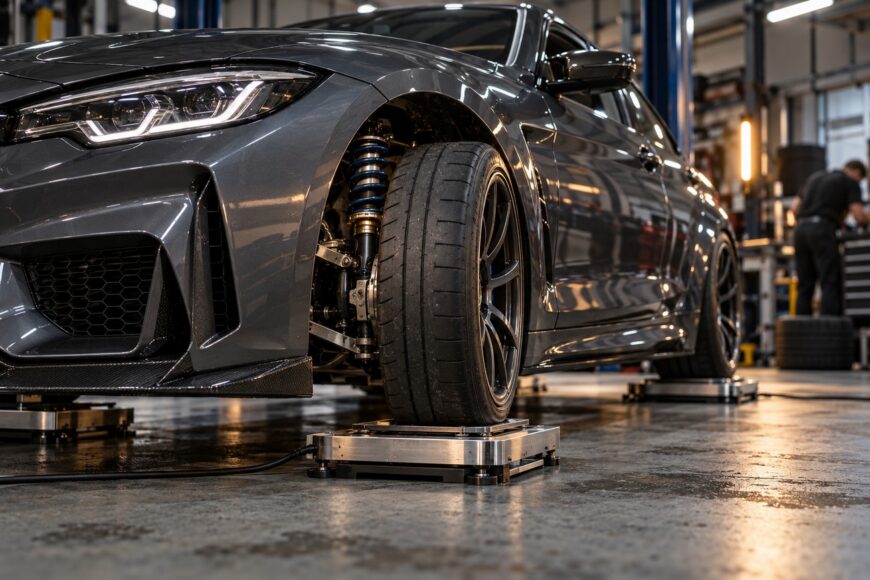
Record actual corner weights with the car in its normal operating condition: the usual driver, fuel load, wheels, and equipment should be aboard. Consider regular passengers or luggage separately if they materially change how the car is used. Corner weights show the load distribution more clearly than a vehicle-model label or a single axle total.
Estimate the sprung load at each corner rather than treating the entire measured load as weight carried by the spring; wheels, tires, and some suspension parts are unstrung. Then establish a sensible target for wheel deflection and check it against the compression travel available at the intended ride height. Weight alone supplies no definitive rate without that travel target and the intended use.
Define motion ratio as spring travel divided by wheel travel at the ride-height position. For a linear spring, wheel rate = spring rate × motion ratio²; to work back from a target wheel rate, divide by motion ratio². Measure or obtain the ratio for the relevant suspension position, since geometry can change through travel. Treat the result as a starting calculation, then check fit, damping, and usable travel.
Choose the front–rear balance for your roads and use

Start with the surface the car actually sees. A smooth-course setup may favor tighter body control, while broken pavement demands enough compliance to let the tires follow it. Tire choice and pressure affect that response too. A spring that makes steering feel immediate can still reduce grip if the wheel skips across rough patches.
Passengers and luggage add load and consume compression travel, often changing the rear axle’s requirements most. Occasional cargo calls for a check of loaded ride height and bottoming clearance; it does not automatically justify a permanently harsh rear setup. Your driving purpose determines how much movement you are prepared to trade for body control.
Front and rear catalog rates need not match, follow a fixed ratio, or even indicate which end feels firmer at the wheel. Corner loads and motion ratios differ, and the tires and dampers influence the balance you experience. Changing one axle without assessing the other can also alter how the car responds in a corner.
About 5–8 kgf/mm is a commonly sold coilover range, not a universal recommendation. Buying within it can still produce a car that bottoms out or struggles for contact on rough roads. More rate may help control movement in one setting, but maximum stiffness is not a shortcut to better handling.
Confirm diameter, free length, and travel before ordering
Specify three spring properties together: rate, free length, and seat-compatible inner diameter. Measure the coilover seats or use the coilover maker’s fitment specification. Springs listed with 62 mm and 66 mm inner diameters are common, but those sizes are not interchangeable simply because both appear in coilover catalogs.
At full droop, the main spring must remain properly seated unless the assembly is designed to use a suitable helper spring. Check the adjuster’s usable range as well as clearance around the spring and seats. At full compression, verify that the spring will not reach coil bind before the suspension’s intended travel limit; the damper and bump stop need checking as part of that assessment.
A shorter spring can create room to adjust a seat, yet it does not manufacture more suspension travel. It may become loose when the wheel hangs, and a lowered ride height can leave too little compression travel for road impacts. Confirm where the damper operates at the intended height before choosing length as a lowering tactic.
Preload on a linear spring changes its installed compression and can help keep it seated; it does not change its rate. On a coilover with separate height adjustment, distinguish a preload change from a ride-height change. After either adjustment, check spring security at full droop and usable compression travel separately.
Match the springs to dampers and remaining suspension travel
The same spring can feel controlled on one damper and unsettled on another. Damper valving governs how the suspension moves and settles, while the spring supports load and resists displacement. An adjustable damper offers room to tune the response, but its adjuster cannot make an unsuitable spring or a lack of travel disappear.
Lowering can place the car closer to its bump stops before it encounters a pothole or carries passengers. Repeated bump-stop contact feels harsh and may be mistaken for excessive spring rate. Check ride height, damper position, and remaining compression travel before ordering a softer spring to cure sharp impacts.
Bottoming with luggage points toward insufficient loaded clearance, spring support, or both. A car that skips across uneven pavement suggests a different check: excessive effective stiffness, damping, tire behavior, and the ability of the wheel to follow the surface. Simply fitting a stiffer spring to reduce body movement may make that contact problem worse.
Inspect bump stops and dampers as a matched assembly with the spring. A damaged stop or a damper that cannot control the chosen rate can obscure otherwise useful testing. If the setup has too little travel at the target height, revisit the height and hardware rather than expecting damping adjustment alone to solve it.
Test the setup and correct the cause, not just the number

After installation, verify that each spring sits squarely, remains located at full droop, and clears surrounding parts through the usable range. Set ride height with the car at its normal load, then check alignment; a height change can alter it. Record the settings so a later comparison means something.
Drive the same familiar stretch of road under comparable conditions, noting whether the car settles after bumps, contacts its stops, or loses composure over rough sections. Make one adjustment at a time and repeat the check. Changing height, damping, and rate together can hide which change helped—and which introduced a new problem.
If cargo causes bottoming, inspect loaded clearance and compression travel before increasing rate. For sharp impacts, look for bump-stop contact or excessive damping before blaming the spring label. If the tires seem to skip over bumps, check damping and effective stiffness as well as tire condition and pressure. These symptoms guide the next inspection; none identifies a rate on its own.
Compare replacement springs beyond their printed rate. Springs with identical labels can differ in dimensional fit, rate consistency, and durability. Clear specifications and reliable manufacturing matter because an accurate calculation is of little use if the installed spring does not behave as specified.
Frequently asked questions
These decisions become easier when you separate a catalog number from the assembled suspension. Use the checks below to narrow a choice, then verify it on the car at its intended load and ride height.
What are good spring rates for coilovers?
Good rates are those that support your car’s normal and expected loads while preserving useful travel and tire contact on your roads. Start with a setup documented for your exact vehicle configuration, then compare its wheel-rate and travel assumptions with yours. Treat any commonly sold rate as a candidate to evaluate, not a safe default.
How do you calculate coilover spring rate?
Set a target wheel rate from sprung corner load and the wheel deflection you can accommodate, then divide that wheel rate by motion ratio² to estimate a linear spring rate. This is an initial calculation: verify the motion ratio at the intended ride height and check the result against available travel, damping, and loaded use before ordering.
How do you choose the correct spring rate?
Choose a candidate that meets the car’s load and travel needs, then confirm it through repeatable driving checks rather than choosing by ride feel alone. If you change ride height during testing, recheck alignment before judging the result. A car that feels calmer after one adjustment may otherwise be responding to an alignment change.
How do you choose a spring for a coilover shock?
Match the spring’s inner diameter and free length to the shock’s seats and adjustment range, as well as choosing a suitable rate. If the main spring becomes loose at full droop, a compatible helper spring may keep it seated; it does not replace an unsuitable main spring rate. Also confirm coil-bind clearance and the shock’s usable compression travel.