
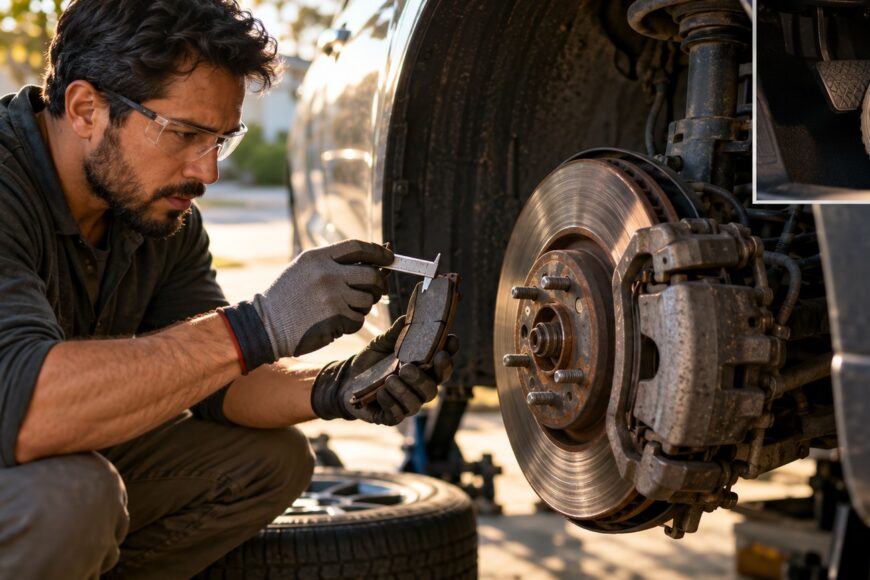
Replacing worn brake pads at home may be manageable for a careful DIYer, but a healthy-looking outer pad can conceal a worn inner pad or a damaged rotor. Before buying parts, inspect both pads at each wheel and decide whether the caliper and rotor are fit to keep using. A pads-only repair will not correct a sticking piston or a rotor below its minimum thickness.
The job is not finished when the new pads fit. Retracting the caliper piston affects the brake-fluid level, and the pedal must be firm before the car moves. A safe repair also includes a check for leaks and interference, followed by a cautious assessment of the brakes’ initial response.
- Check whether the brakes need pads—or more than pads
- Gather the right parts and secure the car
- Remove the old pads and find the cause of uneven wear
- Retract the piston, service the contact points, and fit the pads
- Before driving, restore pedal feel and check the repair
- If the new brakes squeal, pull, or wear unevenly
- Frequently asked questions
- What is the 30/30/30 rule for brakes?
- Why is the brake warning light still on after new pads?
- How should I dispose of old brake pads and used cleaning materials?
Check whether the brakes need pads—or more than pads
Inspect both inner and outer pads at each wheel; the inner pad may wear faster and may not be visible through the wheel. A look through the spokes can reveal obvious wear, but it rarely gives a reliable view of every pad and rotor face. Remove the wheel when access is needed, and measure the friction material rather than estimating it by eye.
Measure the lining without including its metal backing plate. Around 2–3 mm of friction material is commonly treated as the minimum range; 2 mm is often considered critical, while replacement around 3–4 mm may be prudent. Use the vehicle’s service information if it specifies a different limit, and do not wait for a squeal: pads can wear quietly.
Rotor minimum thickness is vehicle-specific; check it against the applicable specification and inspect both faces for scoring, cracks, and overheating. A visible outer face does not establish the condition of the inner face, while a wear lip alone does not tell you the rotor’s remaining thickness. Measure where the service instructions specify.
Marked differences between pads, deep scoring, cracks, heat damage, or a rotor below its minimum thickness call for further repair or diagnosis. A fixed mileage interval cannot settle the decision because wear depends on the vehicle, driving conditions, and whether the brake operates freely.
Gather the right parts and secure the car
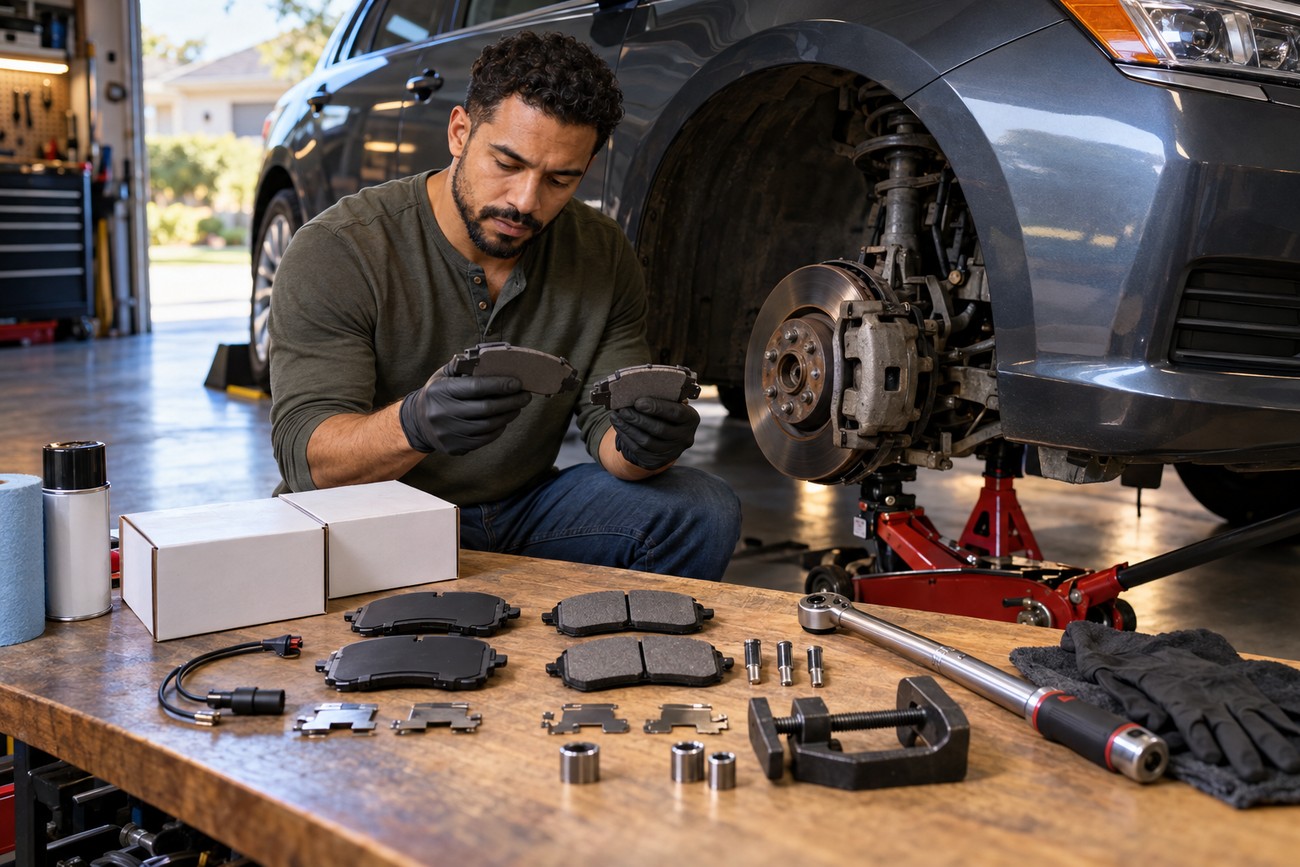
Replace pads on both wheels of the same axle using correctly specified parts. Check the vehicle and pad instructions for fitting hardware, shims, wear sensors, and any components that must be renewed. Confirm that the parts match the brake system before taking it apart; similar-looking pads are not proof of correct fit.
Have the vehicle’s service instructions on hand, along with a suitable jack, jack stands, wheel chocks, and the specified tools for the caliper fasteners. You will also need an appropriate piston-retraction tool, materials for cleaning and servicing the specified contact points, and a torque wrench. The instructions take priority for lift points, fastener torque, lubricant use, and any required replacement bolts.
Park on a level, hard surface and chock the wheels that will remain on the ground. Loosen the wheel fasteners before lifting, then support the car at the specified points with jack stands. Never work under or beside a car supported only by a jack.
Identify the rear-brake design before starting work there. Rear calipers with a parking-brake mechanism may require a vehicle-specific retraction method or electronic service procedure; do not force an unfamiliar piston. If the required procedure or equipment is unavailable, leave the repair to a qualified workshop.
Remove the old pads and find the cause of uneven wear
With the car securely supported, remove the wheel and note how the pads, clips, springs, and any sensor are fitted. Follow the vehicle procedure to remove or swing aside the caliper. Support it with a suitable hook or strap so its weight does not pull on the brake hose.
Keep the old inner and outer pads identified by position while you compare their remaining lining and wear patterns. Inspect both rotor faces for scoring, cracks, and overheating, and measure rotor thickness against the vehicle-specific minimum. The inner pad can be substantially more worn than the visible outer pad.
Keep the removed pads in position order until the caliper checks are complete. Their wear pattern can help direct attention to a sticking guide pin, restricted pad movement, or a piston problem.
Check whether the specified guide pins move as intended and whether corrosion or debris prevents the pads from sliding at their bracket contact points. Inspect the piston and its dust boot for visible damage or signs of binding. Do not disturb or dismantle hydraulic parts beyond the vehicle procedure if you cannot assess their condition safely.
A deeply scored, cracked, overheated, or undersize rotor needs the appropriate repair or replacement; new pads cannot cover up that defect. Likewise, a faulty caliper must be corrected before fresh pads are installed. If you cannot identify why one pad wore markedly faster, stop and arrange a brake inspection rather than repeating a pads-only swap.
Retract the piston, service the contact points, and fit the pads
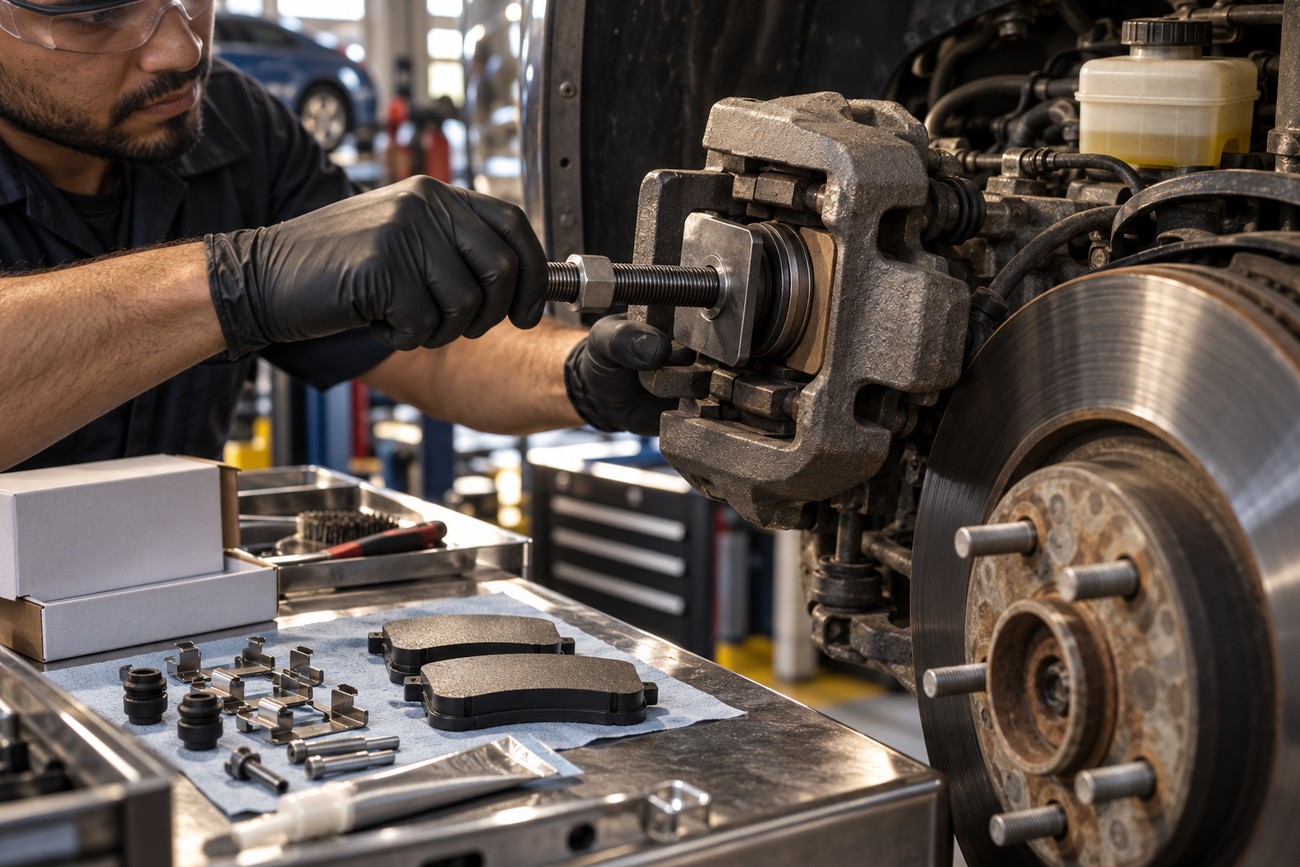
Before retracting the piston, check the brake-fluid reservoir and the vehicle’s instructions. Fluid displaced from the caliper can raise the reservoir level and cause an overflow, particularly if fluid was added while the old pads were worn. Monitor the level as you work, and handle any necessary fluid removal with clean, suitable equipment according to the service procedure.
Use the specified method and tool to retract the piston steadily. Rear calipers with a parking-brake mechanism may need a specific retraction method or electronic service procedure; do not force a piston that will not move normally. Unusual resistance is a reason to stop and check the procedure and caliper, not to apply more leverage.
Clean the bracket where the pads sit, and service guide pins and pad contact points only as the vehicle instructions specify. Use compatible products sparingly, keeping lubricant off the pad linings and rotor friction surfaces. Check that the pads can sit and move as designed without forcing them into a corroded bracket.
Fit the specified clips, shims, sensors, and other hardware in the correct positions, following both vehicle and pad instructions. Refit the caliper without twisting or trapping its hose, and torque its fasteners to the vehicle-specific specifications. Complete the same work on the other wheel of the axle before assessing the repair.
Before driving, restore pedal feel and check the repair
Refit each wheel and tighten its fasteners in the specified pattern and to the vehicle’s torque specification. Once the car is safely back on the ground, pump the brake pedal until it is firm before moving the car. The first presses may have extra travel while the pistons bring the pads into contact with the rotors.
Recheck the brake-fluid level against the reservoir markings and the vehicle instructions. Look for leaks, misplaced hoses or wires, and anything interfering with the wheel or brake assembly. If you opened a hydraulic connection or find a leak, the repair needs the specified hydraulic service before driving.
A persistently soft or sinking pedal is a stop-driving condition; bedding in will not fix it. Do not assume that every long pedal after a pad change calls for bleeding, either: first distinguish normal initial pad take-up from a pedal that fails to become and remain firm. If the cause is unclear, have the brakes diagnosed.
When the stationary checks pass, make a cautious low-speed brake check in a safe place. The car should slow predictably without pulling, grinding, or an unexpectedly long pedal stroke. Follow the pad manufacturer’s bedding instructions afterward; no single bedding rule applies to every pad and vehicle, and immediate aggressive braking is a poor substitute.
If the new brakes squeal, pull, or wear unevenly
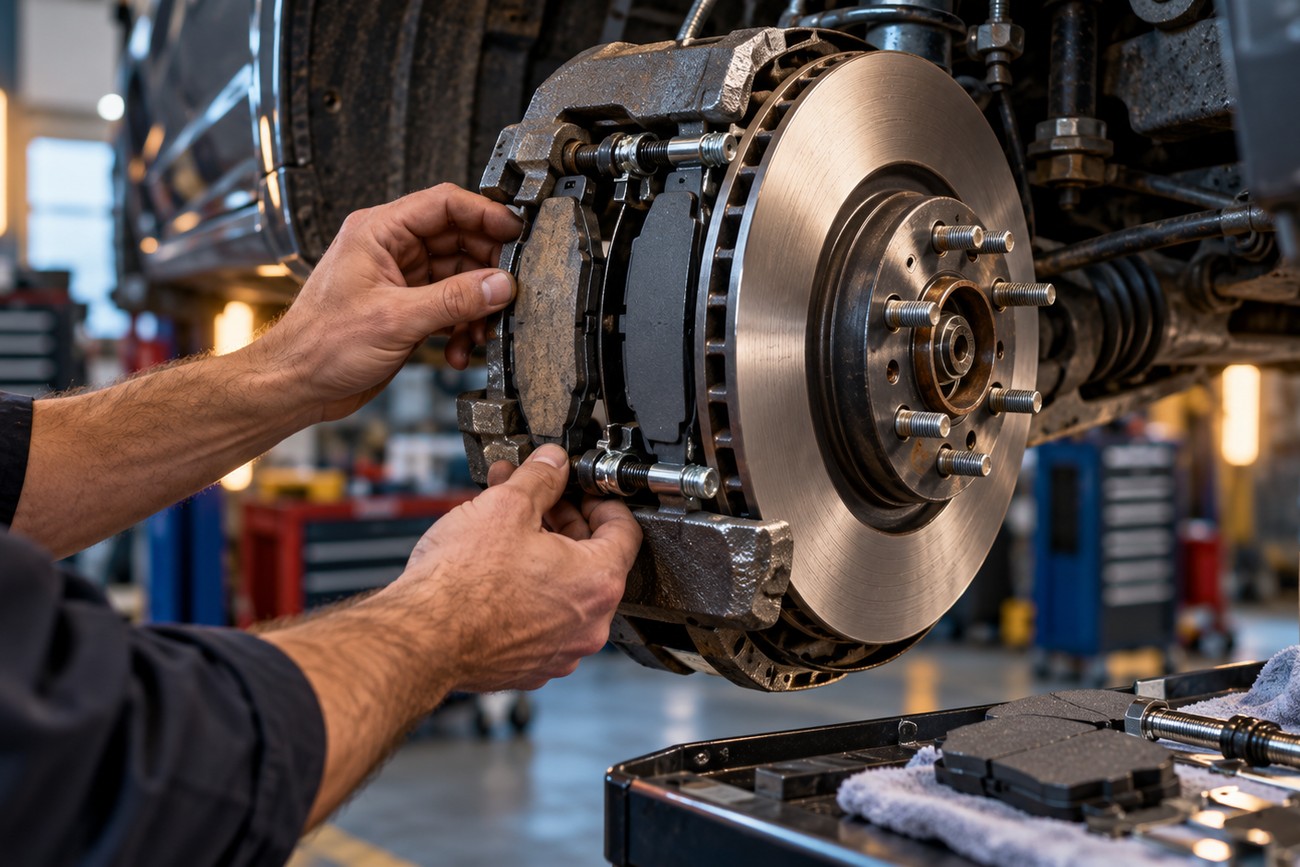
Some noise during the initial bedding period may change as the friction surfaces settle, but do not label every squeal normal. Check the pad manufacturer’s guidance, then revisit the fitting hardware, shims, and cleaned contact points if noise persists. Lubricant cannot compensate for incorrectly fitted parts, and it must never reach the friction surfaces.
If the car pulls under braking or a new pad begins wearing faster on one side, inspect both inner and outer pads, both rotor faces, the guide pins, and caliper operation again. The inner pad may be the one showing the problem while the outer pad still looks sound. Another set of pads will wear the same way if the underlying fault remains.
Grinding, unexpectedly weak braking, or a persistently soft or sinking pedal needs prompt diagnosis before further driving. Stop in a safe place if a problem appears during the low-speed check. Neither grease nor additional bedding is a safe fix for a hydraulic fault or damaged brake component.
Frequently asked questions
General brake advice can help you recognize a problem, but it cannot replace instructions for your vehicle and the pads you bought. The answers below address common decisions that arise after installation. If a warning or pedal fault remains unexplained, resolve it before relying on the car.
What is the 30/30/30 rule for brakes?
The 30/30/30 rule is a commonly cited bedding-in rule of thumb, not a universal brake procedure. Its numbers are used to describe a sequence of stops, a starting speed, and time between stops, but versions differ. Follow the pad manufacturer’s instructions and choose conditions where each stop can be made safely; never perform a bedding sequence in unsuitable traffic.
Why is the brake warning light still on after new pads?
New pads do not necessarily clear a brake warning light. A pad-wear sensor may need replacement, reconnection, or a vehicle-specific reset, and the warning could instead relate to fluid level, the parking brake, or another brake-system fault. Identify which warning is illuminated using the owner’s information, and do not drive with an unresolved warning that may indicate reduced braking safety.
How should I dispose of old brake pads and used cleaning materials?
Contain the old pads and collected debris, and follow local rules for brake parts, brake-cleaner waste, and contaminated rags or other materials. Do not blow brake dust into the air with compressed air; use a brake-safe cleaning method and handle the resulting waste as directed locally. Keep liquid cleaner and contaminated materials out of drains.







