
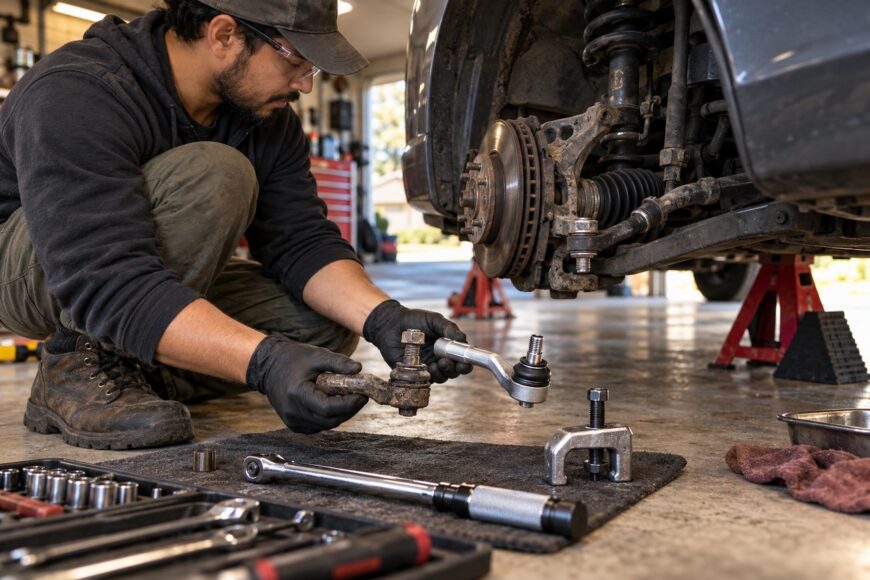
Replacing an outer tie rod end is often manageable in a home garage, yet the repair directly affects steering geometry. A small change in thread position can leave the steering wheel crooked, make the vehicle pull, or accelerate front-tire wear. The work also involves a tapered joint that may be seized, corroded threads, and fasteners that require vehicle-specific torque values.
Marking the old position, measuring the assembly, and counting removal turns can preserve a temporary baseline. Those steps do not replace a vehicle-specific toe inspection and adjustment. Proceed only when you have the correct part, secure support, suitable removal tools, and a clear plan for checking alignment; stop if the joint, threads, or surrounding steering components cannot be secured confidently.
- Can You Replace a Tie Rod End Without a Shop?
- Before You Remove the Old Tie Rod End
- How to Remove a Seized Tie Rod End Without Damage
- Install the New Tie Rod End and Torque It Correctly
- Why Alignment Is Still Required After a Home Replacement
- What to Inspect Before Calling the Job Finished
- DIY Tie Rod End Mistakes That Cause Repeat Problems
- Frequently Asked Questions
- What else should I replace when replacing a tie rod end?
- How urgent is a tie rod replacement?
- How much would a mechanic charge to replace a tie rod?
Can You Replace a Tie Rod End Without a Shop?
A competent DIYer can replace an outer tie rod end at home with safe lifting equipment, basic hand tools, a suitable puller, and service information for the exact vehicle. The vehicle must rest on properly rated jack stands or another secure support system, with the wheel chocked and the steering system protected from unnecessary strain. A floor jack alone is not a safe support for this work.
The replacement part must match the vehicle application, thread, taper, and dimensions. You also need the manufacturer’s torque specifications for the tie-rod stud nut, jam nut, and any clamp or lock hardware. There is no universal torque value that safely applies to every vehicle or component.
The outer end’s position on the threaded rod determines front-wheel toe. Your marks and measurements can help you reassemble the joint close to its previous setting, which may make a short trip to an alignment shop possible. They cannot confirm that the final geometry matches the manufacturer’s specification.
Plan the alignment before starting the repair. If the replacement differs slightly in length, the inner tie rod moves during disassembly, or the old alignment was already incorrect, the vehicle may need adjustment even when the same number of turns has been counted.
Before You Remove the Old Tie Rod End
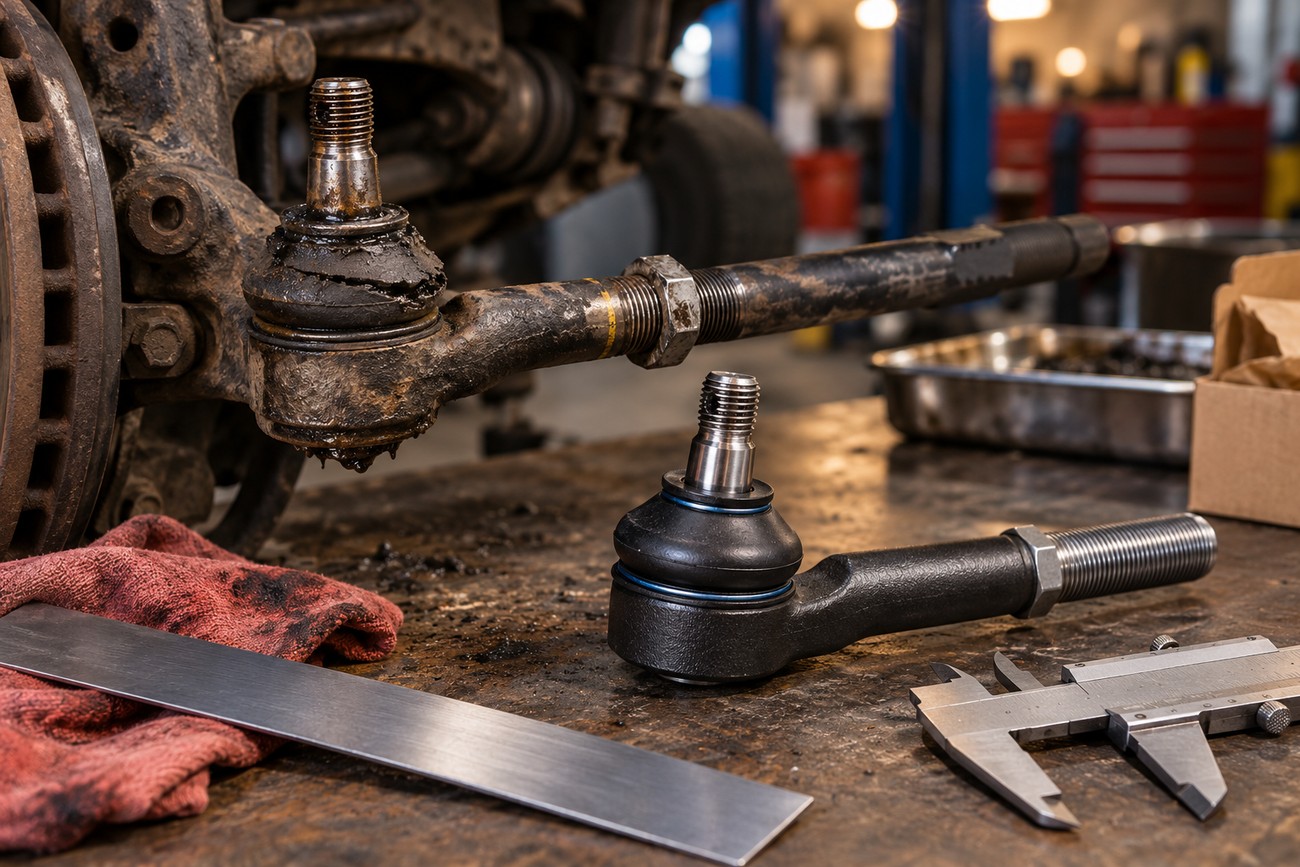
Verify the replacement before dismantling the steering linkage. Compare the overall length, the distance from the machined seating surface of the tie rod end to the center of the ball stud, the thread, and the tapered stud. Advertised compatibility alone does not confirm that the part is correct for every vehicle configuration.
With the wheel still installed or the assembly otherwise held securely, break the jam nut loose while the old tie rod end remains attached to the steering knuckle. Then clean the exposed threads enough to identify the original position. Apply a clear mark across the rod and the tie rod end, and photograph the jam-nut area.
Measure the old assembly length using consistent reference points, and record the number of turns required to remove the end. These records provide a useful temporary baseline. They become unreliable if the inner tie rod turns, the replacement has a different effective length, or the previous toe setting was already wrong.
Inspect the inner tie rod, rack boot, threads, tapered seat, and nearby steering and suspension parts before ordering or fitting anything. Look for looseness, torn rubber, damaged threads, corrosion, or signs of impact. A second fault may require more extensive work than an outer-end replacement.
How to Remove a Seized Tie Rod End Without Damage
Start with the jam nut while the old end is still connected to the knuckle. The installed assembly gives you a way to hold the linkage while applying force. Use penetrating fluid where appropriate, clean exposed threads, and use correctly fitting wrenches so the nut and rod are not rounded.
Hold the inner tie rod stationary while loosening or removing the outer end. Allowing the inner rod to rotate can change the base length, disturb the rack boot, or place stress on the steering rack. If the inner rod spins with the outer end, stop and improve your holding method before applying more force.
The tapered ball stud may remain locked in the steering knuckle after the nut is removed. A suitable puller or separator applies controlled force and is generally the better choice. Excessive blows to the threaded portion can damage the threads, the stud, the knuckle, or nearby components.
A jam nut is easier to release before the taper is separated because the steering knuckle helps hold the assembly. Supporting the inner rod during this operation also prevents a seized outer end from transferring force into the rack or its boot.
A fork-style separator can release the taper, though it often damages the ball-joint boot. Use one only when the old part is being discarded and damage to its boot is acceptable. A corrosion-seized assembly may require additional tools, heat used according to the vehicle and component limits, or replacement of the complete tie-rod assembly.
Install the New Tie Rod End and Torque It Correctly
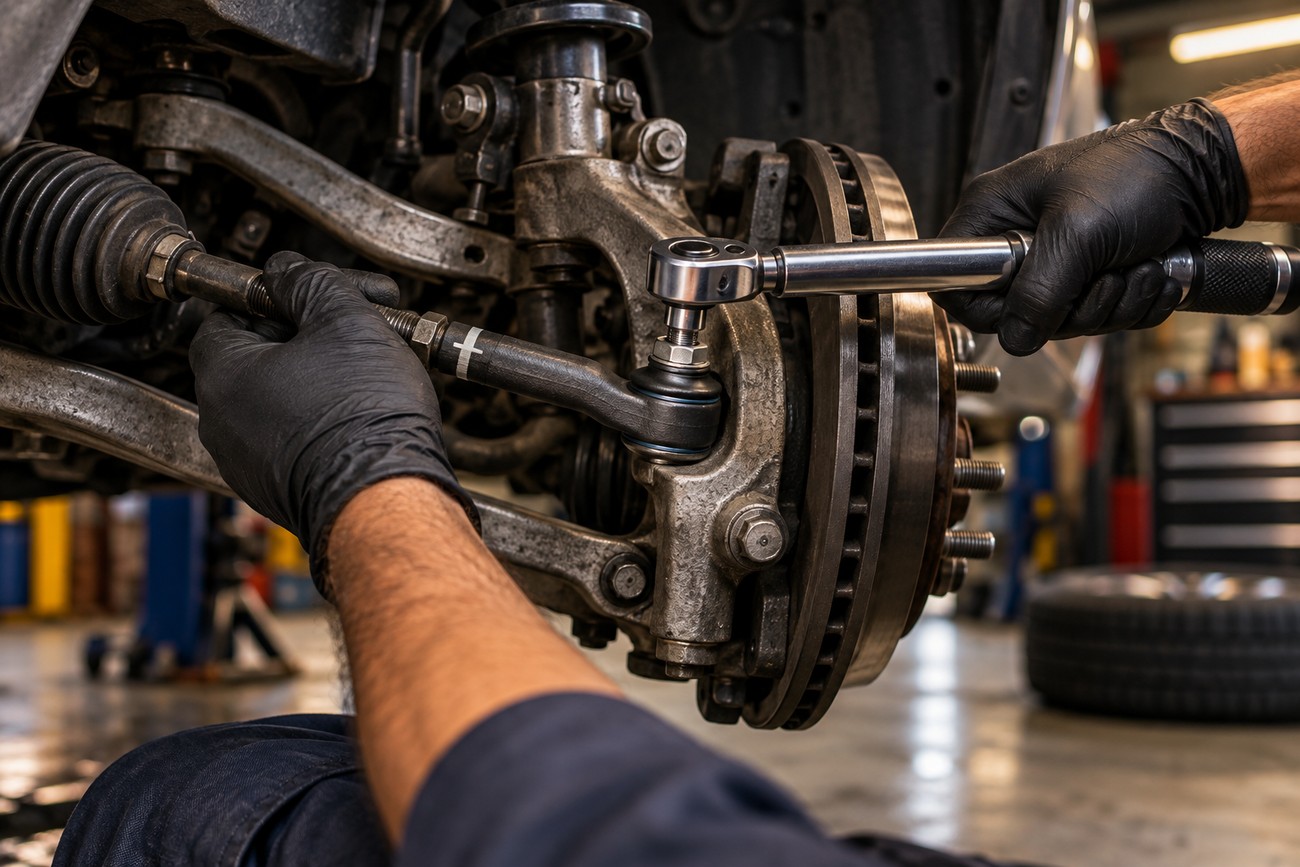
Clean the tapered hole and inspect the seating surfaces before installation. Remove rust and debris without enlarging or reshaping the taper. Compare the new part with the old one again, including the stud position, thread, and distance from the machined seating surface to the ball-stud center.
Hold the inner tie rod stationary and thread the new outer end onto the preserved baseline. Use the recorded mark, measured length, and turn count together. Do not rotate the inner rod to make the new part fit, and do not assume that identical turns guarantee identical toe.
Seat the tapered stud fully in the knuckle, then tighten the stud nut, jam nut, and any clamp according to the exact service procedure. The correct values depend on the vehicle, component, and fastener design. A torque value copied from another car, an online article, or a different replacement part may be unsuitable.
Use a new cotter pin where the design calls for one. If the castle-nut slot does not align with the cotter-pin hole after the specified torque is reached, tighten farther only to the next alignment point. Never loosen the nut to create alignment, and never reuse the old cotter pin.
Before lowering the vehicle, confirm that the stud is seated, the boot is not twisted or pinched, the jam nut is tight, and the clamp is fully secure. Check that the steering moves smoothly without binding. Any looseness, damaged thread, incomplete seating, or uncertain fastener condition is a reason to stop.
Why Alignment Is Still Required After a Home Replacement
The tie-rod-end position determines front-wheel toe, so the vehicle should receive a toe inspection and adjustment after replacement. Toe can change from a small difference in effective part length or from movement of the inner tie rod during removal. A steering wheel that is suddenly off-center is a useful warning that the setting has changed.
Counting turns and matching the old measured length can create a temporary baseline. It cannot guarantee factory alignment, especially when the replacement part differs in length, the old measurement was inconsistent, or the vehicle already had worn or bent steering and suspension components.
A short, cautious drive to an alignment shop is appropriate only when the approximate setting has been preserved, the joint has no looseness, and the vehicle behaves normally. Drive slowly, avoid heavy traffic where possible, and stop if the vehicle pulls sharply, the steering feels loose, or unusual noise appears.
Rapid front-tire wear, persistent pulling, or a crooked steering wheel may indicate changed toe or another underlying problem. Alignment equipment can identify the geometry; it cannot repair a bent knuckle, control arm, subframe, or other damaged part.
What to Inspect Before Calling the Job Finished
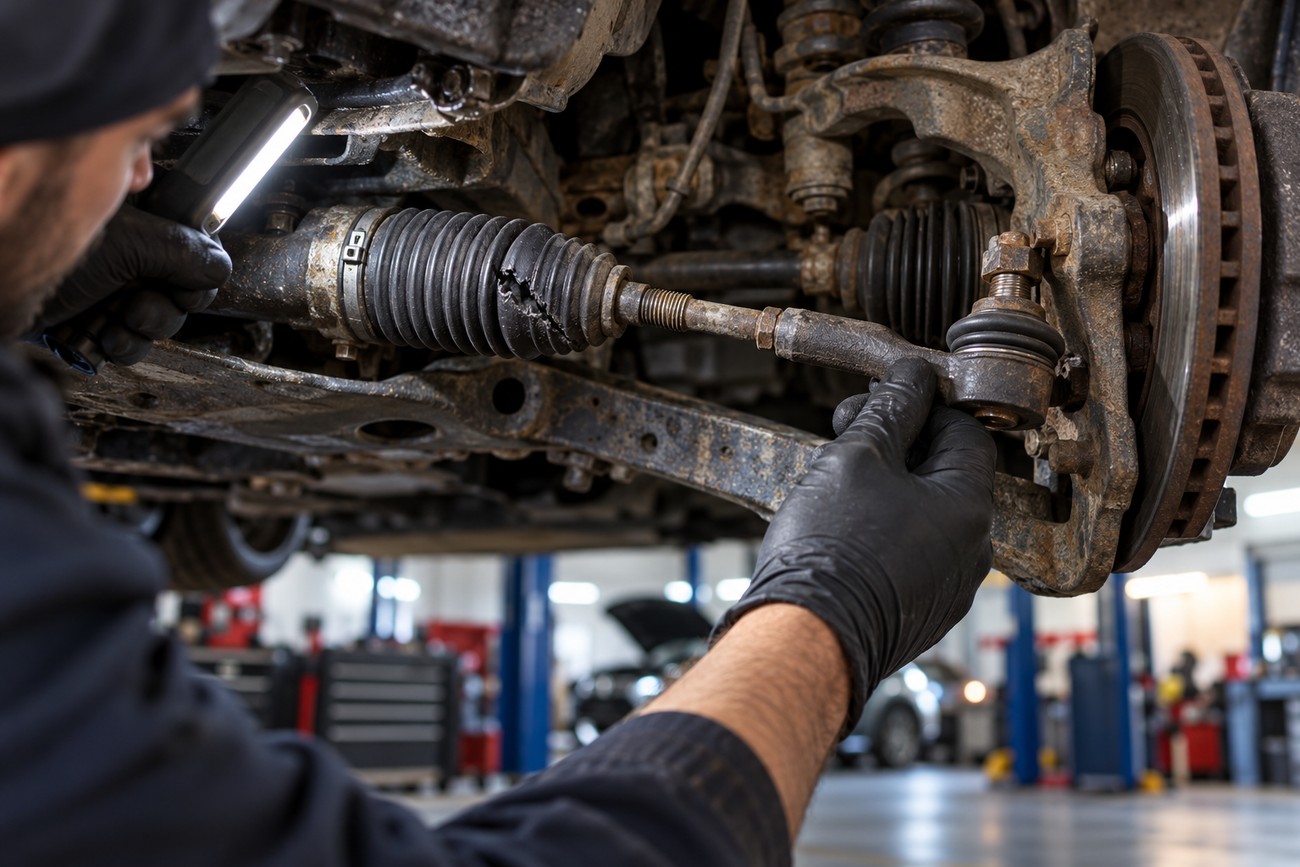
Check the inner tie rod for play while observing the joint and rack boot. Inspect the boot for tears, displacement, twisting, or a loose clamp. A worn inner joint or damaged boot may make an outer-end-only repair incomplete because contamination and looseness can continue inside the steering linkage.
Examine all threads that were exposed or reused. Damaged or heavily corroded threads may prevent accurate tightening and can make the assembly unsafe to retain. Confirm that the tapered stud and knuckle seat are clean, undamaged, and fully engaged.
Look beyond the replaced part for bent steering and suspension components, damaged mounts, impact marks, and abnormal movement. A new tie rod end cannot correct a bent control component, subframe, steering knuckle, or another cause of vehicle pull.
Corrosion can change the scope of the job. A seized outer end may lead to replacement of the complete tie-rod assembly or require heat and additional tools. If the inner rod, rack boot, or rack connection cannot be inspected or held securely, professional repair is the safer choice.
DIY Tie Rod End Mistakes That Cause Repeat Problems
Myth: matching the old number of turns guarantees correct geometry. Reality: turn counting, position marks, and assembly measurements provide an approximation only. The final toe still needs inspection and adjustment because part dimensions, inner-rod movement, and previous alignment errors can change the result.
Myth: any published torque value will work. Reality: torque values vary by vehicle, joint, component, and service procedure. Use the exact service data for the vehicle and replacement hardware rather than relying on a generic specification.
Myth: an old cotter pin is harmless, or a castle nut may be loosened slightly to line up the hole. Reality: use a new cotter pin, and tighten the castle nut farther to the next hole alignment after reaching specification. Do not back the nut off.
Myth: a stuck taper should be beaten out through the threaded portion. Reality: excessive blows can damage the stud and knuckle. Use a suitable puller or separator, and remember that a heavy-equipment guide citing 0.060 inch of indicator play as an immediate-replacement threshold cannot be transferred to a passenger car.
Frequently Asked Questions
What else should I replace when replacing a tie rod end?
Replace the inner tie rod, rack boot, jam nut, or related hardware only when inspection shows wear, damage, compromised threads, or a service procedure that requires new hardware. Automatic replacement of every connected part adds work without proving that the additional parts are defective.
A torn rack boot, loose inner joint, or badly corroded thread changes the repair scope. Resolve those faults before alignment, because an alignment cannot remain reliable if the steering linkage still has looseness or can move under load.
How urgent is a tie rod replacement?
A documented loose steering joint warrants stopping the vehicle and arranging transport or towing rather than driving to a repair shop. Excessive steering play can affect directional control, and a noise alone does not establish the same level of urgency as confirmed looseness.
After a properly secured repair with no looseness, a short, cautious trip to alignment may be reasonable when the approximate setting was preserved and the vehicle behaves normally. Stop immediately if the steering pulls, feels unstable, or produces new abnormal movement.
How much would a mechanic charge to replace a tie rod?
A shop estimate depends on the part selected, access, corrosion, seized components, labor time, and whether the inner tie rod or rack boot also needs replacement. Alignment is often quoted separately, so ask whether the estimate includes the post-repair toe inspection and adjustment.
For useful comparisons, ask each shop to identify the exact part scope, hardware, labor, corrosion-related contingencies, and alignment charges. A lower initial estimate may exclude a seized joint, additional steering damage, or the alignment required after the repair.







