
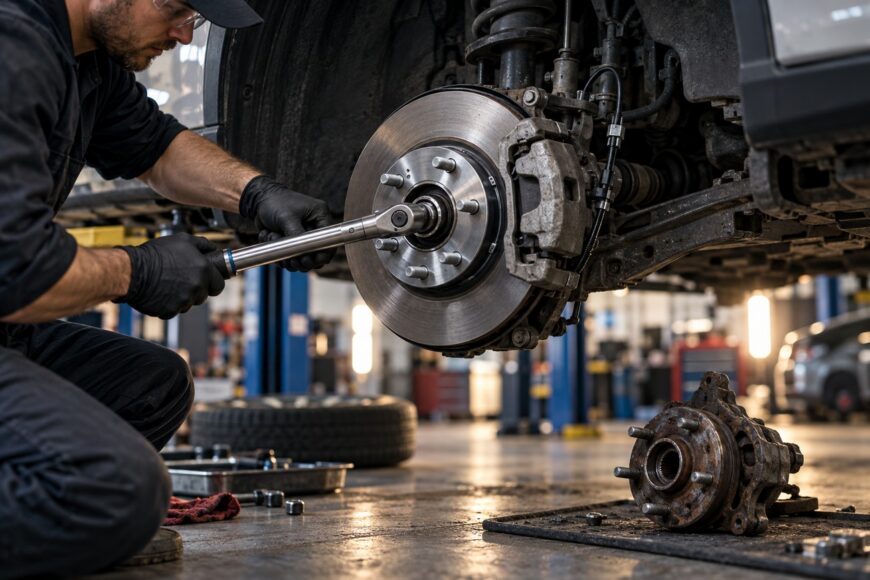
A wheel hum can be frustrating to trace. It may seem to come from the left, change during a turn, or remain after a bearing has been replaced. A faulty bearing can make noise without detectable wheel play, while tires, CV joints, brakes, and driveline parts can produce similar sounds.
Replacing the suspected part before confirming the fault risks leaving the noise untouched. Once the bearing is identified, the installation still depends on its design and the exact vehicle procedure. Correct diagnosis, clean assembly, and vehicle-specific torque data matter more than simply fitting a new part.
- Confirm the Wheel Bearing Is Actually Faulty
- Wheel Bearing Noise vs. Common Look-Alikes
- Identify the Bearing Type and Buy the Correct Part
- Prepare the Vehicle, Tools, and Replacement Parts
- Replace the Wheel Bearing Without Damaging It
- Set Torque, Preload, and ABS Components Correctly
- Why a New Wheel Bearing Fails Early
- DIY Replacement or Professional Repair?
- Frequently asked questions
- How much does it usually cost to replace a wheel bearing?
- How can tire cupping be distinguished from a bad wheel bearing?
- How long does a wheel bearing replacement usually take?
Confirm the Wheel Bearing Is Actually Faulty
Bearing noise often grows with road speed and may change as load shifts during a gentle turn or lane change. On a safe, clear road, note whether the sound changes under light steering input without making abrupt maneuvers. A change is useful evidence, but sound travels through the body, so it does not reliably identify the failed side by itself.
With the vehicle parked and safely supported, check each wheel for play and roughness. Absence of detectable wheel play does not prove the bearing is serviceable; noise may appear first. Likewise, noticeable movement needs further investigation because loose suspension or steering parts can affect the result.
A securely supported vehicle allows closer inspection. Rotate the wheel by hand, compare sides, and listen near the bearing housing while keeping clear of moving components. Where a powered lift test is appropriate, it requires proper equipment and a trained operator; a wheel spinning freely under no road load may sound different from one carrying vehicle weight.
Compare the road test with the lift findings and inspect nearby parts before ordering a bearing. Uneven tires, a CV joint, a rubbing brake shield, or a differential can imitate a hub fault. If the evidence still conflicts, more diagnosis is safer than replacing the side that merely sounds loudest from the driver’s seat.
Wheel Bearing Noise vs. Common Look-Alikes
These clues help narrow the source, but symptoms overlap. Combine a road test with an inspection on a securely supported vehicle before treating any one sound or steering response as proof.
| Possible source | Useful clue | Important limitation |
|---|---|---|
| Wheel bearing | A hum or growl often rises with speed and may change under gentle cornering load. | The apparent side can be misleading, and an early fault may show no play. |
| Tire | Uneven tread wear can create a speed-related hum. | Tire noise may also change with road surface or steering load. |
| CV joint | Noise may change with steering angle or acceleration. | A sound heard near a wheel does not establish that the bearing is faulty. |
| Brake shield or other brake component | Contact may produce scraping that changes as the wheel turns. | Intermittent contact can be mistaken for bearing roughness. |
| Differential or driveline | Noise may vary with driving load as well as speed. | Sound can travel through the chassis and appear to come from a wheel. |
Check for physical evidence that matches the sound: tread wear, brake contact, damaged CV components, or roughness localized near a hub. Findings that disagree with the road test call for further checks rather than a guess.
Gentle loading during a road test is most useful as a comparison between conditions. It can strengthen a bearing diagnosis, but it cannot, on its own, prove which side needs replacement.
Identify the Bearing Type and Buy the Correct Part
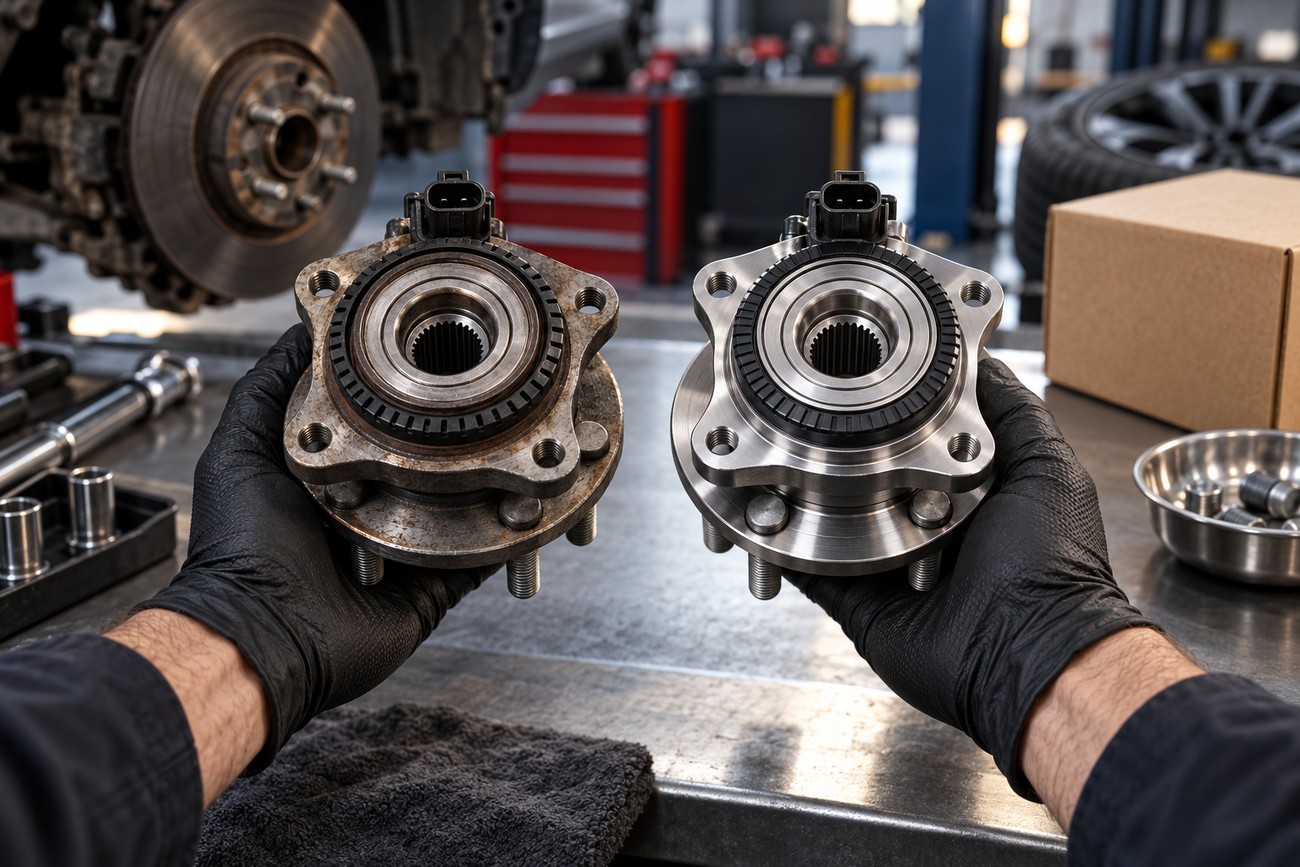
First determine whether the vehicle uses serviceable tapered bearings, a pressed-in bearing, or a sealed, integrated hub. Serviceable tapered bearings require lubrication and adjustment under the vehicle procedure. An integrated hub is generally replaced as a complete assembly rather than opened, repacked, or adjusted.
An integrated hub may include a vehicle-specific magnetic ABS encoder or sensor. Two parts that look alike or share dimensions can differ in installation side, encoder arrangement, connector, or preload design. Check the exact vehicle application and OE reference, then verify those features against the replacement part before dismantling the vehicle.
Review the parts list for seals, retaining hardware, and fasteners the manufacturer requires you to replace. This matters especially for an axle nut or other one-time component: reusing it can compromise an otherwise careful repair. Inspect the supplied part for damage and confirm that its ABS features face the required direction.
A listing that says “ready to install” does not settle the adjustment question for every design. It may describe a sealed hub accurately, while a serviceable tapered-bearing arrangement still needs adjustment according to the vehicle procedure. Do not dismantle a non-serviceable hub to apply instructions intended for a different design.
Prepare the Vehicle, Tools, and Replacement Parts
Obtain the manufacturer’s service procedure for the exact vehicle before starting. Secure the vehicle on suitable stands or a lift, chock wheels as appropriate, and never work beneath a vehicle supported only by a jack. Check the required removal sequence, torque specifications, and any bearing-adjustment method before loosening the hub.
Have a calibrated torque wrench, suitable pullers or press equipment, and drivers that contact the correct bearing ring. A serviceable bearing also needs the specified fresh grease and a new seal. Set aside a new axle nut, bolts, retaining hardware, or other one-time fasteners whenever the vehicle manufacturer requires them.
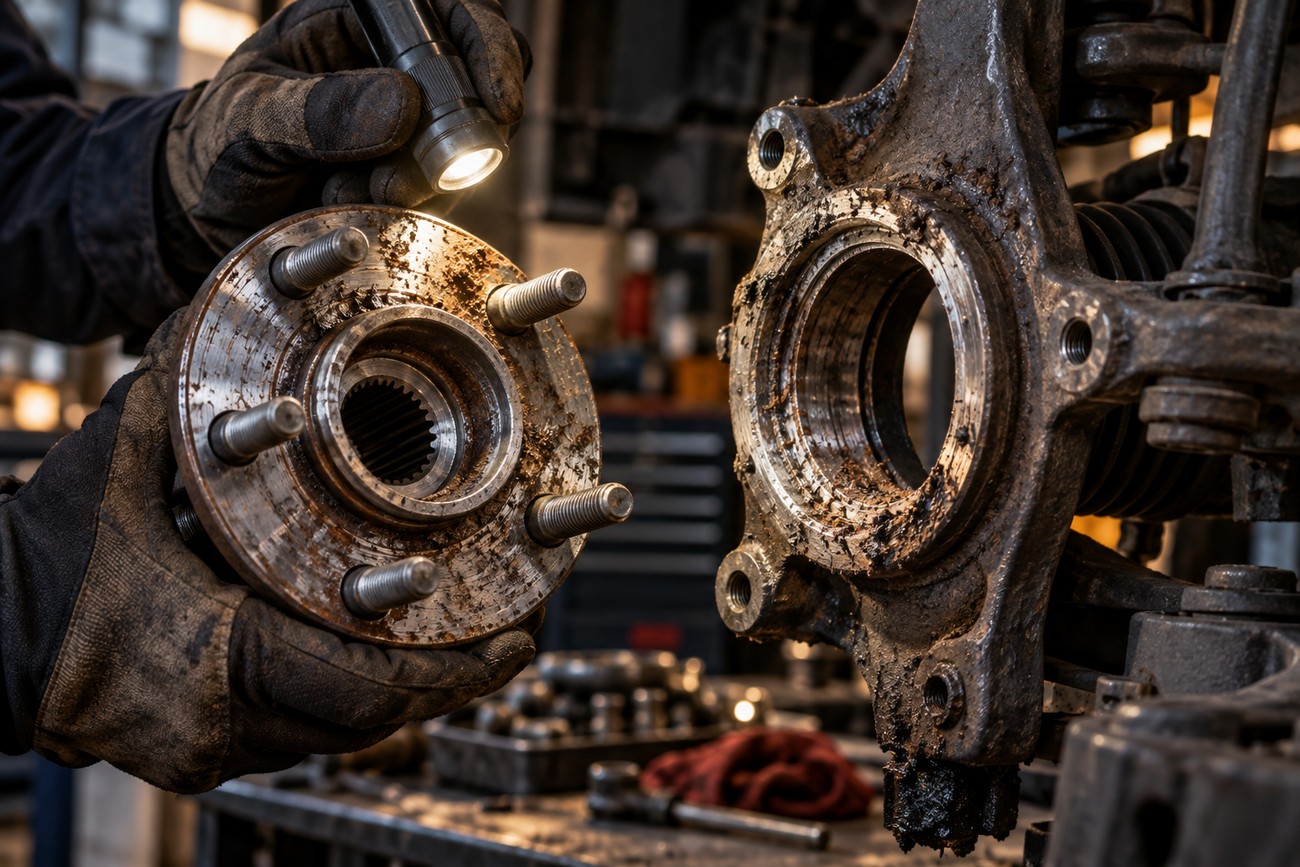
Corrosion between a hub and its mounting seat can turn removal into a puller- or press-assisted job. Plan for that possibility rather than escalating hammer blows near the knuckle, bearing, or ABS hardware. If the required equipment is unavailable, leaving the assembly intact until it can be removed correctly is less costly than damaging its seat.
Before assembly, inspect the CV joint, brake shield, ABS sensor and wiring, splines, threads, and mating surfaces. Clean the hub or knuckle seat and check for burrs, scoring, or distortion that could hold the new part crooked. Do not reuse a damaged seal, corroded race, or other damaged bearing component.
Replace the Wheel Bearing Without Damaging It
Follow the vehicle’s specified order for removing the wheel, brake components, axle or hub fasteners, and bearing assembly. Support components as directed so a hanging caliper or displaced axle does not strain nearby parts. Keep tools away from the ABS sensor, wiring, and any magnetic encoder surface.
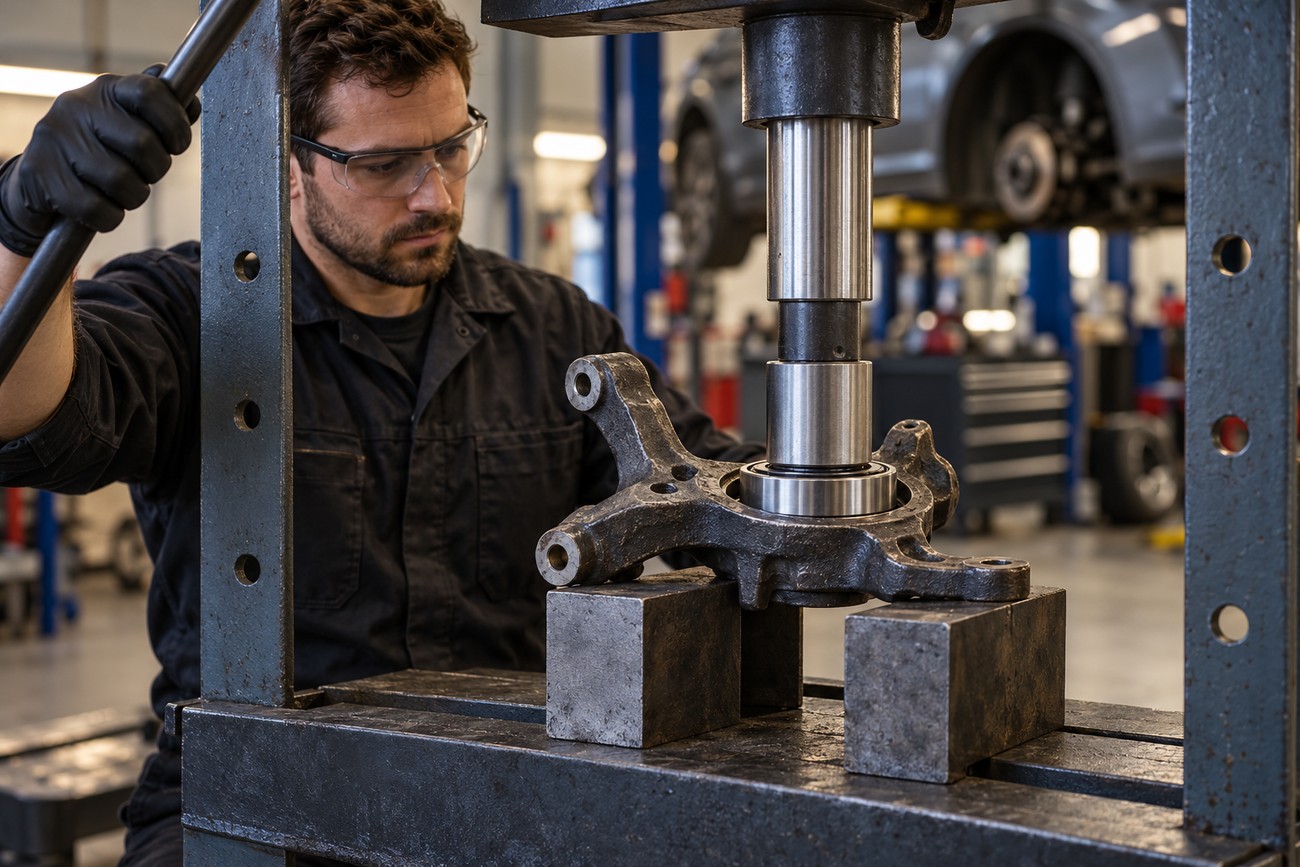
For a serviceable or pressed arrangement, remove every old race and seal required by the procedure. Clean the housing and inspect its shoulder before installing new parts; a race seated against debris can appear installed while sitting crooked. Where separate cups or races are fitted, press each new cup or race fully against the shoulder of the hub or housing.
Use the correct driver and apply force only to the ring being installed, following the specified procedure for the particular bearing and fit. Do not strike a flange, inner ring, or encoder as a shortcut around a tight fit. If the assembly resists despite proper alignment, recheck the seat and tooling before applying more force.
When servicing tapered bearings, remove all old grease, pack the new components with the specified fresh grease, and install a new seal. Adjust the bearing by the vehicle procedure after assembly. A non-serviceable integrated hub follows a different path: replace the complete unit and do not attempt to service its internal bearing.
Set Torque, Preload, and ABS Components Correctly
Use the exact vehicle manufacturer’s specification; there is no universal wheel-bearing or axle-nut torque. SKF-published specifications include values from 51 to 460 N·m, illustrating variation rather than providing a setting for an unidentified vehicle. A number from a general article or parts listing cannot replace the specification for the vehicle’s configuration.
Tighten axle nuts, hub bolts, and other specified fasteners with a calibrated torque wrench in the required sequence and manner. An impact wrench can assist with appropriate removal work, but it must not substitute for final torque verification. Both overtightening and undertightening can shorten bearing life.
Serviceable tapered bearings need the adjustment method specified for the vehicle. Timken’s target for applicable tapered bearings is 0.001–0.005 in (0.025–0.127 mm) end play, checked with a dial indicator; apply it only where it matches the bearing and vehicle procedure. An integrated hub has a different installation procedure and is not adjusted to that end-play target.
Replace the axle nut, bolts, retaining hardware, or other one-time fasteners when the vehicle manufacturer requires it. Check encoder orientation and route ABS wiring clear of moving parts and hot surfaces. Incorrect encoder orientation or impact, or damage to the sensor or wiring, can cause an ABS fault.
After reassembly, check for secure fasteners, free rotation where the design permits it, and correct brake operation before driving. A controlled road check can confirm whether the original noise has gone. If an ABS warning appears, inspect the connection and installation and scan the system as appropriate rather than assuming the new hub itself is defective.
Why a New Wheel Bearing Fails Early
If the hum remains unchanged, revisit the diagnosis before replacing another part. A noisy tire, the opposite bearing, or a driveline component may have produced the original sound. Comparing the pre-repair observations with a fresh road test helps distinguish a remaining fault from a newly introduced one.
A replacement that soon becomes noisy may have been damaged during pressing or installed against a dirty, rough, or misaligned seat. Incorrect torque can also load the bearing improperly. Inspect the installation method and mating surfaces rather than assuming that every early failure is a defective part.
Low price alone does not establish bearing quality. Exact application, seal quality, the manufacturer, and supply-chain control are more useful checks when selecting a replacement. A part with the wrong ABS features or preload design may fit physically yet create a repair problem.
An ABS warning after the job points attention toward encoder orientation, sensor condition, connectors, and wiring disturbed during removal. Keep the part details and service records, including torque information and required new hardware. A seller’s warranty may not cover damage caused by incorrect installation, incorrect torque, contamination, or reuse of required one-time hardware.
DIY Replacement or Professional Repair?
A bolt-on integrated hub may be manageable for a prepared DIYer with the correct procedure, safe support equipment, and a calibrated torque wrench. Access still varies by vehicle, so confirm that every fastener and ABS connection can be reached without damaging nearby parts. Confidence alone does not replace the right tools or specifications.
A pressed bearing, seized hub, or serviceable tapered bearing raises the demands of the job. Press tooling must load the correct ring, while tapered bearings require vehicle-specific adjustment. If the diagnosis is uncertain or the torque and preload instructions are missing, resolve those gaps before disassembly.
Stop and seek professional help when removing a hub would require force likely to damage the knuckle, ABS hardware, or bearing seats. A suitable puller or press offers control that repeated hammer blows do not. The same handoff rule applies if a seat is visibly damaged and its condition cannot be assessed reliably at home.
Regardless of who performs the repair, final fastener tightening needs a calibrated torque wrench and the vehicle manufacturer’s specification. An impact tool set “tight enough” cannot verify the required result.
Frequently asked questions
Planning a bearing repair involves more than choosing a replacement part. The answers below address quoting, a tire-wear check, and scheduling; the exact work still depends on the vehicle and what inspection reveals.
How much does it usually cost to replace a wheel bearing?
There is no useful universal price: the quote depends on whether the repair needs a bearing or complete hub, the quality of that part, labor access, and whether corrosion complicates removal. Diagnostic time, seals, and required one-time hardware may also be separate items. Ask for a quote that identifies the confirmed faulty side, the exact part, included hardware, labor, and how additional work would be approved if a seized or damaged seat is found.
How can tire cupping be distinguished from a bad wheel bearing?
Inspect the tread for repeating scalloped patches and, with the vehicle safely parked, feel across the tread for uneven wear. Compare the tires rather than judging the sound alone. If an appropriate tire rotation moves the noise with the tire, that supports a tire-related cause; a sound that stays at the same wheel position calls for further inspection. Follow the vehicle’s tire-rotation guidance and do not use a damaged tire for an experiment.
How long does a wheel bearing replacement usually take?
Time depends on bearing design and access, so a firm estimate should follow inspection. A bolt-on hub is generally more predictable than a pressed bearing. Corrosion, seized fasteners, damaged mating surfaces, and post-repair ABS checks can extend the work; ask the repairer whether the estimate includes diagnosis and what would change the schedule.







