
The cabin fan works on high, but the lower settings are silent. On many stepped-speed systems, high speed bypasses the resistor used for lower speeds, so a working high setting does not prove that the resistor is good. Circuit design varies by vehicle, however, and the symptom alone cannot identify the failed part.
A replacement resistor may restore the missing speeds, but a heat-damaged connector or struggling blower motor can leave the fault unresolved—or cause it to return. Before buying parts, identify the blower control system your vehicle uses and inspect the circuit around the suspected unit. That first check can save you from installing a new part into damaged contacts.
- Blower symptoms and the first check to make
- Confirm the resistor is faulty before replacing it
- Get the right replacement and plan access
- Replace the blower motor resistor safely
- Prevent another failure: check airflow and motor load
- Frequently asked questions
- How much does it cost to replace a failed blower motor resistor?
- Should I replace the resistor when I replace the blower motor?
- What happens if the blower motor resistor fails?
Blower symptoms and the first check to make
Fan behavior helps narrow the search, but each symptom has more than one possible cause. Use the checks below to decide where to investigate first, then follow the electrical procedure for your vehicle.
| Symptom | Plausible causes | First useful check |
|---|---|---|
| Fan works only on high | An open lower-speed resistor path, a damaged connector, or a switch or wiring fault. On many stepped-speed systems, high bypasses the resistor used for lower speeds; designs vary. | Identify the installed circuit, then inspect the resistor connector and check the specified lower-speed paths. |
| Fan works intermittently | Loose or heat-damaged contacts, wiring trouble, a blower motor fault, or a control-unit fault. | Inspect the connector and terminals for discoloration, melting, or looseness before condemning the resistor. |
| Fan does not work at any speed | A power or ground fault, fuse, blower motor, switch, or control-unit fault. | Follow the vehicle’s procedure to establish whether power and ground reach the blower circuit. |
| Problem remains after replacement | A damaged connector, wiring fault, overloaded blower motor, incorrect part, or a fault elsewhere in the controls. | Verify part fit and pin layout, then inspect the connector and test the motor circuit. |
Confirm the resistor is faulty before replacing it
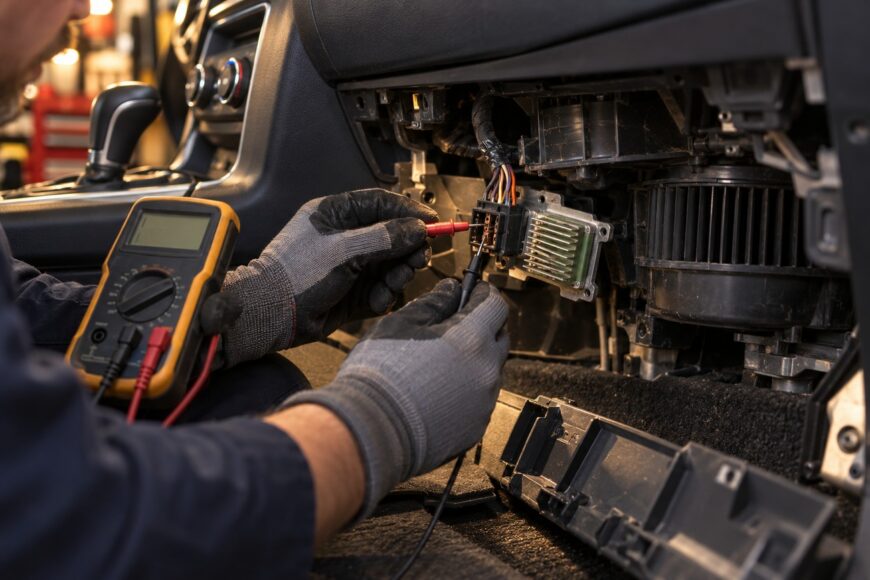
First establish whether your vehicle has a stepped-speed resistor or an electronic blower control module. A resistor provides separate paths for fixed fan speeds; a module controls the motor electronically and may require a different diagnostic method. Use the vehicle’s wiring information to identify the installed unit, its connector, and the relevant test points before applying a generic resistor test.
With the system switched off and the circuit made safe as the service procedure directs, inspect the connector before unplugging or testing the unit. Burned pins, loose terminals, or a melted housing may accompany resistor failure and need separate repair. Check the surrounding wiring for heat damage as well; a sound-looking new resistor will not correct a poor connection.
A connector can pass a static continuity check yet develop excessive voltage drop when the blower runs. Testing under load can reveal that fault, but it requires the correct circuit procedure and safe access to live test points.
Where the vehicle’s procedure permits, a multimeter continuity or resistance check can identify an open path in a stepped-speed resistor. Compare readings only across the specified terminals and against the vehicle-specific expectations. An open circuit can indicate a failed path, while an intact-looking unit or a resistance figure from an unrelated vehicle proves little.
Do not apply those same assumptions to an electronic control module. Its internal electronics may not produce meaningful results in a simple resistance test, and a fault in the switch, wiring, or motor can produce similar fan behavior. If diagnosis calls for live voltage-drop measurements, leave that step to someone equipped to follow the vehicle’s electrical procedure safely.
Get the right replacement and plan access
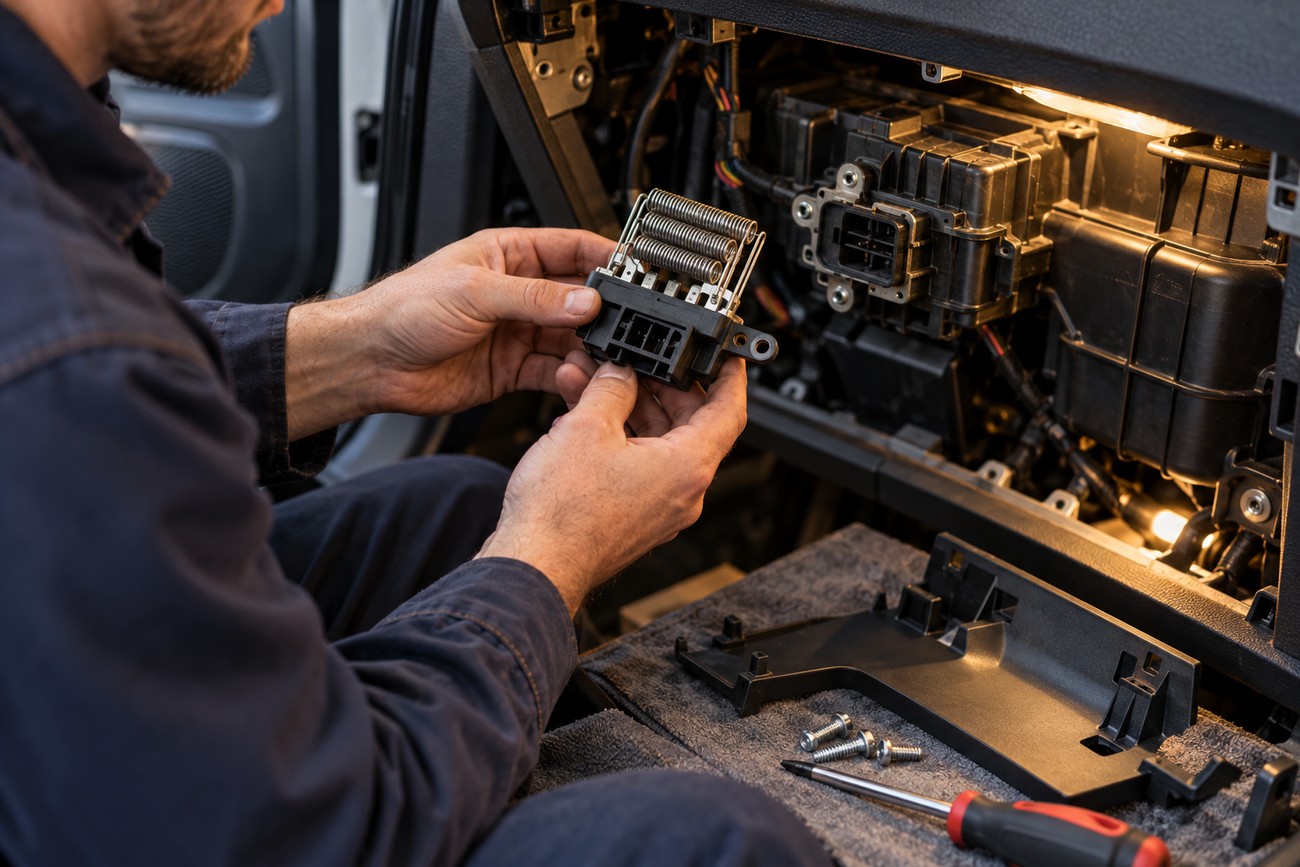
Order the part specified for your vehicle’s blower system: a stepped-speed resistor and an electronic control module are not interchangeable labels. Match the vehicle application, electrical specification, connector, pin layout, and mounting shape. A product photo or “universal” listing cannot establish that the terminals and circuit will match.
Check the mounting location in service information before taking trim apart. The unit is commonly fitted to the HVAC housing, often behind the glove box or lower dashboard trim, but access varies by vehicle. Knowing which panels move and how their clips release reduces the chance of breaking trim while working in a confined space.
Have the appropriate trim tools and the vehicle’s removal instructions ready. If inspection shows a melted connector or burned terminals, identify the specified connector or wiring repair parts before fitting the replacement unit. Planning that repair matters because plugging a new part into damaged contacts can leave the original fault in place.
Replace the blower motor resistor safely
Switch the blower and ignition off, then follow the vehicle’s battery-disconnection procedure before working on the electrical connector. Refer to the service instructions for any precautions that apply to nearby dashboard components. Remove the glove box or lower trim as directed, keeping track of clips and fasteners so the panels can go back securely.
Locate the resistor or module where it mounts to the HVAC housing, commonly with part of the unit in the airflow for cooling. Release its connector without pulling on the wires. Inspect both sides of the connection for discoloration, distorted plastic, burned pins, or terminals that no longer grip properly.
If the connector is damaged, repair it using the specified terminals, connector, and wiring method for the vehicle. Do not force a new unit into a melted plug or rely on a loose terminal to carry blower current. Where the damage extends into the harness, assess and repair that wiring before proceeding.
Remove the old unit according to the vehicle’s instructions and compare it with the replacement, including its connector, pin arrangement, and mounting shape. Install the matched part in its intended position so it receives the airflow its design requires. Reconnect the repaired or sound connector, then refit the trim and restore the electrical system as the procedure directs.
Run the blower at every available speed after reassembly. Let it operate long enough at each setting to check for stable airflow, rather than treating one brief start as proof of repair. If a speed cuts out or the connector shows signs of heating, switch the system off and return to circuit diagnosis.
Prevent another failure: check airflow and motor load
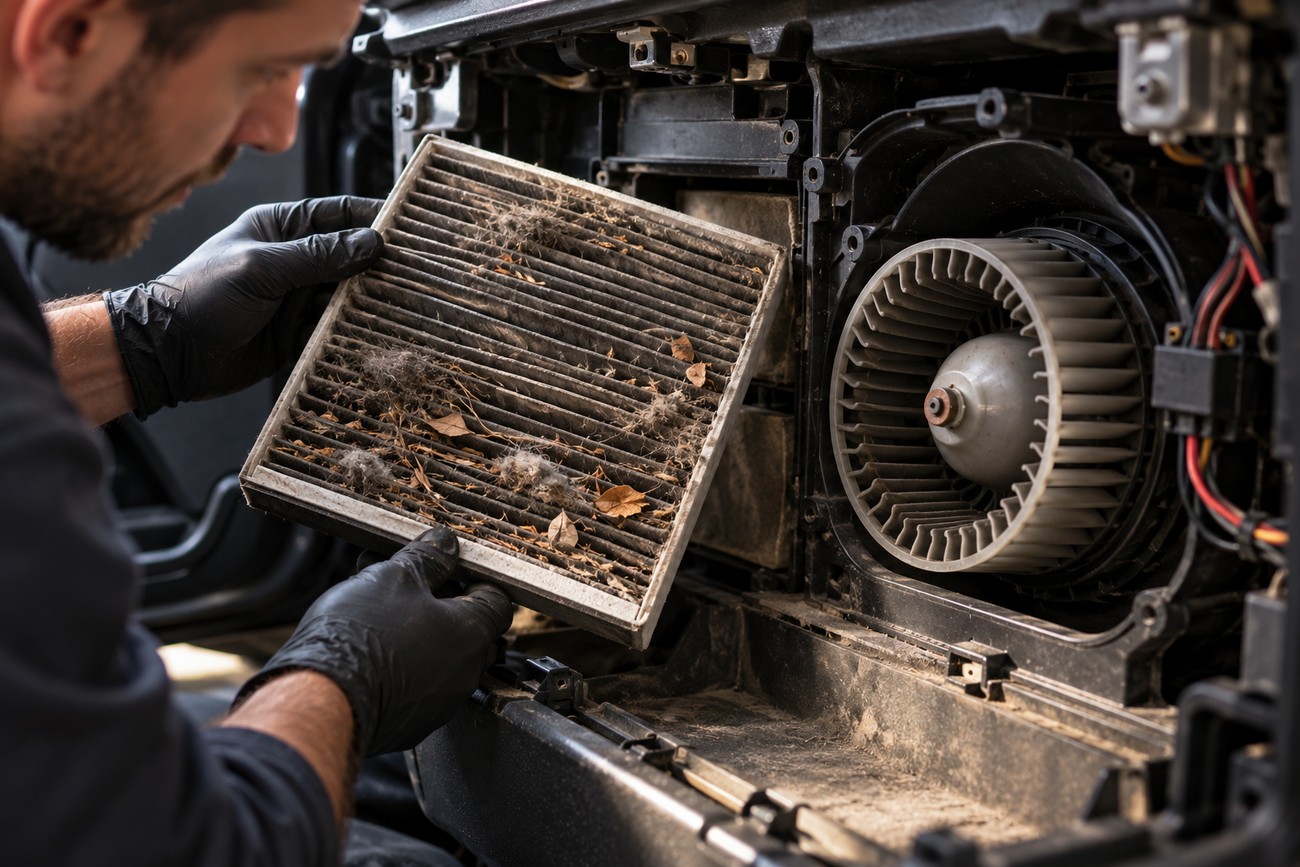
A new resistor that fails again may be reacting to a problem elsewhere in the system. The resistor or module is commonly mounted in HVAC airflow for cooling, so restricted airflow can raise its operating temperature. Inspect the cabin filter where fitted and check for an obvious obstruction in the air path, following the vehicle’s access instructions.
Listen for a blower motor that sounds strained, runs unevenly, or has trouble starting. A binding or overloaded motor may contribute to repeat electrical trouble and should be assessed using the vehicle’s test procedure. Do not automatically replace the motor with the resistor; test the existing circuit and act on what the checks show.
Reinspect contacts and wiring if the replacement runs intermittently or the connector becomes hot or discolored. Poor contact can create heat at the plug even when the new unit is correctly fitted. If the assembly includes a thermal fuse, leave that protective component intact—bypassing it removes a safeguard against overheating.
Frequently asked questions
The right repair depends on the installed blower system and what testing finds around it. These answers cover the decisions that often remain after you have identified the symptom.
How much does it cost to replace a failed blower motor resistor?
Cost depends on the vehicle, whether it uses a resistor or electronic control module, and the labor needed to reach it. A quote can also change if burned terminals, a melted connector, or damaged wiring need a separate repair. Ask for those items to be identified separately so you know whether the estimate covers the cause of the failure as well as the replacement part.
Should I replace the resistor when I replace the blower motor?
No. If the existing resistor or module, connector, and wiring pass the vehicle-specific checks and show no heat damage, they may remain in service when the motor is replaced. Replace an additional part when testing identifies a fault or damage, rather than treating the motor and resistor as an automatic pair.
What happens if the blower motor resistor fails?
Fan-speed control may become limited: some settings may stop working while others remain available. That can reduce your ability to heat or cool the cabin and, more importantly, clear a misted windshield. If airflow is unreliable, address the fault before relying on the vehicle in conditions where clear glass is essential.







