
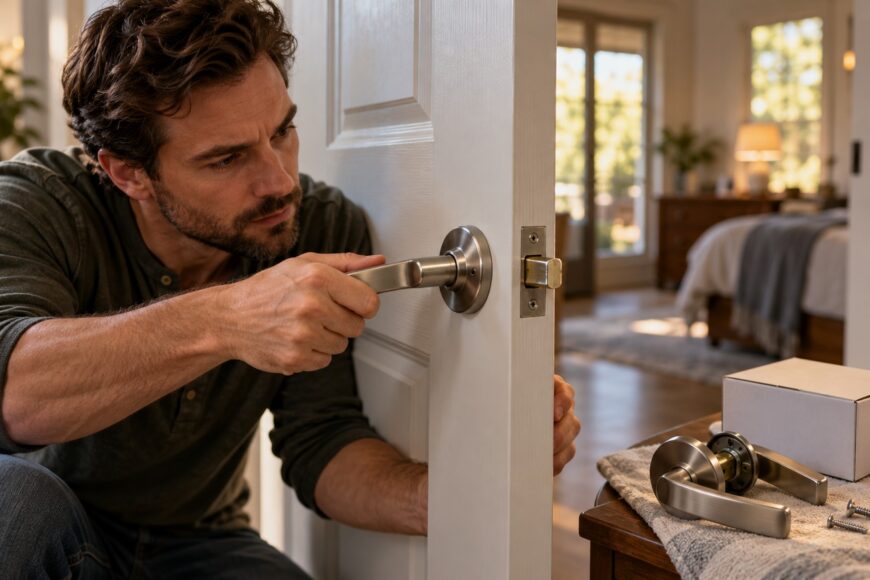
A loose door handle is often a small repair—until the lever comes away in your hand, the latch stops retracting, or the door no longer closes cleanly. The visible handle may be the failed part, but the spindle, return spring, internal retainer, latch, hinges, or strike plate can produce similar symptoms.
Buying a replacement that looks the same can also lead to wasted work. The new set may have the wrong backset, bore diameter, door-thickness range, spindle, fixing arrangement, or trim size. Secure the door open before removing anything, then diagnose the fault while the mechanism is still accessible.
- Find Out What Actually Broke
- Measure the Door Before Buying a Replacement
- Keep the Door Open and Remove the Old Set
- Fit the Latch and New Handle
- Test the Repair Before Closing the Door
- When the New Handle Still Does Not Work
- Frequently asked questions
- How much does a handyman charge to replace a door handle?
- What should I do if the handle snaps while the door is shut?
- How do I fix a snapped door handle?
- How do I replace the internal parts of a door handle?
Find Out What Actually Broke
With the door open, operate the handle several times and watch the latch tongue at the door edge. A loose lever may simply need its fixing tightened, while a lever that droops or fails to return may have a displaced or broken return spring. If the handle moves but the latch does not retract fully, inspect the spindle and the connection between the handle and latch.
Remove only the visible trim if necessary, and check whether the internal retainer is holding the lever correctly. A failed spring catch, retaining ring, or other internal retainer can make the handle feel loose even when the outside fixing looks secure. In that situation, replacing only the visible lever may leave the real fault in place and may require replacing the complete handle assembly.
Operate the latch directly, using the handle or a suitable tool only while the door remains open. If the latch retracts smoothly without pressure on the door, close the door carefully and observe whether resistance appears only as the latch meets the frame. That pattern points toward door alignment, sagging hinges, or a misaligned strike plate rather than a defective handle.
A new handle will not correct a door that has dropped on its hinges or a strike plate that sits too high, too low, or too far from the latch. Keep those possibilities separate from a handle fault. Resistance during handle movement with the door open suggests a problem with the handle, spindle, latch, or return spring; resistance only during closing points more strongly to alignment at the frame.
Measure the Door Before Buying a Replacement
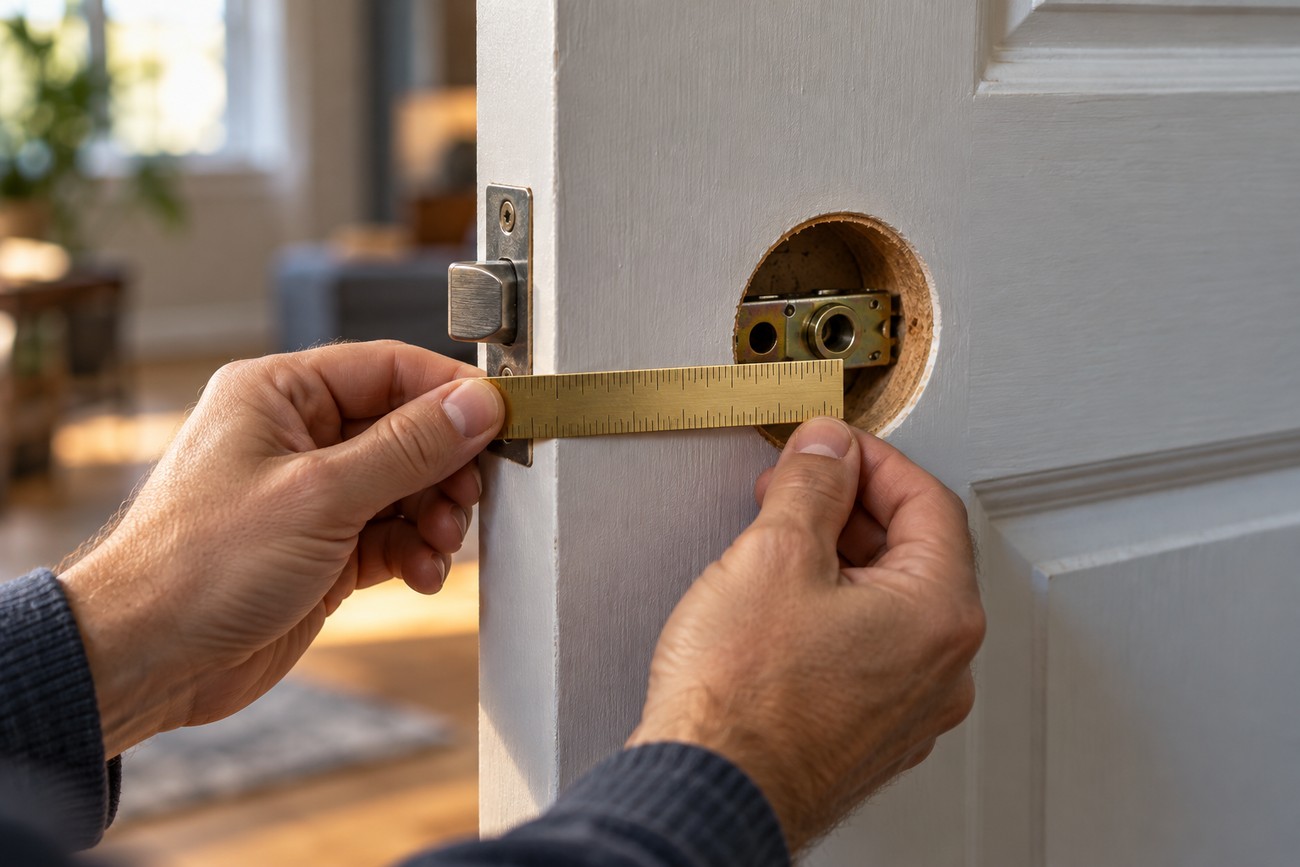
Measure the backset first. Backset is the distance from the door edge to the handle axis; common sizes are 2⅜ or 2¾ inches (60 or 70 mm). Measure to the center of the bore or spindle, and record the result before selecting a replacement.
Check the rest of the door and old hardware as well. Measure the bore diameter, door thickness, latch-body depth, faceplate shape and size, spindle arrangement, and position of the fixing holes. A matching backset alone does not establish compatibility; the replacement must also match the bore, door thickness, latch, spindle, fixings, and trim coverage.
Compare the new trim with the area covered by the old rosette or plate before drilling or enlarging any hole. A smaller replacement may expose old holes, unfinished paint, or a visible outline around the former fitting. If the trim does not cover the damage, choose a set with a larger plate or plan for surface repair.
Some sets are marketed as “universal,” but that label does not override the dimensions and mechanism specified by the manufacturer. Also check whether the spindle is long enough for your door and whether the latch body has the required depth. ANSI/BHMA Grades 1–3 describe standardized performance requirements, with Grade 1 the highest of these grades; the grade alone does not establish the security of the complete door.
Keep the Door Open and Remove the Old Set
Secure the door open before removing the handle. Use a doorstop or another reliable method that prevents the door from swinging shut, and make sure you have a screwdriver and any Allen key required by the set. This precaution protects access through the doorway and prevents the repair from leaving someone shut in or out.
Begin by removing decorative covers or rosettes without prying against the painted or finished door surface. Loosen the through-fixings gradually, supporting both sides of the handle as the screws come free. Remove the handles, then slide out the spindle and take out the latch from the door edge.
If no fixing screw is visible, inspect the underside and edge of the handle base, the lower part of the rosette, and the inner side of the assembly. A small release hole may accept an Allen key or a similar tool specified by the manufacturer. Other designs use a spring catch, C-clip, or retaining ring that must be depressed or released before the handle slides off.
Place every removed part together until the replacement is fitted and tested. Keep the old screws, clips, spindle, latch, and strike plate for comparison because a replacement kit may use different hardware or omit a part that your door needs. Remove stubborn pieces carefully; levering against the door finish can create damage that a new handle will not conceal.
Fit the Latch and New Handle
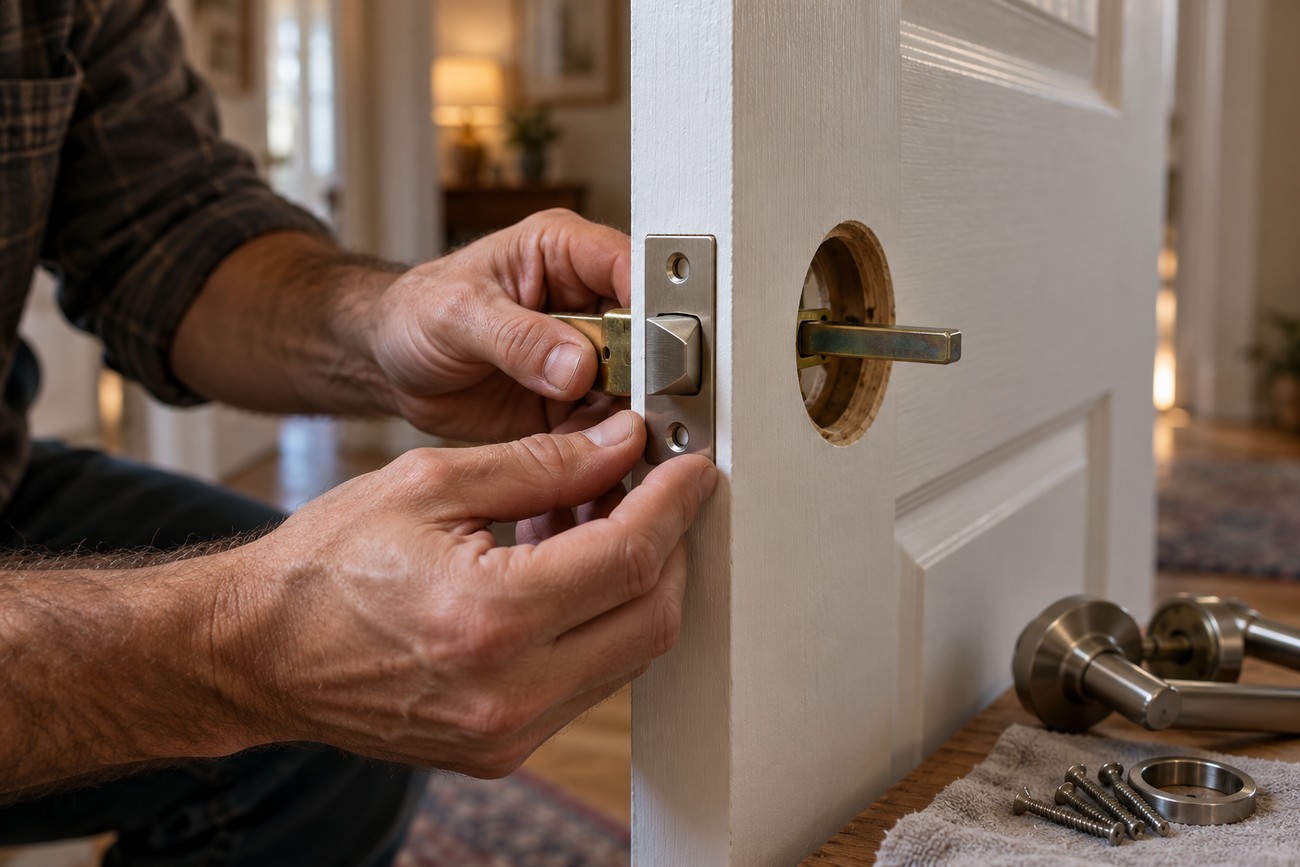
Set an adjustable latch to the measured backset before placing it in the door. Some manufacturer instructions require a separate latch adjustment for a 60 or 70 mm backset. Confirm the setting against the instructions, then insert the latch with its beveled edge facing the direction required for the door to close.
Seat the latch faceplate flush with the door edge and align its body with the existing bore. Insert the spindle through the latch, keeping it square to the door, and place the handles on both sides. Start every fixing before tightening any of them so the rosettes can settle into alignment.
Compare the latch tongue’s position with the existing strike plate while the door is still open. If they appear aligned, the old strike plate may be suitable; confirm that the tongue enters the opening cleanly during a cautious closing test. If it misses, catches, or contacts the edge, replace the plate or make a minor adjustment to the wood only after confirming that the door itself is aligned.
Check trim coverage before drilling any new holes. Tighten through-fixings alternately and moderately so the rosettes remain aligned; excessive force can distort the trim, bind the mechanism, or damage a thin door. If parts do not seat naturally, stop and recheck compatibility instead of forcing the handle into position.
Test the Repair Before Closing the Door
Operate the handle repeatedly with the door open before fitting decorative covers or applying final tightening. The lever should move smoothly, retract the latch fully, and return to its normal position. Check both sides of the door, and confirm that the spindle does not slip or rotate without moving the latch.
Make small adjustments while the fixings are still accessible. A handle that binds after the screws are tightened may be suffering from misaligned rosettes or excessive clamping pressure. Loosen the fixings slightly, realign the parts, and retighten them alternately rather than adding force.
Testing the latch with the door open separates hardware binding from strike-plate misalignment before anyone risks shutting the door and losing access to the fasteners.
Once the open-door operation is reliable, keep a dependable way to reopen the door and make a cautious first closing test. Move the handle while the latch meets the strike plate, then release it and check whether the door closes without pressure. If the latch works with the door open but catches when closing, inspect the door alignment and strike plate rather than forcing the door shut.
When the New Handle Still Does Not Work
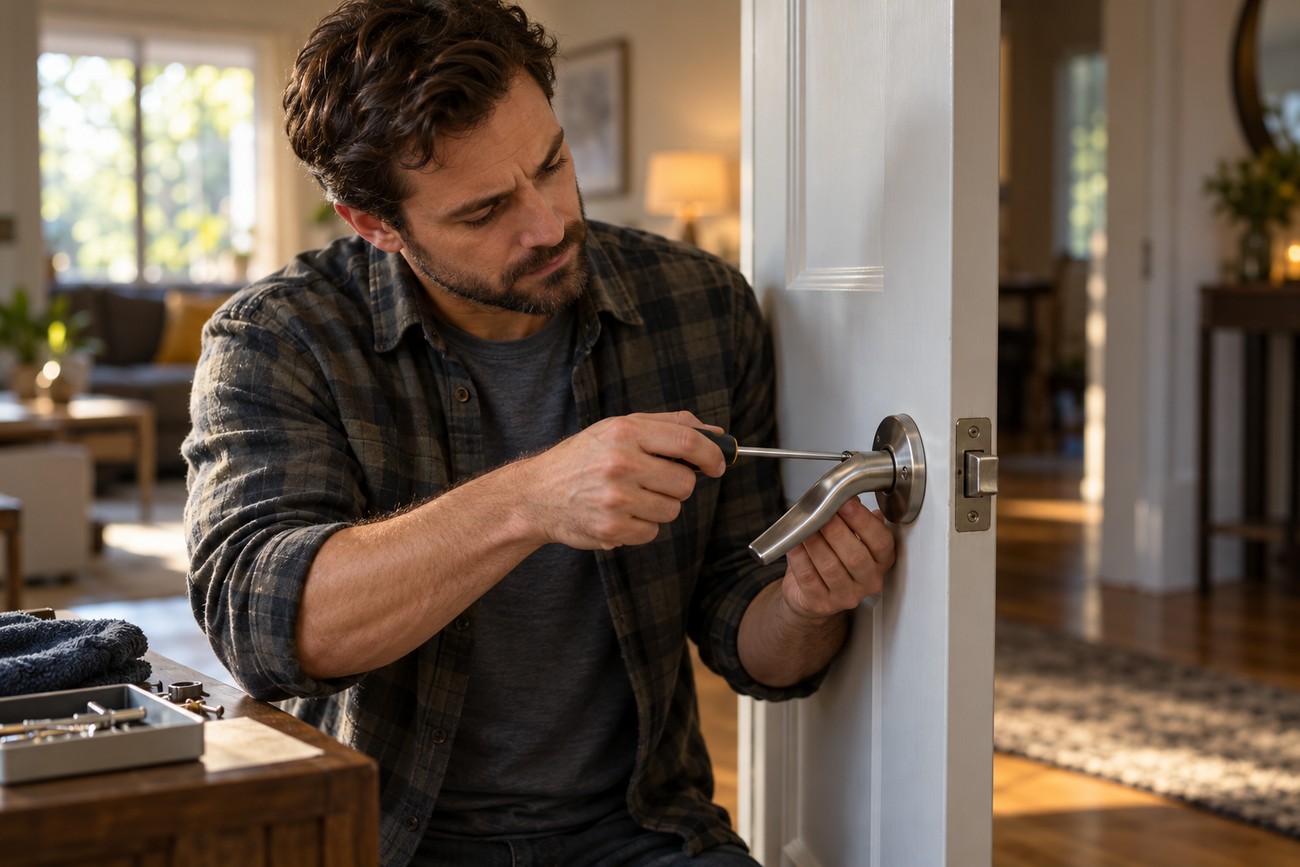
If the replacement still sticks with the door open, loosen the fixings slightly and check the spindle, latch orientation, and backset setting. A new handle may still bind if the latch or spindle is faulty, or if its return spring is displaced or broken. Replacing the visible handle alone will not resolve those faults.
A lever that sags after installation usually points to a return-spring or internal-retainer problem, or to a handle assembly that is not compatible with the latch and spindle. Check the instructions and compare the new parts with the old ones. Avoid buying another lookalike set until the failed component and required dimensions are clear.
If the latch retracts easily with the door open but catches against the frame, inspect the strike plate, hinges, and door alignment. A correctly working handle will not fix sagging hinges or a misaligned strike plate. Minor strike adjustments may be possible, but substantial alteration of the door or frame can weaken the fit or leave an unattractive repair.
Stop work if the door cannot be opened reliably, the lock or cylinder is damaged, or installation would require extensive drilling or cutting. A smaller replacement trim may also expose old holes or unfinished paint, turning a hardware replacement into a cosmetic repair. At that point, a locksmith or experienced repair professional can assess the complete door assembly before further damage occurs.
Frequently asked questions
How much does a handyman charge to replace a door handle?
There is no single reliable rate because the total depends on labor, the replacement hardware, travel or call-out charges, and the condition of the door. A straightforward open-door replacement usually involves less work than a job that also needs a latch, strike-plate adjustment, alignment repair, or cosmetic patching.
Request an itemized quote that names the labor, hardware, call-out charge, and any possible latch, strike-plate, or door repair. Send measurements and photographs of the existing handle, door edge, bore, and trim so the professional can identify compatibility issues before arriving.
What should I do if the handle snaps while the door is shut?
First, protect access and safety. Do not repeatedly force the lever or slam the door, especially if the latch or lock may be damaged. If the door can be opened safely from the other side, keep it open and secure it before removing the hardware.
If the latch cannot be operated, someone is trapped, or the door protects a safety-critical exit, contact a locksmith or appropriate emergency service rather than forcing entry. A shut-door failure requires a different approach from an open-door replacement because the fasteners may be inaccessible, and damage to the lock, frame, or door can become substantial.
How do I fix a snapped door handle?
Replace the damaged handle, and check whether the spindle, return spring, or internal retainer is also worn or broken. Replace any other damaged parts, or the complete assembly if those parts are not separately serviceable. If the handle snapped because the latch was binding, replace or correct the latch problem as well; fitting a new lever alone may leave the cause unchanged.
With the door open, compare the replacement with the old set, install the correct latch and spindle, and test the mechanism before closing the door. If the break occurred while the door was shut or the lock is damaged, use a locksmith rather than forcing the mechanism.
How do I replace the internal parts of a door handle?
“Internal” can refer to the spindle, latch, return spring, or retainer inside the handle assembly. Remove the handle and trim while the door is secured open, identify the failed part, and replace the complete compatible assembly if the internal component is not separately serviceable.
Match the backset, bore, door thickness, latch, faceplate, spindle, fixing arrangement, and trim coverage. Test the handle and latch with the door open before final tightening and before reinstalling decorative covers.







