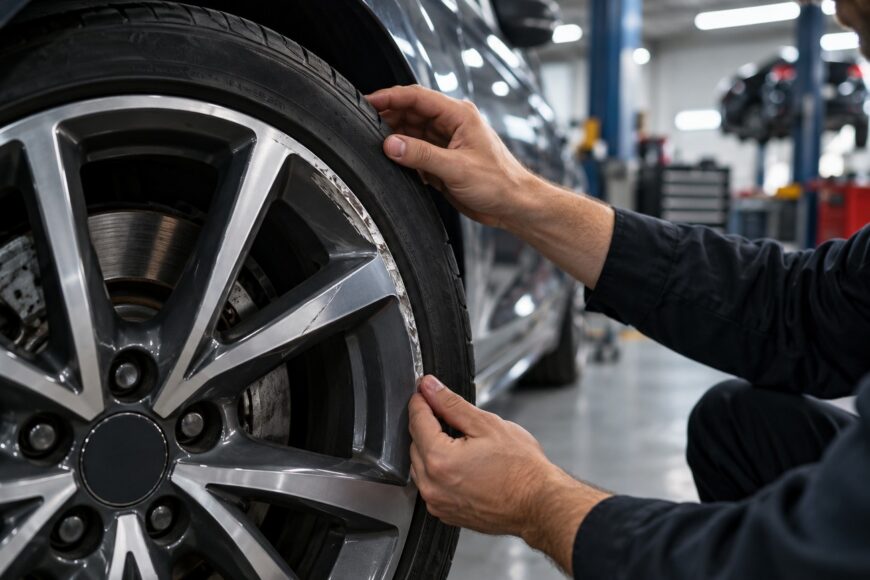
Choose between masking a scratch yourself and having the wheel checked before reaching for sandpaper. Similar-looking curb marks can have different consequences: a scrape on the painted face is different from damage near the tire’s seating area. The depth you can see does not settle that distinction.
If the damage is cosmetic, the work involves more than smoothing the mark. Sanding exposes or disturbs protective layers, so the repair must restore them without removing material from areas that affect how the wheel holds the tire.
- Check the wheel before treating the rash as cosmetic
- Decide whether DIY repair suits your wheel finish
- Prepare the surface and protect the surrounding finish
- Smooth the rash without grinding away the rim
- Prime, paint, and clear-coat for a durable finish
- Know when the repair has failed—or should stop
- Frequently asked questions
- How much does it cost to fix curb rash on an alloy wheel?
Check the wheel before treating the rash as cosmetic
Start by locating the damage. A shallow scrape on the painted front face may be a candidate for a local cosmetic repair. Damage on the rim near the tire bead deserves closer attention because that area helps the tire seat and retain air; an equally visible scratch there may have different implications.
Clean the wheel so dirt does not hide the edges of the mark. Look for cracks, dents, a bent rim edge, and any sign that the tire is losing air. If the wheel struck the curb hard, also pay attention to a new vibration or a wheel that appears to wobble while turning. A close photograph cannot reliably rule out those problems.
Local cosmetic repair is worth considering only when there are no cracks, deformation, air leaks, or signs of altered wheel geometry. Have a wheel specialist inspect any doubtful damage before sanding, particularly if the mark reaches the tire-seating area. Grinding first can remove evidence that helps identify what happened.
A scrape may look shallow because it runs across a raised feature, while an impact can affect a less visible part of the rim. Treat the circumstances of the strike and the wheel’s behavior as part of the assessment, rather than judging safety by the visible scratch alone.
Decide whether DIY repair suits your wheel finish
DIY work is most reasonable for a small, shallow mark on a painted wheel that has passed the checks above. It can make exposed scratches less conspicuous and restore coverage where the coating has been broken. Set the goal at a tidy, protected repair, rather than an invisible match under every light.
Deep gouges, missing metal, and damage close to the tire bead call for professional assessment. The same applies if you would need extensive grinding to make the surface look even. A filler or paint kit cannot establish that the underlying wheel is sound.
Polished and diamond-cut finishes are harder to repair in one spot. Their appearance depends on a consistent surface pattern as well as color and gloss, so a hand-finished patch can stand out even when its outline feels smooth. A DIY kit may hide a small scratch, but it cannot guarantee factory texture or coating life.
If a close color match matters, ask whether refinishing the whole visible face would give a more uniform result than spot painting. That can reduce an obvious boundary on some finishes, although it is a larger intervention. Confirm how the proposed process will treat the wheel’s original surface before agreeing to it.
Prepare the surface and protect the surrounding finish
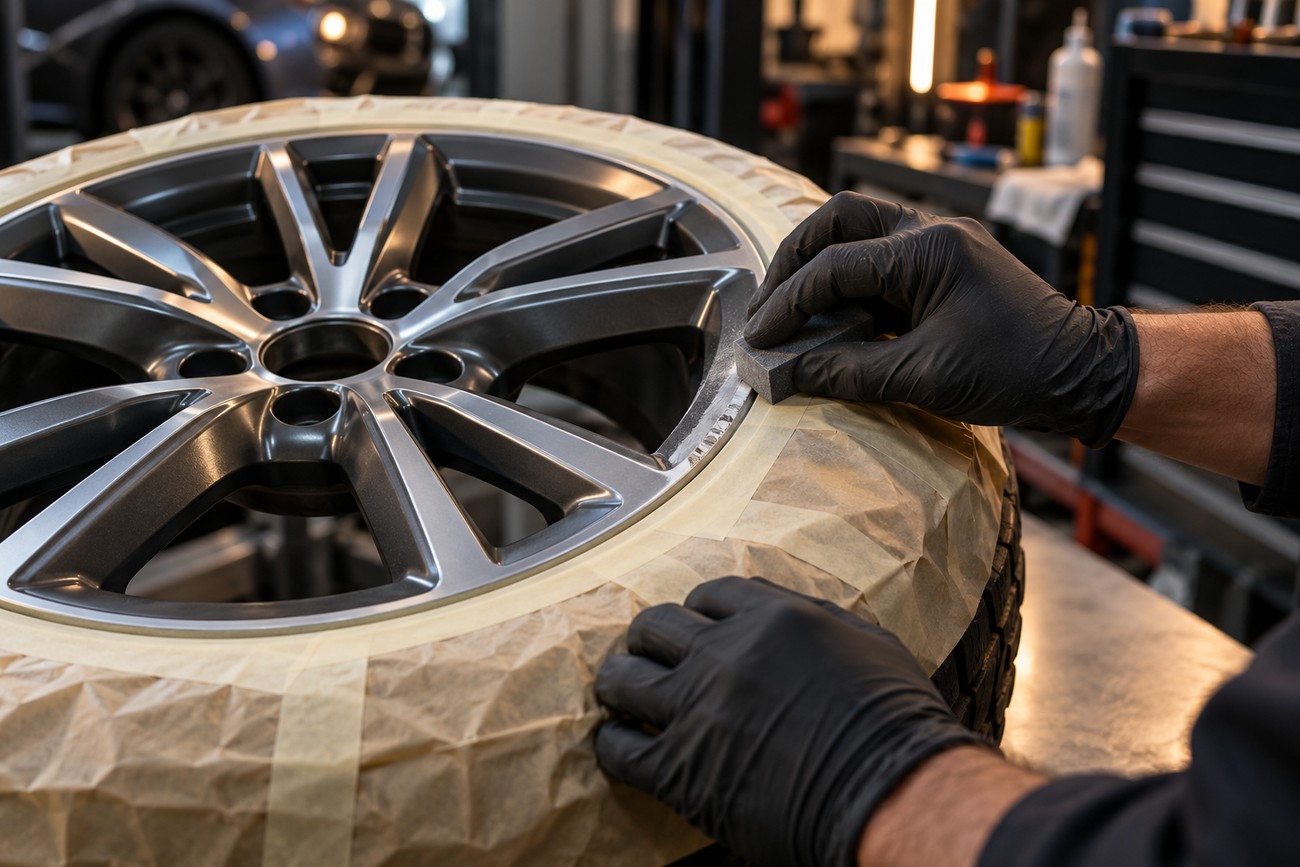
Wash away grit and brake dust, rinse, and let the wheel dry fully. Inspect the clean mark in good light before choosing where to sand. Moisture trapped around a scratch or beneath masking can compromise the coating you apply later.
Mask the tire and nearby undamaged areas, leaving only enough room to feather the repair into the existing finish. Most modern alloy wheels have a protective coating, and sanding beyond the damaged area removes sound factory finish unnecessarily. Unprotected sanding can leave dull patches that remain visible beside the repaired mark.
Use a cleaner and degreaser compatible with the primer and coating system you intend to apply. Keep the surface free of polish residue, grease, and fingerprints after cleaning; paint laid over contamination may fail to adhere evenly. Follow the product instructions on when to clean relative to sanding and coating.
Work with suitable ventilation and protection from sanding dust and spray mist, following each product’s safety directions. Choose a clean, sheltered workspace: airborne dust can settle in wet paint, while damp conditions can interfere with preparation. If you cannot keep the area reasonably clean and dry, postpone the coating work.
Smooth the rash without grinding away the rim
Remove loose coating and raised burrs carefully, then blend the damaged surface into the sound finish. Work over the smallest practical area and check your progress often by sight and touch. The aim is to remove sharp projections and provide a smooth base for coating, not to reshape the rim.
For pronounced raised material, professional preparation may begin around P80–P120 before moving through finer grades. Minor scratches may need no coarse stage at all. P400–P600 can be appropriate for finer preparation before paint, subject to the coating system’s instructions; skipping intermediate grades can leave scratches that show through the finish.
At the rim edge, removing a protruding burr can be a smaller intervention than sanding surrounding metal until every trace disappears. A faint, protected scar may be preferable to a visibly thinner edge.
Avoid P40–P60 as a shortcut: deep sanding marks take more work to remove and can remain visible beneath paint. Keep checking the rim profile as you work. Stop if making the mark disappear would require substantial metal removal, especially close to the tire-seating area.
If a small surface hollow needs filling, use a product specified for aluminum and compatible with the planned coatings, following its application limits. General-purpose filler is no substitute for missing structural metal. A deep gouge that seems to require building up the rim needs assessment rather than a thicker layer of filler.
Prime, paint, and clear-coat for a durable finish
After smoothing, remove sanding dust and clean the area as directed by the coating manufacturer. For a painted finish, apply a primer suitable for aluminum, then compatible color and clear protective coating in the specified order. Once the original finish has been disturbed, exposed metal needs a compatible protective finish restored.
Do not skip preparation because the scratch looks small. Poor cleaning or an unsuitable primer increases the risk of peeling and corrosion, especially where moisture and road salt reach the repair. Check the instructions for each material’s application conditions, recoating intervals, and curing requirements rather than relying on a universal timetable.
Build the finish with controlled applications instead of trying to cover the mark in one wet pass. Spray distance, temperature, and product directions affect how the coating lays down; incorrect application can produce runs or an orange-peel texture. Keep overspray off the tire and adjacent surfaces.
Even a carefully applied local repair may differ from the factory finish in shade, texture, or gloss. Existing wheels can also have weathered unevenly, making a matching paint look different beside them. Assess the result after the coating has cured as directed, and avoid polishing or washing it earlier than the product permits.
Know when the repair has failed—or should stop
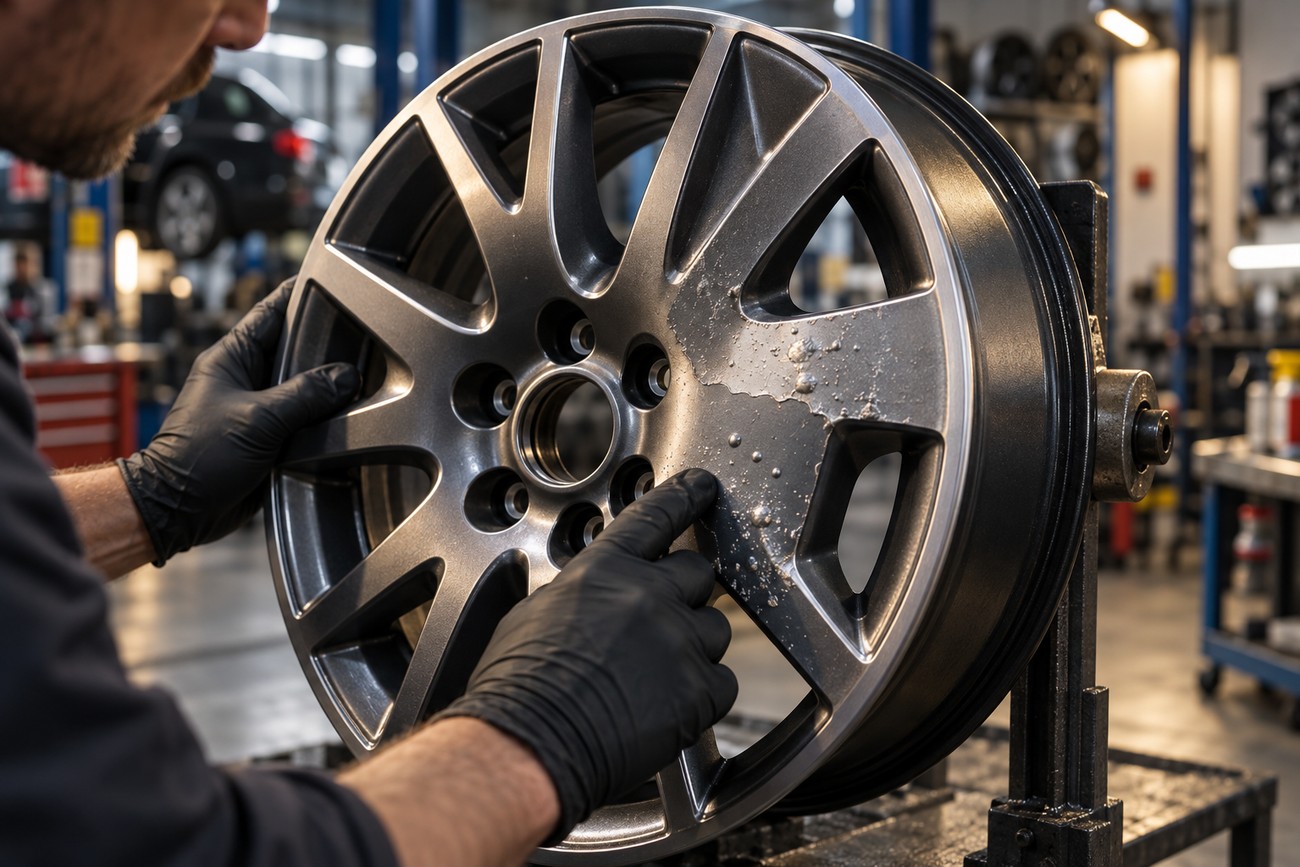
White specks, bubbling, or lifting around a repair after exposure to winter roads can indicate that moisture has reached poorly prepared or insufficiently protected aluminum. Road salt makes an intact coating particularly important. Painting over the bubbles without addressing loose finish and contamination is unlikely to resolve the cause.
A visible line around the patch points to a different problem: the transition, color, or texture may not match the surrounding finish. More paint over the same narrow area can make the boundary heavier. If appearance matters, discuss a broader refinish with a specialist rather than repeatedly sanding the edge of the patch.
Stop cosmetic work if the tire begins to lose air, a crack appears, or you notice vibration after the impact or repair. Those signs need separate diagnosis of the wheel and tire. A fresh clear coat cannot correct a sealing problem or altered wheel geometry.
Do not treat welding as the next DIY step for a damaged rim. Some wheel manufacturers prohibit welding their wheels, while independent shops may offer it in certain cases; the result should not be assumed to have factory strength. Check the wheel maker’s guidance and seek a qualified assessment of repair versus replacement.
Frequently asked questions
A curb-rash quote can cover a small surface repair or refinishing the entire visible face. Inspection may reveal work beyond the original cosmetic estimate. The cost of a suitable replacement wheel is another point of comparison.
How much does it cost to fix curb rash on an alloy wheel?
The cost depends on the damage, the wheel’s finish, and the scope of the repair. Ask for a written quote that specifies inspection, surface preparation, refinishing, and any tire-related work. Check what happens to the estimate if inspection reveals more than a cosmetic scrape. Compare the quote with the cost of a suitable replacement wheel, including fitting, and read any repair warranty carefully: coverage for the finish does not establish the wheel’s overall strength.