
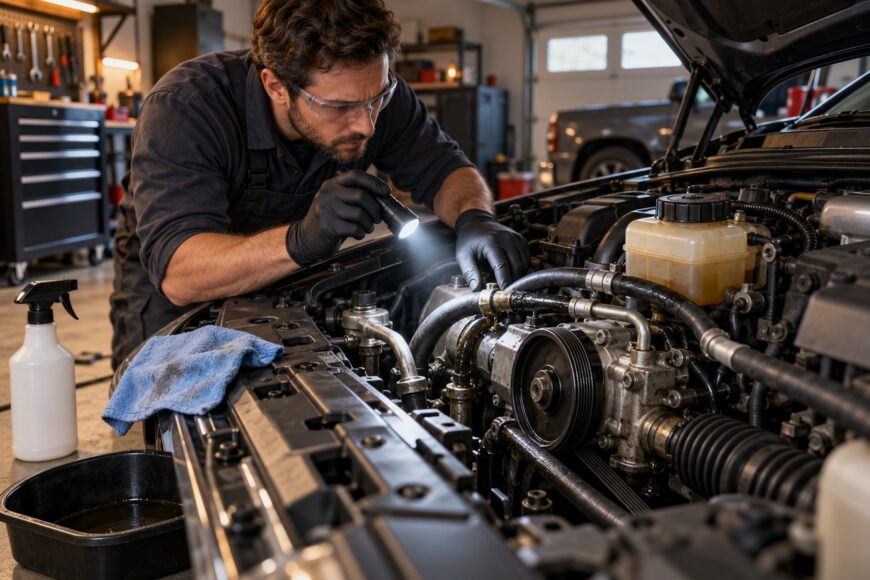
A wet driveway, a whining pump, or suddenly heavy steering usually means the power steering system is losing fluid. The visible puddle may be only the end of the trail. Fluid can run along a hose, subframe, or metal line before dripping, so replacing the damp-looking section without locating the origin often leaves the fault in place.
First, identify which line is leaking. A low-pressure return hose may accept a suitable hose-and-clamp repair when its routing and fittings allow it. A high-pressure line generally requires a correctly rated hydraulic hose, compatible ends, and professional-quality crimping or a complete replacement assembly. Ordinary fuel, vacuum, or generic low-pressure hose is unsafe in that location.
An active leak can introduce air, make the pump noisy, contaminate the belt, and cause loss of steering assist. Topping up the fluid may help you move the vehicle to safety, but it does not make continued driving safe. If the reservoir empties quickly, the steering becomes heavy, or fluid reaches hot components, arrange transport and repair the fault before driving further.
- Find the Exact Source of the Leak First
- Identify the Hose: Return or High-Pressure?
- Choose the Repair, Replacement, and Fluid Correctly
- Repair or Replace the Leaking Hose
- Refill and Bleed the Power Steering System
- Verify the Repair and Find the Root Cause
- Frequently asked questions
- How much does it cost to fix a power steering hose leak?
- Where is the most common place for a power steering leak?
- How can I tell whether the power steering pump was damaged by the leak?
Find the Exact Source of the Leak First
Allow the engine bay and steering components to cool before inspection. Power steering fluid can be hot, and a high-pressure leak can spray rather than simply seep. Keep hands, clothing, and tools away from a running belt, and never search for a pressurized leak with your fingers. Use a flashlight, clean gloves, and eye protection where access permits.
Clean the hose, fittings, pump area, steering-rack connections, and nearby metal tubing with an appropriate degreaser. Old fluid on the hose or subframe can spread far from the original failure. Once the area is dry, check the reservoir level, start the engine briefly, and observe from a safe position while the system is loaded according to the vehicle service information.
Inspect the hose wall first, then trace upward to the crimp, flare, fitting nut, O-ring, and sealing washer. Fluid may originate at the pump connection or steering-rack connection and then run along the hose. Corroded metal tubing can also leak beside an apparently sound rubber section. A short, controlled inspection under load is more useful than repeatedly running the vehicle with low fluid.
A leak that appears only after the system warms deserves careful attention. Heat makes fluid more mobile and can change seal behavior, so a cold inspection may miss the first wet point. Shut the engine off before touching anything, wipe the area again, and confirm the source only after pressure has dissipated.
Identify the Hose: Return or High-Pressure?
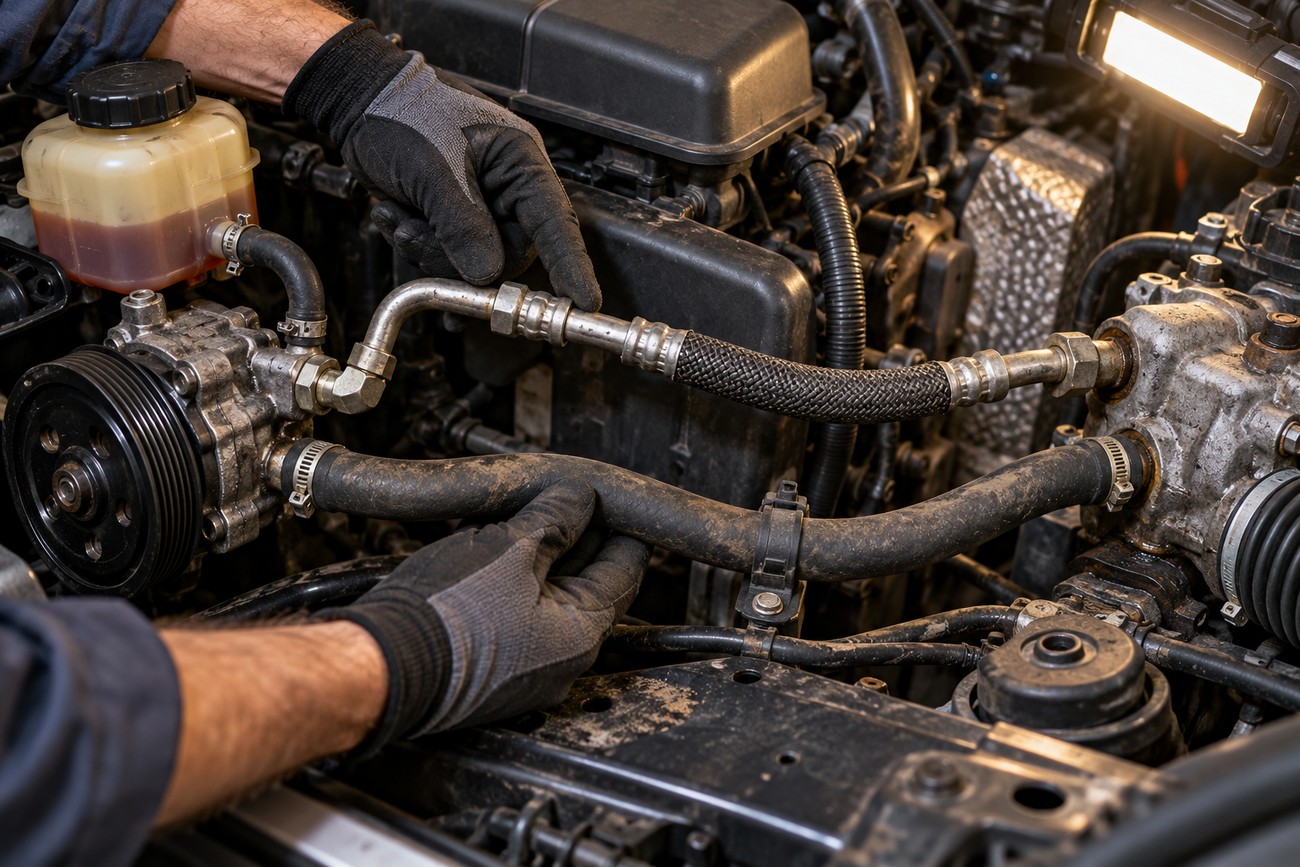
Power steering systems normally use a high-pressure hose and a lower-pressure return hose. The high-pressure line carries fluid from the pump toward the steering gear and can operate in the tens to hundreds of bar range, depending on the vehicle. It also sees temperature, pump pulsations, vibration, and repeated steering loads.
The return hose sends fluid back to the reservoir at much lower pressure. A suitable hose-and-clamp repair may be possible on this line when the hose is designed for power steering fluid, the clamps are appropriate, and the routing does not create kinks or rubbing. That decision still depends on the vehicle and the exact connection.
Appearance does not reliably identify a line. A thick hose is not automatically a high-pressure hose, and diameter alone does not confirm pressure rating, temperature resistance, bend radius, length, fittings, or sealing compatibility. Follow the hose between its components and check the parts catalog or service information before cutting anything.
A clamp-based repair is not a universal high-pressure solution. High-pressure repairs must account for the hose construction, compatible fittings and seating surfaces, professional-quality crimping, and the cyclic load from the pump. If the line has crimped ends, molded bends, or integrated metal tubing, replacing the complete assembly is often the safer choice.
Choose the Repair, Replacement, and Fluid Correctly
The repair usually falls into one of three categories: a vehicle-specific replacement assembly, a correctly rated hydraulic hose made with the original-style ends, or a limited return-hose repair. The correct option depends on hose type, fitting design, sealing surface, pressure and temperature rating, and original routing. The lowest-cost-looking option can become unsafe if it ignores any of these points.
Many integrated or pre-bent lines with crimped ends are intended to be replaced as an assembly. A hydraulic specialist may be able to reproduce a high-pressure hose, provided the hose rating, end fittings, seating surfaces, bend shape, and crimp quality are correct. Correct inside diameter alone is insufficient because the connection may use a flare, a specific sealing face, an O-ring, or a washer.
Universal hose kits deserve particular caution. Their length, bends, fittings, heat resistance, and clearance may not match the vehicle. A hose that fits over a pipe in the workshop can rub against the body, kink during steering movement, or fail when the pump pulsates. Compare the replacement with the original before installation, including its clips and protective sleeves.
Use the power steering fluid or ATF specification required by the vehicle manufacturer. Fluid color is not a compatibility test, and different systems can require different formulations. When a connection is disturbed, replace the O-ring, seal, or sealing washer where the manufacturer specifies; reusing a flattened seal is a common cause of renewed seepage.
Repair or Replace the Leaking Hose
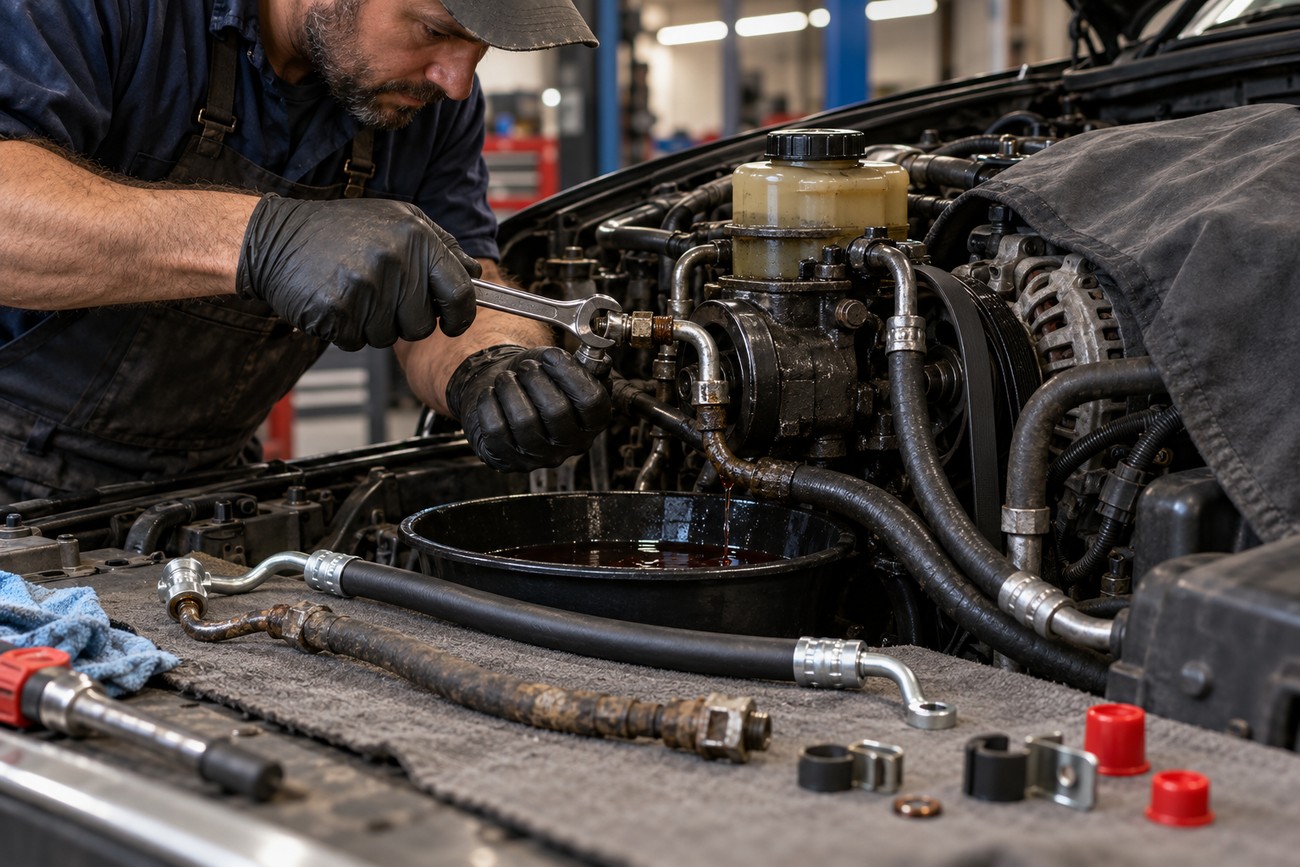
Begin by identifying the line and protecting the serpentine belt, alternator, connectors, and other electrical parts from fluid. Place a suitable container below the connection and keep dirt out of open ports. Use the correct flare-nut or line wrench on fittings, since an ordinary open-end wrench can round a corroded nut and turn a manageable repair into a larger job.
Compare the replacement with the old line before removing it fully. Confirm the ends, length, bends, clips, heat shields, and anti-rub protection. Remove the fittings without twisting the pipe or steering-rack port. If a nut is seized or the metal line is heavily corroded, stop before applying force that could damage the rack, pump, threads, or sealing surface.
Check the fitting and flare behind a wet hose before condemning the hose itself. Replacing only the visibly damp rubber can leave the real sealing failure untouched.
A sound return hose may be cut back and secured only with hose designed for power steering fluid and appropriate clamps. The cut must reach healthy material, the connection must be fully seated, and the hose must follow the original path. Do not use ordinary fuel, vacuum, or generic low-pressure hose for a high-pressure power steering line.
For a high-pressure line, use a rated replacement assembly or a professionally crimped hydraulic hose with the correct ends. Over-tightening a clamp or fitting nut can cut the hose, distort a flare, damage threads, or ruin the sealing surface. Tighten according to the vehicle or component instructions rather than trying to stop seepage with extra force.
Route the finished repair with the original clearances and clips. It must avoid the belt, exhaust, steering movement, sharp edges, and body contact. Corrosion on tubing or fittings can make a hose repair temporary or impractical; replacing the visible hose alone will not restore a safe connection if the metal behind it is failing.
Refill and Bleed the Power Steering System
Opening the circuit introduces air, so bleeding is part of the repair. Fill the reservoir with the manufacturer-specified fluid to the correct level, then follow the vehicle’s service procedure. Some systems are bled with the front wheels safely supported and the steering moved slowly; others require a different method, so the manual takes priority.
Keep the reservoir from running dry during the process. Air drawn into the pump can create foaming, pump whine, and heavy or jerky steering. Move the steering only as directed, avoid holding it against the stop, and pause if the fluid level falls or the reservoir begins to foam heavily.
After the air clears, let the fluid settle and recheck the level. Foaming, persistent noise, or uneven steering commonly indicates trapped air or low fluid, although pump wear remains possible. These symptoms do not automatically prove that the replacement hose is defective.
Inspect every disturbed connection while bleeding. A joint that appears dry with the engine off may seep once the pump builds pressure. Stop the process if fluid escapes rapidly, the steering remains unsafe, or the service instructions require equipment or a procedure you cannot provide.
Verify the Repair and Find the Root Cause
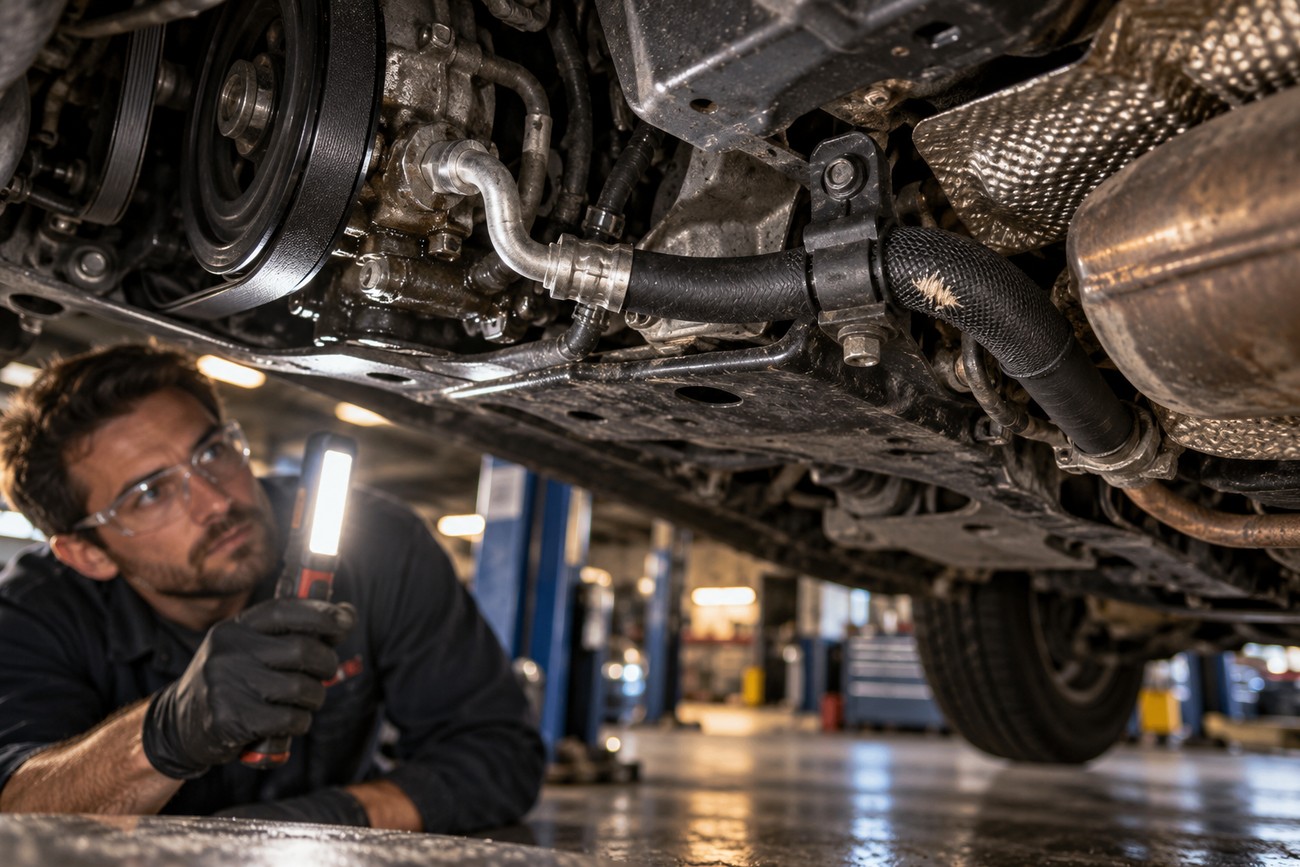
Check the repaired area with the system cold, then inspect again after it warms. Heat can make seepage more visible because the fluid becomes more mobile and seals change behavior. Keep clear of hot exhaust parts and moving components, and use a light rather than touching a suspected leak.
Confirm the fluid level, steering effort, and pump sound before a short road test. Afterward, recheck the entire route, including clips, bends, and areas where the hose passes close to the body. Vibration, rubbing, incorrect routing, missing clips, and corrosion can cause a replacement hose to leak again even when the new part itself is sound.
Look for fluid on the belt, alternator, wiring, subframe, and hot exhaust components. Contamination can cause belt slip, odor, smoke, or additional cleanup. A belt that has been soaked may require more than surface cleaning, and smoke from a hot component warrants stopping the vehicle and finding the source.
A continuing leak or pump whine may point to the steering rack, pump, metal tubing, or another seal. A new hose does not rule out a second fault. If the fluid level stays correct and the system has been bled properly yet the pump remains rough or the steering jerks, further diagnosis is safer than repeated hose replacement.
Frequently asked questions
The cost and repair method depend on the hose design, the condition of its connections, and the source of the leak. Careful inspection helps distinguish a simple hose repair from a wider steering-system fault.
After the repair, the system must be refilled, bled, and checked under operating conditions. Persistent noise, heavy steering, or renewed fluid loss requires further diagnosis.
How much does it cost to fix a power steering hose leak?
The final cost depends mainly on access, hose design, fitting condition, required seals or washers, replacement fluid, and labor time. A simple return hose in an open area is a different job from a molded high-pressure assembly routed behind the engine or subframe.
Seized fittings, corroded tubing, and damaged pump or rack connections can add substantial work. The hose price alone does not show the likely total. A proper estimate should include inspection of adjacent connections and confirmation that the pump or steering rack is not also leaking.
Where is the most common place for a power steering leak?
Start at the hose crimps and fittings, then inspect the pump connections, steering-rack connections, and nearby metal tubing. Check O-rings, sealing washers, flares, and fitting nuts before assuming that a wet hose wall is the source.
Clean and dry the area first, because fluid trails can run along the hose or subframe. A short inspection under load can reveal the first wet point, provided you stay clear of the pressurized system and stop if the leak is severe.
How can I tell whether the power steering pump was damaged by the leak?
Persistent whining, rough operation, aerated or foaming fluid, and heavy or jerky steering after the correct fluid level and bleeding procedure suggest further diagnosis. Low fluid and trapped air can produce the same symptoms, so they must be ruled out first.
If symptoms remain, inspect for a continuing leak, restricted return flow, and wear in the pump or steering rack. A workshop may need to test system operation rather than condemning the pump from noise alone. Avoid driving while assist is unreliable or fluid loss continues.







