
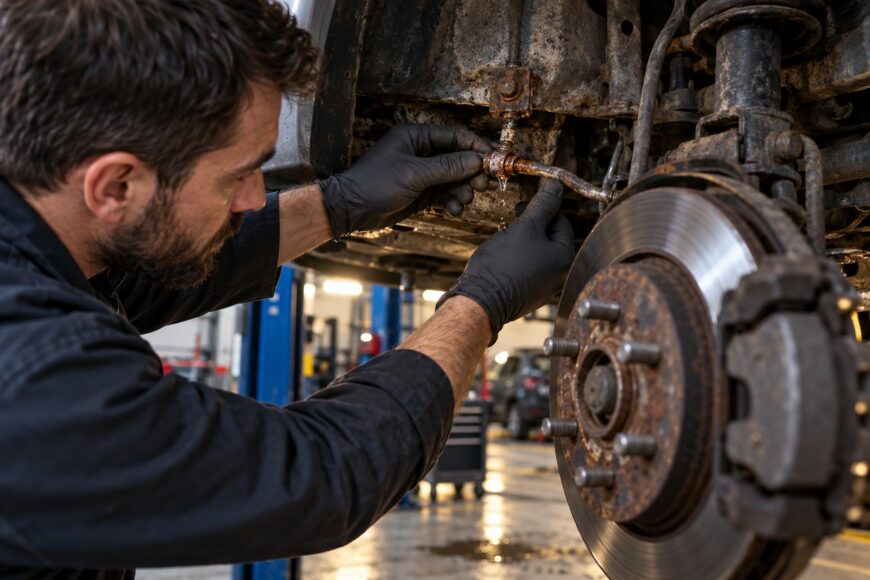
A leaking brake line can reduce hydraulic pressure and leave you with less braking force when you need it. Brake fluid loss is a safety problem, even if the pedal still feels firm during a short check. Do not drive a vehicle with a confirmed brake-line leak; arrange a proper repair or recovery instead.
A wet spot shows where fluid emerged, not necessarily where corrosion began. Brake lines can be thinned beneath protective coatings or around retaining clips, where moisture, dirt, and road salt collect. The sound repair is to replace the damaged line or affected section after inspecting the full route, rather than applying a patch or assuming a universal replacement part will fit.
- Treat a Brake Line Leak as a No-Drive Safety Problem
- Inspect the Entire Brake Line Before Choosing a Repair
- Choose Compliant Replacement Parts and Fittings
- Remove the Damaged Line Without Creating a Second Failure
- Form and Route the New Brake Line Correctly
- Bleed, Pressure-Test, and Verify the Repair
- Mistakes That Turn a Small Leak Into a Repeat Repair
- Frequently asked questions
- What is the best sealant for brake lines?
- How expensive is it to fix a brake line leak?
- What should I do if the brake bleeder screw will not open after the line is replaced?
- How can I verify that a replacement brake tube is approved for my vehicle?
Treat a Brake Line Leak as a No-Drive Safety Problem
A brake line is part of a pressurized hydraulic system. Once fluid escapes, the system can lose pressure and introduce air, while corrosion may continue beyond the visibly wet area. A leak is therefore a failed hydraulic connection or damaged line, not a cosmetic surface defect.
A pedal that still holds pressure does not make a leaking vehicle safe. The system may retain enough pressure during a brief stationary check while remaining vulnerable to further fluid loss. The condition can also worsen when braking raises hydraulic pressure in the line.
External sealants, tape, and wraps do not restore the required construction of a brake line. They cannot reliably withstand the hydraulic pressure, heat, vibration, and movement found under a vehicle. The damaged brake line or affected section must be replaced with suitable components and sealed fittings.
Brake fluid on the vehicle may come from a line, hose, fitting, caliper, wheel cylinder, master cylinder, or another brake component. Identifying the source matters because replacing the wrong part leaves the actual hydraulic fault in place. If the source is unclear, or if the system has lost significant fluid, professional inspection is the safer choice.
Inspect the Entire Brake Line Before Choosing a Repair
Inspect the full length of the affected brake line before removing only the visibly wet portion. Follow it from the master cylinder or hydraulic unit to the flexible hose, caliper, wheel cylinder, or other termination. Clean dirt carefully enough to see the metal and fittings without scraping away evidence of corrosion.
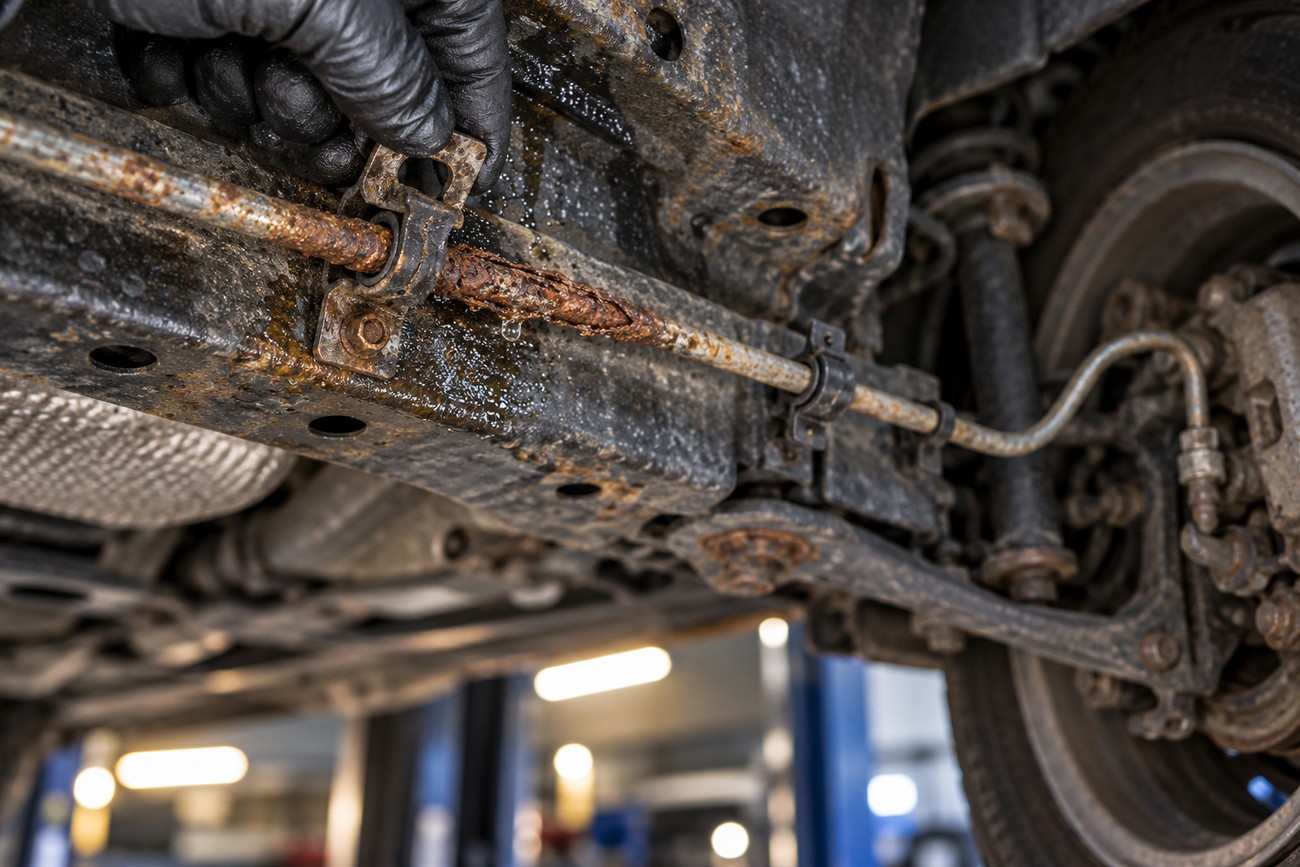
Retaining clips deserve close attention. Moisture, road salt, and dirt can remain trapped between the clip, coating, and tube, allowing corrosion to progress where the line looks intact from a distance. Check every clip and mounting point, including areas hidden by underbody protection.
Protective or anti-corrosion coatings can conceal thinning metal and continuing corrosion. A line that appears solid after a quick visual inspection may be significantly weakened beneath the coating. Bulges, flaking, deep pitting, damaged coating, or a fitting that has corroded into the tube are reasons to extend the replacement area.
Replacing one wet section can leave adjacent weak sections ready to fail. This is especially important on vehicles with widespread corrosion along the brake lines. The repair decision should account for the condition of the complete route, the remaining fittings, and the way the replacement can be secured without creating new damage.
Choose Compliant Replacement Parts and Fittings
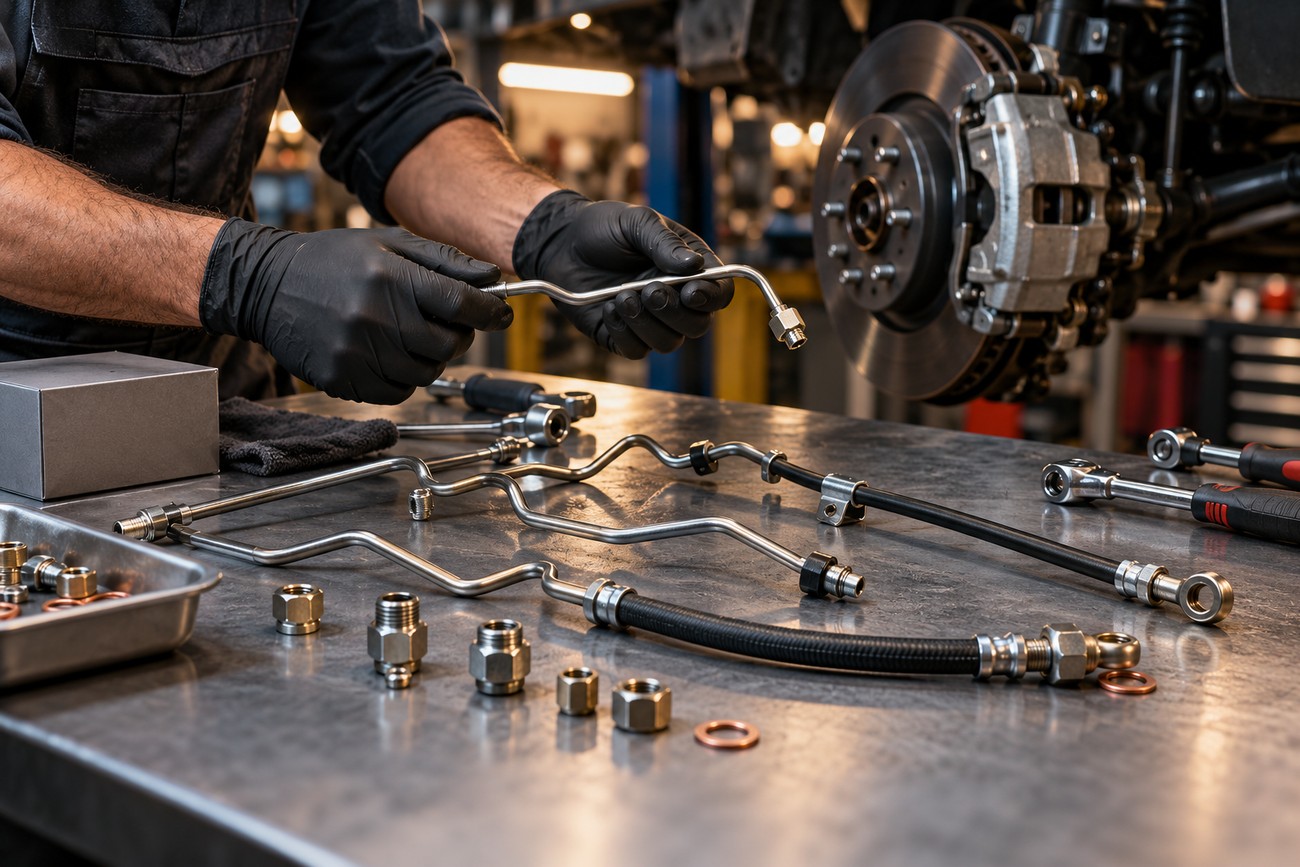
Brake tubes, hoses, and connecting fittings used on covered passenger vehicles, trucks, buses, trailers, and motorcycles must meet applicable FMVSS 106 requirements. FMVSS 106 addresses hose material, marking, assembly characteristics, and end-fitting requirements. A part’s appearance or material name does not establish that it is suitable for a hydraulic brake application.
Verify the vehicle application, tubing or hose marking, fitting design, thread, flare arrangement, and installation requirements. A seller’s claim that a tube is universal does not by itself confirm compatibility. Claims such as rust-free or eternal also describe marketing rather than a guarantee of lifetime service.
Steel, copper-nickel, and copper are material descriptions, not complete suitability tests. The intended brake use, applicable standard, marking, fittings, and installation all matter. Copper-nickel tubing may be easier to form, but its use still depends on the specific product and vehicle requirements.
SAE and DIN flare arrangements must not be mixed. The thread may appear similar while the sealing geometry is different, producing a connection that looks assembled but does not seal correctly. Use the fitting type specified for the vehicle and replacement assembly, rather than matching parts by appearance alone.
Remove the Damaged Line Without Creating a Second Failure
Clean dirt and corrosion from the connection before attempting removal. Use a correctly sized flare-nut wrench, which grips more of the nut than a standard open-end wrench and reduces the chance of rounding corroded flats. Apply suitable service procedures for the vehicle and protect nearby components from damage.
A seized flare nut can twist the old tube instead of releasing it. Forcing the connection may crack or kink the tube and turn a short repair into replacement of a longer section. Expect this possibility when the fitting is heavily corroded, and plan access to the adjacent line before applying excessive force.
A flare nut that begins twisting the tube is the point to stop forcing the connection. Cut back and replace the damaged section rather than hiding tube damage inside a connection that may later leak.
Remove the old line without bending nearby components or disturbing mounting points unnecessarily. If the original tube has been deformed by corrosion, an earlier repair, or an impact, it is not a reliable forming template. Compare its route only after confirming that its bends and length still represent the intended installation.
Keep the ports and open lines clean during disassembly. Dirt entering a hydraulic connection can affect sealing or contaminate brake components. Cap or protect openings using suitable clean methods, and replace damaged fittings rather than forcing them back into service.
Form and Route the New Brake Line Correctly
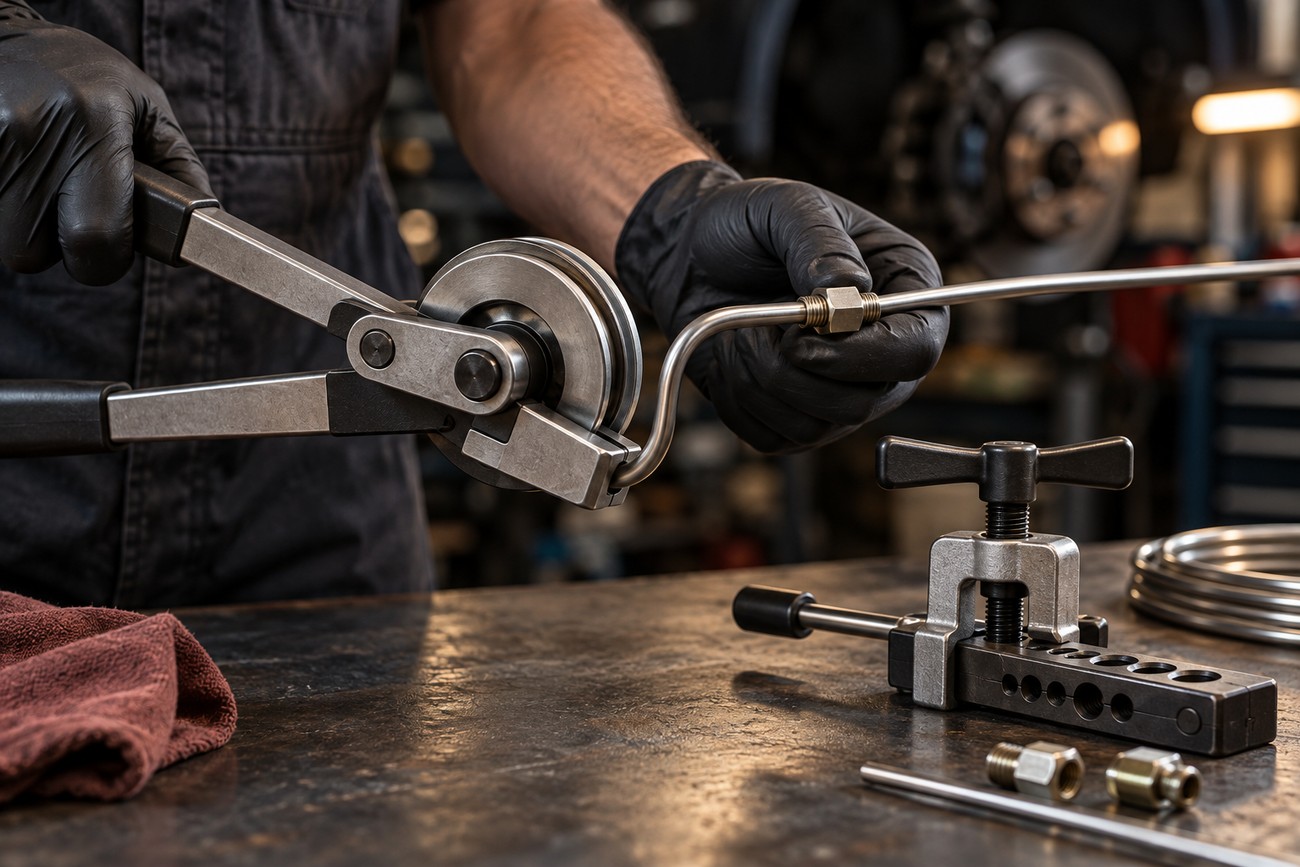
Form replacement tubing with a proper tubing bender. Sharp hand-made bends, kinks, and severe flattening reduce passage area and create local stress that can lead to failure. Make gradual bends that preserve the tube’s shape and allow the line to meet the fittings without strain.
Prepare the correct flare for the vehicle and confirm the nut is installed before making the flare. A smooth-looking cone can still have the wrong geometry, an uneven edge, or damage from an improperly set tool. Do not mix SAE and DIN flare or fitting arrangements, and do not rely on thread engagement as proof of compatibility.
Ordinary compression fittings are not an acceptable substitute for a brake connection unless their approval for the specific hydraulic brake application is confirmed. A generic fitting may hold a low-pressure fluid line while failing to provide the required braking-system seal and durability. Use an approved brake-line assembly or a correctly prepared connection designed for that application.
Route the new line through the original protected path where possible. Refit the retaining clips and keep the tube away from sharp edges, moving parts, the wheel, exhaust components, and other high-heat sources. The line must not rub against the body or be left unsupported where vibration can work-harden it.
Check full steering movement and the complete suspension travel range after routing. Confirm that the line does not stretch, rub, kink, or contact a hot component as the vehicle moves. A line that is clear with the vehicle stationary can become tight or damaged when the wheel turns or the suspension moves.
Bleed, Pressure-Test, and Verify the Repair
Every hydraulic connection must be sealed and free of restrictions that could impair brake operation. Tighten fittings according to the vehicle or component procedure rather than judging by appearance. Over-tightening can damage a flare or port, while insufficient tightening can leave a slow leak.
A neat-looking flare is not proof of a leak-free connection. After assembly, inspect the fitting and the surrounding line under hydraulic pressure according to the vehicle-specific procedure. Keep the area dry and clean enough to distinguish fresh fluid from residue left during disassembly.
Bleed the system using the vehicle-specific procedure. Air may remain in the line or hydraulic unit, and bleeding may take longer if a bleeder screw is damaged, blocked, or corroded. If a bleeder will not open or will not pass fluid, replacing the brake line alone may not restore a usable system.
Before returning the vehicle to service, confirm the fluid level, complete the required bleeding sequence, and check for leaks again. The pedal should be assessed according to the manufacturer’s procedure, with the vehicle stationary and secured. If pressure cannot be maintained, the connection stays wet, or the pedal condition is abnormal, stop the repair process and obtain professional diagnosis.
Mistakes That Turn a Small Leak Into a Repeat Repair
Fuel tubing, vacuum tubing, and other non-brake products are not substitutes for tubing rated and configured for brake pressure. They may have the wrong material, wall construction, fittings, or temperature resistance. A similar diameter does not make a component suitable for the hydraulic brake system.
Replacing only the visibly wet section can leave neighboring corrosion-prone sections untouched. The same risk applies when a coating hides thinning metal around retaining clips. Inspect the entire route before deciding whether a short section or a longer replacement is appropriate.
A ready-made or preformed tube can still have the wrong thread, flare type, length, or bend location. Forcing it into position can stress the fittings, reduce clearance, or place the line against the exhaust or suspension. Confirm the complete application and compare the actual geometry before installation.
Omitting factory clips allows vibration and rubbing to damage the replacement line. Routing a tube close to a wheel, sharp edge, or exhaust component creates a second failure risk even when the fittings are correctly sealed. Fit the line so its position remains safe through steering and suspension movement.
A rust-resistant label does not guarantee lifetime service. Product suitability depends on the applicable requirements, markings, fittings, and installation, while service life also depends on the vehicle environment and condition. Treat universal, eternal, and rust-free claims as claims to verify, not as evidence that inspection is unnecessary.
Frequently asked questions
What is the best sealant for brake lines?
No external sealant, tape, or wrap safely repairs a pressurized brake line. These materials do not recreate the suitable tube, flare, hose assembly, or sealed fitting required for reliable hydraulic operation.
The correct remedy is to replace the damaged line or affected section with a suitable brake-system component and verify the connection under pressure. If the port, caliper, wheel cylinder, or bleeder is also damaged, that component may require repair or replacement.
How expensive is it to fix a brake line leak?
Repair cost depends on access, the amount of corrosion, seized fittings, the length of replacement line, the selected parts, and the bleeding requirements. A short accessible section may involve less work than a line that runs through clips, under protective coverings, or near heavily corroded components.
The estimate can increase when a seized fitting damages a longer section, a ready-made tube is unsuitable, or a bleeder screw will not function. A proper assessment should include inspection of the full line, compatible parts, routing, pressure testing, and bleeding rather than pricing only the visibly wet spot.
What should I do if the brake bleeder screw will not open after the line is replaced?
Do not treat a seized or blocked bleeder screw as a minor inconvenience. It can prevent air from leaving through that bleeder, leaving the system improperly bled and unsuitable for return to service.
Further work may require replacing the bleeder screw or repairing the caliper, wheel cylinder, or other affected component. The system still needs the vehicle-specific bleeding procedure and a final leak and pressure check after the obstruction is resolved.
How can I verify that a replacement brake tube is approved for my vehicle?
Check the vehicle application, the part and tubing markings, the thread, the flare design, the required length, and the bend layout. Confirm that the assembly is intended for hydraulic brake use and that SAE and DIN components have not been mixed.
For covered vehicles, verify applicable FMVSS 106 requirements, including relevant material, marking, assembly, and end-fitting provisions. A universal-fit description or rust-resistant material claim is not sufficient evidence of compatibility without those checks.







