
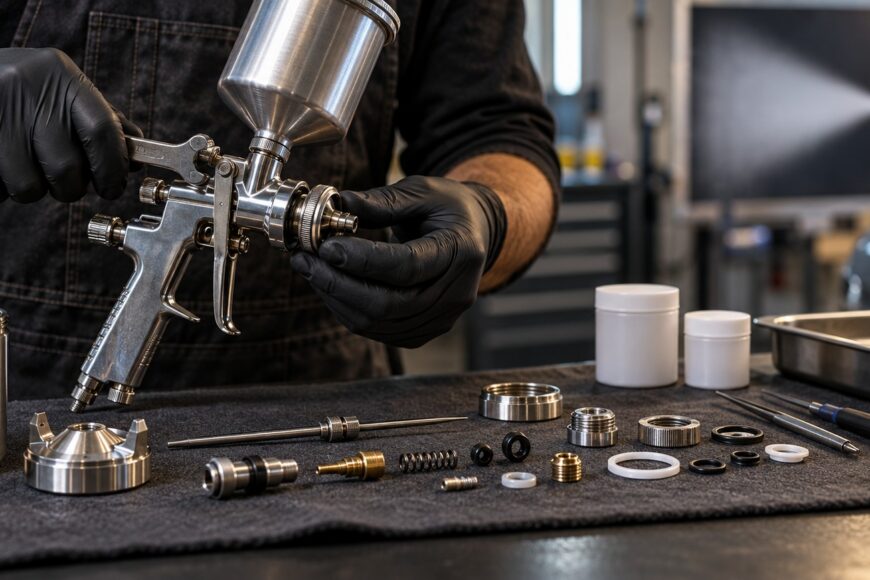
A service kit can cure leaks, a sticking trigger, and an unstable spray pattern, but it can also make a spray gun worse. The usual causes are a kit for the wrong revision, a seal incompatible with the coating, a mismatched nozzle, or a nozzle tightened hard enough to distort its seat.
A successful rebuild depends on decisions that many kit instructions omit: identifying the exact gun configuration, preserving component orientation, cleaning every air and material passage, and checking the hard parts before installation. A kit restores replaceable wear items; it cannot return worn threads, a damaged needle seat, or a distorted air cap to factory geometry.
- Decide Whether the Spray Gun Needs a Full Rebuild
- Match the Service Kit to the Exact Gun Revision
- Prepare the Workspace and Strip the Gun Without Damage
- Install Seals, Needle, Nozzle, and Air Components Correctly
- Torque the Fluid Nozzle and Reassemble Without Creating Leaks
- Test, Tune, and Diagnose the First Spray After Rebuild
- How Long the Rebuild Should Last and What Usually Goes Wrong
- Frequently asked questions
- How can I tell whether a rebuilt gun needs another seal or a replacement hard part?
- Should a spray gun be rebuilt on a fixed calendar or only when symptoms appear?
- How should I use a spray-gun repair kit?
- What are common problems with spray guns?
- Can I make a DIY spray gun?
Decide Whether the Spray Gun Needs a Full Rebuild
A full rebuild is justified when cleaning and routine adjustment no longer control leakage, trigger movement, or spray quality. Typical signs include air or material escaping around the trigger, regulator, or fluid stem; a needle that moves unevenly; and a fan that remains striped or asymmetric after the air cap and nozzle have been cleaned.
Replacing the needle and fluid nozzle alone is a repair, not necessarily a rebuild. A complete rebuild includes cleaning and servicing both the air and material passages, then replacing the relevant seals and precision wear parts. Old coating in an internal passage can continue to restrict flow or contaminate a new nozzle, even when the visible parts look clean.
Inspect the gun body, internal threads, needle seat, and air cap before ordering parts. A service kit can improve operation, but it cannot correct a chipped seat, damaged threads, enlarged openings, or blocked air-cap holes. Those defects can keep the fan uneven and may justify replacing a hard part or the gun itself.
Some practitioners report a 10–15% reduction in paint consumption after a successful rebuild because the spray pattern and transfer become more controlled. That figure comes from limited practitioner reports rather than broad controlled testing, so treat it as a possible result, not a guaranteed saving.
Match the Service Kit to the Exact Gun Revision
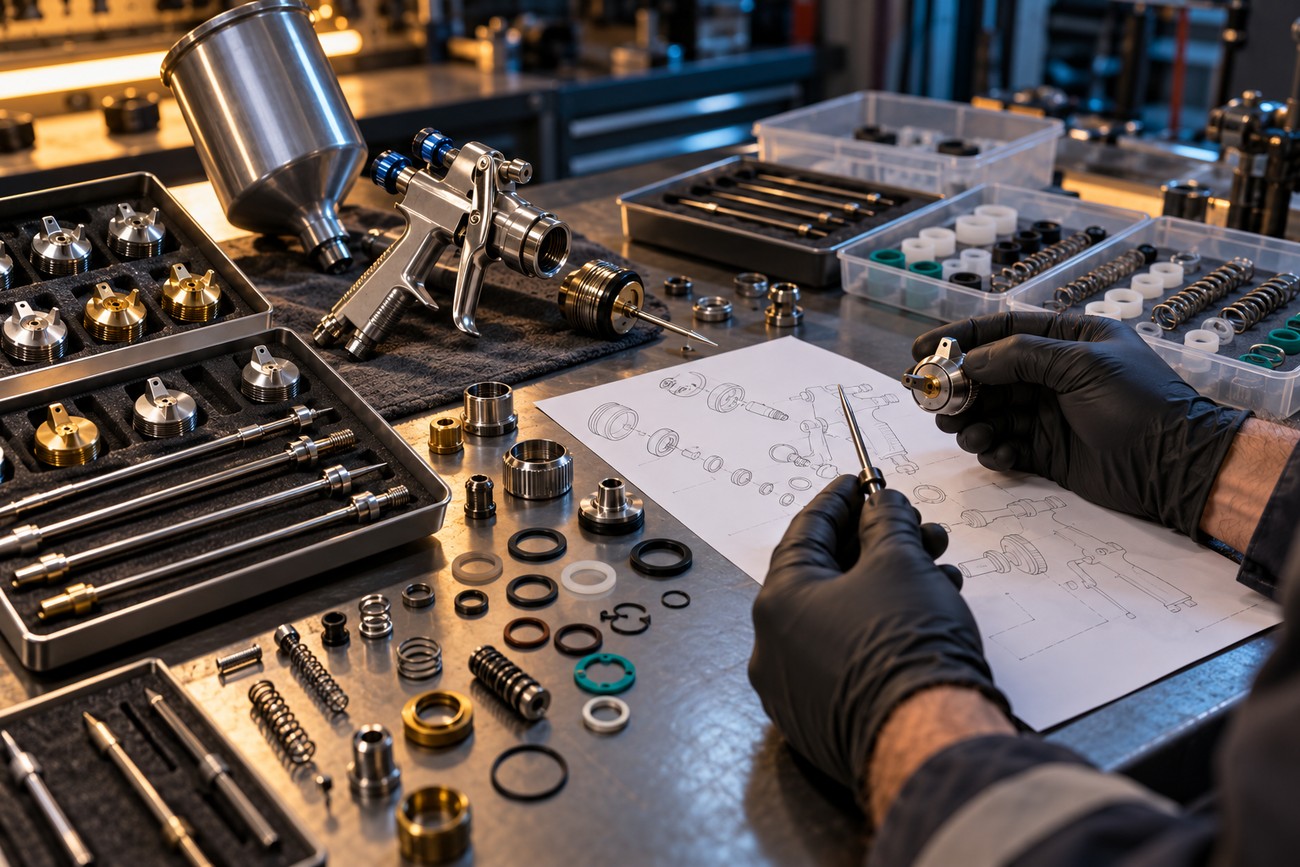
Identify the exact model, revision, fluid-nozzle size, needle, and air-cap configuration before opening the gun. The same model name may cover several generations with different seals, threads, or fluid components. Record markings from the gun and compare them with the manufacturer’s parts diagram and the kit description.
Most branded service kits are intended for one complete rebuild of one specific spray-gun model. Extra rings, springs, or washers are common because a kit may cover a configuration range. Leftover parts do not prove that they fit another gun, another revision, or even another size within the same product family.
Critical geometry matters more than a plausible visual match. A mismatch of about 0.1 mm in a needle, nozzle, or air-cap relationship can noticeably affect atomization. Mixing a needle from one model with a nozzle from another can produce poor sealing, delayed fluid shutoff, spit, or an unstable fan.
Check chemistry as carefully as dimensions. NBR, or nitrite rubber, resists many solvent-based coatings but performs poorly with ketones and high acetone concentrations. Cheap universal kits may use a softer compound and provide little information about water-based coatings or aggressive solvents. If the manufacturer specifies OEM parts, that is the lowest-risk choice; correctly specified industrial seals can work for some users, while unknown aftermarket compounds carry more uncertainty.
Prepare the Workspace and Strip the Gun Without Damage
Work on a bright, clean surface with a solvent-safe tray, lint-free wipes, the correct spanners, and separate containers for removed parts. Place a light-colored sheet under the gun so small springs, washers, and damaged edges are easy to see. Photograph each stage before removing the next component, including the orientation of seals and springs.
Flush and blow out internal threads and seating surfaces before fitting new parts. Dried coating behaves like an abrasive under a seal or nozzle and can prevent accurate seating. Do not force a part that has bonded to old material; use the manufacturer’s removal method and a correctly sized wrench to protect the threads.
Manufacturers such as SATA, DeVilbiss, and Iwata prohibit prying rubber seals with metal objects. Use a plastic hook or a suitably soft tool. Thin drills and stiff wire are equally unsuitable for nozzle or air-cap openings because they can enlarge or deform precision holes and permanently change the fan pattern.
- Drain and isolate the gun, then remove external material and air fittings as directed by the manual.
- Photograph the assembly and lay parts out in removal order.
- Clean passages and threads with an approved solvent and controlled air pressure.
- Inspect every removed component before deciding what the kit should replace.
Install Seals, Needle, Nozzle, and Air Components Correctly
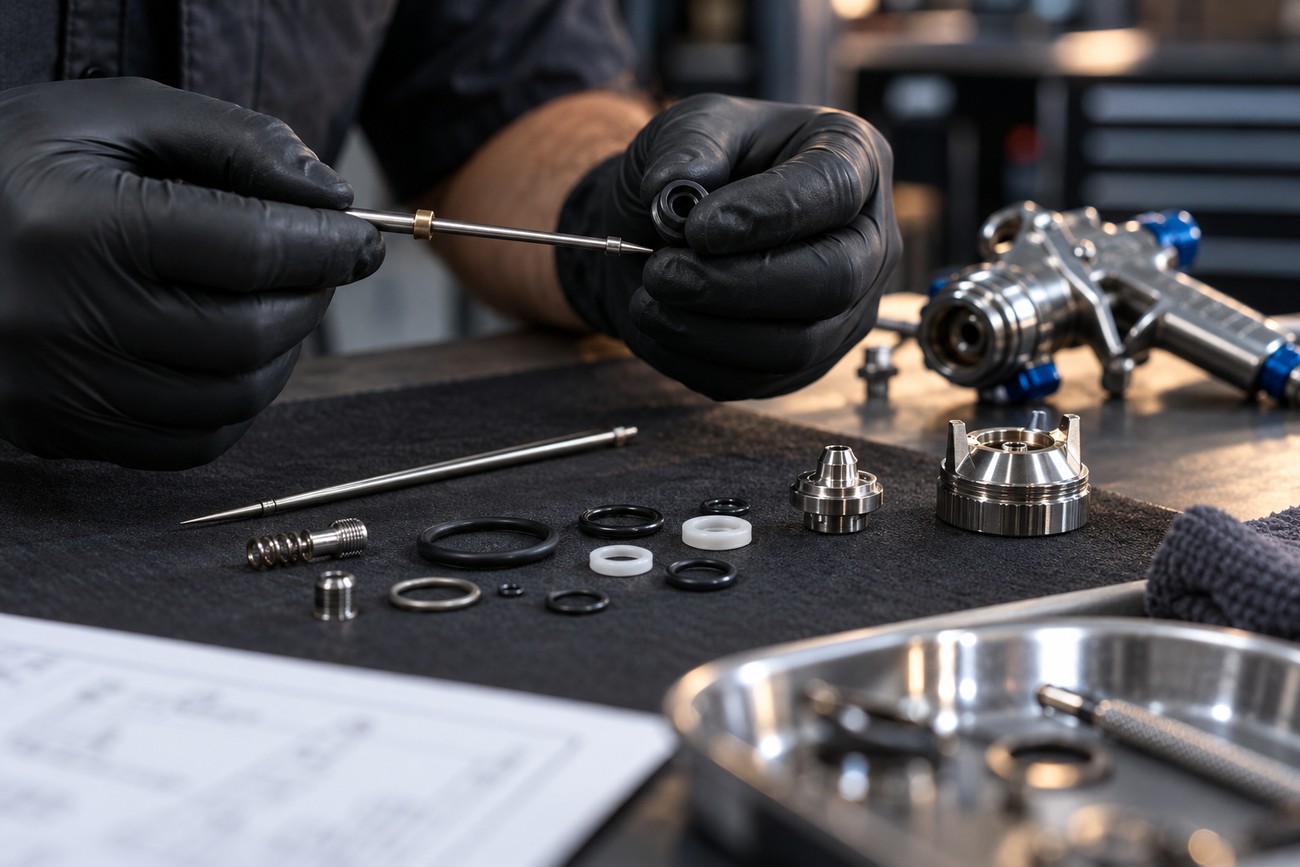
Inspect every replacement part under good light before installation. Look for burrs, cracks, molding marks, incorrect dimensions, and hardness that differs noticeably from the removed part. A seal that looks right can still be wrong for the coating system, so confirm its material, Shore hardness, and chemical resistance.
Measure removed O-rings with calipers or a micrometer when their condition allows it, then compare the result with the replacement’s material and hardness. A ring that merely looks similar can seal briefly and then swell, flatten, or leak.
Install seals in the same direction and position shown in the parts diagram. A reversed lip or pinched O-ring can cause air leakage under the trigger or material leakage around a regulator. Lubricate only compatible moving points with a low-viscosity spray-gun lubricant. Plumbing grease, heavy lithium grease, and copper grease can restrict movement, attack seals, or contaminate the coating.
Use the manufacturer’s order for the fluid path and air components. Keep the needle, nozzle, and air cap as a matched configuration rather than combining parts from different brands or models. Even when threads engage, the tip angle, seat, and air passages may not align correctly, producing stripes, pulsing, or delayed fluid shutoff.
NBR is suitable for many solvent-based coatings, but its resistance is lower with ketones and high acetone concentrations. If the coating or cleaning solvent falls into that category, verify the specified elastomer before assembly. OEM replacement is the manufacturer’s position; a correctly specified industrial seal may be a reasonable alternative for some repairs, while a cheap unknown seal is a separate, higher-risk decision.
Torque the Fluid Nozzle and Reassemble Without Creating Leaks
Clean threads should engage smoothly by hand before the wrench is used. Fit the correct wrench fully onto the nozzle or retaining part, keep the component square to its seat, and tighten gradually. Typical recommended tightening torque for the nozzle and needle on major brands is approximately 5–10 N·m; follow the exact manual when it gives a different value.
Repeated practitioner reports associate tightening above roughly 12–15 N·m with microcracks and distorted geometry. Excess force can damage the nozzle seat, stretch a thread, or make later removal hazardous. If a nozzle will not seat cleanly at the specified torque, stop and find the contamination, wrong part, or damaged thread instead of tightening further.
After installing the needle, operate the trigger gently and confirm that it returns freely without scraping or sticking. Check that the needle closes the fluid path before adding material. Refit the air cap and retaining ring evenly; a cap that sits off-center can create an asymmetric fan even when the nozzle is correct.
Siphoning or leakage beneath the trigger or regulator usually points to an incorrectly oriented, pinched, contaminated, or incorrectly sized seal. Recheck the seal against the diagram and inspect its groove rather than applying more lubricant or tightening an unrelated adjustment. A complete rebuild also requires servicing the material and air channels, not merely replacing the externally visible parts.
Test, Tune, and Diagnose the First Spray After Rebuild
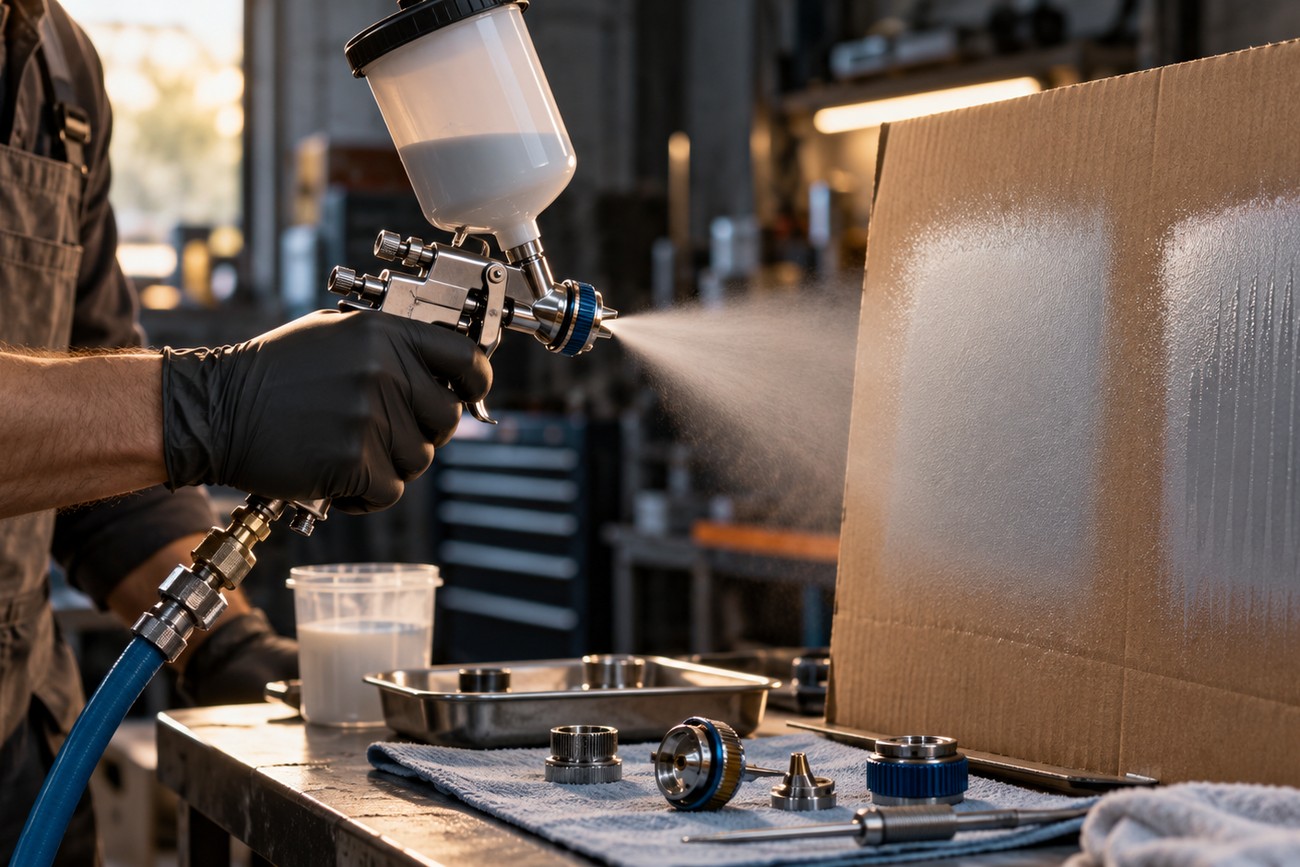
A rebuilt gun is not automatically factory-tuned. Reset the fluid, fan, and air regulators to known starting positions, confirm the air supply, and use a compatible solvent or coating for the first check. Spray onto cardboard or a test panel before approaching a finished surface.
Look at the shape and wetness of the test pattern as well as the trigger response. Stripes can indicate blocked air-cap holes, residue, a damaged cap, or incorrect needle-nozzle alignment. Spitting may come from contamination, an imperfect fluid seal, or a component mismatch. Delayed fluid shutoff often points to needle movement, seal friction, or an incorrect spring or washer position.
Clean the cap and nozzle by approved methods and repeat the test after each correction. Do not use a drill or stiff wire to chase a small opening. If the pattern remains asymmetric after correct cleaning and adjustment, inspect the air-cap geometry and the hard seating surfaces rather than fitting another O-ring at random.
A service kit does not remove wear from the body, threads, needle seat, or air cap. A gun that still leaks or sprays unevenly after a careful rebuild may need a damaged hard part replaced. Continuing to adjust a distorted component can waste coating and hide a fault that will return during production.
How Long the Rebuild Should Last and What Usually Goes Wrong
Forum-based guidance places typical service-kit life at about 6–12 months with daily professional use and up to 2–3 years in hobby use. These are practical ranges, not guarantees. Solvent exposure, cleaning quality, trigger frequency, and the condition of the gun itself can shorten or extend service life.
Some aftermarket kits use softer rubber and may last less than OEM parts, especially with aggressive solvents. Other kits contain only commonly replaced seals rather than every part required for a complete restoration. Check the contents against the parts diagram before assuming that a missing spring, seat, or gasket is unnecessary.
The same-size O-ring is not automatically suitable. Material, Shore hardness, and chemical resistance must match the coating and cleaning system. A visually correct ring may swell in solvent, flatten under compression, or create a small air leak that changes atomization.
The claim that a service kit makes every gun new is also misleading. A careful rebuild can restore sealing and movement, but it cannot restore worn metal geometry. Clean the gun promptly after use, keep incompatible solvents away from seals, and replace hard parts when inspection shows damage rather than repeatedly rebuilding around the defect.
Frequently asked questions
How can I tell whether a rebuilt gun needs another seal or a replacement hard part?
Start with a clean gun and repeat the test after resetting the regulators. If leakage moves or disappears when a correctly sized seal is replaced, the seal was the likely fault. Persistent leakage after correct installation points toward a damaged groove, seat, thread, or body surface.
An asymmetric fan that remains after cleaning and adjustment is a hard-part warning, especially when the air-cap holes, nozzle edge, or needle seat show distortion. Replace the damaged component rather than stacking new seals onto a damaged surface.
Should a spray gun be rebuilt on a fixed calendar or only when symptoms appear?
Use condition and workload together. Daily professional use, aggressive chemistry, poor cleaning, and visible seal swelling justify closer inspection than occasional hobby use with mild materials. A calendar can prompt inspection, but it should not replace checking trigger movement, leakage, and seal condition.
Keep a simple service record showing the coating system, cleaning solvent, and parts replaced. This reveals whether a seal is failing because of age, chemistry, or contamination and helps set an interval suited to that gun.
How should I use a spray-gun repair kit?
Use it as a model-specific parts set, not as a box of interchangeable rings. Verify the revision, compare every part with the diagram, document disassembly, clean both passages, and test the assembled gun on a test surface before production.
What are common problems with spray guns?
Common faults include air or material leaks, a sticking trigger, spitting, an uneven fan, delayed fluid shutoff, and poor atomization. Their causes range from residue and incorrect adjustment to damaged seats, blocked air-cap holes, wrong seals, and mismatched precision parts.
Can I make a DIY spray gun?
A homemade sprayer may be suitable for limited, non-critical work, but it will not provide the controlled nozzle, air-cap geometry, sealing, and serviceability of a manufactured spray gun. For coatings that require a consistent finish, rebuilding a compatible commercial gun is the safer and more predictable route.







