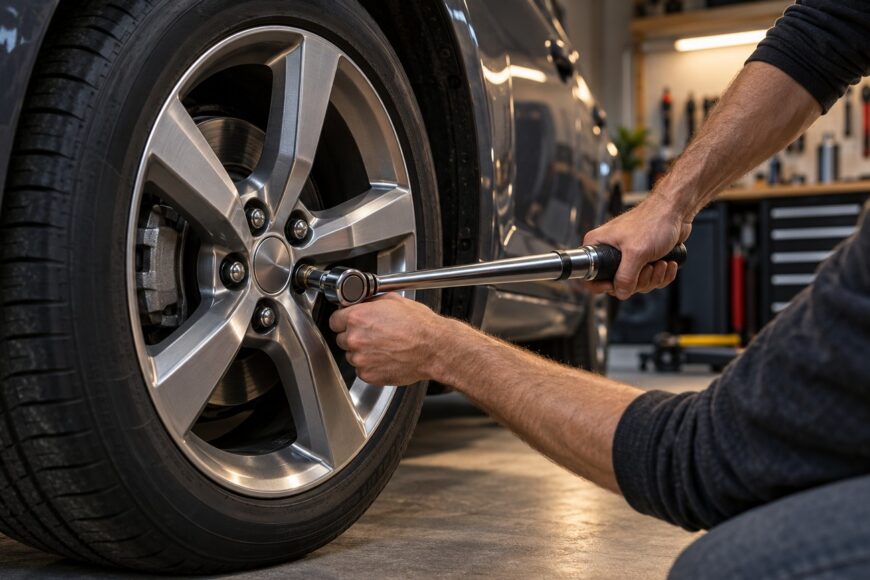
Loose lug nuts can allow a wheel to shift or separate from the vehicle. Over-tightening creates a different hazard: it can stretch studs or bolts and damage wheel seats, hubs, or brake components. Safe wheel installation depends on both the specified torque and an order that lets the wheel seat evenly against the hub.
A familiar number from a torque chart is no substitute for the specification for your vehicle and wheel assembly. Before tightening, confirm that the hardware fits, clean the mating surfaces, and use a calibrated torque wrench for the final pass. Those checks matter as much as the number on the wrench.
- Why the Right Torque Is Not One Universal Number
- How to Find the Correct Lug Nut Torque
- The Correct Lug Nut Tightening Order
- A Practical Torque-and-Retorque Procedure
- What Goes Wrong: Loose, Over-Tightened, or Poorly Seated Wheels
- Torque Guidance by Thread and Wheel Type
- Myths That Cause Wheel-Fastener Problems
- Frequently asked questions
- What is the lug nut rule?
- Why does my wheel still vibrate after the lug nuts were torqued correctly?
- What is the correct order to tighten lug nuts?
Why the Right Torque Is Not One Universal Number
Approximately 80–140 N·m covers many passenger cars, but the exact vehicle-manufacturer specification controls. Some SUVs and crossovers specify approximately 130–140 N·m or more. Remembering 100 N·m as a rule for every car can therefore leave one wheel under-tightened and another over-tightened.
Torque creates clamping force through the threads and the contact between the nut or bolt and its seat. Thread size, fastener material and strength class, and wheel design all affect that relationship. Typical M12–M14 steel fasteners appear at approximately 85–100 N·m in conservative technical tables, but that is a reference range, not a vehicle specification.
Wheel material alone does not determine the setting. Stamped, cast, and other wheel designs may have different specified values because their seats and approved hardware differ. GOST R and ISO 16047 govern or support torque–tension testing; they do not establish one universal wheel-fastener torque.
Open service tables for the same model can differ by approximately 20–30 N·m. If two charts disagree, use the specific owner’s manual or manufacturer service information, and confirm that it applies to the wheels and fasteners being fitted.
How to Find the Correct Lug Nut Torque
Start with the owner’s manual or manufacturer service information for the vehicle. Look for instructions tied to the installed wheel and fastener arrangement, including any direction about dry threads or the stage at which final tightening is done. A generic chart is useful for recognizing an unusual figure, not for replacing the vehicle-specific specification.
Next, check the parts you can see. The nuts or bolts must have the correct thread, seat shape, and length for the wheel and hub. A tapered nut against a seat designed for different hardware can appear tight while applying load in the wrong place.
Aftermarket wheels need another check: confirm their approved fasteners and torque requirements with the wheel supplier or vehicle manufacturer. Nonstandard nuts, bolts, washers, or lengths can change how the joint carries load. Do not assume the original hardware remains suitable simply because its threads engage.
If the correct specification or hardware compatibility remains unclear, resolve it before driving. Choosing the midpoint of conflicting tables does not establish that the wheel is safely clamped, particularly where the wheel type or seat geometry has changed.
The Correct Lug Nut Tightening Order
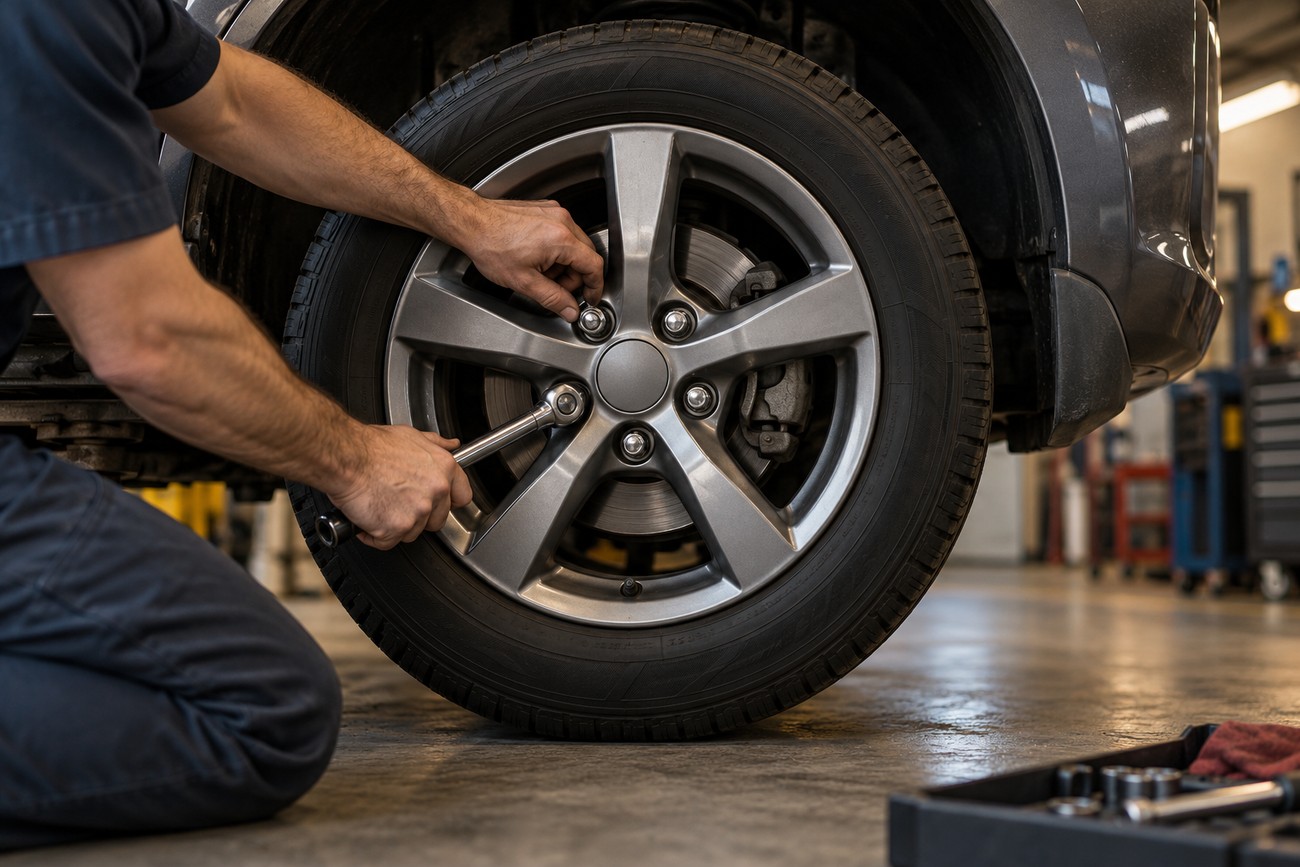
Use a star or crisscross sequence rather than tightening clockwise around the wheel. Moving across the wheel draws it against the hub more evenly. Tightening adjacent fasteners to full torque one after another can hold the wheel slightly off-center or unevenly against its mounting face.
On a five-fastener wheel, number the positions clockwise and follow 1–3–5–2–4. On a six-fastener wheel, use opposite pairs: 1–4–2–5–3–6. The patterns differ, but both avoid working around the rim in a circle.
First snug every fastener in the star or crisscross order while keeping the wheel seated. Then make a pass at approximately 50% of the specified torque, followed by a pass at the full specified torque in the same order. Follow a different staged procedure if the vehicle manufacturer requires one.
The final number is meaningful only if the wheel is sitting flat against the hub. A torque wrench can reach its setting even when dirt or a mismatched seat is preventing proper contact, so the tightening pattern and surface preparation work together.
A Practical Torque-and-Retorque Procedure
With the vehicle safely supported as directed for the work, remove rust, dirt, and scale from the hub face and the wheel’s mating face. The surfaces need to meet flat; debris trapped between them can prevent full contact during tightening and may settle after the vehicle is driven. Inspect the wheel holes and seats for damage before refitting the wheel.
Inspect the threads and mating seats on every nut, bolt, and stud. Replace damaged hardware as required rather than forcing a fastener into place. Start every fastener by hand so you can detect cross-threading before a tool applies substantial force.
An impact wrench can run a fastener down quickly, but its stopping point is not a reliable final-torque check. Leave the final tightening until the wheel is seated, and use a calibrated torque wrench for that pass.
Snug the fasteners across the wheel, then use the staged tightening sequence. Follow the manual’s instruction on whether final torque is applied with the wheel supported or with the vehicle on the ground. If it calls for ground-level tightening, lower the vehicle as instructed before the final pass; avoid letting the wheel turn while applying torque.
Check the fasteners again after approximately 50–100 km, particularly after fitting new or nonstandard wheels, unless the manufacturer gives a different instruction. Use the specified setting and sequence rather than adding an extra pull for reassurance. If a fastener has lost tension, investigate the seating surfaces and hardware instead of repeatedly tightening it.
What Goes Wrong: Loose, Over-Tightened, or Poorly Seated Wheels
Under-tightened fasteners can loosen as the wheel moves against the hub. Knocking, a change in handling, or visible movement calls for a safe stop and inspection; continued driving risks losing wheel retention. A routine torque check after installation can catch a developing problem before those symptoms appear.
Over-tightening can stretch or break studs, damage threads, and deform wheel seats. In more severe cases, it may crack a wheel or contribute to brake-disc runout problems. A fastener that feels difficult to remove later may also have been damaged, so forcing it harder without inspection can make the repair larger.
A poorly seated wheel can vibrate even when a wrench reached the specified torque on every fastener. Corrosion between the wheel and hub, an uneven tightening sequence, or incompatible seats can leave contact uneven and load parts of the joint differently. Remove and inspect the assembly rather than trying to cure the vibration with more torque.
Lubricant, anti-seize, or copper compound on the threads or tapered seats changes the torque-to-clamp-load relationship. Applying a dry-torque specification to a lubricated assembly can create excessive clamping force. Keep those areas in the condition specified by the manufacturer; do not invent a lubricant correction factor.
An impact wrench without a controlled limiter and final torque-wrench verification can leave a large, inconsistent spread of torque values. Even a torque wrench that clicks at the specified setting does not prove an impact-tightened fastener was not already over-tightened. If excessive tightening is suspected, the hardware needs proper inspection.
Torque Guidance by Thread and Wheel Type
These figures are reference guidance only. The specification for the particular vehicle, wheel, and approved hardware takes priority.
| Application | Indicative torque | Limit of the figure |
|---|---|---|
| Many passenger cars | Approximately 80–140 N·m | A broad range, not a setting for an individual vehicle. |
| Typical M12–M14 steel fasteners | Approximately 85–100 N·m | A conservative reference range in technical tables, not a universal vehicle specification. |
| 12×1.5 fasteners with stamped wheels | Often approximately 100–110 N·m | Published guidance; verify against the vehicle and wheel specification. |
| 12×1.5 fasteners with cast wheels | Often approximately 110–120 N·m | Published guidance; verify against the vehicle and wheel specification. |
| Some SUVs and crossovers | Approximately 130–140 N·m or more | Use the value specified for the particular model. |
Two rows can describe the same thread size yet show different ranges because thread size does not describe the whole joint. Wheel seats, approved fasteners, and the vehicle design still have to match before a torque figure is usable.
Myths That Cause Wheel-Fastener Problems
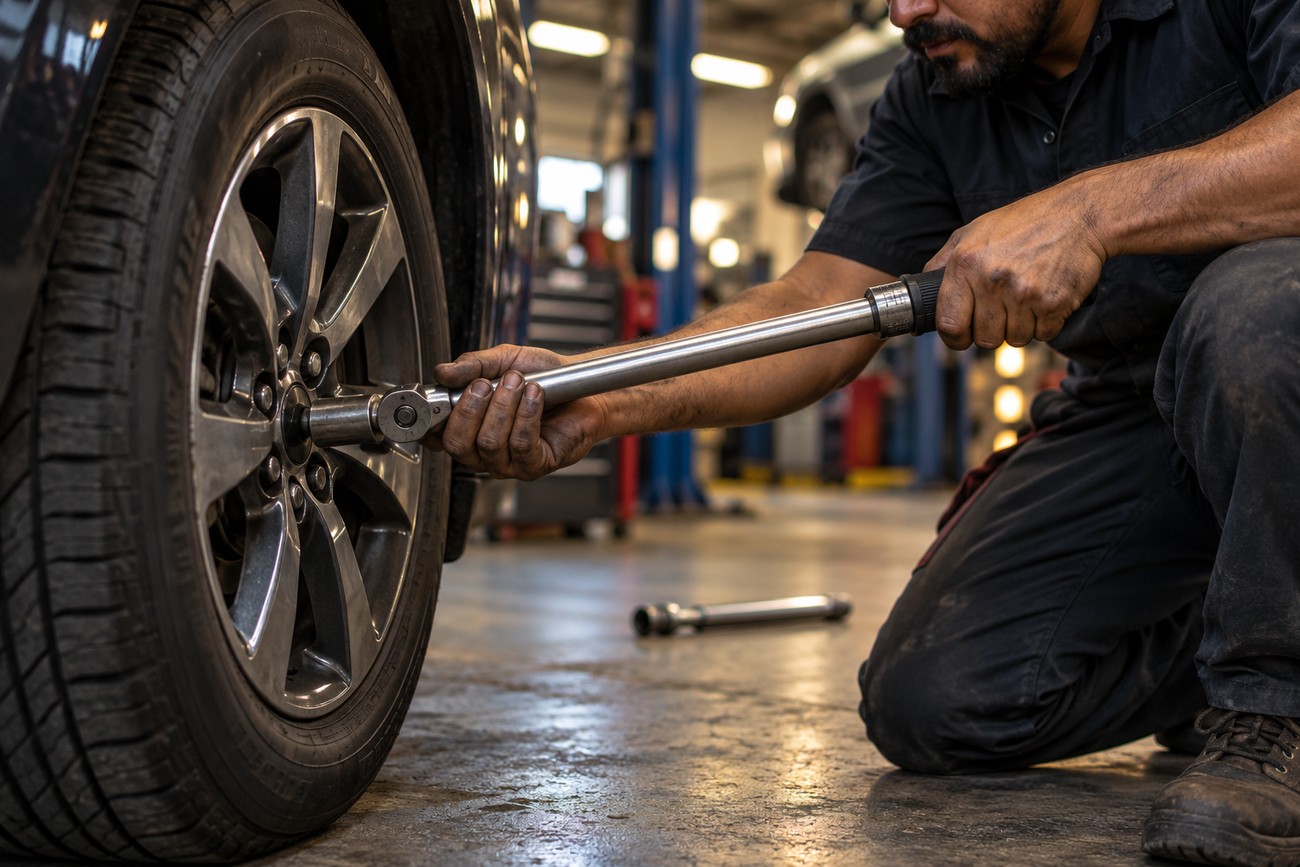
“Every passenger car takes 100 N·m” is an unreliable shortcut. Vehicle specifications can span approximately 80–140 N·m or more, so use the figure for the specific assembly. A memorized value cannot account for different wheels and hardware.
“Tighter is safer” reverses the purpose of a specification. Excessive preload can damage studs, wheels, hubs, and brake components, while making a future wheel removal difficult. Stop at the specified torque rather than applying an extra pull.
“A professional impact wrench is automatically accurate” confuses tool speed with torque control. Its output must be controlled, and final tightening must be verified with a torque wrench. The fact that a shop fitted the wheel does not remove the need for that check.
“Order does not matter if the final torque is right” overlooks wheel seating. A circular tightening pass or contamination on the hub can leave uneven contact even when each fastener reaches the wrench setting. Clean surfaces and a star or crisscross sequence address that separate problem.
Frequently asked questions
These short answers cover common decisions after a wheel has been fitted. If a wheel is loose, damaged, or vibrating significantly, stop safely and have the assembly inspected before continuing to drive.
What is the lug nut rule?
Start every fastener by hand, tighten across the wheel, and verify the final value with a calibrated torque wrench. This is a useful rule to remember when working at the roadside or reviewing a shop’s work: neither how tight a wrench feels nor an impact tool’s stopping point confirms the specified torque.
Why does my wheel still vibrate after the lug nuts were torqued correctly?
Correct fastener torque does not confirm that the entire wheel and tire assembly is sound. Check for corrosion at the hub, poor centering, wheel or tire damage, and incorrect wheel balance. Also confirm that the fastener seats match the wheel. Increasing torque will not correct those faults and may damage the hardware.
What is the correct order to tighten lug nuts?
Work across the wheel in a star or crisscross pattern, completing each pass before moving to a higher torque setting. For five positions numbered clockwise, the order is 1–3–5–2–4; for six, it is 1–4–2–5–3–6. If the vehicle maker supplies a specific sequence, follow it.