
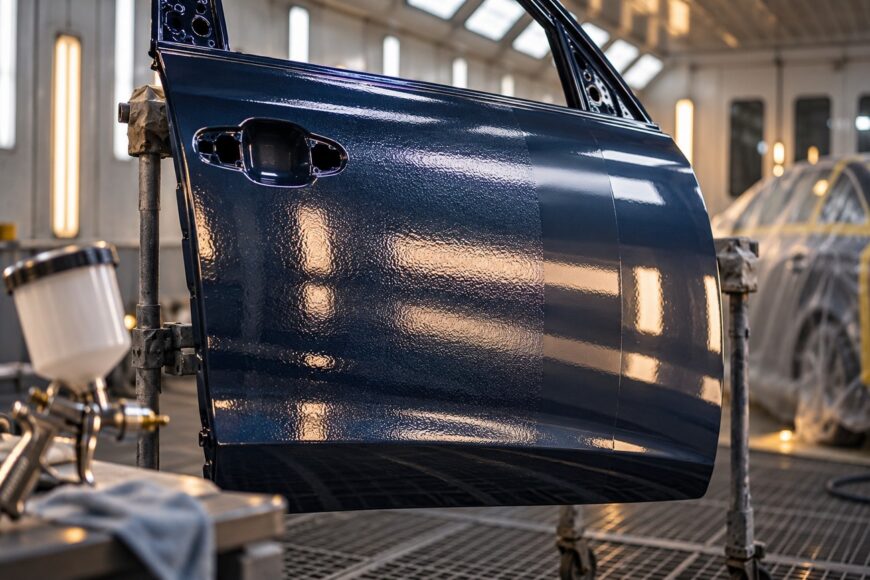
A smooth test spray followed by a rough full panel is one of the most frustrating paint failures. The material may appear correct, the gun may be new, and the small test piece may look glossy, yet a door or hood can develop coarse orange peel once the entire surface is covered.
Buying another gun or planning to polish the finish later usually misses the cause. Orange peel develops when the applied film does not level sufficiently before it sets. The aim is to give each coat enough time and fluidity to level without applying so much material that the film runs or traps solvent.
- Why Paint Develops Orange Peel
- Set Up the Paint and Gun for the Material You Are Spraying
- Keep Each Pass Wet Enough to Level, Not Heavy Enough to Run
- Control Panel Temperature, Airflow, and Flash Time
- Orange-Peel Symptoms and the First Variable to Check
- If Orange Peel Is Already There, Correct It Without Sacrificing the Finish
- Frequently asked questions
- How to stop orange peel effect when painting?
- Why do I keep getting orange peel in my paint?
- How to paint a car and avoid orange peel?
- How to fix orange peel when painting?
Why Paint Develops Orange Peel
Orange peel is visible coating texture formed when sprayed droplets do not flow together into a smooth film before the coating begins to set. Several variables contribute: material viscosity, atomization quality, solvent evaporation, surface tension, and deposited film thickness. One setting rarely explains every rough finish.
Material that is too viscous may leave larger droplets and resist leveling. Poor atomization can also create a coarse pattern, while a fast-evaporating reducer may allow the surface to set before the underlying film has flowed out. A heavy application creates a different risk: the surface may look wet, yet solvent entrapment or sagging can develop.
Spray pressure changes the result through atomization and overspray. Too little effective atomization can leave coarse droplets, while excessive pressure can produce dry overspray that lands with a rough texture. This is why increasing pressure is not a universal cure for orange peel.
A slight factory-like texture may be intentional and can help a repaired panel match surrounding original paint. Coarse texture across a repair is not automatically acceptable, however. ISO 4628-4 and ASTM D7793 describe orange peel as a deviation from a smooth coating surface, so judge the result against the required appearance and the surrounding finish.
Set Up the Paint and Gun for the Material You Are Spraying
Begin with the coating system’s technical data sheet. Its mixing ratio, compatible reducer or hardener, application conditions, and intercoat flash time are material specifications, not gun settings. A commonly repeated ratio or reducer choice can be wrong for a different product, temperature, or application method.
Check viscosity using the method specified for the product rather than relying on how the material feels while stirring. Automotive and industrial products are often sprayed in a working range around 18–22 seconds with a DIN4 cup under normal HVLP or conventional conditions, but that range is not a universal recipe. The coating manufacturer’s instructions take priority.
Select the nozzle and fluid setup for the product’s solids content and intended application. A thick primer, basecoat, and clearcoat do not necessarily need the same fluid tip. Adjusting the gun to compensate for an unsuitable nozzle can create a narrow operating window and make the finish sensitive to small changes in speed or distance.
Pressure must be checked at the location specified by the gun maker. Gun inlet pressure and HVLP air-cap pressure are different measurements, and their readings are not interchangeable. The gun maker’s specified value and measurement point matter more than copying a number from another gun.
Spray a test pattern on a suitable panel before committing to the vehicle or wall. Check fan shape, fluid distribution, atomization, and the appearance of the wet edge. A new or expensive spray gun still needs this test because equipment, material, hose length, nozzle setup, and measurement point all affect the result.
Keep Each Pass Wet Enough to Level, Not Heavy Enough to Run
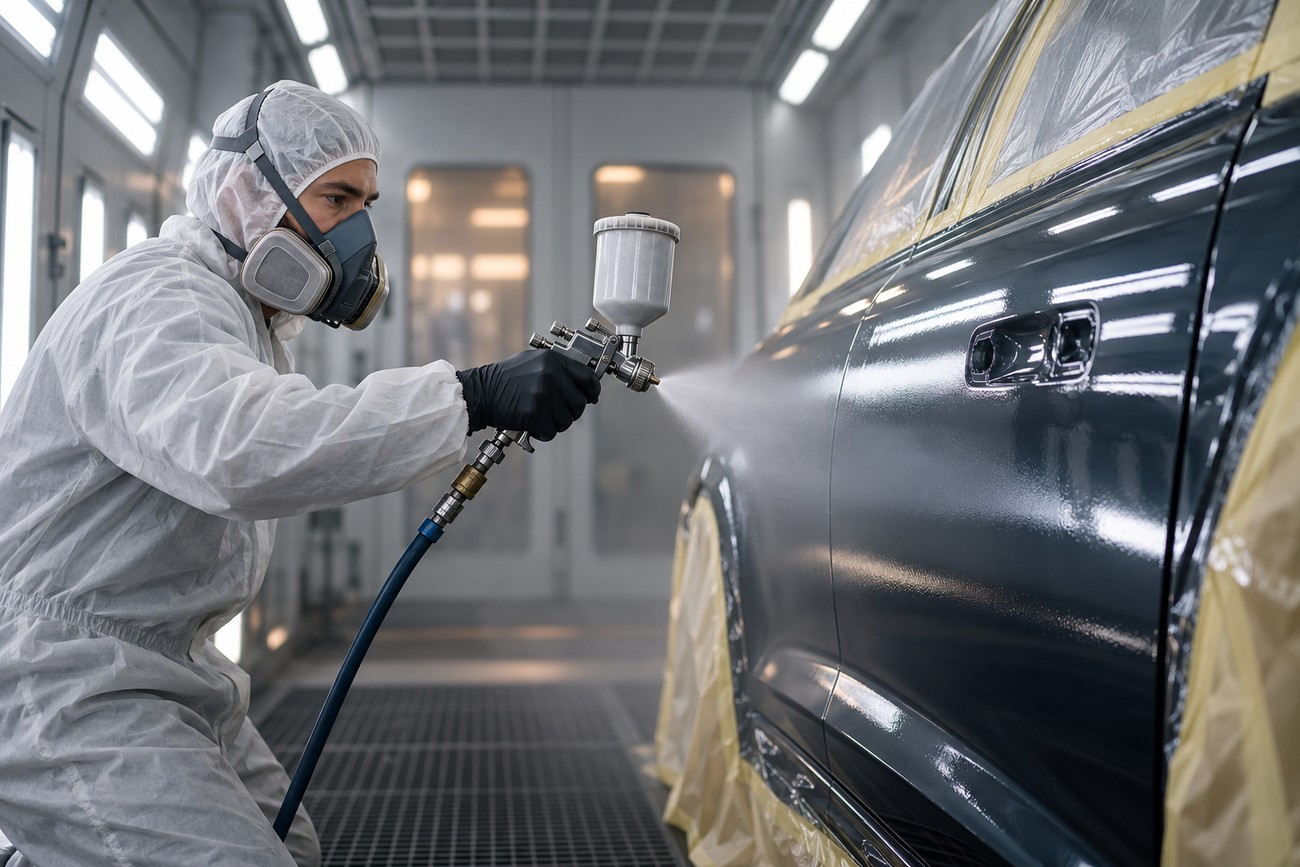
A consistent pass needs a steady gun distance, a perpendicular gun angle, even overlap, and a controlled travel speed. The exact distance and coat thickness depend on the gun, nozzle, product, and technical data sheet. Holding the gun too far away or moving too quickly can produce a dry pass that does not level.
A coat that lands too dry may leave a grainy surface because the droplets lose solvent before they merge. A heavy pass creates the opposite danger: runs, solvent entrapment, and delayed curing. The best appearance comes from a wet enough film with controlled build, rather than from simply slowing down or adding more material.
Keep the gun square to the panel through the stroke and maintain the intended overlap from one pass to the next. Tilting the gun changes the distance across the fan, so one side of the stroke can receive drier spray while the other receives excess material. These differences become visible as inconsistent texture under directional light.
A small test piece cannot fully predict what will happen across a door or hood. The gun may accelerate, the hose may pull, the panel may change shape, and the overlap pattern may drift over a longer stroke. During the full-panel pass, watch the wet edge and correct your technique before the next coat compounds the texture.
Control Panel Temperature, Airflow, and Flash Time
Panel temperature, air conditions, and evaporation rate determine how long the sprayed film can level. A hot panel or fast-evaporating reducer can shorten that period, allowing the surface to set before the droplets flow together. A cold panel can slow curing and create its own application risks, especially when the air and metal are at different temperatures.
Many product data sheets specify a working range from at least +10 °C to no more than +30 °C, but the coating system’s instructions govern the actual limits. Measure the panel as well as the surrounding air when conditions are marginal. Warm air over cold metal can produce behavior that does not match the room reading.
Ventilation must remove overspray and solvent without blasting the wet surface. Airflow that strikes fresh paint can accelerate evaporation at the surface and contribute to dry spray. This is a common problem in garages, tents, and temporary booths where a fan is aimed directly at the panel as a substitute for balanced air movement.
Use the specified intercoat flash time and wait until the surface reaches the condition described by the product instructions. Shortening the interval to work faster increases application risk. Reducer speed must also come from the technical data sheet; an improvised slow reducer or additive can alter curing, gloss, and compatibility even if it appears to improve leveling.
Keep the coating system complete and consistent. Mixing ratios, hardener choice, reducer choice, and flash time work together. A finish that seems to improve after an informal adjustment may still have weaker curing or later solvent problems.
Orange-Peel Symptoms and the First Variable to Check
Use the table as a diagnostic starting point rather than a definitive diagnosis. Confirm each change on a test area before altering the whole job.
| Observable symptom | Likely first check | Practical test | Unsafe assumption to avoid |
|---|---|---|---|
| Uniformly coarse texture across the panel | Material viscosity, nozzle setup, and atomization | Spray a test pattern and compare droplet breakup with the product’s specified setup | More pressure will always make the finish smoother |
| Dry or grainy edges of the fan | Gun distance, angle, overlap, and effective pressure | Make a short pass while watching whether the fan edges land wet enough to merge | The center of the fan represents the entire spray pattern |
| Smooth test piece but rough full panel | Consistency of speed, distance, overlap, and panel conditions | Repeat a longer test pass and observe the wet edge from the same lighting angle | The small test piece proves the whole panel will behave the same way |
| Texture returns after clearcoat | Texture in the underlying layer, clearcoat application, and flash conditions | Inspect each layer after the specified flash time before applying the next one | Another clearcoat layer will reliably hide unresolved texture |
If Orange Peel Is Already There, Correct It Without Sacrificing the Finish
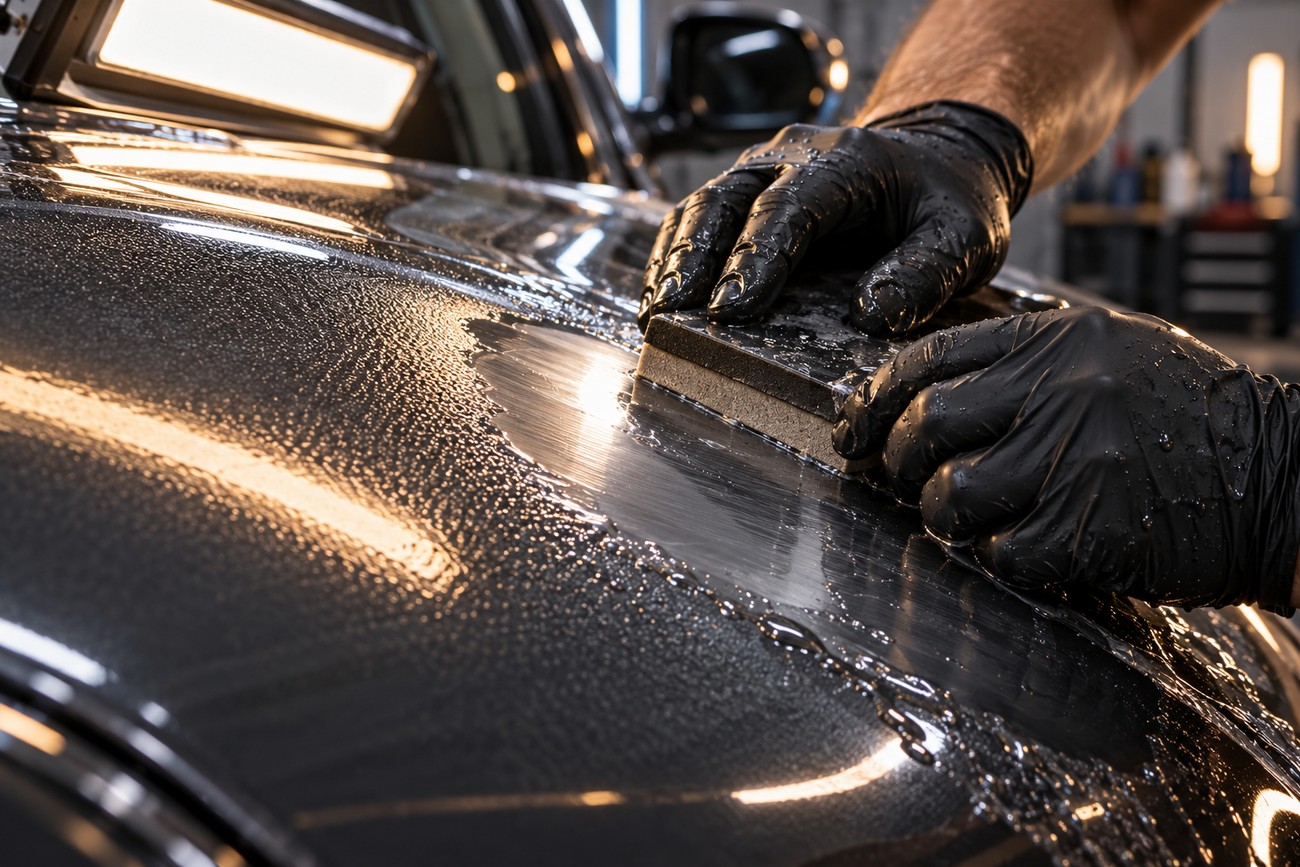
First identify which layer contains the texture. A cured clearcoat may be leveled and polished if enough clear remains and the product permits that repair. If the texture is in the color coat, sanding can expose the substrate or disturb effect pigments, so the coating system’s specified repair procedure is essential.
Leveling and polishing remove coating thickness. Aggressive correction can compromise the remaining clearcoat’s protection, even when the surface becomes visually smooth. Inspect the film carefully and avoid treating polishing as a way to recover unlimited material loss.
Spraying another clearcoat over unresolved texture does not reliably conceal it. The new film may follow the existing surface profile, making the defect visible again after curing. Clear should be applied only after the underlying layer meets the required condition for the next coat.
For the next application, correct the cause before correcting the appearance: confirm material preparation, pressure measurement point, atomization, panel temperature, airflow, and flash time. A repair plan should match the affected layer and the coating system, rather than applying the same sanding sequence to every paint defect.
Frequently asked questions
Preventing orange peel and correcting an existing finish require different decisions. Before spraying, focus on how the material lands and levels across the full panel. If texture has already formed, identify the affected layer before choosing a repair.
How to stop orange peel effect when painting?
Balance material viscosity, atomization, film wetness, evaporation, and application technique for the specific coating system. Start with the technical data sheet, then verify the gun’s nozzle and pressure at the manufacturer’s specified measurement point. Apply a controlled, even pass that can level before setting, and confirm the result on a test pattern before covering the full panel.
Lighting also matters during inspection. Soft light can make texture appear less severe, while directional light reveals it clearly. Check the finish under the lighting in which the vehicle, panel, or painted surface will normally be judged.
Why do I keep getting orange peel in my paint?
Repeated orange peel usually means one or more application variables are out of balance or changing between jobs or across the panel. Common causes include material that is too viscous, poor atomization, excessive pressure producing dry overspray, a fast evaporation rate, cold metal, direct airflow, or an inconsistent gun stroke.
Track the conditions instead of changing several settings at once. Record the material mix, reducer or hardener, panel temperature, gun setup, and flash condition, then change one variable and repeat the test pattern. This separates a material problem from a technique or environment problem.
How to paint a car and avoid orange peel?
Prepare the car and the coating system according to the product instructions, and treat each panel as a continuous spray operation. Keep the gun perpendicular, maintain consistent distance and speed, preserve even overlap, and avoid allowing the wet edge to become dry. The correct settings depend on the gun and coating, so a universal pressure or distance is unreliable.
Inspect the panel before moving to the next coat. Respect the specified flash time, especially when conditions are warm, cold, humid, or poorly ventilated. A slight factory-like texture may be intentional for a match, but coarse repair texture indicates that the application balance needs attention.
How to fix orange peel when painting?
Fixing orange peel depends on the textured layer. A suitable cured clearcoat can sometimes be leveled and polished if adequate film remains, while textured colorcoat or effect-pigment layers may require the coating system’s approved refinish procedure. Sanding and polishing remove material, so aggressive correction can reduce clearcoat protection.
Do not assume another clearcoat will hide the defect. It may reproduce the existing texture. Confirm the surface condition and remaining film, correct the application cause, and follow the manufacturer’s repair instructions before recoating.







