
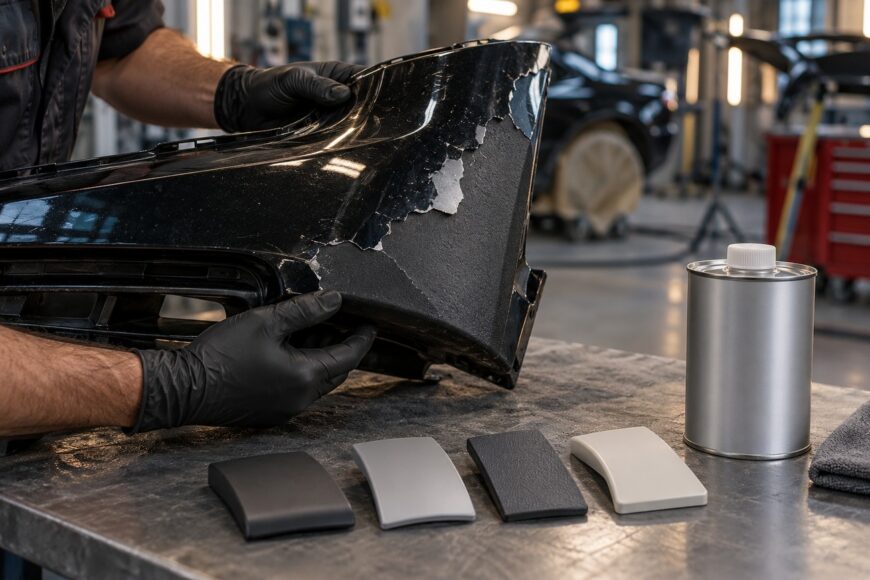
Paint can look sound until washing, flexing, or a light impact makes it peel in a sheet. On a bumper, the first failure often appears around an edge, recess, or opening, then spreads across the panel.
Plastic type, surface condition, promoter chemistry, film thickness, and recoat timing all influence the result more than a generic “for plastic” label. A reliable repair therefore starts with identifying the substrate and checking the coating system, rather than applying one universal recipe.
- Why Paint Peels Off Plastic Even When the Surface Looks Clean
- Identify the Plastic Before Choosing Primer or Paint
- Plastic Types and Promoter Compatibility: Read the TDS
- Prepare the Surface: Clean, Scuff, and Clean Again
- Apply Adhesion Promoter as a Thin, Timed Layer
- When Adhesion Promoter Is the Wrong Move
- Diagnose the Failure Before Repainting
- Build a Flexible, Fully Cured Finish
- Frequently asked questions
- What paint sticks to plastic without peeling?
- How long should I wait before washing a freshly painted plastic part?
- How to paint plastic without it peeling off?
- What paint permanently stays on plastic?
Why Paint Peels Off Plastic Even When the Surface Looks Clean
PP, PE, TPO, and EPDM are low-surface-energy plastics. Coatings have difficulty wetting and bonding to these surfaces, so they commonly require a dedicated polyolefin adhesion promoter. The correct product creates a chemically compatible bridge between the plastic and the coating system.
Clean-looking plastic can still carry grease, silicone, molding residue, or traces of release agent. Water-only washing may leave these materials behind, while a glossy surface gives the coating too little mechanical key. An adhesion promoter cannot compensate for contamination, sanding dust, or untreated gloss.
Peeling after washing often points to weak initial bonding or a contaminated surface. Peeling that begins at a corner or recess can indicate incomplete scuffing or an uncoated return area. Flexing adds another failure point because the coating must move with the part.
A rigid paint system can crack or peel on a flexible plastic part even when initial adhesion appears acceptable. The promoter, primer, color coat, and clear coat must work as one compatible flexible system, with each layer applied at the thickness and timing specified by its manufacturer.
Identify the Plastic Before Choosing Primer or Paint
Look for a resin marking on the back or reverse side of the part. Common markings include PP, PE, TPO, and EPDM. This information is more useful than choosing a primer solely because its label says “for plastic.”
The marking may be molded into a flange, mounting area, or hidden return. Remove dirt carefully so the code is readable, and inspect the part before sanding. A bumper identified as PP or TPO should be assessed with a polyolefin-compatible system rather than treated like ABS or polycarbonate.
If no marking is available, treat the substrate as uncertain. Test the proposed cleaner, promoter, primer, and topcoat on a small hidden area. The test should include drying, flexing, and a cautious tape check after the system has cured according to its instructions.
“For plastic” on a label does not prove compatibility with every resin. Product limitations can appear only in the technical data sheet, where the manufacturer may exclude PE, pure PP, polycarbonate, or another specific plastic.
Plastic Types and Promoter Compatibility: Read the TDS
The resin marking narrows the choice, while the product technical data sheet controls the final decision. The examples below show why a promoter or primer should never be selected from a broad label alone.
| Plastic marking | Surface-energy concern | Promoter or product warning | Required decision |
|---|---|---|---|
| PP | Low surface energy | A dedicated polyolefin promoter is commonly required. AP200 is specified for PP, while Valspar 80-60 prohibits pure PP. | Check the exact TDS before use; do not treat every plastic primer as compatible. |
| PE | Low surface energy | A dedicated polyolefin promoter may be required. Valspar 80-60 prohibits PE. | Confirm that the product specifically permits the PE substrate. |
| TPO | Low surface energy | AP200 is specified for TPO and other plastics. | Follow the product TDS and apply only after proper cleaning and scuffing. |
| EPDM | Low surface energy | Compatibility varies by formulation and coating system. | Verify the resin and run a hidden-area test if the TDS is unclear. |
| Polycarbonate | Compatibility depends on solvent and coating chemistry | AP200 is prohibited for polycarbonate. | Use a system specifically approved for polycarbonate and follow its TDS. |
Specialized polyolefin promoters use chemically compatible resins for difficult low-energy plastics. Marketing may say “for all plastics,” while the TDS restricts PE, PP, polycarbonate, or other specific resins. The TDS controls the decision.
Product claims can therefore appear to conflict without either label being universally applicable. AP200 is specified for PP, TPO, and other plastics but is prohibited for polycarbonate; Valspar 80-60 prohibits PE and pure PP. Those limits are practical selection data, not minor footnotes.
Prepare the Surface: Clean, Scuff, and Clean Again
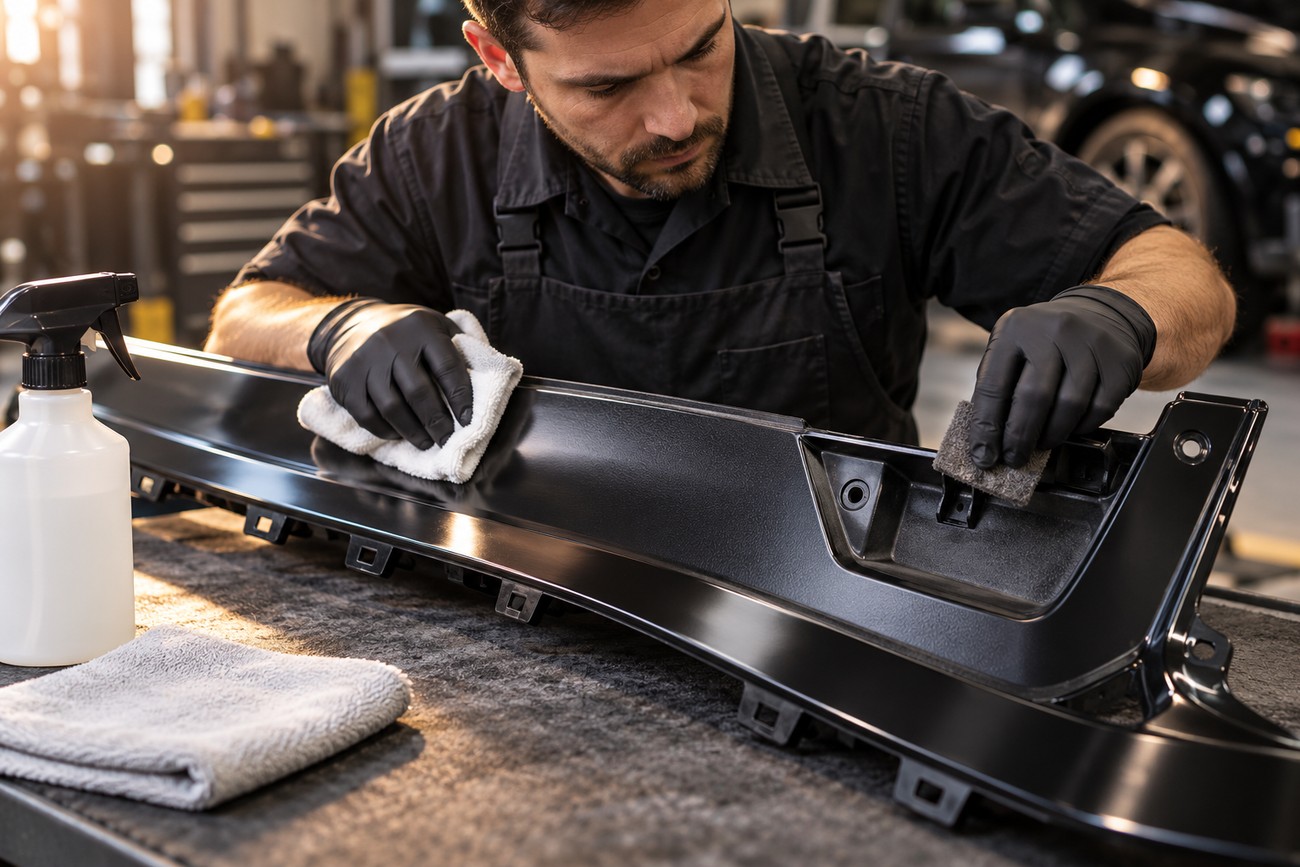
Begin by removing dirt, grease, silicone, and molding release agents with a cleaner suitable for the plastic and coating system. Water-only washing may leave release agents behind. Sanding a contaminated surface can spread the residue across the part and press it into the surface.
After degreasing, scuff the surface evenly with a gray abrasive pad. Work into corners, openings, recesses, edges, and mounting areas. These zones often remain glossy while the visible face looks ready, creating a weak perimeter from which peeling can start.
Edges, holes, recesses, and hidden return areas deserve the same coating preparation as the visible face because a missed strip can become the first path for water and flexing to lift the finish.
Clean again after abrasion to remove sanding dust and any compound residue. Use the final cleaning method specified by the coating system, allow the part to dry fully, and inspect it under angled light. The surface should be uniformly dull and free of fuzzy fibers, residue, and shiny islands.
Over-sanding can make some plastics look hairy or fuzzy. Those raised fibers remain visible through the finish and can weaken the surface layer. Use enough abrasion to remove gloss, then stop before the plastic texture becomes damaged.
Apply Adhesion Promoter as a Thin, Timed Layer
Apply promoter as a light, even film. A flooded coat can dry unevenly and become a weak intermediate layer, especially on a flexible part. Coverage should be continuous without runs, pooling, or visibly wet buildup.
For AP200, the typical procedure is two light coats with 2–5 minutes between coats. Do not apply it as a heavy wet coat. Primer or color should be applied within 30 minutes after AP200, unless the current product instructions specify a different procedure.
Flash, recoat, and full-cure times are product-specific. Temperature, humidity, film thickness, and ventilation can affect drying, so one promoter’s timing cannot be treated as universal. Keep the technical data sheet available during the job rather than relying on memory from another aerosol.
Apply the next compatible layer within the stated window and avoid handling the promoter more than necessary. If the window is missed, follow the manufacturer’s correction procedure; adding another unplanned layer can create solvent or intercoat problems.
When Adhesion Promoter Is the Wrong Move
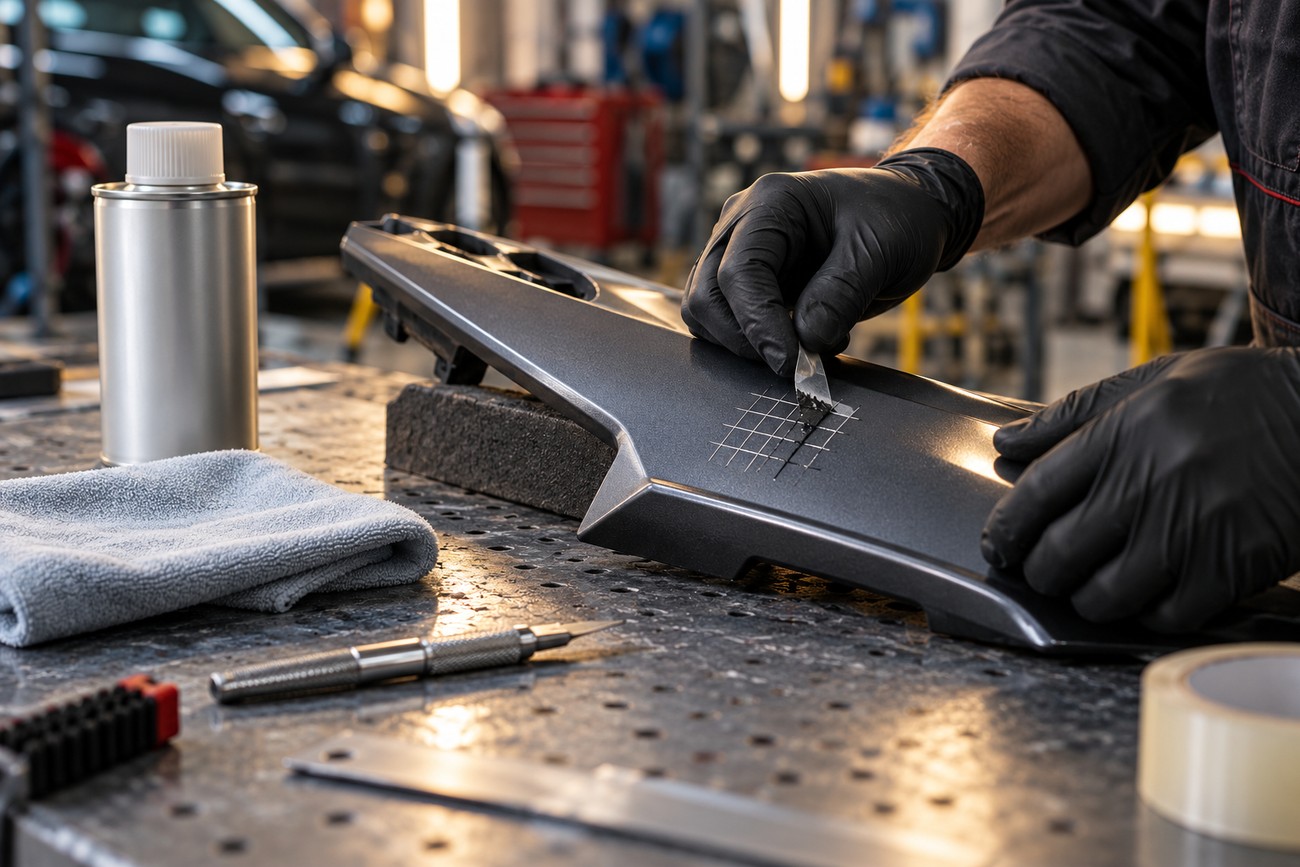
An already primed or painted part must be judged by the condition and adhesion of its existing coating. Raw PP or TPO may require a promoter, while a sound, compatible existing finish may need only cleaning, abrasion, and the approved subsequent layers.
Applying promoter over old paint “just in case” can introduce incompatibility. Solvents may soften the old film, cause wrinkling, or reduce adhesion between layers. A promoter intended for plastic can also be unsuitable over a particular primer or refinish coating.
Inspect for lifting, cracking, poor edge adhesion, and areas that can be removed with controlled abrasion. If the old coating is weak, coating over it transfers that failure into the new finish. If it is sound, follow the system TDS for preparation and recoating rather than adding an unapproved promoter.
Test the complete proposed sequence on a hidden area first. Include the existing coating, promoter if planned, primer, color, and clear coat. Allow the test to dry and cure as directed, then check for softening, wrinkling, lifting, and poor tape-test adhesion before committing to the full part.
Diagnose the Failure Before Repainting
Sheet-like peeling after washing, flexing, or a light impact usually points to poor substrate preparation, unsuitable promoter chemistry, or an incompatible coating stack. A surface can appear clean and still fail if grease, silicone, molding residue, or sanding dust remains.
Failure at recesses, corners, openings, or edges usually indicates incomplete scuffing or coverage. Rework those areas deliberately rather than adding another coat over the visible face. PP and TPO commonly require a dedicated polyolefin promoter after proper preparation.
A fuzzy texture means the plastic was over-sanded or the abrasive action raised fibers. Poor tape-test adhesion can also result from applying the wrong promoter, using a product outside its TDS limits, or testing before the coating has cured. A universal plastic label does not override those restrictions.
Wrinkling, softening, or lifting between aerosol layers points toward solvent or system incompatibility, excessive film build, or incorrect timing. Sanding alone is not always enough for low-energy plastics, any plastic primer is not automatically suitable, and a thicker promoter layer can weaken the coating stack.
Build a Flexible, Fully Cured Finish
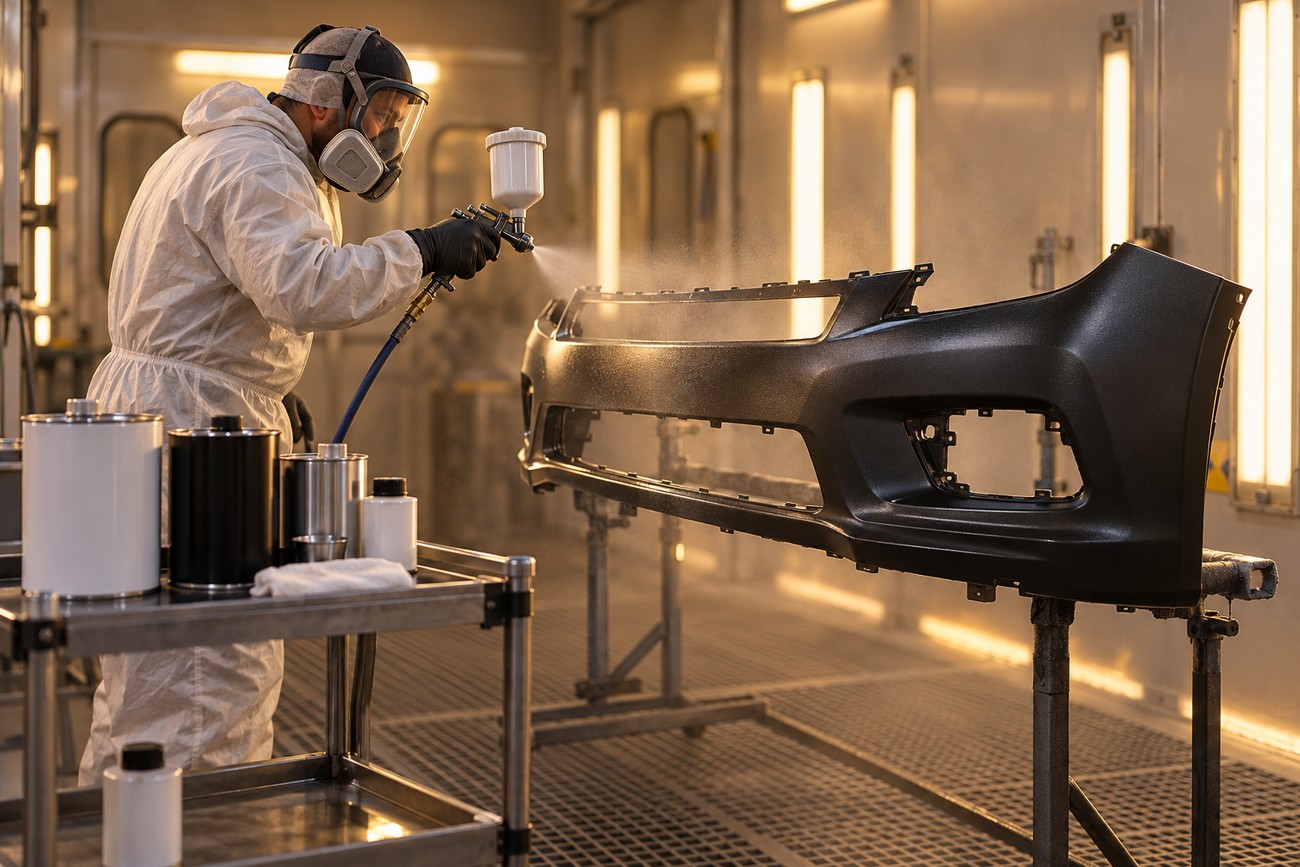
Before spraying, confirm that the promoter, primer, color, and clear coat are compatible with the identified plastic and with one another. A flexible part needs a compatible flexible coating system. Strong initial adhesion cannot prevent a rigid film from cracking during repeated flexing.
The part should be dry, warm enough for the product, and free of contamination. Painting a cold, damp, or dirty surface increases the risk of poor wetting, trapped moisture, slow drying, and intercoat failure. Keep the part in stable conditions throughout application and early cure.
Apply each layer at the specified film build and respect the product’s flash and recoat instructions. Heavy coats can trap solvent and extend cure, while excessive or incorrect time between layers can contribute to poor intercoat adhesion.
Dry to the touch does not mean fully cured. Evaluate adhesion, flexibility, and wash readiness only after the system’s full cure process. Recoat and cure instructions are product-specific, so use the complete coating system’s guidance rather than a universal waiting period.
Frequently asked questions
The questions below cover product selection, washing, application, and durability. In each case, compatibility and full cure matter as much as the paint itself. Check the complete coating system’s instructions before proceeding.
What paint sticks to plastic without peeling?
The most durable choice is a compatible coating system: the correct promoter where required, a suitable primer, and a flexible topcoat for a flexible part. Paint alone cannot compensate for contamination, an unsuitable resin match, excessive film thickness, or a weak existing coating.
Check the plastic marking and the TDS for every layer. If the resin or old coating is uncertain, a hidden-area test is safer than relying on a broad “for plastic” claim.
How long should I wait before washing a freshly painted plastic part?
Wait until the complete coating system has reached the full cure stated by its manufacturer. A surface that feels dry can still contain solvent and lack the hardness or intercoat strength needed for washing.
Use the system’s cure instructions rather than a universal number of hours or days. Early washing, pressure, detergents, and flexing can expose weaknesses that are difficult to distinguish from a preparation failure.
How to paint plastic without it peeling off?
Identify the plastic, clean away grease and molding residue, scuff it evenly, clean again, and use a promoter approved for that resin. Apply thin coats within the specified flash and recoat windows, then finish with a compatible flexible coating system and allow full cure.
For an unmarked plastic or an already painted part, test the complete system on a hidden area first. This can reveal incompatibility before the visible surface is committed.
What paint permanently stays on plastic?
No single paint remains permanently suitable for every plastic resin or service condition. Durability depends on resin compatibility, surface preparation, promoter chemistry, coating flexibility, film build, and cure.
A coating that works on one plastic may be prohibited on another. Check the TDS, especially for PP, PE, TPO, EPDM, and polycarbonate, and treat any “all plastics” statement as a starting point rather than proof of universal compatibility.







