
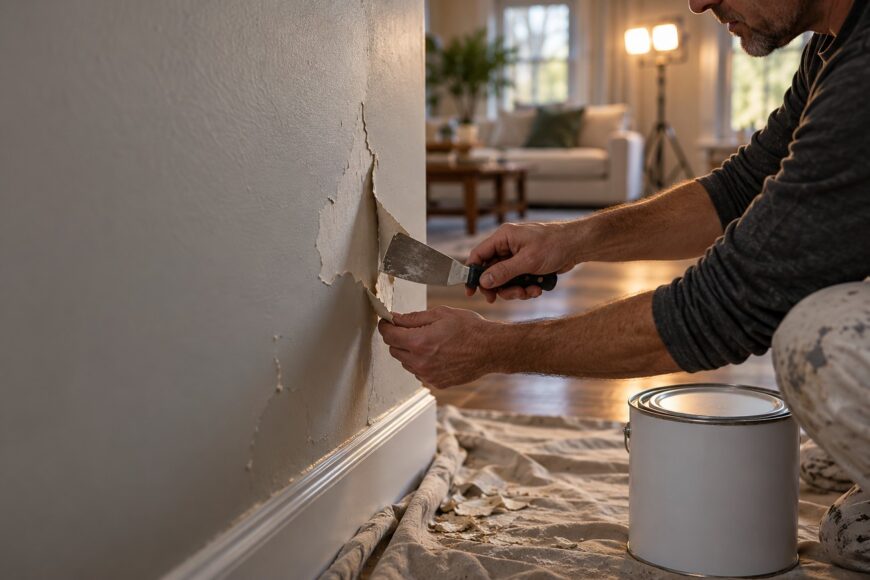
Painting straight over an old finish can save time, while preparation can feel like the part that delays the job. The risk is familiar: new paint peels in sheets, the sheen turns patchy, or old ridges and repairs become more obvious under a fresh coat. Those problems usually start with the surface beneath the new paint.
The existing coating’s condition matters more than its age. If it is firmly attached, clean, dry, compatible with the new paint, and prepared as the product requires, you may be able to keep it. The decision starts with checking what is sound, what needs preparation or primer, and what must come off.
- When painting over old paint actually works
- Check the surface before committing to the whole wall
- Old paint conditions: recoat, prime, or remove?
- Prepare the paint you can keep
- Choose the new paint and decide whether to prime
- Painting over old paint on wood
- Why a repaint peels, blisters, or looks patchy
- Frequently asked questions
- How long should recently applied paint dry before I paint over it?
- What is the best paint to use over existing paint?
- Can I paint over old paint on wood?
When painting over old paint actually works
Sound painted drywall is often a suitable base for another coat. The old film should stay firmly attached when inspected, feel dry, and be free of grease, loose dust, and chalky residue. A clean, stable matte finish may need little more than the preparation specified for your new paint.
Peeling paint is a different proposition. If the old coating is poorly bonded, a new coat may pull it away as the film dries or during later cleaning. Paint and primer cannot turn a weak layer underneath into a sound one; loose material needs removal, and the cause of the failure needs attention.
Compatibility also matters. An unfamiliar finish, a hard enamel, or a surface that has been treated with another coating deserves a check against the new product’s label or technical data sheet. Follow its cleaning, de-glossing, primer, and application instructions rather than assuming that an easy-apply formula removes those requirements.
Check the surface before committing to the whole wall
Start with a close inspection in good light. Look for lifting edges, bubbles, chalky residue on your hand, grease, damp marks, and uneven repairs. Pay particular attention around switches, near cooking areas, and wherever condensation collects; a wall can look sound in the middle and fail at its edges or high-use spots.
Before scraping or sanding an older coating, check the applicable safety rules. In the US, paint in housing built before 1978 may contain lead; requirements elsewhere vary by location. If the coating could be hazardous, establish a safe assessment and preparation method before disturbing it.
A small trial area beside a cooking zone or an old repair can reveal poor adhesion that a test on the clean, intact center of the wall misses. Choose test spots where the finish has faced different conditions.
Where testing is safe, a cautious tape-adhesion check can help reveal a weak old layer: press suitable tape onto a small area and remove it carefully, watching for old paint coming away. Try the proposed coating system on a small prepared area as well, allowing it to dry as directed before assessing the result. Neither check guarantees the rest of the wall will perform the same way; if old paint lifts, investigate the cause and remove unsound material before recoating.
Old paint conditions: recoat, prime, or remove?
Use the condition you find to choose the next step, then confirm it against the coating manufacturer’s instructions.
| Observed condition | Next action | Reason |
|---|---|---|
| Sound matte paint | Clean, dry, and recoat if compatible; a full primer coat may be unnecessary. | A firm, clean film can provide a suitable base. |
| Sound glossy paint | Clean and de-gloss as the new system requires; use a bonding primer if specified. | A slick surface can limit adhesion even when the old paint is firmly attached. |
| Stains or repaired patches | Prepare the area and use a suitable stain-blocking or repair primer where needed. | Stains may bleed through, while porous patches can leave an uneven sheen. |
| Chalking paint | Remove loose chalk and assess the remaining surface; stabilize and prime only with a system suitable for the condition. | New paint cannot bond reliably to loose powder. |
| Peeling or poorly bonded paint | Remove unsound material and address the underlying cause before preparing and recoating. | Primer cannot secure a coating that is already coming loose. |
Prepare the paint you can keep
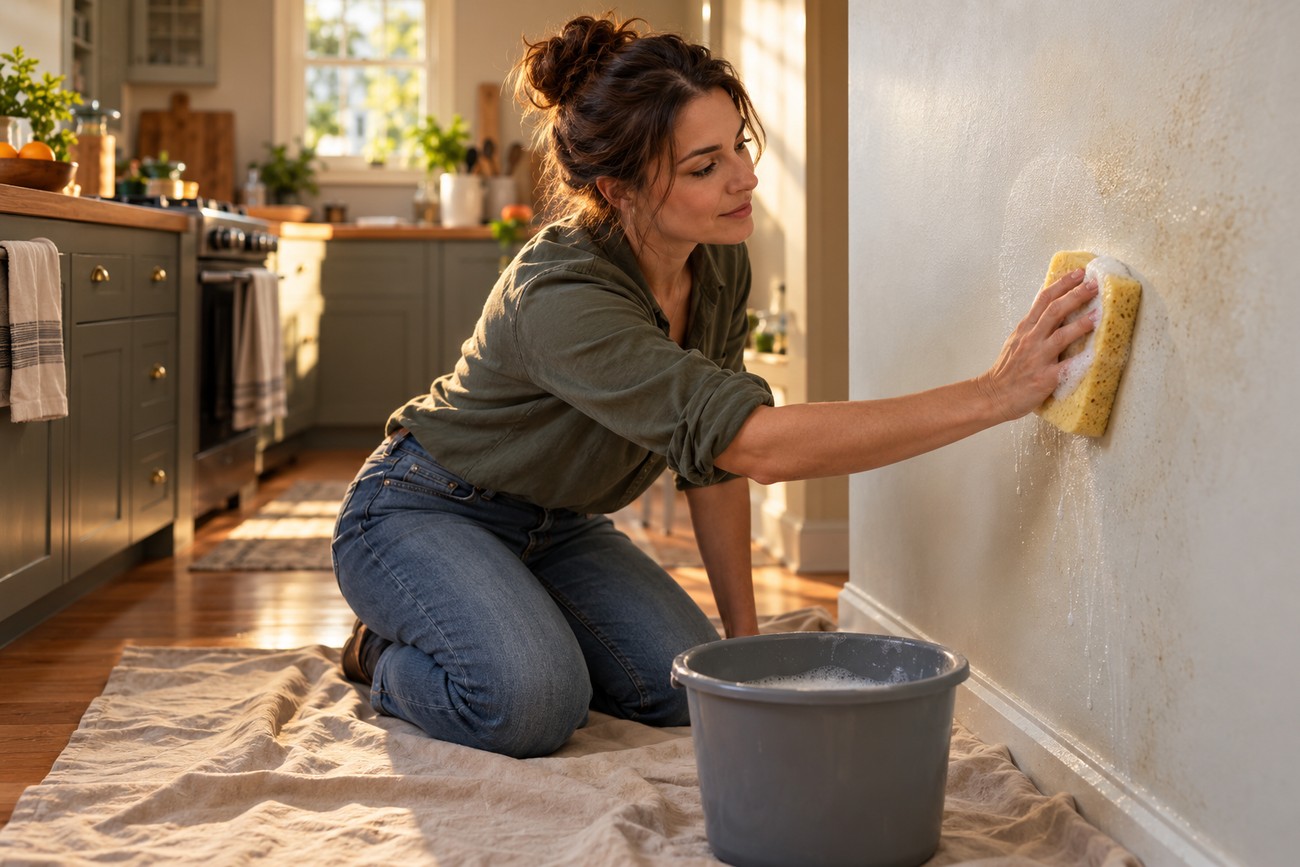
Wash away dirt and grease with a cleaner appropriate for the surface, paying close attention to kitchens, corridors, and areas around switches. Rinse if the cleaner’s instructions require it, and let the surface dry before proceeding. A quick wipe may remove visible dust while leaving behind the film of grease that prevents good adhesion.
Remove loose paint safely, then smooth the sound edges left behind. Fill and finish damaged areas as appropriate for the surface, keeping in mind that repairs may need their own primer. Fresh paint follows the shape beneath it: raised edges, patch outlines, drips, and old roller texture can stand out more after repainting.
Sound shiny paint generally needs de-glossing or another preparation method specified by the new coating’s manufacturer. Scuff-sanding helps adhesion by reducing the slick finish; it also creates dust that must be controlled and removed before painting. Where sanding would be unsafe or unsuitable, check whether the specified system permits a different de-glossing method or calls for professional assessment.
Choose the new paint and decide whether to prime
There is no single best paint for every existing finish. Acrylic or latex paint over sound, cleaned latex paint is generally a straightforward recoating choice when the product instructions allow it. Select a finish suited to the room and the use it will receive, then follow the stated preparation and recoat directions.
An unknown coating, or sound oil-based or alkyd paint, needs a closer compatibility check. Read the new paint’s label or technical data sheet for approved substrates and preparation methods. The specified system may call for de-glossing and a bonding primer before a water-based finish coat.
Primer has different jobs, so choose it for the problem at hand. A bonding primer addresses a difficult sound surface; a stain blocker helps keep a mark from showing through; and a suitable primer can even out absorption on porous repairs. If old paint is chalking, loose powder must be removed and the remaining surface assessed before any specified stabilizing primer is applied.
A full primer coat may be unnecessary on clean, sound, compatible paint, but a strong color change can make it worthwhile. A tinted primer may improve hiding over a contrasting base. Plan finish coats according to the product instructions and the result on your actual wall: old color, texture, and patches can affect coverage differently from an ideal test surface.
Painting over old paint on wood
Painted wood can be recoated when the existing finish is sound and the wood beneath it is dry and firm. Check edges, joints, and end grain for lifting paint or moisture damage. These areas often reveal a problem before the broad face of a door or board does.
Clean the finish and remove loose paint safely. Sound glossy enamel on interior trim generally needs de-glossing as directed by the new coating system, while bare wood exposed during repairs needs an appropriate primer. A new coat cannot secure peeling paint or restore wood that is rotten or persistently wet.
Exposed exterior wood faces weather and recurring moisture, so investigate where water enters before painting over a failing area. Interior trim has different exposure and may call for a different coating system. Use the chosen products’ instructions for wood preparation, priming, and application rather than applying one rule to both settings.
Why a repaint peels, blisters, or looks patchy
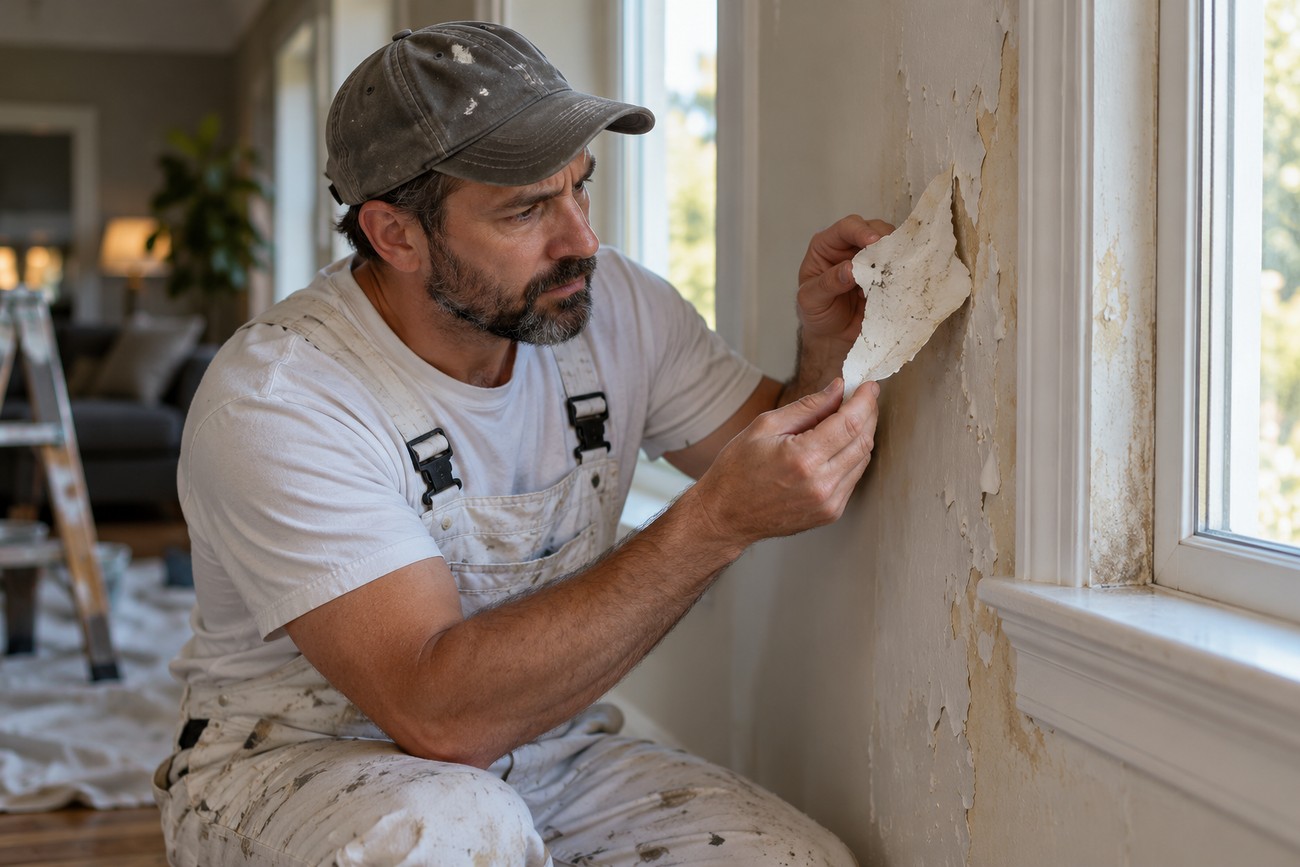
Sheets of peeling paint can mean the new film has detached from a slick or contaminated surface. They can also mean it adhered well enough to pull off a weak old layer underneath. Examine the back of a lifted piece and the exposed surface before deciding how much material needs removal; appearance alone does not establish the cause.
Blisters or peeling after cleaning, humid weather, or repeated wiping can point to moisture or contamination, particularly when the failure is localized. Check for a continuing water source and allow the surface to dry before making a repair. Painting over an active moisture problem is likely to leave the same vulnerable area beneath the next coat.
Patchy sheen often follows uneven porosity at repairs or differences in the old finish. Visible ridges and roller texture are surface-shape problems that another coat is unlikely to level. If old color or stains show through, identify whether you need a suitable stain blocker, a tinted primer for a strong color change, or additional finish coats specified by the product.
An isolated defect may be repairable once its cause is understood and the surrounding paint proves sound. If paint lifts across many areas, or the same symptom returns after a local repair, stop and reassess the underlying coating and conditions before continuing across the wall.
Frequently asked questions
The answers below cover recoat timing, paint compatibility, and painted wood. In each case, check the existing finish and follow the new product’s instructions before starting.
How long should recently applied paint dry before I paint over it?
Follow the product’s stated recoat interval for applying its next coat. That interval is different from full curing, which can take longer; a finish may accept another coat while still needing careful handling. If the existing paint is newly applied, check the label for temperature, humidity, and recoat conditions rather than treating it as an old, fully cured surface.
What is the best paint to use over existing paint?
The best choice is a paint approved for the existing coating and the surface’s intended use. If the old finish is identified, use its details to check the new product’s label or technical data sheet; if it is unknown, test the specified system in a small area before buying enough for the whole job. Choose any required bonding or stain-blocking primer separately, based on the surface problem it needs to solve.
Can I paint over old paint on wood?
It works when the paint is firmly attached and the wood beneath it is dry and sound. On a painted door, inspect joints and edges as well as the flat face; on exterior wood, check for weathering and moisture before committing to a coat. Exposed bare wood needs an appropriate primer, while wet or rotten wood needs repair first.







