
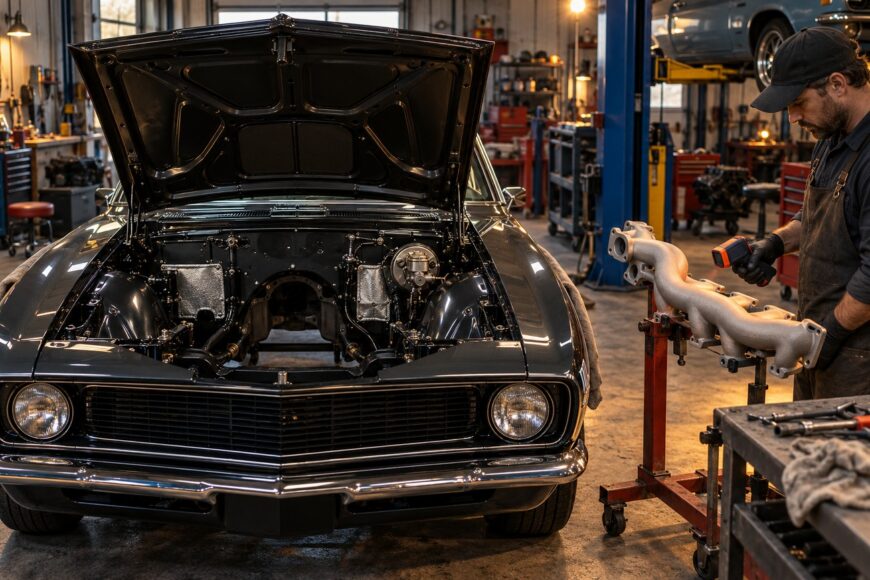
An engine bay can look clean and still hold oil, silicone, fuel residue, old paint, and contamination in seams that are difficult to reach. Its parts also experience very different heat loads: a painted inner fender, a steel bracket, a starter shield, and an exhaust manifold do not live in the same environment.
A durable restoration therefore depends on more than color and gloss. You must balance appearance, chemical resistance, temperature capability, repairability, and the practical limits of removing and reinstalling components. One coating rarely suits the entire bay, and a high-temperature label alone does not solve poor preparation or incompatible materials.
- Plan the Engine Bay by Heat, Chemicals, and Substrate
- Strip, Inspect, and Degrease Before You Trust the Surface
- Masking and Paint Sequence for Complex Engine Bays
- Choose a Coating System by Part and Process
- Spray Technique, Film Thickness, and Real Cure Time
- Reassembly Checks and the Failures That Appear Later
- Frequently asked questions
- How much does it cost to get an engine bay painted?
- What is the hardest automotive color to paint in an engine bay?
- How can you test whether an old engine-bay coating is compatible with a new one?
Plan the Engine Bay by Heat, Chemicals, and Substrate
Choose the coating for the actual part, rather than for the general label “engine bay.” Ordinary sheet metal, brackets, and inner panels usually need a system selected for corrosion protection, appearance, and exposure to oil or coolant. Their temperature may be moderate compared with components close to the exhaust.
Parts that heat continuously above approximately 150 °C require a coating with a confirmed temperature range. Exhaust manifolds may operate at approximately 500–800 °C and require dedicated ceramic or high-temperature systems. Applying a standard body coating to such a part can lead to discoloration, softening, loss of adhesion, or early failure.
Temperature ratings must be read with the exposure time, substrate, preparation, film thickness, and chemical resistance. A short-term peak rating is not equivalent to continuous service. Heat resistance alone does not guarantee resistance to gasoline, oil, coolant, or brake fluid, so the technical data sheet should address the environment that the part will actually see.
The common idea that the whole engine bay should receive one high-temperature paint is misleading. Using a specialized coating on a cool panel may reduce finish options and make later repairs harder, while using ordinary paint on a continuously hot component is a predictable compatibility mistake. Separate systems for separate zones are often the more controlled restoration decision.
Strip, Inspect, and Degrease Before You Trust the Surface
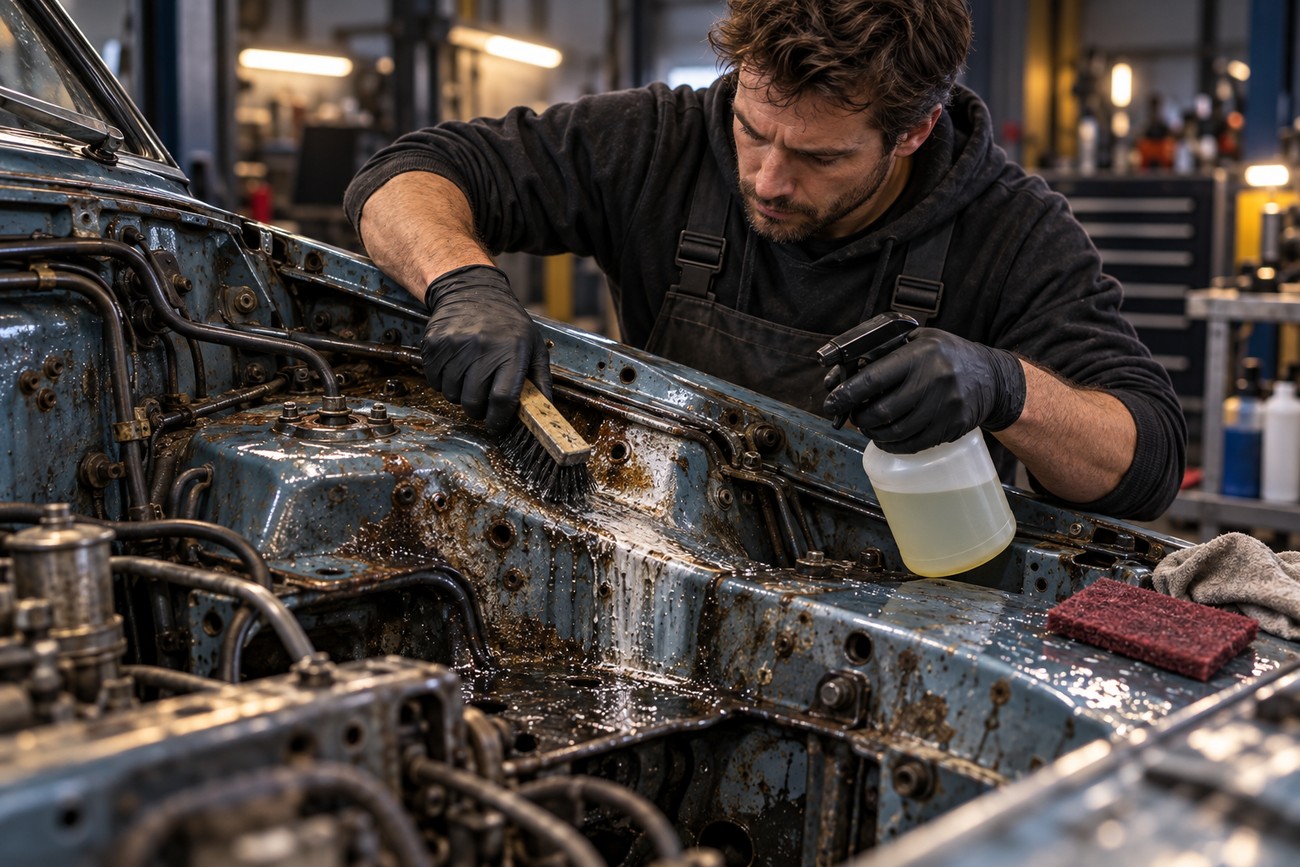
Remove loose coating, flaky corrosion, and unstable filler before preparing the surface. The surface must be clean and dry; degreasing and mechanical preparation must be matched to the existing coating and substrate. The abrasive choice and preparation method should leave a sound profile without polishing contamination into the metal.
Visual cleanliness is unreliable around seams, bolts, tubes, and recessed areas. Silicone, fuel, oil, brake fluid, and wax preservatives can remain as a thin film after washing, then cause craters, peeling, or poor adhesion. Degreasing is often a repeated operation: clean, allow the area to dry, inspect under strong light, and clean again where residue remains.
Old glossy paint must be mechanically dulled before recoating. If the existing layer is questionable, prepare a small hidden test area and apply the complete intended system rather than testing only the topcoat. Watch for lifting, wrinkling, softening, poor adhesion, or an abnormal solvent reaction after the specified cure period.
Inspect seams and corrosion before hiding them under primer. Coating over trapped contamination or active corrosion can make the bay look finished while preserving the failure underneath. Deep seams may also need controlled sealing and drainage; flooding every joint with paint can obstruct water paths and conceal future damage.
Masking and Paint Sequence for Complex Engine Bays
Access determines finish quality. Remove what can be removed safely, and plan the spray sequence before mixing material. Hidden and internal areas should be coated before visible panels, because spraying a difficult recess after a finished outer surface increases the chance of dry spray, overspray, and accidental contact damage.
Threads, mounting faces, drain holes, labels, sealing faces, and bearing or bushing seats must remain functional. Mask them deliberately rather than relying on later cleaning of hardened paint. Ground points must be cleaned back to bare metal after painting to maintain a stable electrical connection; a painted ground can create intermittent electrical faults that are difficult to diagnose after assembly.
Mask hoses, wiring, glass, and adjacent bodywork with materials suited to the planned process. 3M masking tapes 03423/03425 are rated up to 121 °C for a maximum of 30 minutes, but that rating does not certify the paint or clearcoat. The tape may survive the exposure while the coating beneath it remains unsuitable for that temperature.
Tag brackets, clamps, fasteners, and small shields before removal. Photographs and simple labels preserve orientation and reduce the temptation to force a part into a newly painted space. This matters because added film thickness can alter clearances, affect clamp seating, and make a previously straightforward bolt difficult to start.
Choose a Coating System by Part and Process
Different engine-bay zones can reasonably use different systems. The correct choice depends on the part, access, heat and chemical exposure, preparation, and the expected repair method.
| System | Suitable locations | Strengths | Limitations and preparation | Repair implications |
|---|---|---|---|---|
| 2K liquid paint | Body panels, brackets, assembled areas, and localized repairs | Good control of color, gloss, film build, and spray pattern | Requires careful degreasing, mechanical preparation, mixing, and controlled application | Usually practical to blend or repair locally when the surrounding surface is sound |
| Aerosol paint | Small brackets, touch-ups, and areas where spray equipment is impractical | Simple equipment requirements and useful access for minor work | Less control over film thickness, spray pattern, and coverage in deep recesses | Color, gloss, and film build may be harder to match during later repairs |
| Powder coating | Removed steel brackets and suitable detachable parts | Durable, uniform finish after correct preparation and curing | Commonly requires an oven cycle of approximately 180–200 °C; rubber, plastic, bearings, seals, and cured sealants must be removed first | Visually durable, but local repair is generally more difficult than with a liquid 2K system |
| Dedicated high-temperature ceramic system | Exhaust manifolds and components with confirmed high continuous heat | Designed for demanding thermal exposure when the substrate and process are correct | Requires product-specific preparation and temperature limits; heat resistance does not prove chemical resistance | Repair and color matching depend heavily on the specified system and application method |
Powder coating is not automatically better. Its oven cycle can damage or distort unsuitable parts and forces complete disassembly of heat-sensitive components. A 2K liquid system is often more practical for body panels, assembled areas, and localized repairs, especially when the bay cannot be stripped to a bare shell.
Do not send rubber, plastic, bearings, seals, or cured sealants into a powder oven. The temperature can destroy them even when the final finish looks correct. A coating decision should therefore include the removal plan, the condition of the substrate, and how the part will be serviced later.
Spray Technique, Film Thickness, and Real Cure Time
Apply controlled coats rather than trying to hide the substrate in one heavy pass. A measured film gives the solvent a path to escape and reduces the risk of runs, softness, and later shrinkage. Allow the flash time specified for the particular system, since temperature, humidity, reducer, and film build all influence the result.
Work the difficult geometry deliberately. Recesses, corners, and the areas beneath reinforcements may need a changed spray angle or a separate access pass. Aerosols are especially easy to overbuild in a deep pocket because the operator cannot see the wet film clearly.
Check the temperature of the actual metal part before starting the cure clock. Heavy brackets and cast components can lag behind booth air temperature, so the surrounding air may reach the target while the coating is still below the condition required for meaningful drying.
The drying and curing clock starts after the part itself reaches the specified temperature, not immediately when the surrounding air or booth reaches it. Massive parts also heat and cool unevenly, which can leave a coating cloudy or tacky longer than expected. A thicker film and a slower hardener increase the time required for full cure.
Dry to the touch is only a handling observation. It does not prove that the coating is ready for engine installation, hose clamps, wiring clips, or contact with fluids. Follow the coating system’s specified full-cure time, and protect the surface during the waiting period from fingerprints, dust, and accidental pressure.
Reassembly Checks and the Failures That Appear Later
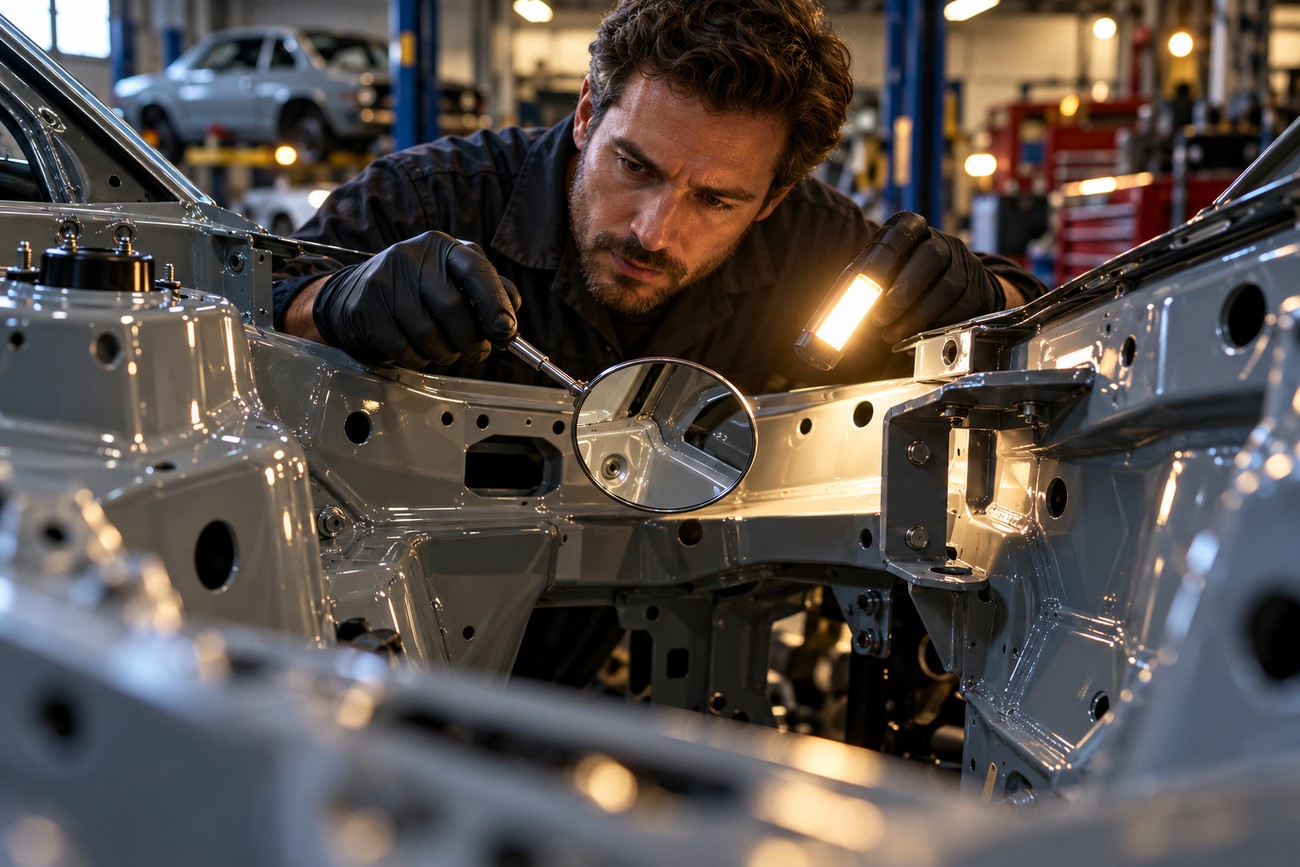
Inspect the finished bay from several angles before installing the engine. Look into corners, behind reinforcements, below brackets, and around seams that will become inaccessible after assembly. An uncoated strip discovered later may require removing components that were just installed.
Compatibility failures can be delayed. Old paint, epoxy primer, filler, and a new topcoat may appear acceptable at first, then wrinkle, soften, or lose adhesion weeks later. This is why a representative hidden test area should receive the intended preparation and complete coating sequence before the main job is committed.
Reassembly creates different risks from spraying. Engine mounts, brackets, tools, and threaded fasteners can scratch fresh paint, leave fingerprints, or chip edges. Thick paint on threads, mounting faces, and brackets can change clearances and tightening behavior, so clean functional surfaces before applying final torque.
Use the product data sheet as the final checklist. Confirm surface preparation, mixing ratio, induction or flash requirements, recoat window, full-cure time, temperature limits, and chemical resistance. Then verify that ground points, drains, threads, labels, sealing faces, and other contact areas are clear before the first major component is lifted into place.
Frequently asked questions
Engine-bay painting decisions depend on preparation, heat exposure, coating compatibility, and the amount of disassembly involved. The following answers address common questions about cost, color choice, and testing an existing coating.
How much does it cost to get an engine bay painted?
There is no useful universal price because labor is usually driven by scope rather than paint volume. A proper quote should identify disassembly, degreasing, corrosion repair, removal of old coatings, masking, primer and topcoat selection, curing requirements, and reassembly.
Compare quotes by asking what remains installed, how contamination will be removed, whether hidden surfaces will be coated, and how damaged threads or mounting faces will be protected. A low material price can conceal substantial preparation work or a finish that is difficult to repair later.
What is the hardest automotive color to paint in an engine bay?
The difficult choice is usually the finish that makes every surface defect and repair boundary obvious. Very dark, high-gloss finishes can reveal sanding marks, dust, waviness, fingerprints, and small chips, while a highly visible color may expose uneven coverage in corners.
Choose a finish according to the level of surface correction you are prepared to perform and the likelihood of future touch-ups. A slightly less demanding gloss or texture can be easier to maintain than a flawless-looking finish that requires extensive correction whenever a bracket is removed.
How can you test whether an old engine-bay coating is compatible with a new one?
Prepare a representative hidden spot using the same cleaning, abrasion, primer, and topcoat sequence planned for the bay. Allow the complete system to cure for the specified period, then inspect adhesion, lifting, wrinkling, softness, and reaction to the relevant cleaning solvent.
Include an edge, seam, or old-coating transition if those conditions exist in the engine bay. A clean flat test on bare metal cannot reveal how the new system will behave over aged paint or filler. If the result is uncertain, remove the questionable layer rather than burying the problem under a fresh finish.







