
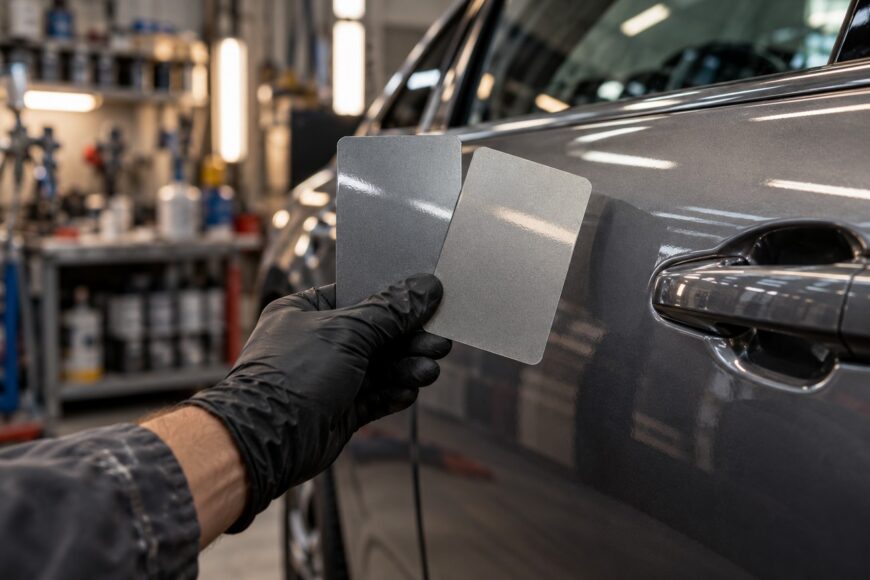
You buy paint under the correct factory code, apply it carefully, and then see a different shade in daylight. The code may be right while the match is wrong: it identifies the original paint specification, not the color the vehicle wears now.
Aging, earlier repairs, formula variants, and application can all widen that gap. Accurate matching starts with the code, then checks the proposed paint against a clean panel on the car. A physical test before the repair is far more useful than trusting a label or a color on a screen.
- Find the paint code without mistaking the VIN for one
- Use the code to shortlist formulas, not declare a match
- Check the actual car before choosing a variant
- Choose compatible materials and plan for the repair area
- Test a spray-out before painting the car
- Trace a mismatch instead of ordering the same code again
- Frequently asked questions
- Which paint brand is best for matching OEM colors?
- Why can a painted plastic bumper look different from a metal panel?
- How accurate can a factory paint match be?
- What should I keep on record after a successful match?
Find the paint code without mistaking the VIN for one
A factory paint code is a separate alphanumeric identifier for the original paint specification. It is usually printed on a vehicle label or recorded in service documentation. The VIN identifies the vehicle, but it usually does not contain the paint color.
Check the door pillar, engine bay, and trunk for a factory label; its location and wording vary by make. Look for a field marked as paint, color, or a similar term rather than assuming every short code on the label refers to the finish. The owner’s or service documentation may also record the identifier.
If the label is missing or unreadable, a manufacturer or paint supplier may be able to search its records using the VIN and vehicle details. That result comes from an external record, not color data encoded in the VIN. Check that the returned specification fits the vehicle before ordering paint, especially if its history is uncertain.
Keep a photograph of the label or a written record of the confirmed code. It reduces transcription mistakes when discussing formulas with a supplier, while leaving the separate task of matching the car’s present finish to be done at the vehicle.
Use the code to shortlist formulas, not declare a match
Give the paint supplier the make, model, production year, and confirmed code. Those details narrow the original specification and help identify any available formula variants. The vehicle’s current color then helps decide which candidate is worth testing.
A code identifies the paint originally specified; it does not measure the finish after years of exposure. Aging, oxidation, uneven fading, and previous repairs can move a panel away from that starting point. A formula that accurately represents the factory color can therefore stand out against the car.
Suppliers may offer different formulas or variants against the same code, and products or batches can show visible differences. A matching entry in two catalogs is not proof that their mixed paint will look identical. Ask which variant is being supplied and record it, so a failed test can be traced rather than repeated blindly.
Treat catalog chips as a way to narrow choices, not as final approval. Their appearance depends on the sample and the light used to view it. The useful comparison is between a test of the intended paint and the panel that will sit beside the repair.
Check the actual car before choosing a variant
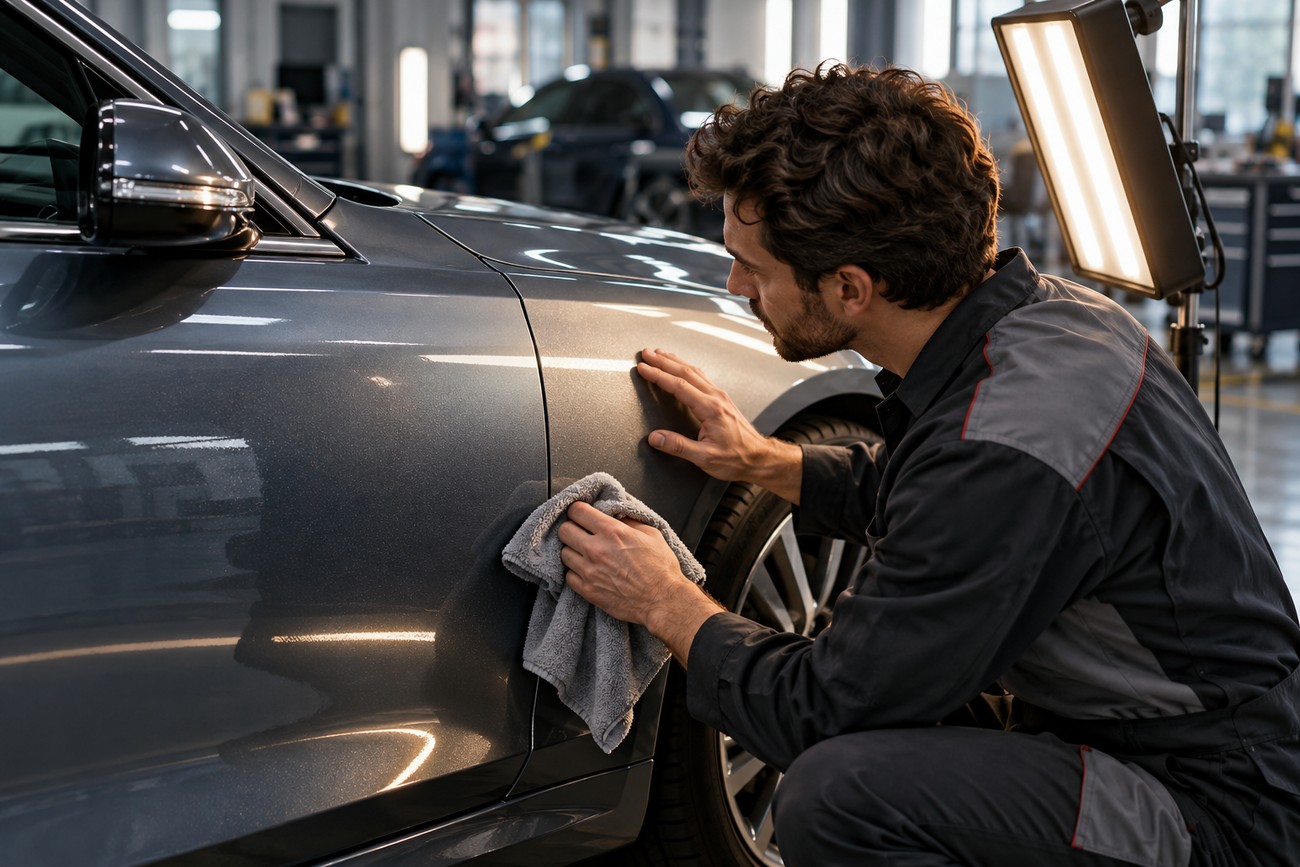
Clean the panel beside the intended repair and examine it before selecting a final formula. Dirt and surface films can distort a color reading or visual comparison. Look across the car, too: an adjacent door, fender, or bumper may already differ from another panel because of exposure or earlier work.
Choose a reference that represents the finish the repair must meet. If the neighboring panel has been repainted, its color may matter more to the visible result than an untouched panel elsewhere on the vehicle. Where fading is uneven, compare more than one suitable area before deciding which edge will be most noticeable.
A spectrophotometer can assess the existing finish and help refine a candidate formula. It does not read the factory code, and its suggested formula still needs a physical test. Surface condition and the choice of measurement spot matter when panels differ from one another.
A photo or screen image cannot establish a physical paint match. Camera settings, display settings, and lighting can each change the color you see. Use images to document panel differences if helpful, then make the color decision beside the vehicle.
Choose compatible materials and plan for the repair area
Confirm the intended coating system before mixing or applying anything. Paint compatibility depends on chemistry and the manufacturer’s process, not on two products appearing to be the same color. Mixing incompatible materials can cause coating defects or poor adhesion, even if the wet mixture initially looks acceptable.
Follow the selected system’s instructions for its components, preparation, and application. A candidate color can change in appearance when it is applied differently from the test, particularly where the finish depends on how the coating is laid down. Color choice and application approach therefore need to be assessed together.
Consider where the new finish will meet the old one. An edge-to-edge repair places two colors directly side by side, making a small difference easier to see. Depending on the repair and available area, blending into an adjacent panel may give a more natural transition than expecting the new paint to meet the old finish at a hard edge.
Blending is a repair decision, not a substitute for choosing a suitable color. Start with the closest practical match to the neighboring finish, and agree on the repair area before paint is applied. The goal is a sound coating whose appearance works on the vehicle, rather than an isolated sample that looks right on its own.
Test a spray-out before painting the car
Make a representative spray-out using the candidate formula and the intended coating system. Apply it in a way that reflects the planned repair, and let it reach the appropriate stage for comparison. A printed chip or a can lid cannot show reliably how that coating will appear once applied.
Place the spray-out beside a cleaned, suitable vehicle panel. View both under controlled lighting and in daylight, changing your viewing angle as you check the shade and overall appearance. A sample that seems close under workshop lamps can reveal a difference outside; daylight alone should not replace a consistent, controlled comparison.
If the sample differs, identify the direction of the mismatch and ask for a formula or variant adjustment before painting. Repeat the spray-out after a meaningful change rather than judging a revised mix only in the container. This costs preparation time, but it keeps an uncertain color off the vehicle.
Compare the test at the panel edge where a mismatch would matter most. If neighboring panels already differ, one spray-out may appear closer to one side than the other. That observation can inform both the final variant and the planned blend area.
Trace a mismatch instead of ordering the same code again
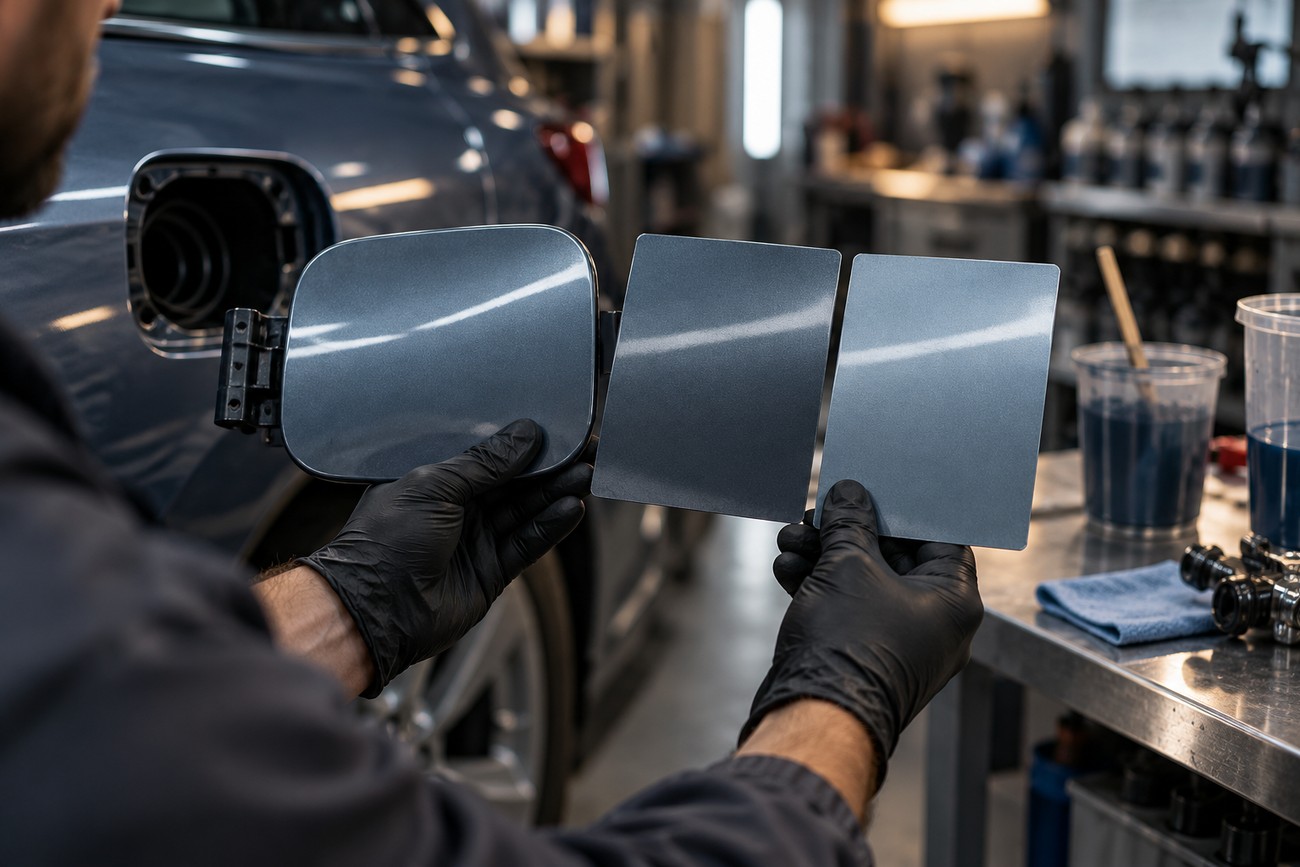
Start with the identifier and the formula record. Recheck the label or lookup, the vehicle details supplied, and the exact variant mixed. If the wrong record was used, correct it and test the new candidate; another container carrying the same assumed code is unlikely to explain the error.
Next, question the reference panel. A correct factory formula may look wrong beside an aged or previously repainted surface. Compare another clean, suitable panel and note where the finish changes across the vehicle. That tells you whether to revise the color target or reconsider where the repair will meet the old paint.
If the records and reference are sound, examine the materials and application. Supplier or batch differences, an unsuitable product combination, or a test applied differently from the repair can alter the result. Confirm compatibility and process, adjust the candidate as needed, and make another representative spray-out.
Keep the reason for each change with the test sample. A short record of the variant, reference panel, and comparison conditions prevents a workshop from cycling through similar mixes without learning from them. No single correction guarantees an invisible repair; judge the finished work against the surrounding vehicle.
Frequently asked questions
These points help set expectations beyond choosing a code and approving a spray-out. Supplier support, panel material, and the condition of the finished vehicle all affect how useful a match will be. Keep those factors in view when assessing a repair or planning future work.
Which paint brand is best for matching OEM colors?
No paint brand alone guarantees a match to an individual vehicle. Choose a supplier or mixing system that supports the required code, offers relevant formula variants, and can help revise a tested mix. Judge its proposed paint on the car rather than by brand reputation.
Why can a painted plastic bumper look different from a metal panel?
Substrate, surface texture, and viewing angle can change how a bumper and metal panel appear beside each other, even when they share a specified color. Compare them from normal viewing positions as well as close up before assuming the formula is wrong.
How accurate can a factory paint match be?
There is no universal accuracy percentage for a code-based match. Inspect the completed repair beside the surrounding panels under controlled lighting and daylight, including the angles from which the vehicle is normally seen. That visible result is the useful acceptance test.
What should I keep on record after a successful match?
Save the final supplier formula or variant, along with notes on the reference panel, coating system, and repair approach. Those details give a future repair a better starting point. Check the vehicle again before reusing them, because its finish can continue to change.







