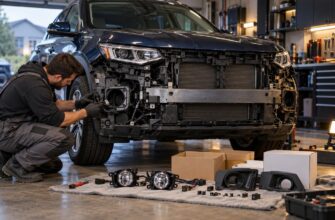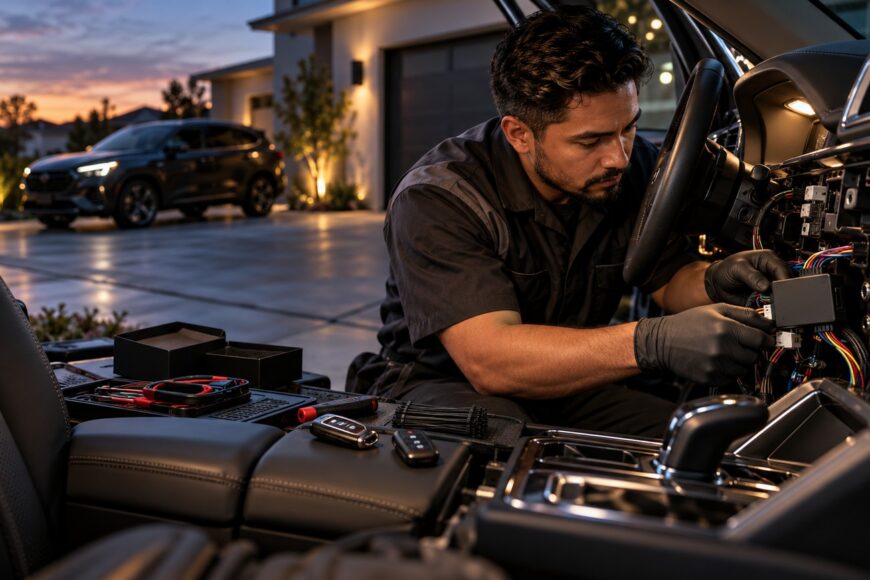
A warm cabin and a clear windshield make remote start appealing on a cold morning. The useful part happens before you get in: you can start the engine from a distance and let supported climate settings begin working. Installing the system, however, takes more than making the starter crank. It must work with the vehicle’s immobilizer, electronics, and safety controls.
A car that starts and immediately stalls, works with its key but not the remote, or develops electrical warnings after installation offers little benefit. Those symptoms can be difficult to trace if the kit was chosen on a broad compatibility claim. Check the exact vehicle configuration and installation documentation before buying parts, then decide whether the work fits your electrical skills or belongs with a qualified installer.
- Check Vehicle Compatibility Before Buying a Kit
- Plan the Parts, Tools, and Installation Time
- Install and Program the System in the Right Order
- Test Every Safety Interlock and Driver Handoff
- Diagnose Stalls, Warning Lights, and Battery Drain
- Know What Remote Start Will—and Will Not—Do
- Frequently asked questions
- How much does it cost to install a remote starter?
- What is the easiest remote car starter to install?
- How much does it cost to install a remote start on a vehicle?
Check Vehicle Compatibility Before Buying a Kit
Start with the exact model year, trim, transmission, ignition type, and factory equipment. Compatibility also depends on the immobilizer and vehicle network; a listing for the model name alone is insufficient. Check the kit maker’s application guide and vehicle-specific installation documents, including any exclusions for your configuration.
Older keyed vehicles with analog wiring and newer push-button vehicles using CAN networks call for different integration methods. Push-button and CAN-equipped vehicles often need more programming and coordination with factory systems, although a keyed vehicle is not automatically simple. Factory remote start, keyless access, and alarm features can also change the required parts or takeover behavior.
Most modern immobilizer-equipped vehicles need a compatible bypass or interface for remote starting. Confirm that the specified interface supports your vehicle and that its programming method is available before ordering. Leaving a spare key in a hidden box may be an alternative on some vehicles, but it keeps an authorized key in the car and is a less secure choice.
If the fit guide is ambiguous, ask the supplier or installer to confirm the configuration in writing. A near-universal fit claim cannot settle differences between trims, immobilizers, or transmissions. That check can prevent a partly installed kit from turning into an unexpected search for another module.
Plan the Parts, Tools, and Installation Time
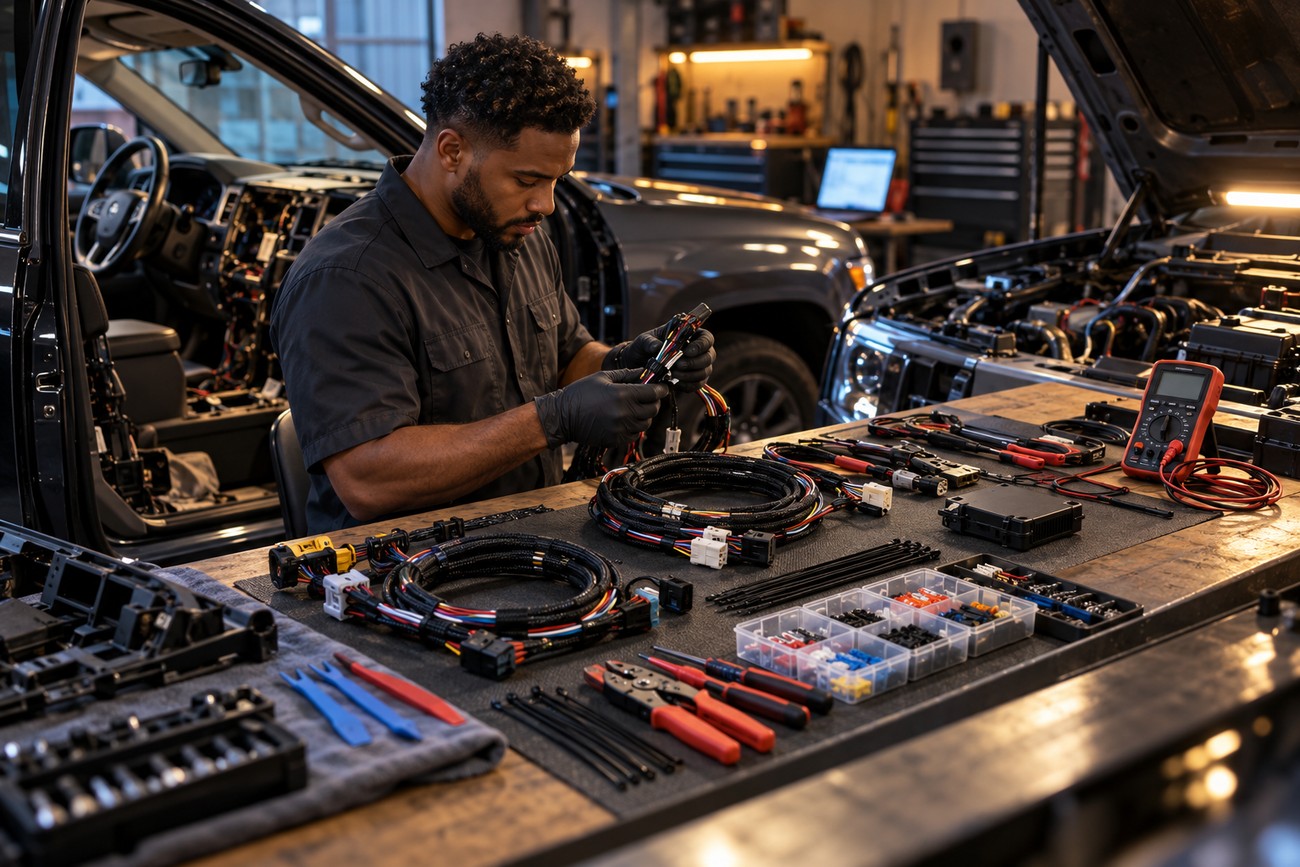
Account for the starter kit, the specified vehicle interface or bypass, and any harness required for your configuration. Obtain current vehicle-specific wiring information and the programming instructions for both modules. Electrical testing calls for suitable tools and a method of verifying circuits without damaging sensitive vehicle electronics.
A vehicle-specific harness can reduce the number of connections you must make, but it does not prove the installation is plug-and-play. Some advertised installs may take 30–60 minutes; complete integration, programming, and testing can take several hours depending on the vehicle. Allow time to investigate a signal that does not behave as the documentation predicts.
Before purchase, compare the kit contents with the installation guide’s required-parts list. Ask whether interface programming, labor, and post-installation troubleshooting are included in a professional quote. There is no universal installed price: the kit, required interface or bypass, programming, and labor all affect the vehicle-specific total.
Professional installation is the prudent choice if the vehicle requires extensive network integration, you cannot verify its wiring information, or you lack the tools to check the finished system. A manual transmission adds a more consequential requirement: reliable neutral confirmation and appropriate safety logic. Treat that as a condition for installation, not an optional feature.
Install and Program the System in the Right Order
Record how the vehicle behaves before taking it apart. Check normal starting, dashboard warnings, door locks, alarm operation, and relevant climate settings so you have a baseline for later comparisons. Follow the vehicle procedure for shutting down electronics and disconnecting power; some vehicles require specific precautions to preserve settings or avoid faults.
Use the approved vehicle-specific diagram to identify each required circuit, then verify its function with suitable test equipment. Mount the module securely, protect connections from movement and abrasion, and keep wiring clear of pedals, steering parts, and airbag components. Do not rely on generic wire colors or treat a connector that physically fits as proof of correct pin functions.
Connect and program the specified interface before completing starter setup, following the kit’s sequence where it differs. CAN integration may still require separate analog tachometer, ignition, or start signals on a particular vehicle. Diesel applications may need a glow-plug delay and different start logic, so a gasoline-engine setting should not be assumed to apply.
Set crank timing and engine-running detection according to the vehicle-specific instructions. If the engine fails to stay running, extending crank time alone may mask a missing running signal or an immobilizer problem. Restore panels only after programming and functional checks are complete; that leaves connections accessible if a test reveals a fault.
Test Every Safety Interlock and Driver Handoff
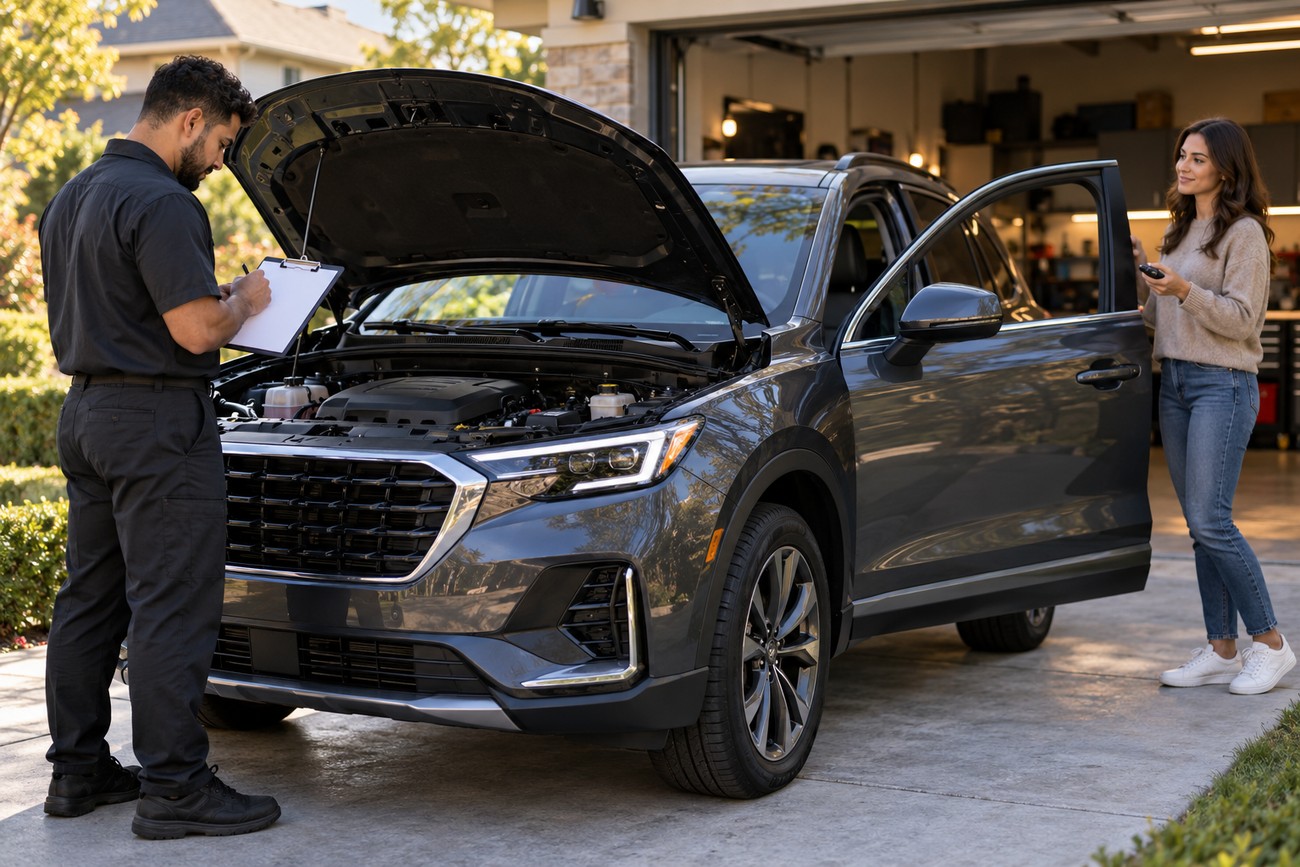
A successful first start establishes only that the engine can run. Check every required interlock against the vehicle-specific instructions before treating the installation as complete. Begin with normal remote-start operation in a safe, ventilated location, then verify that the system detects an engine already running and does not attempt an inappropriate restart.
Confirm that an open hood prevents remote starting and that pressing the brake produces the specified shutdown when the driver has not completed takeover. Check how doors, locks, and the factory alarm behave during start, entry, and a normal restart. Some vehicles require key or fob reauthorization before driving; use the documented handoff procedure rather than assuming the engine will remain on when a door opens.
For a manual transmission, reliable neutral confirmation is essential. Many compatible systems use reservation mode: the driver follows a defined parking and exit procedure that permits a later remote start only while the required conditions remain valid. Verify the parking-brake, door, and reservation behavior specified for that system. If any interlock fails, do not use remote start until the fault is corrected.
Diagnose Stalls, Warning Lights, and Battery Drain
If the engine starts and then stalls, check whether the immobilizer interface is programmed correctly and whether the starter receives a valid engine-running signal. A vehicle that starts normally with its key but refuses the remote may point toward that interface, a safety input, or a configuration setting. These symptoms identify areas to inspect, not a single guaranteed cause.
Intermittent starts in cold weather warrant a battery and charging-system check before changing starter timing. Low voltage, an open-hood indication, or an active vehicle safety warning may inhibit remote start. If the engine cranks without starting, use the documented start-confirmation and, where applicable, glow-plug settings rather than repeatedly commanding longer cranking.
New dashboard warnings call for a comparison with the pre-installation baseline, a scan for stored faults, and inspection of affected connections. A trouble code does not, by itself, prove that the remote starter caused the problem. Record when the warning appears—during remote start, takeover, or ordinary driving—to help narrow the investigation.
If the battery weakens after a night or several days parked, measure parked current draw using the vehicle’s prescribed settling procedure. Extra modules can increase that draw, which matters more with an aging battery or infrequent driving. Check whether the interface and vehicle electronics enter their expected sleep states before replacing parts on suspicion.
Know What Remote Start Will—and Will Not—Do
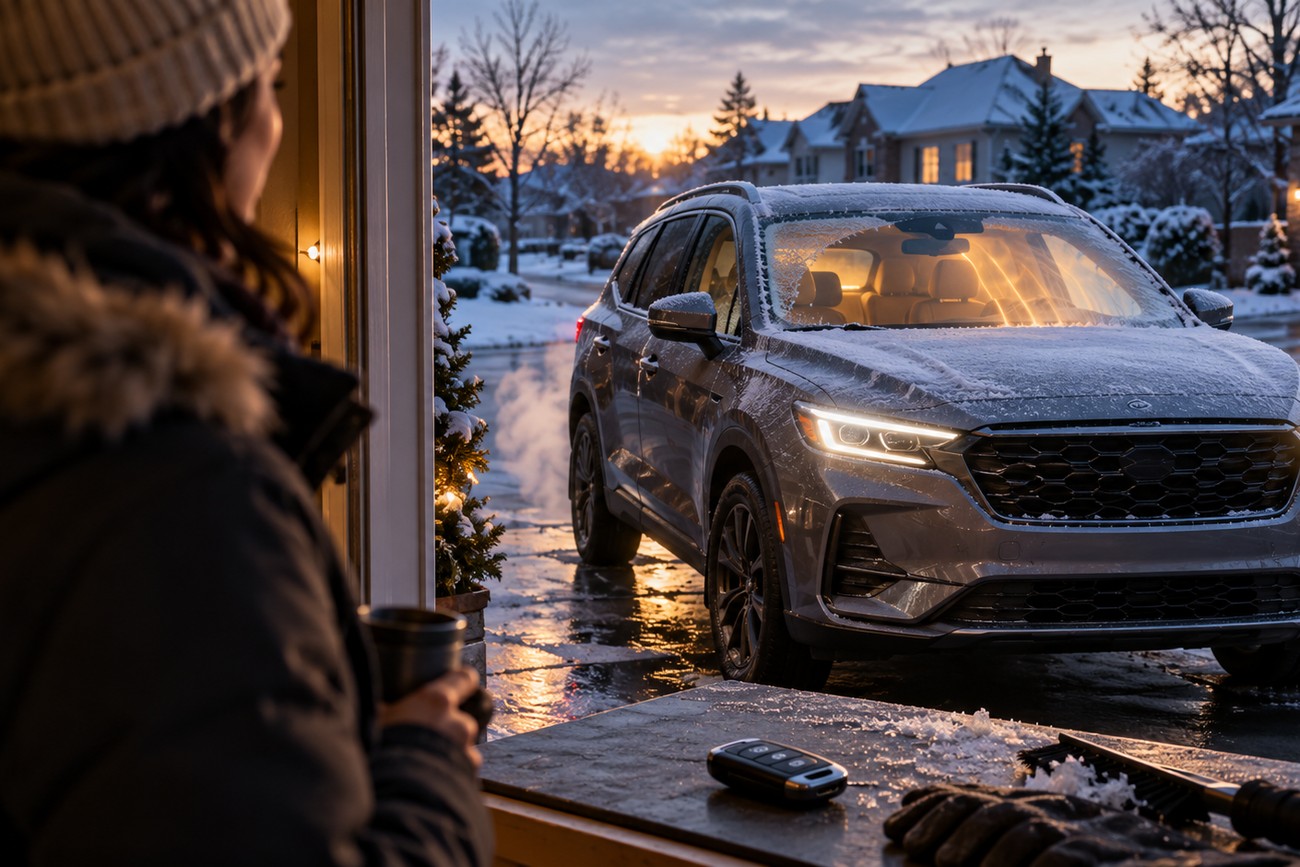
Remote start does not remove the initial cold start. The engine may begin warming while you remain indoors, but the transmission can still be cold when you drive away. Use the vehicle’s normal guidance for setting off and driving gently rather than treating time spent idling as a substitute for it.
Cabin results depend on the vehicle’s settings and the kit’s integration. A fan or defroster that resumes its previous setting may help; heated seats or automatic climate functions may require separate support and may not activate remotely. Confirm these behaviors during testing instead of assuming that an engine start also commands every comfort feature.
Frequent or lengthy idling uses fuel, and repeated short warm-ups add engine-running time without fully warming every component. Observe local idling rules and never run a vehicle in an enclosed or poorly ventilated space. A remote starter is a way to prepare a parked car for entry, not a remedy for weak batteries, cold oil, or maintenance problems.
Plan for the security and access trade-offs as well. An insecurely installed immobilizer bypass can create a theft risk, while some vehicles impose door, shutdown, or reauthorization restrictions during takeover. Ask how the chosen system protects the bypass and behaves when you enter the car before deciding that its range or extra start modes are the most important features.
Frequently asked questions
Installation cost and difficulty depend on the vehicle’s configuration. A vehicle-specific harness can reduce wiring work, but the interface may still need programming. Include safety testing when comparing installation options and quotes.
How much does it cost to install a remote starter?
There is no universal price. Request an itemized quote covering the kit, required bypass or interface, programming, labor, and any follow-up support. Confirm whether the quoted parts support your exact year, trim, ignition type, and transmission.
What is the easiest remote car starter to install?
The easiest credible option is one with verified compatibility, a vehicle-specific harness where available, and clear installation documentation. A harness may reduce wiring work, but the interface can still need programming and the safety functions still need testing.
How much does it cost to install a remote start on a vehicle?
The final cost depends on what the vehicle needs beyond the starter unit. Before approving work, ask how the installer handles a newly identified interface requirement or programming issue: an updated quote before extra work helps you compare the actual completed cost rather than an initial kit price.