
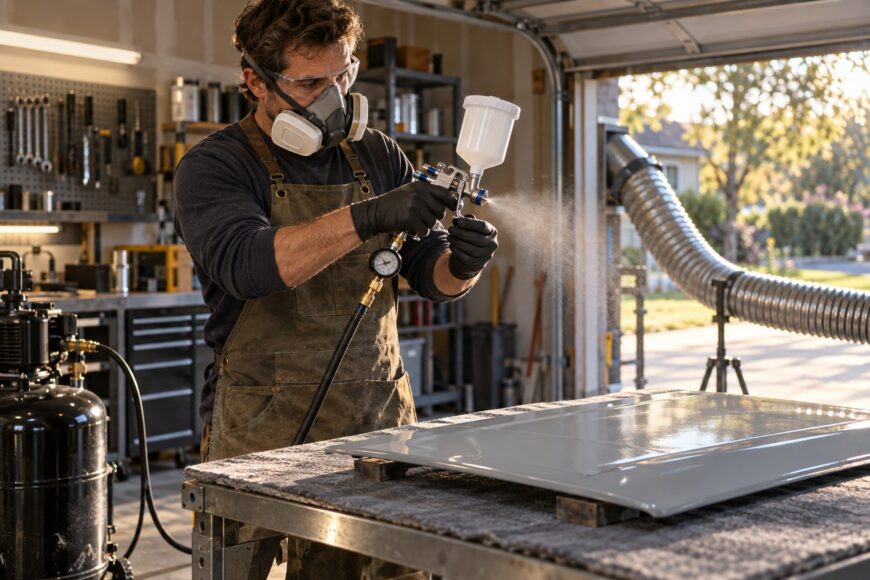
A pressure gauge can show the expected PSI while the spray weakens, spits, or leaves orange peel. The reading may be static, the compressor may be running out of delivered air, or pressure may be falling through the hose, filter, fittings, and regulator once you pull the trigger.
That is why a first-time painter should match the gun to actual airflow rather than trust a “small compressor” claim or a peak PSI number. A reliable setup comes from checking pressure under flow, preparing the coating according to its technical data, testing the pattern on cardboard, and confirming that the spray stays stable for several seconds.
- Start With Safety and a Realistic HVLP Setup
- Check Whether Your Compressor Can Actually Feed the Gun
- Assemble the Air Line and Set Pressure Under Flow
- Prepare the Coating and Test the Spray Pattern
- Use Distance, Overlap, and Thin Coats to Control the Finish
- Diagnose Weak Spray, Spitting, and Orange Peel
- Clean the Gun Before the Coating Dries
- Frequently asked questions
- What PSI should an HVLP spray gun be set at?
- What is the easiest paint sprayer to learn to use for beginners?
- How long should I test an HVLP spray pattern before painting the workpiece?
Start With Safety and a Realistic HVLP Setup
HVLP spraying creates airborne mist and, with solvent-based coatings, flammable solvent vapors. Use ventilation that captures and exhausts contaminants away from the work area, other people, and ignition sources. A garage is not automatically safe simply because its door is open.
Keep heaters, sparks, open flames, and unsuitable fans away from the spraying area. An unsuitable ordinary fan can create an ignition hazard or push wet spray toward people and surfaces. The exhaust path should remove mist without creating a strong cross-draft that dries the spray before it reaches the workpiece.
Follow the coating and equipment safety instructions, including applicable OSHA requirements for vapor control and ventilation. Wear suitable eye, skin, and respiratory protection for the product being sprayed. In an inadequately ventilated enclosed space, a standard filtering respirator does not replace supplied-air protection.
Check Whether Your Compressor Can Actually Feed the Gun
Choose the compressor by delivered CFM at the gun’s working pressure. Tank volume and peak PSI alone do not establish compatibility. Typical HVLP models cited in the brief require about 11.3–12.7 CFM at 26–28 PSI, although your gun’s manual remains the controlling specification.
A compressor can hold pressure in its tank while failing to supply the gun’s continuous air volume. The result appears during a long pass: the fan narrows, atomization becomes rough, and you have to stop while the compressor recovers. Pausing repeatedly also makes coverage uneven.
Marketing may promise small-compressor operation, and a smaller unit may work briefly on a small part. Continuous HVLP demand can exceed compressor output, especially on larger surfaces. Treat short demonstrations as limited compatibility rather than proof of stable production spraying.
Test the system before loading the workpiece. Spray onto cardboard continuously for several seconds, then compare the beginning and end of the pattern. A pattern that starts clean and becomes weak or coarse indicates an airflow limitation or restriction that pressure adjustment alone will not solve.
Assemble the Air Line and Set Pressure Under Flow
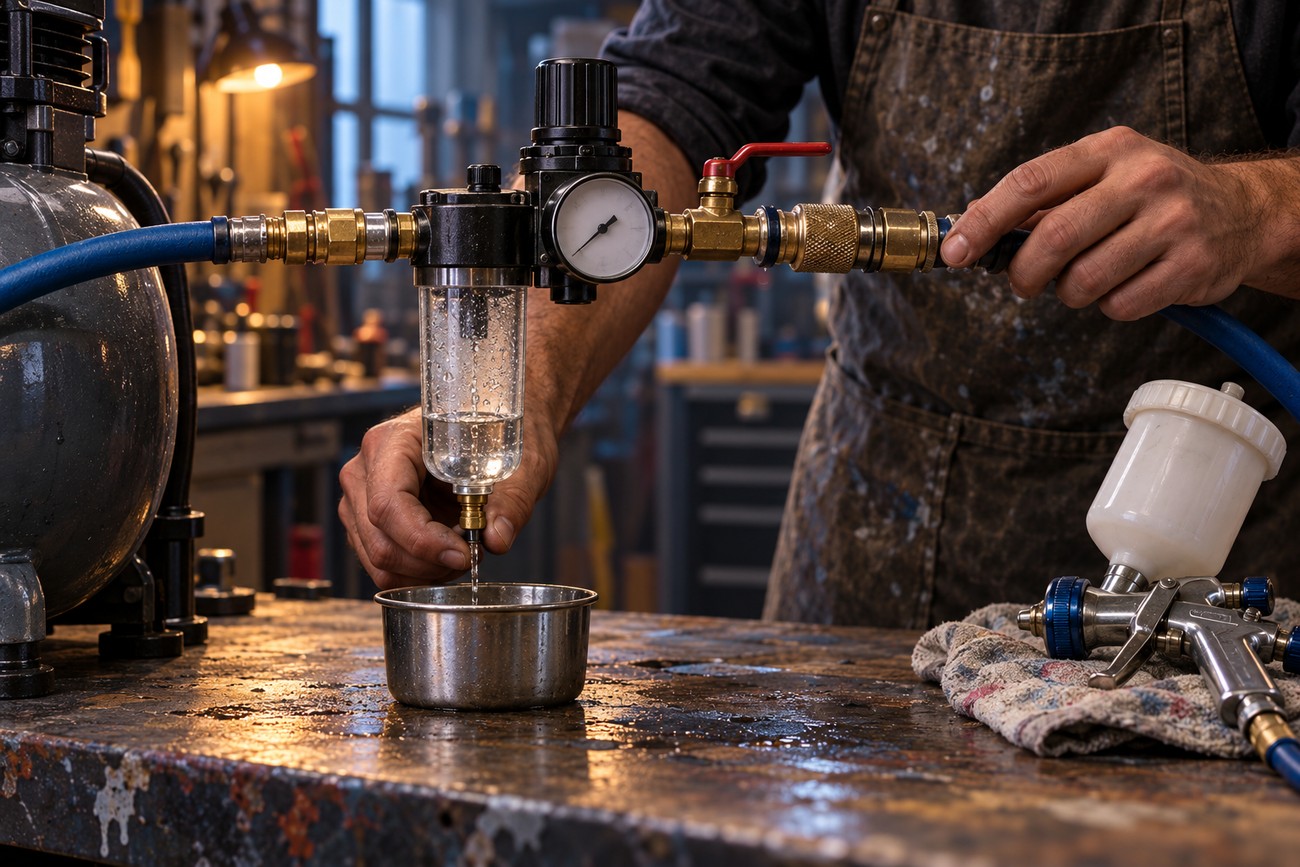
Build the air connection with a filter, a regulator with a gauge, a shutoff valve, and a quick-connect, while keeping the hose and fittings suitable for the required airflow. Moisture, oil, condensation, and old coating residue can contaminate the finish. Drain and inspect the system regularly because one water filter does not address every contamination source.
Inlet pressure and pressure at the nozzle are different readings. The hose, filter, regulator, fittings, and quick-connect can restrict flow, especially when the hose has a small internal diameter or the fittings are restrictive. Short, low-quality hoses can still create a meaningful limitation.
Set the regulator with the gun connected and the trigger open so air is flowing through the gun. Adjust it until the pressure at that operating condition matches the gun manufacturer’s guidance. A closed-trigger gauge reading can fall substantially when the air path is working.
HVLP specifications vary; cited manufacturer ranges include 14–28 PSI and 15–45 PSI. Use the range for your specific gun, air cap, and coating system. There is no universal HVLP pressure setting that suits every model.
Prepare the Coating and Test the Spray Pattern
Do not thin paint by eye. Coating type, viscosity, nozzle size, temperature, and the product’s technical data all affect atomization. Measure or prepare the material according to the coating manufacturer’s instructions, then strain it if the product guidance calls for that step.
Material flow, fan size, and air pressure affect one another. Begin with a controlled amount of fluid and a moderate fan, then spray cardboard to check the fan shape, material flow, and evenness. A centered, consistent pattern is more useful than a gauge reading that has not been tested at the surface.
If atomization is coarse, check viscosity and spray distance before increasing pressure. Too little pressure can produce coarse atomization and orange peel, while excessive pressure increases overspray, material waste, and the risk of dry spray. Change one factor at a time so you can identify the cause.
Continue the cardboard test for several seconds without stopping. A pattern that looks acceptable at first but narrows, weakens, or becomes rough points toward insufficient delivered CFM, a restricted air path, or a compressor that cannot sustain the gun.
Use Distance, Overlap, and Thin Coats to Control the Finish
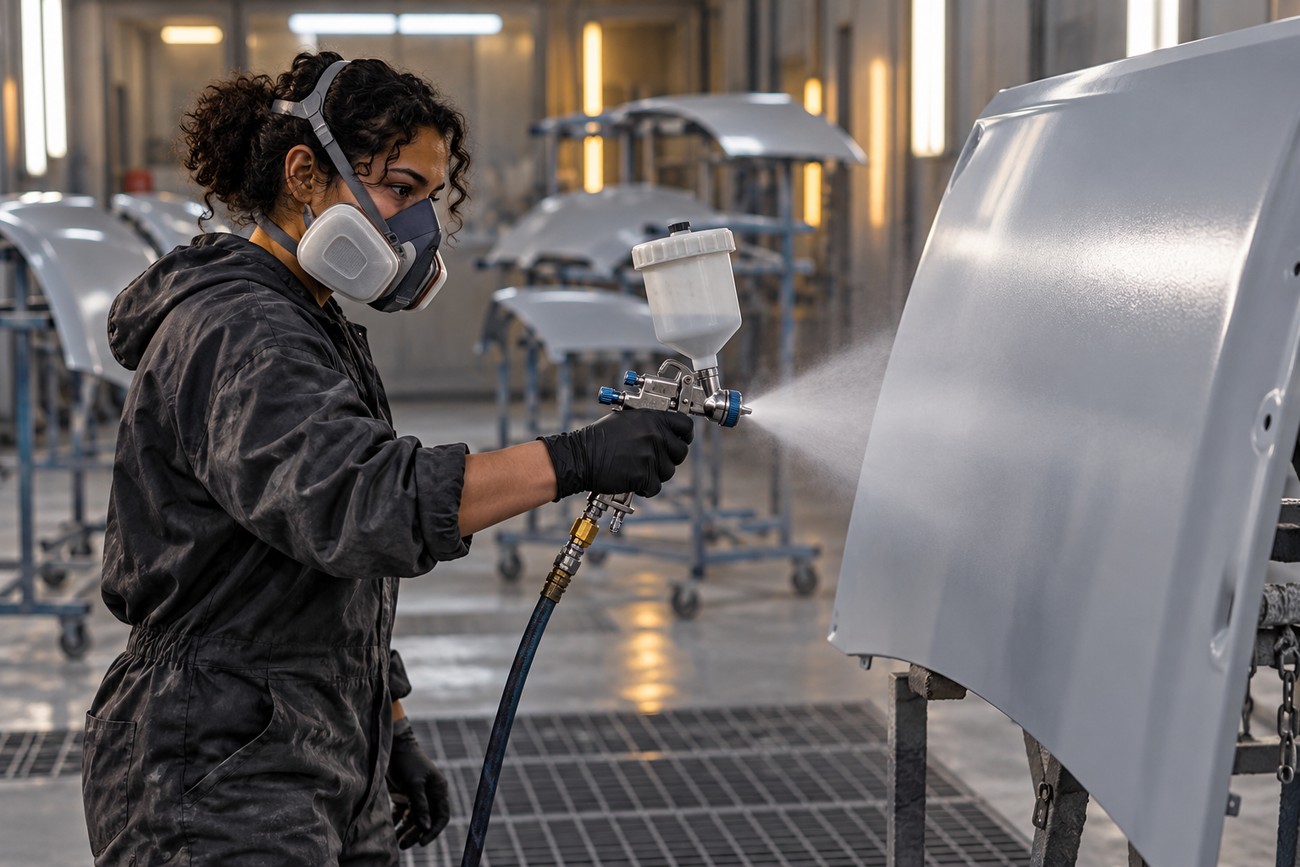
Hold the gun at a consistent angle and distance, and move it evenly across the surface. Keep the air cap oriented in the same direction throughout a pass so the fan remains predictable. Excessive distance allows droplets to lose wetness before they reach the surface, which can create a rough finish.
Build coverage with several thin passes and the appropriate wait time between them. A slow, heavy wet coat can sag, run, or trap solvent, while thinner passes give you more control over coverage and surface texture.
Keep the gun moving before and after the trigger is engaged, and overlap passes consistently according to the coating and gun instructions. Avoid stopping over the workpiece, since that concentrates material in one area.
HVLP labeling does not guarantee identical transfer efficiency between models. Actual material use depends on pressure, distance, fan adjustment, coating, and technique. Higher pressure can increase mist and waste even when the pattern looks sharper from a short distance.
Diagnose Weak Spray, Spitting, and Orange Peel
A fan that weakens after a few seconds usually indicates an airflow problem. Check delivered CFM, hose restrictions, fittings, filters, and compressor recovery rather than immediately turning up PSI. A compressor may maintain tank pressure while failing to maintain the required airflow volume at the gun.
If the compressor must pause frequently, the gun will spray differently before and after each recovery cycle. Reduce the work area, use shorter continuous passes, or correct the air supply before applying more coating. An inconsistent fan can leave one part of a panel wet and another part dry.
Spitting or interrupted flow can come from coating that is too thick, a clogged nozzle, a dirty filter, or a loose cup lid. Check the cup seal and fluid path, then inspect the nozzle and air cap. Moisture, oil, and old coating residue can also contaminate the finish and interrupt the spray.
Compare the pattern before and after several seconds of continuous spraying before increasing PSI. A pressure increase can hide the symptom briefly while adding mist, waste, and dry spray if the real problem is lost airflow.
Orange peel can result from insufficient pressure, excessive viscosity, excessive distance, or a surface that is receiving partially dried droplets. Excessive pressure creates a different failure: more overspray and a greater risk of dry spray. Correct viscosity and distance first, then make small pressure changes within the manufacturer’s range.
Use a controlled sequence: verify the coating, clean the fluid path, check the cup lid and air line, confirm pressure with the trigger open, and repeat the cardboard test. This prevents random adjustments from masking the original fault.
Clean the Gun Before the Coating Dries
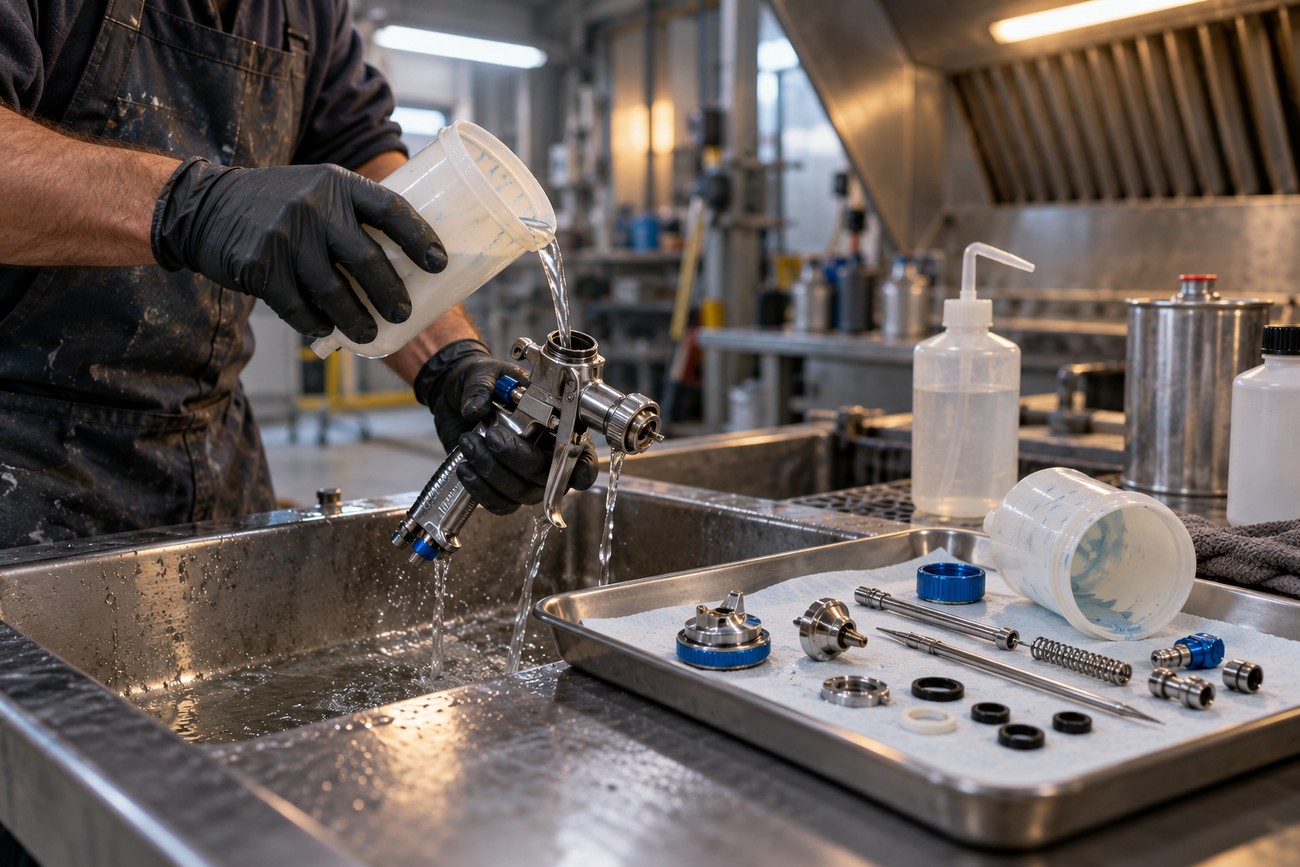
Empty the cup as soon as spraying ends and follow the coating manufacturer’s instructions for the appropriate cleaning fluid. Flush the fluid path while the remaining coating is still wet. Do not leave material in the cup while you take a break.
Cleaning only the cup leaves residue in the nozzle, air cap, needle, and internal passages. That residue can cause later spitting, a distorted fan, or intermittent flow. Disassemble only as far as the gun instructions allow, and keep small parts organized during cleaning.
Clean the air-cap openings with a soft, non-damaging tool. Avoid enlarging or deforming the openings, since their shape controls the air pattern. Inspect the needle and nozzle for dried coating before reassembly.
Water, oil, and coating residue require separate checks. A clean cup cannot remove contamination already present in the air line, and a water filter does not remove every source of oil or old coating. Reassemble the gun correctly, then run a brief clean-air or test-fluid check as permitted by the equipment instructions.
Frequently asked questions
These questions cover pressure, tool selection, and spray-pattern testing. The answers focus on stable airflow, correct coating preparation, and consistent technique. Always follow the instructions for your specific gun and coating.
What PSI should an HVLP spray gun be set at?
Start with the pressure range specified by the gun manufacturer, then verify the actual pressure with the trigger open. The pressure shown with the trigger closed may be higher than the pressure available during spraying.
Adjust only after checking viscosity, nozzle choice, and spray distance. Too little pressure can cause coarse atomization and orange peel; too much can increase overspray, material waste, and dry spray.
What is the easiest paint sprayer to learn to use for beginners?
The easiest sprayer depends on the project, coating, required finish, and available air supply. An HVLP gun offers controlled material adjustment and can produce a refined finish, but it requires a compressor that can sustain its delivered CFM and thorough cleanup after use.
Other sprayer types may suit larger areas or coatings with different application requirements, yet they can produce different levels of overspray and may offer less control for a small detailed part. Choose the tool whose air supply, cleanup demands, and finish requirements match the job.
How long should I test an HVLP spray pattern before painting the workpiece?
Test the initial fan shape and continue spraying for several seconds without stopping. The pattern should remain even throughout that period.
If it narrows, weakens, or becomes rough after starting well, investigate compressor capacity, hose restrictions, filters, fittings, and moisture before painting the workpiece. The change shows that the system is losing stable airflow under continuous demand.







