
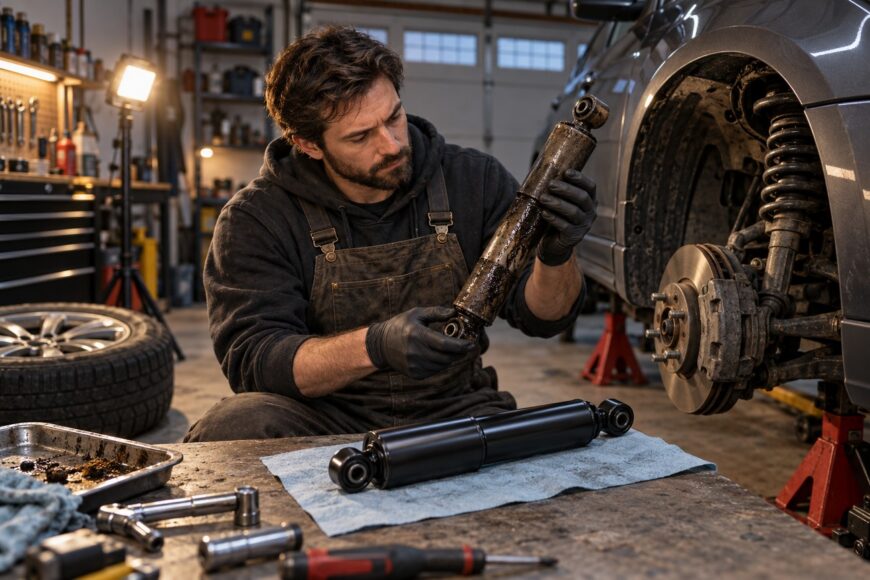
Worn shock absorbers can increase stopping distance, reduce stability, accelerate cupped tire wear, and create suspension noise. Repeated bouncing after a bump may feel like a comfort issue, yet poor damping also affects tire contact with the road during braking and cornering.
Replacing shocks yourself is manageable only when you have the correct parts, secure vehicle support, safe spring-handling equipment, and accurate torque specifications. Replace shock absorbers in pairs on the same axle as a baseline. Preparation matters more than speed, especially when a front strut contains a compressed spring.
- How to Tell Your Shock Absorbers Need Replacing
- Choose Matching Parts Before You Start
- Tools, Safety, and Preparation
- How to Replace the Shock Absorber Step by Step
- Prepare and Install Twin-Tube Shocks Correctly
- Torque the Mounts Without Damaging the Suspension
- Common DIY Mistakes That Cause Leaks, Noise, or Poor Handling
- Post-Installation Checks and First Drive
- Frequently asked questions
- How can I check whether a shock absorber is counterfeit before installing it?
- What are the first signs of bad shocks?
- How can I replace shock absorbers on my own without a lift?
How to Tell Your Shock Absorbers Need Replacing
The usual warning signs include repeated bouncing after a bump, nose-diving under braking, excessive body roll, steering-wheel vibration, and reduced handling. You may also hear suspension noise, notice cupped or scalloped tire wear, or see oil leakage on the shock body. These symptoms often develop gradually, so drivers may adapt to the change without recognizing how much control has been lost.
Oil on the outside of a shock is a useful warning sign, although a light film of residue does not always prove that the unit has failed. Likewise, a single knock may come from a mount, bushing, stabilizer link, or loose fastener. A visual check helps identify leaks and damage, but it cannot reliably measure damping performance or confirm that the shock is the source of every noise.
Inspect the suspension and shock absorbers at least once a year or every 20,000 km, whichever comes first. A commonly recommended planning point for replacement is about 80,000 km, but poor roads, heavy loads, corrosion, and severe operating conditions can shorten actual service life. Mileage is therefore a planning guide, not a guarantee that every shock will last that long.
Choose Matching Parts Before You Start
Use the vehicle identification details and the manufacturer’s application data to select the correct shock or strut. Check the mounting arrangement, dimensions, travel, and intended axle position. Before disassembly, compare the old and new unit’s overall length, mounting style, rod diameter, and minimum and maximum travel. A part that looks similar can still have the wrong stroke, bracket, or damping specification.
Replace shock absorbers as a pair on the same axle. A single new unit beside a worn one can create different damping from side to side, affecting braking stability, body movement, and tire loading. Replacing the full set may be appropriate when overall wear is similar, but the manufacturer’s application and the vehicle’s condition should guide that decision.
Inspect the mounts, bearings, bump stops, dust boots, and fasteners while the assembly is apart. Mounts and bearings may wear sooner than the shock absorber and can cause noise or play if reused. A damaged bump stop or torn dust boot can also expose the new unit to harsh impacts and contamination, making a sound shock appear to have failed prematurely.
Heavy-duty or sport shocks can increase stiffness and loads on bushings, the body, and other suspension components. They should match the vehicle’s intended use and spring rate. Avoid choosing a part solely because it is marketed as stronger or because it is heavily discounted; incorrect damping or counterfeit parts can lead to repeat repairs.
Tools, Safety, and Preparation
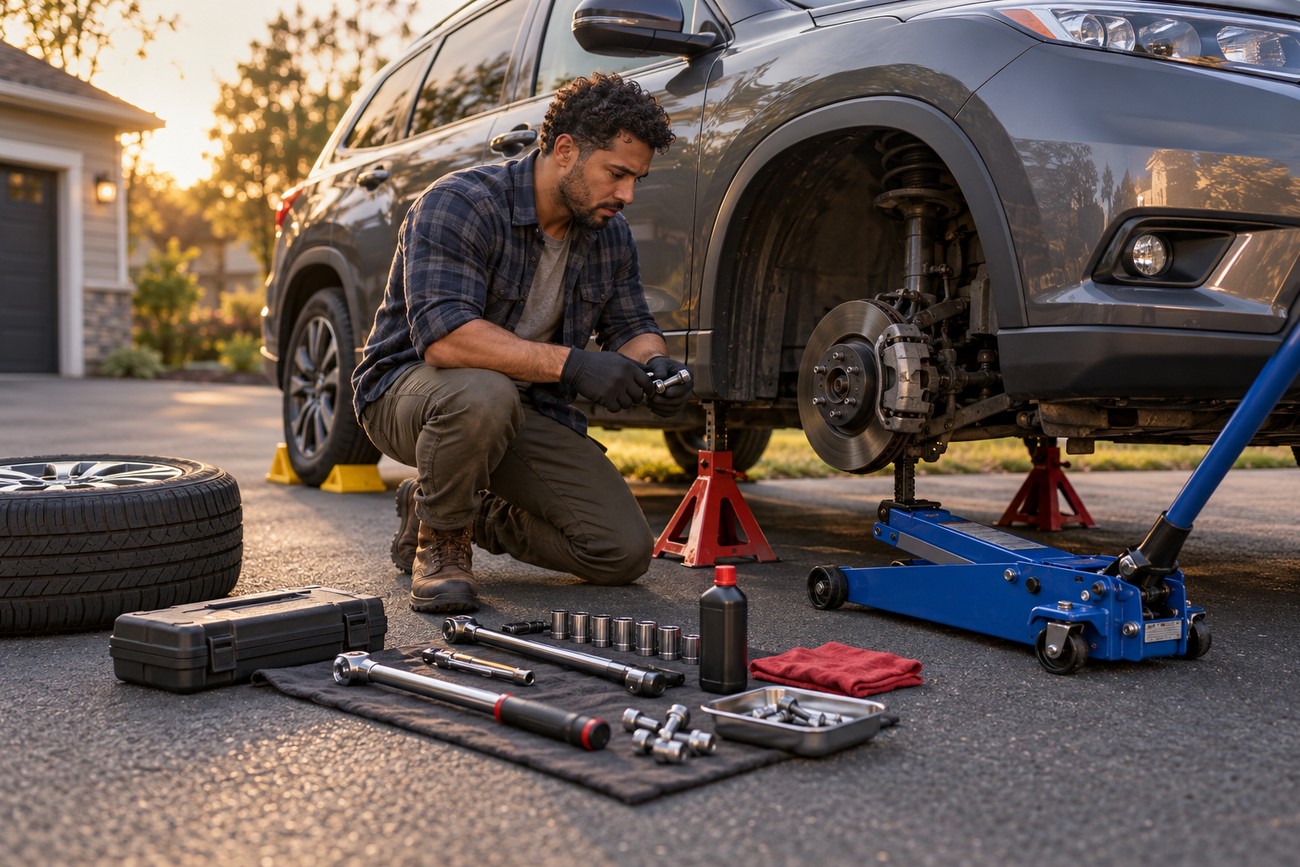
Work on a level, firm surface. Chock the wheels that remain on the ground, use a correctly rated jack, and support the vehicle on properly positioned jack stands. A jack alone is not a safe substitute for stands. Keep the vehicle stable before removing a wheel or placing any part of your body underneath it.
Prepare hand tools, a torque wrench, penetrating lubricant, and replacement hardware where the service procedure calls for it. Clean corroded threads, apply penetrating lubricant, and allow about 10–15 minutes before attempting removal. This preparation reduces the chance of rounding a fastener or breaking a seized bolt, although heavily corroded hardware may still require specialist equipment or replacement parts.
A separate rear shock is often removed without taking the coil spring apart. A spring-loaded front strut is a different risk category because the compressed spring stores substantial energy. Use certified, good-quality spring compressors when spring removal is required; never substitute improvised, visibly damaged, or low-quality tools.
Plan to use hand tools during installation. In particular, do not use an impact wrench on the shock rod or upper nut. The rod can spin, the internal parts can be damaged, and the thread or holding feature can be ruined before the correct torque is reached.
How to Replace the Shock Absorber Step by Step
First identify whether you are working on a separate shock absorber or a complete strut assembly. Follow the vehicle manufacturer’s service procedure for mounting order, fastener locations, sensor wiring, brake-hose brackets, and suspension support points. Photograph the original arrangement before removal if several washers, sleeves, or brackets are involved.
Secure the vehicle, remove the wheel, and support the suspension as the service procedure requires. Some suspension arms can move suddenly when a shock is detached, so a second support may be needed. Loosen prepared fasteners with hand tools, keeping the assembly controlled as the final connection is removed.
Remove the old unit and compare it with the replacement before fitting anything. Check overall length, mounting style, rod diameter, and minimum and maximum travel. Stop if the part number, bracket orientation, or dimensions do not match. Forcing an apparently incorrect part into position can damage the suspension or leave the vehicle with inadequate travel.
Front strut work requires controlled spring compression before the upper mount can be separated. Compress the spring evenly with the approved compressor, keep the tool hooks fully engaged, and follow the compressor manufacturer’s limits. Transfer only components that are confirmed serviceable, and replace worn mounts, bearings, bump stops, dust boots, or damaged fasteners as specified.
A separate rear shock usually involves removing the upper and lower mounts without disturbing the coil spring. Install the new unit in the correct orientation, start all fasteners by hand, and leave rubber-bushed mounts ready for final tightening with the suspension loaded as specified. Vehicle-specific instructions take priority over any general sequence.
Prepare and Install Twin-Tube Shocks Correctly
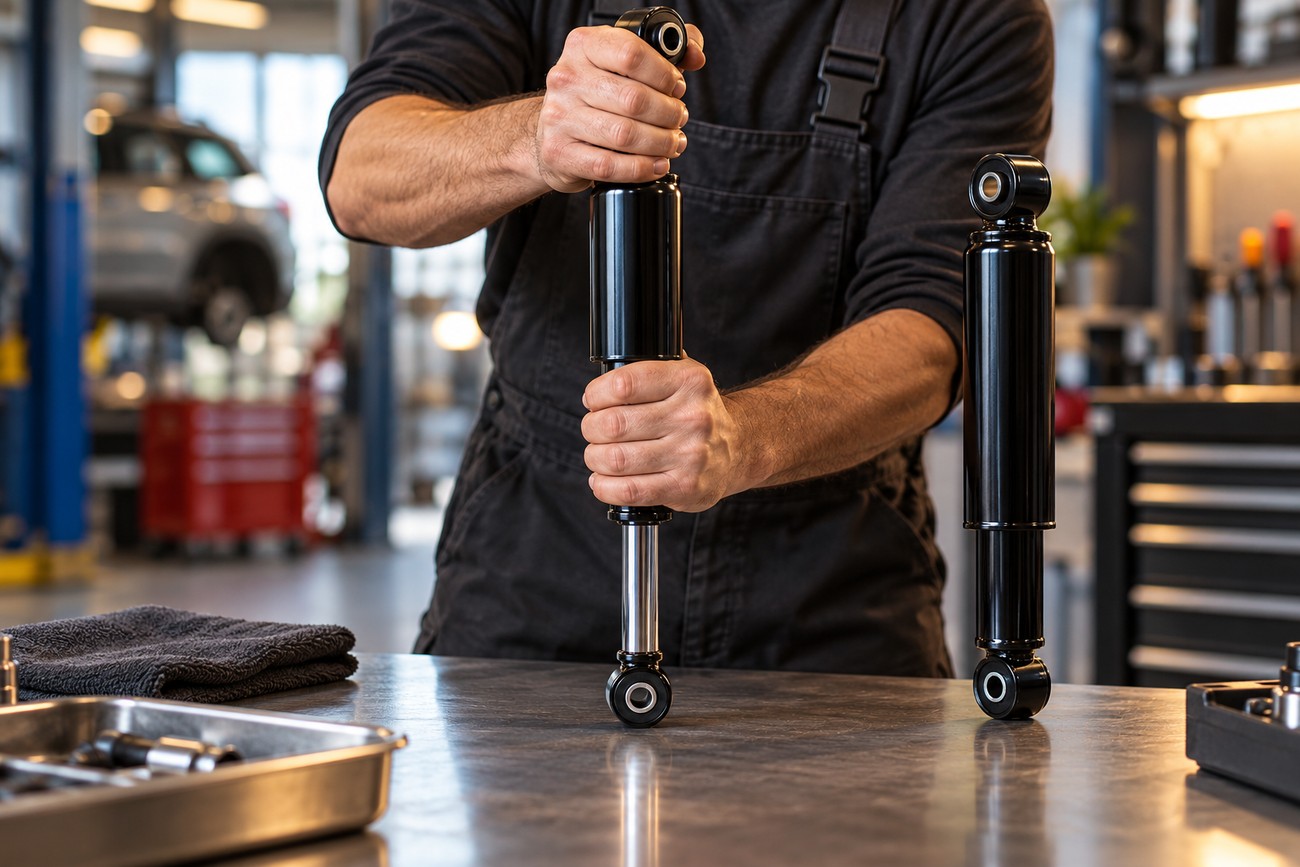
Oil twin-tube and gas-oil twin-tube shock absorbers may require bleeding before installation, especially after horizontal storage. Do not assume every shock has the same procedure. Read the unit’s instructions first and follow them if bleeding is required.
The usual manufacturer-specified process is to hold the shock vertically with the rod downward, compress it slowly, pause, and allow controlled extension. Repeat only as directed. The purpose is to return the internal oil and gas arrangement to the intended operating position and remove temporary dead travel caused by storage.
Keep a newly bled twin-tube shock vertical until it is fitted. Leaving it on its side or working with it at a steep angle can allow the internal fluid and gas arrangement to move away from the position established during bleeding.
Fit the shock carefully and avoid striking the rod or forcing the mounting eye into alignment with a pry bar. Start the fasteners by hand so the threads remain straight. Use the specified torque for the vehicle or shock manufacturer, and hold the rod only with its intended holding feature during tightening.
Torque the Mounts Without Damaging the Suspension
There is a difference between securing a component during assembly and performing its final tightening. Final tightening of relevant rubber-bushed mounts should occur with the vehicle on its wheels or the suspension loaded as specified. Tightening at full droop can twist the bushing into a preloaded position, reducing its life and creating stiffness or noise as the suspension moves.
Use a torque wrench and the vehicle or component manufacturer’s specified torque values. General torque figures from another vehicle are unsafe substitutes because fastener size, grade, bushing design, and mounting construction vary. If the manual specifies a new nut or bolt, install new hardware rather than reusing the old part.
Do not use an impact wrench on the shock rod or upper nut. Use a hand tool and the rod’s intended holding feature, applying only the force needed to prevent rotation. The rod’s internal splines or flats are for holding the rod during tightening, not for applying large torque through them; excessive force can strip or damage them.
After installation, recheck accessible shock fasteners after 20–30 km, with particular attention to rear shocks. This is a follow-up inspection, not a replacement for correct initial torque. Stop driving if a fastener is loose, a mount moves, or a new knock appears.
Common DIY Mistakes That Cause Leaks, Noise, or Poor Handling
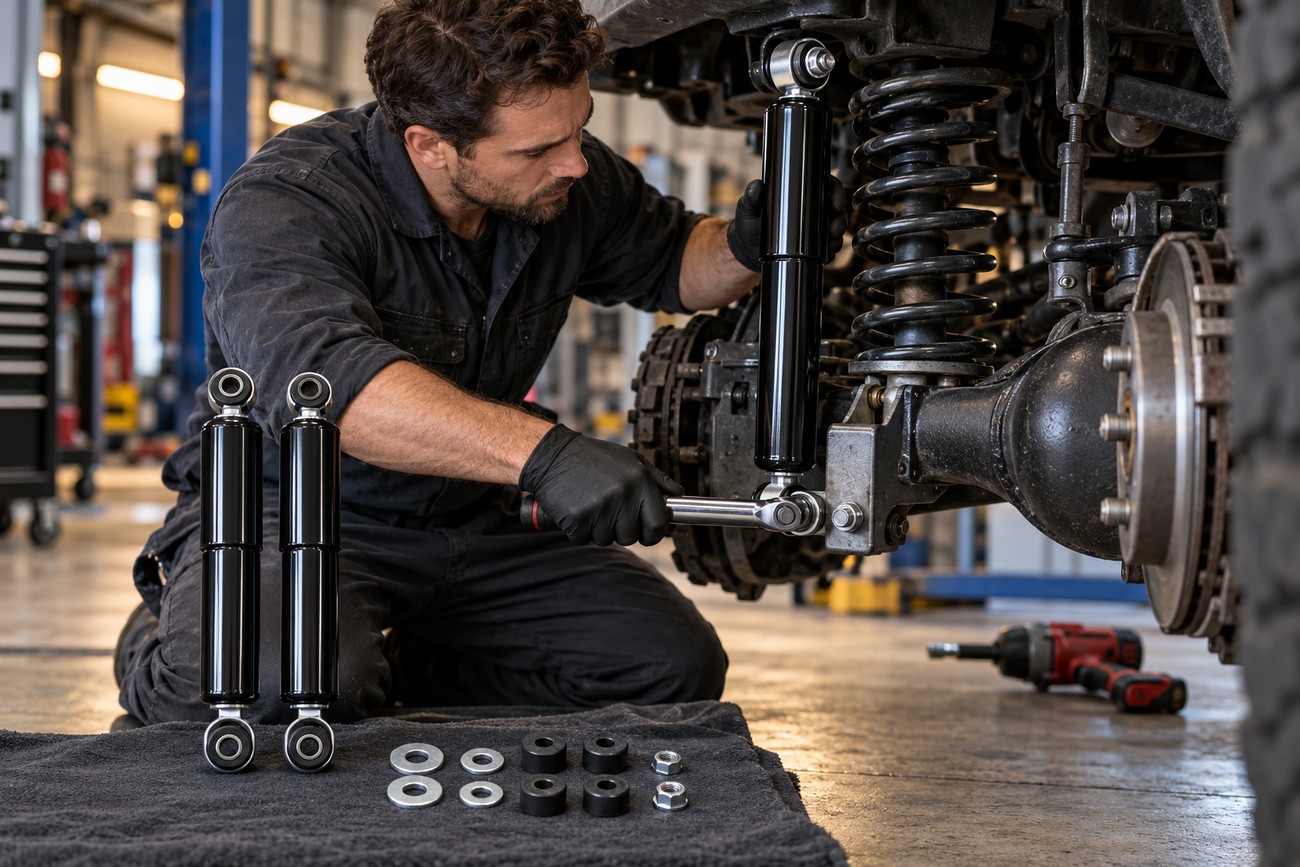
Replacing only one shock creates a damping imbalance across the axle. The vehicle may feel unsettled during braking or lane changes, and tire loading can become uneven. Fitting the wrong part or mixing different stiffness levels can produce similar symptoms even when both units are new.
Skipping required bleeding on a twin-tube unit can cause temporary dead travel or poor damping. Using an impact tool on the rod can damage internal components or the rod thread, while forcing seized hardware can bend brackets, break bolts, or damage a control arm. Clean the threads and use penetrating lubricant before applying force.
Old mounts, bearings, bump stops, and dust boots can create knocks and shorten the apparent life of new shocks. A technician may replace the shock correctly yet leave the worn mount in place, so the vehicle still makes noise after the repair. Inspect associated parts while access is available.
An unsafe spring compressor is the most serious risk in front strut work. A slipping or damaged tool can release the spring suddenly and cause severe injury or vehicle damage. Counterfeit or poor-quality shocks can also leak or lose damping early, so a cheap purchase can become more expensive than a properly verified repair.
Post-Installation Checks and First Drive
Install the wheels and tighten the wheel fasteners to the vehicle manufacturer’s specification. Before lowering the vehicle fully, check that brake hoses, wiring, dust boots, and brackets are routed correctly and cannot contact the tire, spring, or body. Look for a trapped hose, a twisted mount, or interference through the available suspension travel.
Perform a stationary inspection for loose hardware, oil leakage, damaged threads, and incorrect fastener seating. A bounce test alone cannot prove that the installation is correct. It may miss a loose mount, incorrect routing, or a problem that appears only under braking or steering load.
Take a cautious test drive before returning to normal use. Begin at low speed, listen for knocks or rubbing, and check whether the vehicle tracks and brakes predictably. Use controlled braking and gentle maneuvering only after the first checks are satisfactory, then inspect again for leaks, interference, pulling, and excess body movement.
Recheck accessible fasteners after 20–30 km. An alignment check may be needed when strut removal or another operation has disturbed suspension or steering geometry. Follow the vehicle’s procedure and alignment specifications rather than assuming the steering wheel position alone proves that geometry is correct.
Frequently asked questions
These answers cover practical decisions that often determine whether a shock replacement remains safe and trouble-free after the tools are put away.
How can I check whether a shock absorber is counterfeit before installing it?
Start with the seller. Prefer an established supplier, verify that the seller is authorized where possible, and be cautious if the price is far below the normal market level. A brand name on the box is not enough.
Compare the packaging, part number, labels, markings, barcode, and manufacturing details with the manufacturer’s official information. Use the manufacturer’s part-number lookup or contact its support channel if the markings, spelling, finish, or packaging appear inconsistent. Before installation, compare the physical part with the catalog data and the removed unit. Do not install a part that cannot be matched confidently to the vehicle and application.
What are the first signs of bad shocks?
The first signs are often repeated bouncing, nose-diving under braking, increased body roll, steering-wheel vibration, reduced handling, suspension noise, cupped or scalloped tire wear, and oil leakage. One symptom alone is useful evidence, but it is not always a conclusive diagnosis because mounts, bushings, tires, and other suspension parts can produce similar complaints.
Have the suspension inspected at least once a year or every 20,000 km, whichever comes first. A common planning point for replacement is about 80,000 km, while poor roads and heavy use can shorten actual service life.
How can I replace shock absorbers on my own without a lift?
You can replace a separate shock at home without a lift if you have a level surface, a correctly rated jack, jack stands, wheel chocks, suitable hand tools, and a torque wrench. A jack alone is unsafe. Support the vehicle securely and follow the service manual for the mounting sequence and loaded-suspension tightening points.
A spring-loaded strut cannot be safely disassembled without a certified, good-quality spring compressor and the correct procedure. If you lack that equipment, cannot identify the correct part, or find seized hardware that may require specialist tools, stop before dismantling the assembly and use a qualified repair facility.







