
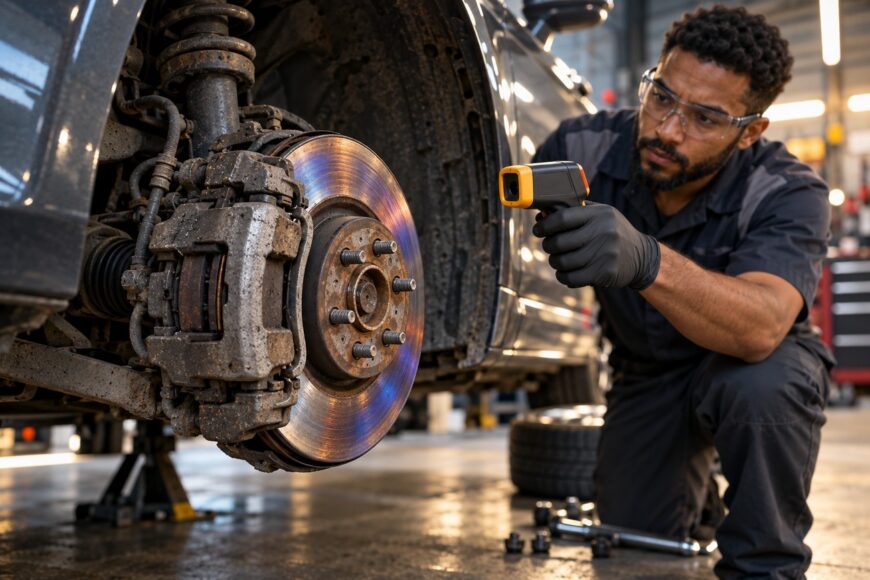
One wheel is hotter than the others, the vehicle pulls after braking, or a burning smell appears after a short drive. You may also feel the brake dragging, notice delayed release, or find that one pad is worn much more than its mate. These signs indicate that the brake is not releasing correctly and should be treated as a safety issue.
Continuing to drive can turn a caliper problem into damage to the pads, disc, brake fluid, seals, and potentially nearby hub components. Repeated road testing adds heat without providing a reliable diagnosis. Stop safely and allow the brake to cool before inspecting it.
The cause may be a seized piston, sticking guide pins or pad hardware, or a flexible brake hose that retains pressure like a check valve. These faults can feel similar but require different repairs, so a “20-minute fix” is not a dependable expectation.
- How to Tell a Brake Caliper Is Sticking
- Diagnose the Cause Before Taking the Caliper Apart
- Repair or Replace the Stuck Caliper?
- How to Repair a Stuck Brake Caliper
- Can You Unstick a Brake Caliper Without Removing It?
- Common Mistakes That Make the Problem Return
- Post-Repair Checks and Safe Recommissioning
- Frequently asked questions
- How far can I drive with a sticking brake caliper?
- How often should brake calipers be inspected?
- How to unseize a brake caliper without removing it?
- How to unseize a car brake caliper?
How to Tell a Brake Caliper Is Sticking
A vehicle that pulls to one side after braking may have a caliper that is failing to release. The affected wheel can feel resistant when the vehicle rolls, and the steering may change as the brake heats up. Delayed release often becomes more noticeable after several stops.
Compare the wheels only after parking safely and avoiding contact with hot brake parts. One wheel or disc that is much hotter than the others, a burning smell, smoke, or discoloration indicates significant heat. Do not repeatedly drive the vehicle to “see if it clears”; an overheating brake can rapidly damage the pads, disc, brake fluid, and seals.
Inspect pad wear when the assembly is cool. A tapered pad, an inner pad worn nearly to the backing plate, or a large difference between the inner and outer pads points toward restricted piston, guide, or pad movement. New pads do not correct the cause and may be damaged quickly if installed on a sticking caliper.
Diagnose the Cause Before Taking the Caliper Apart
The two primary mechanical failure types are a seized piston in the bore and sticking guide pins, guide boots, pad hardware, or sliding surfaces. A piston fault often keeps pressure on the pads, while restricted guides can prevent the caliper from moving evenly across the pads. Rust on the caliper bracket or pad contact surfaces can imitate a failed piston.
Remove the wheel when the brake is cool and inspect the pad wear, guide movement, boots, bracket, and pad seating areas. The guides should move smoothly according to the caliper design, and the pads should move freely in their cleaned contact points. Torn, hardened, or swollen boots are evidence that contamination may already have reached the moving parts.
A damaged flexible brake hose can act like a check valve and retain pressure after the pedal is released. A technician may compare wheel behavior before and after safely releasing trapped hydraulic pressure, but opening the hydraulic circuit requires correct bleeding afterward. Do not loosen a brake line unless you can contain the fluid, prevent contamination, and complete the prescribed bleeding procedure.
Repair or Replace the Stuck Caliper?
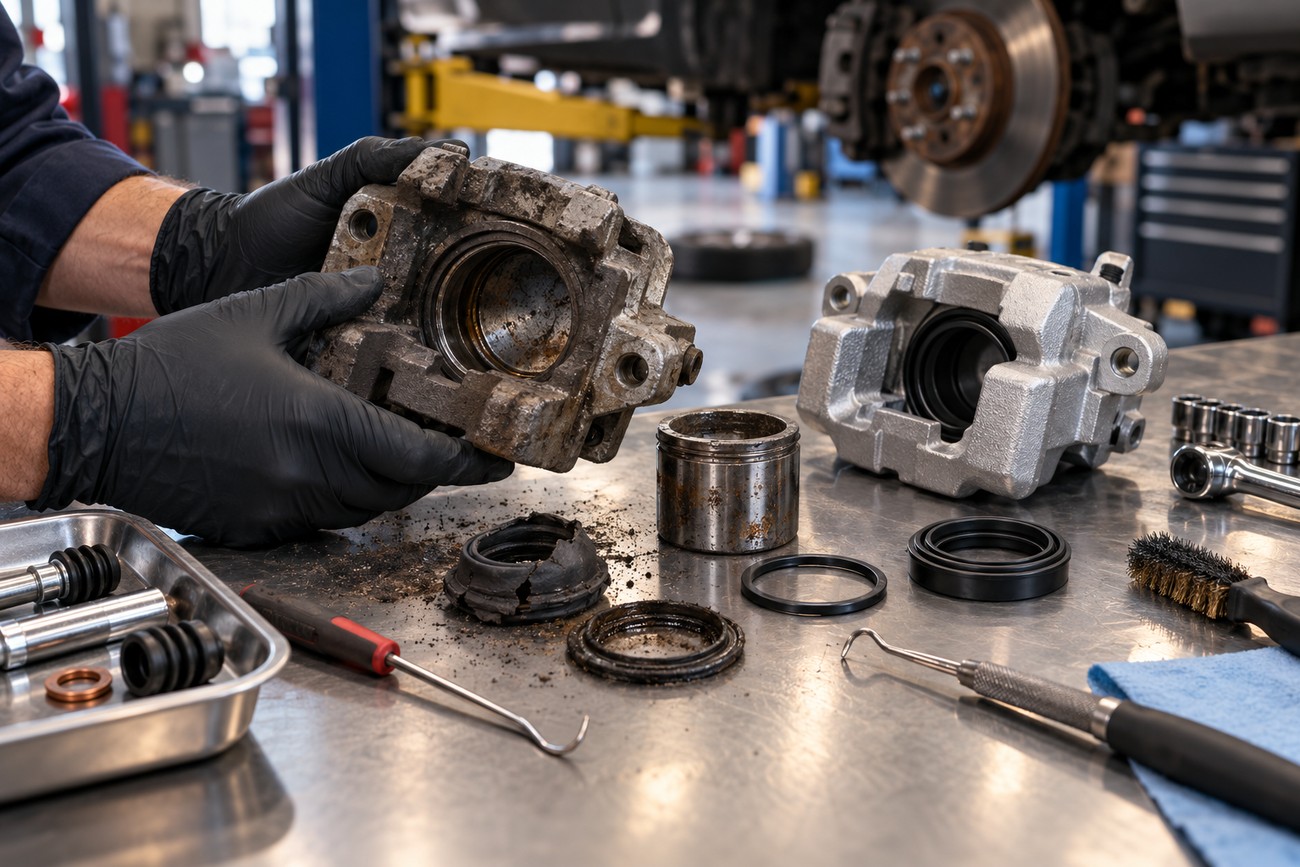
A rebuild can be reasonable when the caliper body and bore are serviceable, the correct parts are available, and the piston has no damage on its working surface. The repair normally involves disassembly, cleaning, inspection, and replacement of seals and dust boots as required. External cleaning alone is not a complete rebuild.
Internal bore corrosion or pitting often requires suitable replacement parts or replacement of the caliper. A rebuild kit may include seals and dust boots but not the piston, so a pitted piston still requires replacement. A torn, cracked, or hardened boot should be replaced because it allows dirt and water to promote renewed corrosion and sticking.
Replacement can be the safer economic choice when the caliper has severe corrosion, heat damage, damaged sliding surfaces, missing rebuild parts, or a strong risk of recurrence. Labor and the consequences of a failed rebuild matter as much as the price of the component. Inspect the complete brake assembly and the opposite side before deciding whether rebuilding is worthwhile.
How to Repair a Stuck Brake Caliper
Secure the vehicle on a suitable surface with proper support, remove the wheel, and control the caliper before disconnecting anything. Prevent the caliper from hanging by the brake hose. If the piston must be extended, control its movement and protect against a sudden release of the piston or brake fluid.
Inspect the piston, bore, seal groove, dust boot, guide pins, guide boots, bracket, pad contact surfaces, and flexible hose. Replace parts with corrosion, pitting, cracks, loss of elasticity, or heat damage. A corroded working piston or bore generally needs suitable replacement parts or a replacement caliper rather than exterior lubrication.
Check the hose and release trapped hydraulic pressure before condemning the caliper. Replacing a mechanically sound caliper will not correct a hose that acts as a check valve and keeps pressure applied.
Clean the bracket and pad sliding surfaces with methods suitable for the brake design, then install compatible seals, boots, guides, and hardware. Mineral oils, penetrating sprays, and unsuitable lubricants must not contact brake seals or rubber components. Use only a lubricant specified as compatible with the relevant brake seals, guides, and pad hardware, and keep all lubricant away from the friction surfaces of the pads and disc.
Reassemble the brake, reconnect any hydraulic line correctly, and bleed the system until there are no leaks and the pedal has the correct feel. Before fitting the wheel, confirm that the pads and guides move correctly and that the piston operates evenly where the design permits. A repair is complete only after free wheel rotation, leak checks, correct pedal feel, and cautious road testing.
Can You Unstick a Brake Caliper Without Removing It?
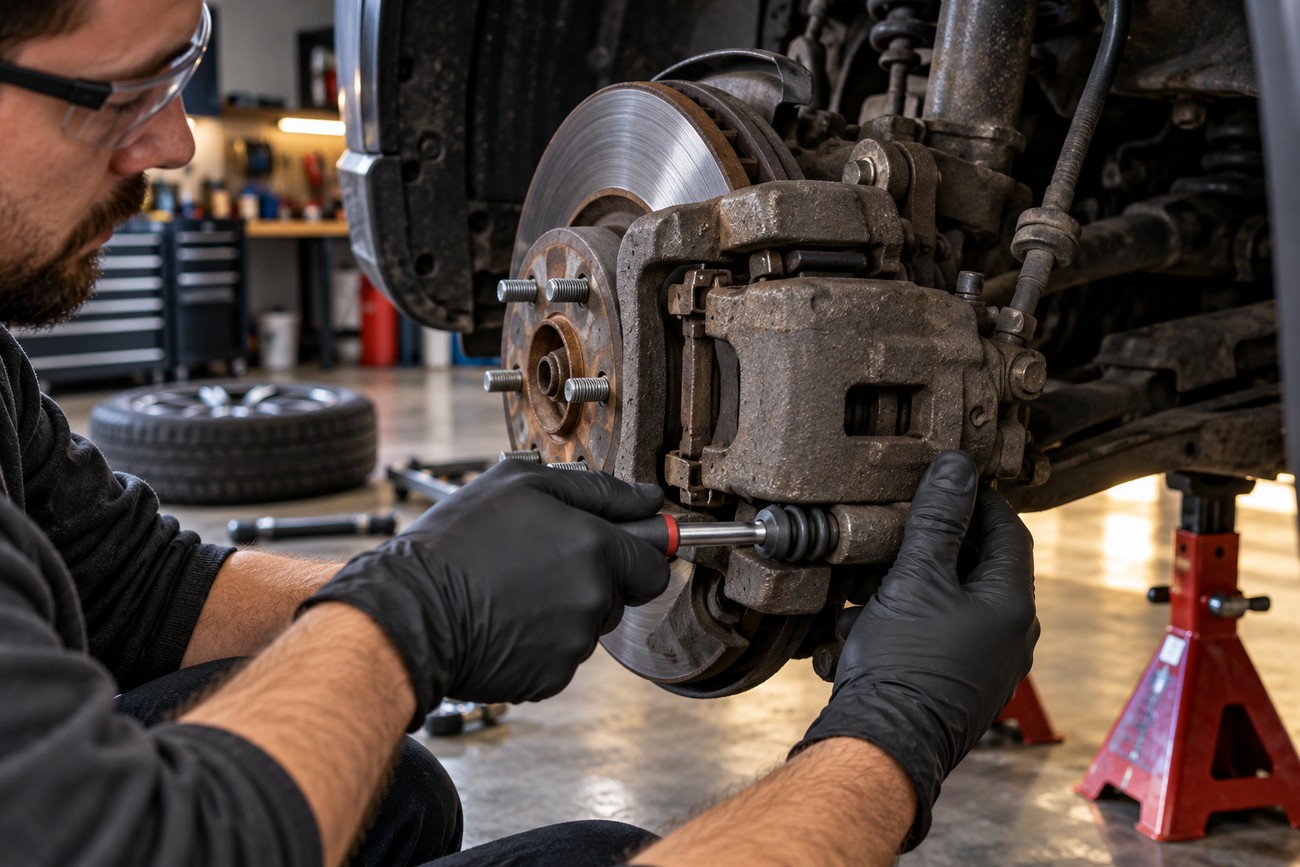
Sometimes controlled movement of a guide or piston can temporarily change the symptom, which may help confirm that movement is restricted. It does not reveal hidden pitting, renew a damaged seal, or repair a boot that has lost its protective function. If corrosion is inside the piston or bore, external cleaning or lubrication may provide only a short-lived improvement.
WD-40 and similar penetrating fluids are not brake lubricants. They can harm rubber components and do not remove corrosion from the working surfaces. The correct lubricant depends on the brake design and must be compatible with the seals, guides, and hardware.
Never force a piston out without controlling its movement and protecting yourself from a sudden release of the piston or brake fluid. If the piston will not move normally, the brake should be disassembled or replaced using the vehicle-specific repair procedure. Opening the hydraulic system also means the brake must be bled and checked for leaks before use.
Common Mistakes That Make the Problem Return
Installing new pads on seized guides, a sticking piston, or restricted pad contact surfaces does not solve the fault. The new pads may wear unevenly, overheat, and damage the disc before they have bedded in. Pad replacement should follow diagnosis, not substitute for it.
Old boots can have unseen cracks or lost elasticity even when they appear intact. Reusing them allows water and dirt to reach the guides or piston, restarting corrosion. Cleaning only the outside of the caliper also misses corrosion inside the bore and damage in the seal groove.
Some advice recommends working the caliper free and applying grease. That may temporarily improve movement, but proper service requires inspection and replacement of damaged seals, boots, pistons, or calipers. Incorrect lubricant on rubber parts or friction surfaces can create another brake fault.
After repair, skipping the checks is another common failure. Confirm wheel rotation, leaks, pedal feel, disc temperature, and pad wear after several trips. A brake that initially feels normal can still drag if a hose, guide, seal, or heat-damaged component was overlooked.
Post-Repair Checks and Safe Recommissioning
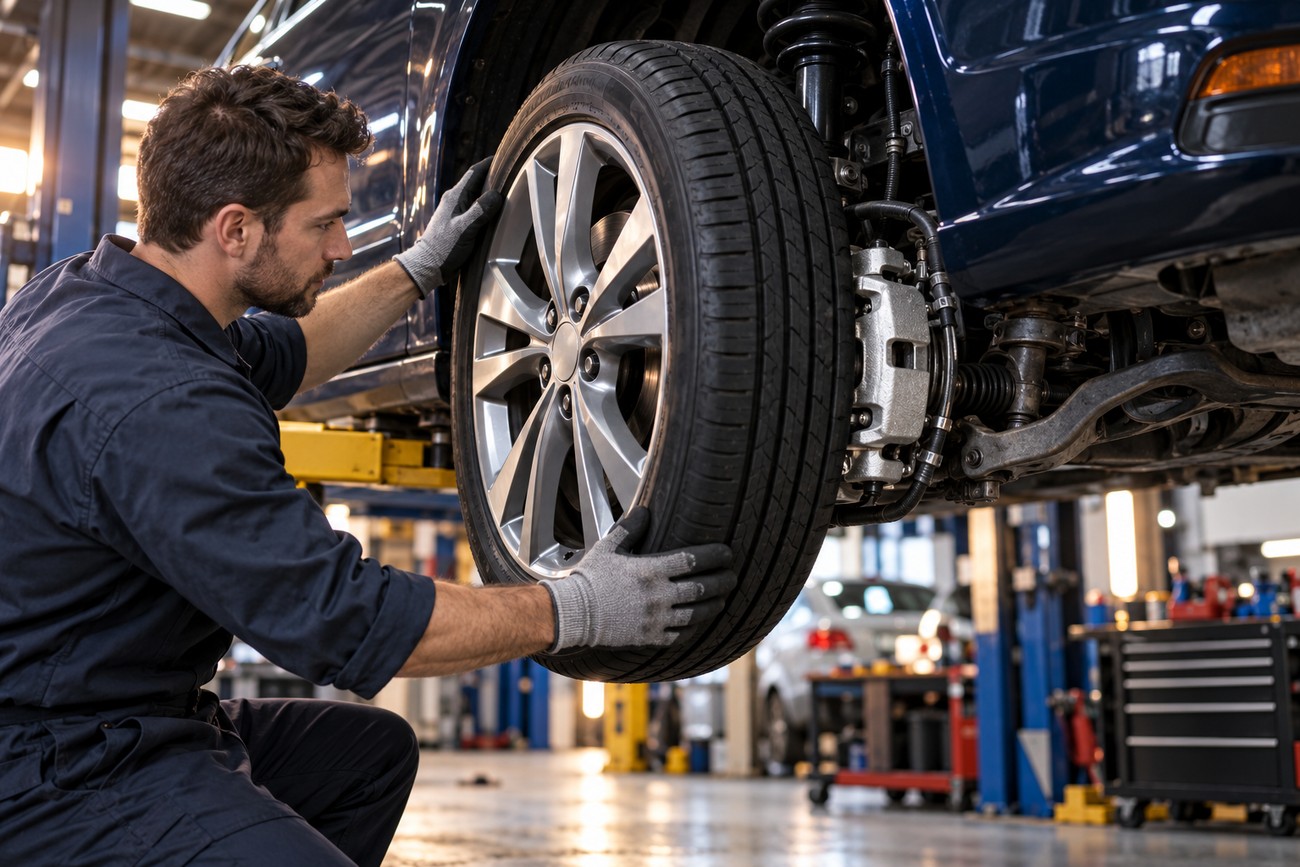
Before fitting the wheel, inspect pad seating, guide movement, boot installation, hose routing, and all fasteners according to the vehicle’s service procedure. Where the design permits, move the piston in a controlled way to confirm smooth, even operation. Do not use force that could damage the seal or piston.
Bleed the system correctly after hydraulic disassembly and check every connection for leaks. The pedal should have the correct firm feel for the vehicle, and the wheel should rotate freely after the brake is released. A small amount of normal pad contact may exist, but continuing drag or rapid resistance indicates that the fault remains.
Begin with a cautious road test in a safe area and use light braking first. After several trips, compare wheel or disc temperatures without touching hot components, and monitor for pulling, burning smell, noise, delayed release, or uneven wear. Previous overheating can degrade brake fluid and seals even after the caliper appears to move normally.
Frequently asked questions
How far can I drive with a sticking brake caliper?
There is no reliable safe distance when a wheel is overheating, the vehicle is pulling, or a burning smell is present. Continued driving can worsen pad, disc, fluid, seal, and hub damage while reducing braking balance. Stop as soon as it is safe; towing is the appropriate option when the brake is hot, smoking, dragging heavily, or the vehicle cannot be controlled confidently.
How often should brake calipers be inspected?
Calipers should be checked during routine brake-service inspections and whenever pads or discs are removed. The inspection should include boots, guides, pad sliding surfaces, leaks, corrosion, and pad wear rather than relying on a fixed universal interval. Vehicles exposed to road salt, water, mud, or long periods of parking may need closer attention.
Inspect the brakes sooner if a boot is damaged, the vehicle pulls, a wheel becomes hotter, braking release is delayed, or wear is uneven. Follow the vehicle manufacturer’s maintenance instructions and adjust the inspection based on the condition found.
How to unseize a brake caliper without removing it?
Without removal, you may be able to identify restricted movement or temporarily free a guide under controlled conditions, but you cannot reliably inspect the bore, piston, seal groove, or hidden boot damage. Do not use penetrating spray or force the piston. A recurring or overheating fault requires proper disassembly, compatible replacement parts, or caliper replacement.
How to unseize a car brake caliper?
First identify whether the fault is a piston, guide, pad-contact surface, or hose retaining hydraulic pressure. Then repair the specific cause: clean and replace damaged sliding parts, rebuild the caliper with suitable seals and piston parts, replace the caliper, or replace the faulty hose. Finish with correct bleeding, leak checks, pedal verification, free wheel rotation, and temperature monitoring after several trips.







