
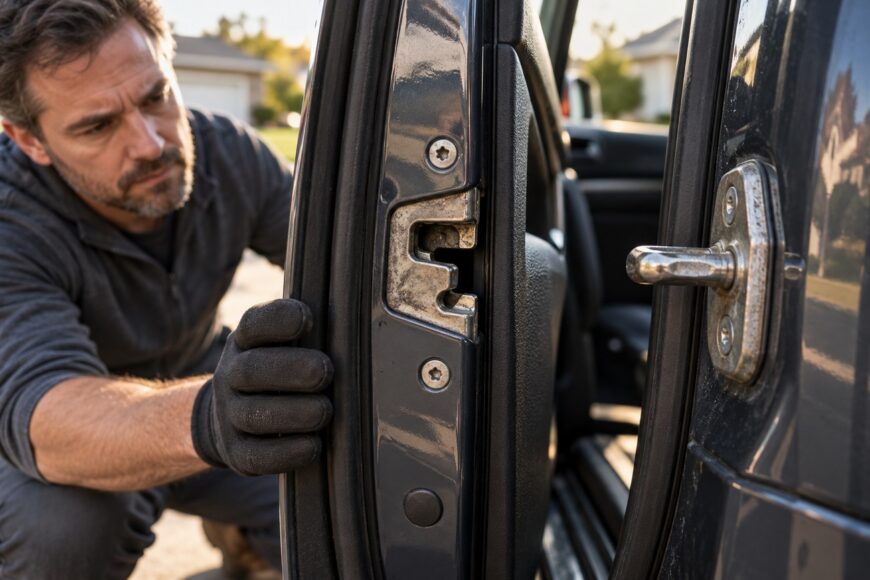
A car door that rebounds or catches only briefly before springing open is a safety fault. A latch held on its first catch may release under vibration or crash loads, so the vehicle should remain stationary until the door closes securely on the second stage.
The correct repair depends on the cause. A shifted striker, cold-thickened lubricant, seized linkage, or collision-related distortion can produce similar symptoms. Repeatedly slamming the door or replacing the entire latch without testing can damage sound parts and leave the real fault unresolved.
- Treat a Door That Won’t Latch as a Safety Fault
- Diagnose the Failure Before Adjusting Anything
- Door Won’t Latch: Symptom-to-Cause Checks
- Clean and Lubricate the Latch the Right Way
- Adjust the Striker Without Losing Door Alignment
- Inspect the Latch, Linkage, Child Lock, and Sensors
- When Body Alignment or Collision Damage Is the Real Cause
- Replace the Latch Only When Testing Proves It Is Necessary
- Mistakes That Turn a Simple Latch Problem Into a Bigger Repair
- Frequently asked questions
- How much does it cost to fix a broken car door latch?
- What should I do if the central lock clicks but the door still will not latch?
- How can I keep a car door closed without a working latch?
Treat a Door That Won’t Latch as a Safety Fault
Most modern door locks use a mechanical two-stage latch that engages a striker on the body. The first stage is preliminary capture; the second stage is full engagement. A door held only by the first stage is not considered securely latched for driving.
Factory latches are designed to remain closed under specified crash loads and withstand tens of thousands of opening and closing cycles. That does not make a damaged or misaligned latch safe. If the door bounces back, needs excessive force, or opens when you pull the handle lightly, stop using the vehicle until engagement has been verified.
Keep the vehicle stationary, and do not rely on a belt, rope, or repeated hard slamming as a normal driving solution. Before working near door wiring or an open side-airbag panel, follow the vehicle service procedure and disconnect the battery. This reduces avoidable electrical and deployment risks, although some vehicles require a specified waiting period after disconnection.
Diagnose the Failure Before Adjusting Anything
Begin with the door open and the vehicle safely parked. Inspect the latch claw: if it is already in the closed position, the striker cannot enter until the release mechanism is reset with the handle. Use a suitable tool to reset it only while keeping your fingers clear of the mechanism, then test the door gently.
Compare the door gaps with those of adjacent doors and look for sagging, a raised rear edge, or contact marks around the striker. Where the applicable body repair instructions specify it, panel gaps should remain approximately 2–4 mm. A door that cannot reach the striker has an alignment problem; a door that reaches it but fails to capture points more directly to the latch, linkage, or internal mechanism.
Operate the inside and outside handles and observe whether both move the latch release normally. Check the child-lock lever and any mechanical stop for a fully selected position rather than an intermediate one. Note whether the fault changes with temperature, especially below −10 °C, and whether it began after body repair or an impact.
These checks often identify the direction of the repair before trim is removed. Dismantling the door first can break clips, disturb the wiring, and hide a simple striker or frozen-latch problem. A door that works in warm conditions but fails in cold weather needs moisture and lubricant checks before expensive parts are assumed to be defective.
Door Won’t Latch: Symptom-to-Cause Checks
Use the symptom as a starting point, then confirm it with a controlled check before changing the latch or striker position.
| Symptom | Likely cause | Safe confirmation check | Next repair decision |
|---|---|---|---|
| Door immediately rebounds | Striker misalignment, seized latch, or latch claw already closed | Inspect the claw with the door open, reset it, and check contact marks around the striker | Reset and clean first; adjust the striker in small increments if the door alignment is otherwise sound |
| Failure appears in cold weather | Thickened old lubricant, condensation, or ice inside the latch | Compare operation in a warm, dry area and inspect for moisture or stiff movement | Dry and clean the mechanism, then apply suitable lubricant; investigate corrosion if the fault returns |
| Central lock clicks, but there is no mechanical capture | Actuator, rods, cables, latch mechanism, or integrated position switch fault | Operate the handles and observe actual latch movement and striker capture rather than relying on the sound | Inspect the linkage and electrical signals; replace the latch assembly if an integrated component has failed |
| Door catches only on the first stage | Striker position, door sag, worn capture parts, or an obstruction | Check whether a second gentle push produces full engagement and inspect the door gaps | Do not drive; correct alignment or replace worn latch parts after testing |
| Operation is inconsistent after collision repair | Door, hinge, striker, or pillar geometry outside its intended position | Compare gaps, check for hinge movement, and inspect the striker marks under repeated gentle tests | Have a body shop measure the structure before adjusting or bending components |
| Handle feels disconnected | Broken or detached rod, stretched or seized cable, or failed internal latch component | Compare handle travel with latch movement while the door is open | Remove trim only after battery and airbag precautions; repair the linkage or replace the latch as required |
Clean and Lubricate the Latch the Right Way
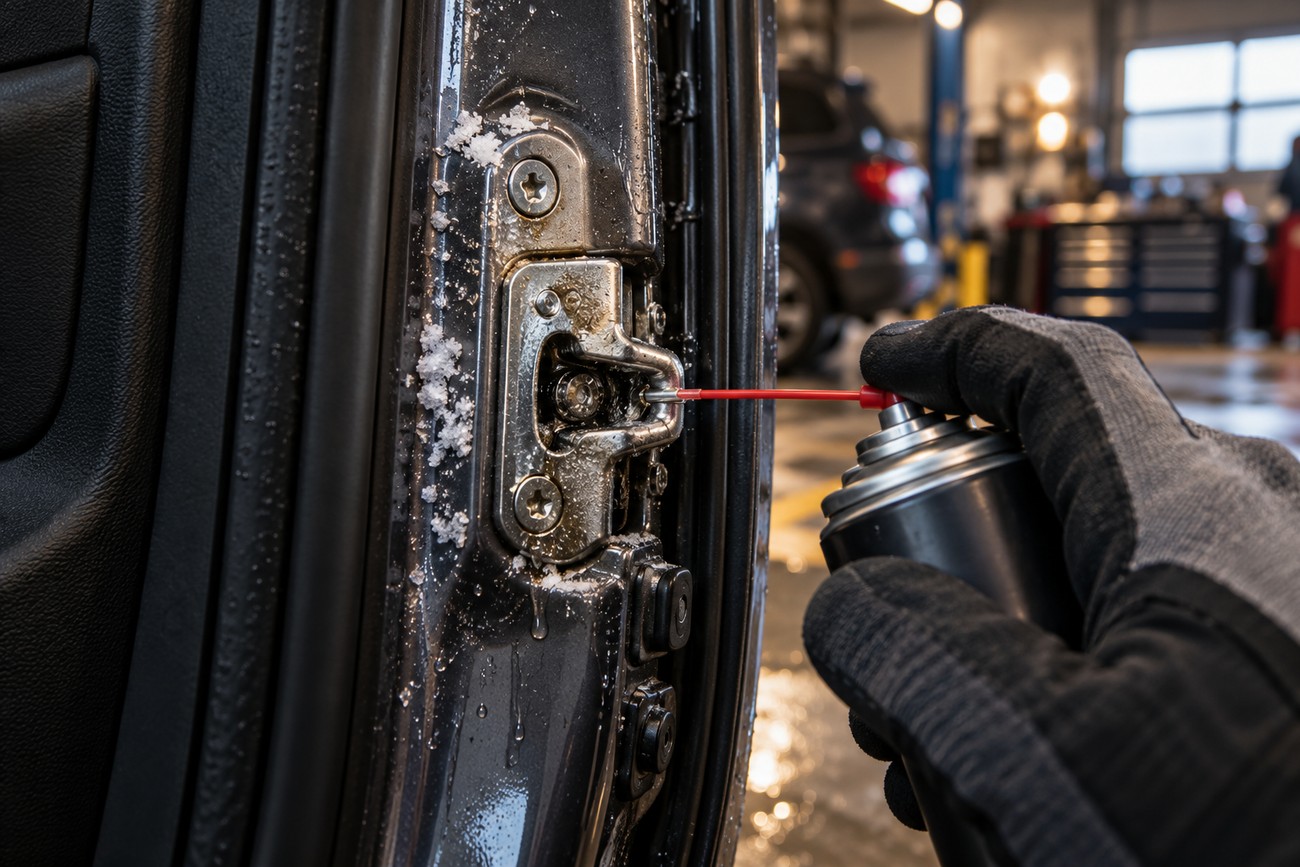
Remove loose dirt, road salt, and moisture from the latch and striker area. Inspect the claw, spring action, and release lever for smooth movement with the door open. A latch that moves slowly or fails to return fully may be contaminated or corroded, but excessive stiffness can also indicate internal damage.
Use a light lubricant suitable for automotive latches or the product specified by the vehicle manufacturer. Apply it sparingly to the metal contact and pivot points, then cycle the mechanism several times. Avoid coating plastic components and microswitches indiscriminately because heavy residue can cause sticking or interfere with switch operation.
WD-40 can help displace water or temporarily free movement, but it is not a complete long-term replacement for suitable latch lubricant. It can remove existing lubricant, so a temporary improvement should be followed by proper cleaning, drying, and lubrication rather than treated as a finished repair.
Check the door’s drain holes as well. Body-shop reports link blocked drain holes after poor painting or underbody treatment with water entering the latch, corrosion, and eventual failure. If rust flakes, damaged springs, or rough internal movement remain after cleaning, replacement may be more reliable than continued lubrication.
Adjust the Striker Without Losing Door Alignment
The striker is often the least invasive adjustment because a small change can restore the latch’s intended path without disturbing the door hinges. This is especially useful when the latch and linkage operate normally, the door is not sagging, and contact marks show that the striker is being approached off-center.
Mark the original striker position with a fine marker or scribe before loosening anything. Use the correct tool, loosen the hardware only enough for controlled movement, and move the striker by a fraction of a millimeter. Retighten it before every test so the result reflects a fixed position rather than a loose component moving during closure.
After each adjustment, inspect the door gaps and test both latch stages with gentle pressure. The door should close without excessive force, remain flush with adjacent panels, and release normally from both handles. Where the applicable body repair instructions specify it, keep the panel gaps approximately 2–4 mm.
Striker adjustment and lubrication are often worth checking before latch replacement. If several small adjustments make the door worse, return to the marked position and investigate the hinges, body geometry, or latch itself.
Inspect the Latch, Linkage, Child Lock, and Sensors
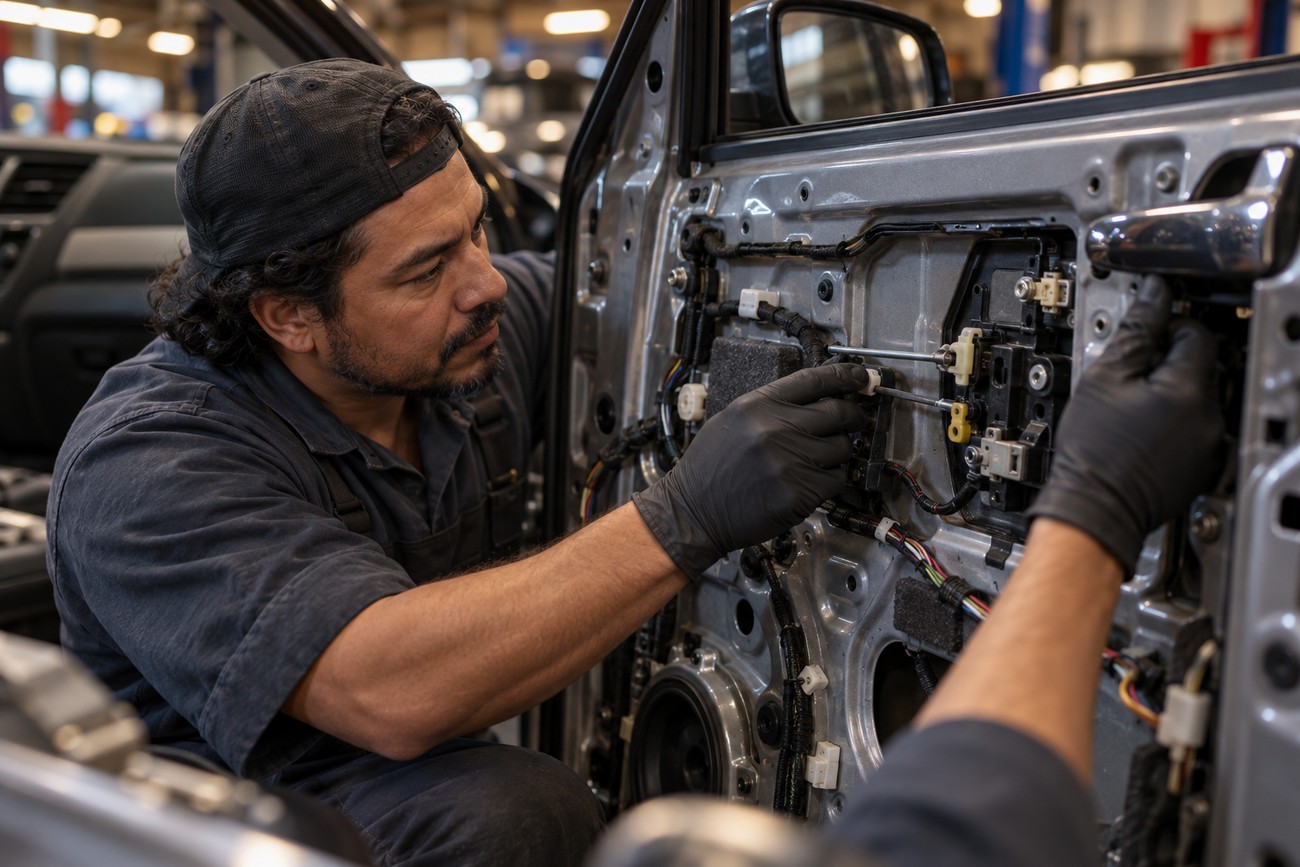
Mechanical and electrical faults can produce the same complaint. Rods may detach, cables may seize or stretch, and a handle may move without operating the latch. With the door open, compare handle movement with the release lever and look for lost motion, binding, or a component that does not return to its rest position.
Check the child-lock lever for a fully selected position and confirm that it is not between detents. A child-lock mechanism or mechanical stop left in an intermediate position can imitate a failed latch. Do not force the handle if the lever or release mechanism is binding.
Internal plastic latch-component failures are commonly reported on some VAG, Ford, and GM models. The exterior can look intact while a broken internal part prevents the claw from capturing the striker. If alignment, cleaning, and linkage checks are satisfactory but capture remains unreliable, the assembly may need replacement.
Many latches also contain door-position switches, actuators, or other electronic components. A warning light, incorrect “door open” message, or central-locking behavior can point to an integrated switch failure rather than a purely mechanical fault. Disconnect the battery before removing trim near wiring or side-airbag components, and use the vehicle’s service procedure for testing.
When Body Alignment or Collision Damage Is the Real Cause
A sagging or distorted door can cause the latch tongue to miss the correct striker engagement path. Uneven gaps, a door that drops when opened, paint marks around the striker, or a fault that changes over bumps all support an alignment diagnosis. A door may look acceptable from outside while its hinge or pillar position is still wrong.
Check hinge condition, door sag, striker position, and pillar geometry before bending anything. Compare the door against the adjacent panel and measure the gaps where the manufacturer’s repair instructions provide tolerances. Gaps beyond approximately 2–4 mm may indicate misalignment rather than a defective latch alone.
Do not bend a hinge, pillar, or striker without measurements and position records. An uncontrolled adjustment can create a larger offset, increase load on the latch, and damage painted or corrosion-protected surfaces. After collision repair, inconsistent latching deserves a body-shop inspection even when the door closes on some attempts.
Refer the vehicle to a qualified body shop if the pillar is distorted, the hinge mounting area has moved, or the measured geometry is outside the applicable repair tolerance. Structural alignment is beyond a sensible trial-and-error repair, particularly when the door cannot achieve full second-stage engagement.
Replace the Latch Only When Testing Proves It Is Necessary
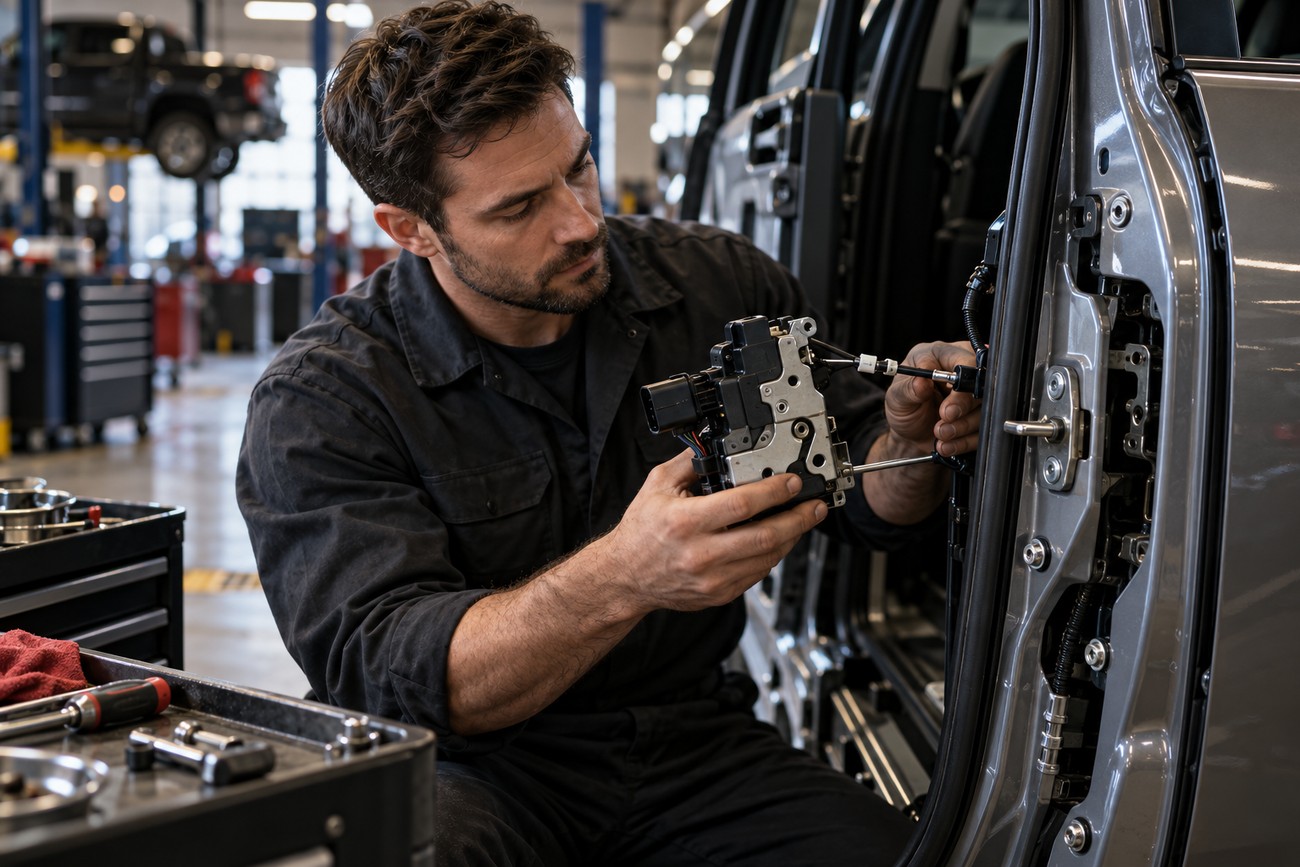
Replacement is justified when capture parts are worn or broken, the internal mechanism remains seized after cleaning, an internal plastic component has failed, or an integrated sensor or actuator tests faulty. It should follow alignment and linkage checks rather than substitute for them. A new latch cannot correct a door that approaches the striker at the wrong angle.
Many modern latch assemblies are effectively non-serviceable. Their construction and service instructions call for replacing the complete unit instead of repairing individual internal parts. Choose a reputable original-equipment or properly specified replacement; service reports describe some low-cost no-name units failing again within 1–3 years, especially in cold climates.
After installation, check that the latch engages both stages, the door sits correctly in the opening, and both handles release it normally. Test central locking, door-open warning indicators, and any alarm or interior-light functions. Confirm that the wiring is secured and that trim clips and seals are correctly seated before closing the door repeatedly.
Only consider the vehicle ready for road use when the door closes without excessive force, remains latched during controlled stationary checks, and shows no warning or electrical fault. If the replacement does not solve the problem, stop cycling the door and return to alignment and body-geometry testing rather than fitting another part by assumption.
Mistakes That Turn a Simple Latch Problem Into a Bigger Repair
Hard slamming can temporarily force a marginal latch past resistance, but it accelerates wear and can bend the striker. It also hides whether the door is reaching the first or second stage. Repeated force is especially risky after an impact, when the underlying issue may be a shifted hinge or pillar.
Indiscriminate lithium or graphite grease can make plastic components sticky and interfere with microswitches. Spraying a water-displacing product may improve movement briefly while removing the lubricant the mechanism needs for long-term operation. Clean the mechanism first and use a compatible product sparingly.
Unmeasured hinge or striker bending can move the door outside the approximately 2–4 mm body-gap tolerance and make capture less reliable. Permanent straps, ropes, and similar restraints create a false sense of security and are not substitutes for a functioning two-stage latch. Arrange recovery or towing instead.
Stop work if side-airbag wiring is exposed, the pillar is distorted, the latch fails repeatedly after adjustment, or you cannot confirm full second-stage engagement. A vehicle with an uncertain latch should remain parked until the fault is repaired and verified.
Frequently asked questions
These decisions depend on the confirmed fault, the vehicle’s construction, and the condition of the surrounding bodywork.
How much does it cost to fix a broken car door latch?
There is no universal price because the repair may involve cleaning and lubrication, striker adjustment, linkage repair, body alignment, or complete latch replacement. Cleaning and a controlled adjustment are usually the least parts-intensive options, while collision-related geometry and a replacement assembly require more labor and may involve additional testing.
Ask the repairer to identify the failed part or measurement before approving a complete latch. A written explanation should separate labor, hardware, body alignment, and any electrical diagnosis. This helps prevent replacing an expensive assembly when the actual fault is a shifted striker or detached linkage.
What should I do if the central lock clicks but the door still will not latch?
The actuator sound indicates that the locking system is operating, but it does not confirm mechanical striker capture. With the door open, operate the handle and watch whether the rods, cables, and latch release move through their full travel. Then inspect whether the claw actually captures the striker when the door is closed gently.
If mechanical movement is correct but the vehicle still reports the door incorrectly, an integrated door-position switch may have failed. If the actuator moves without moving the latch, inspect the linkage or replace the latch assembly when its internal mechanism or electronics are confirmed faulty.
How can I keep a car door closed without a working latch?
Do not use a belt, rope, or improvised restraint for normal driving. Such a device cannot provide the controlled two-stage engagement required of a vehicle door and may allow the door to open during braking, cornering, or a collision.
Keep the vehicle stationary and arrange recovery or towing to a repair facility. Driving should resume only after the latch closes fully, releases correctly from the handles, and passes a careful stationary verification.







