
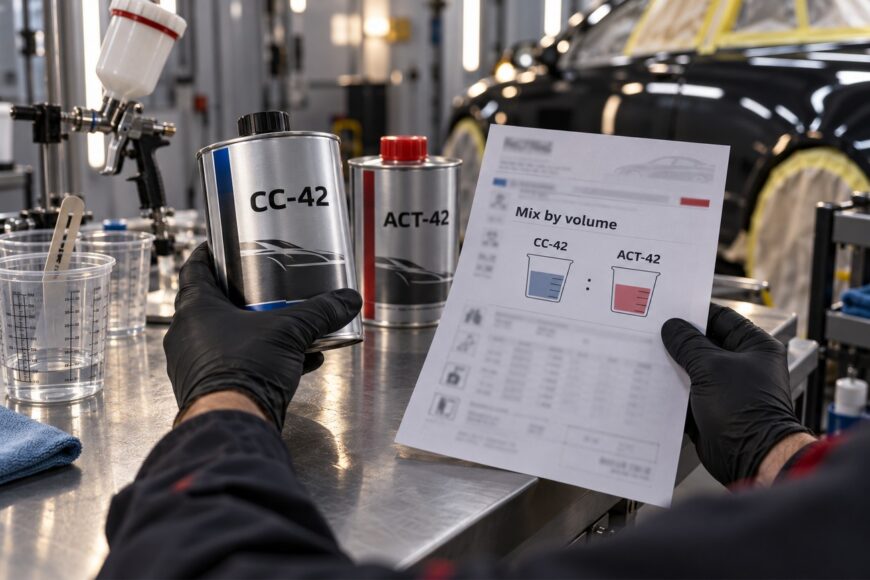
A paint mix can pass through the spray gun and look acceptable at first, then cure slowly or leave a soft film. The problem may be an incorrect ratio, components measured in the wrong order, or a reducer that does not belong in the coating system. Sprayability alone cannot confirm that the mixture will perform as intended.
Start with the current technical or product data sheet (TDS/PDS) for the exact material you are using. It tells you which components belong together, how to measure them, and whether the recipe changes for a particular application mode. Once those details are clear, you can calculate a batch that suits the job instead of relying on a ratio remembered from another product.
- Start With the Exact Product Sheet, Not a Standard Ratio
- Read the Ratio in Order and Calculate Only What You Need
- What Three Product Sheets Actually Specify
- Choose Compatible Hardener and Reducer for the Conditions
- Measure, Mix, and Prepare a Sprayable Batch
- Respect Pot Life and Mix in Manageable Batches
- Troubleshoot Defects Without Changing the Recipe
- Mixing Shortcuts That Sound Plausible but Fail
- Frequently asked questions
- How much reducer should I add to one gallon of automotive paint?
- How long should I mix a five-gallon batch of automotive paint?
- Where can I find the correct automotive paint mixing-ratio PDF?
- What if the markings on my mixing cup are hard to read?
Start With the Exact Product Sheet, Not a Standard Ratio
Use the current TDS/PDS for the exact coating system and application mode; no universal automotive paint ratio exists. Match the product identifier on the container to the sheet, then check the listed hardener or activator and approved reducer. A sheet for a related clearcoat or an earlier product version may describe a different mix.
Read the mixing section alongside the application instructions. A basecoat may call for reducer without hardener, while a two-component (2K) coating may require an activator to cure properly. Primer instructions can also change with the intended use, such as filling or sealing, so the name on the can is only the beginning of the check.
Before measuring, find out whether the ratio is stated by volume or by weight. Check the permitted reducer range, any waiting period after mixing, and the usable life of the mixed product. These details affect how much you prepare and when you can spray it.
Two products can carry the same printed ratio yet require different hardeners, reducers, and application settings. A matching ratio, or a “universal” label on an additive, does not establish compatibility. Use the components specified for the coating system rather than treating the numbers as a complete recipe.
Read the Ratio in Order and Calculate Only What You Need
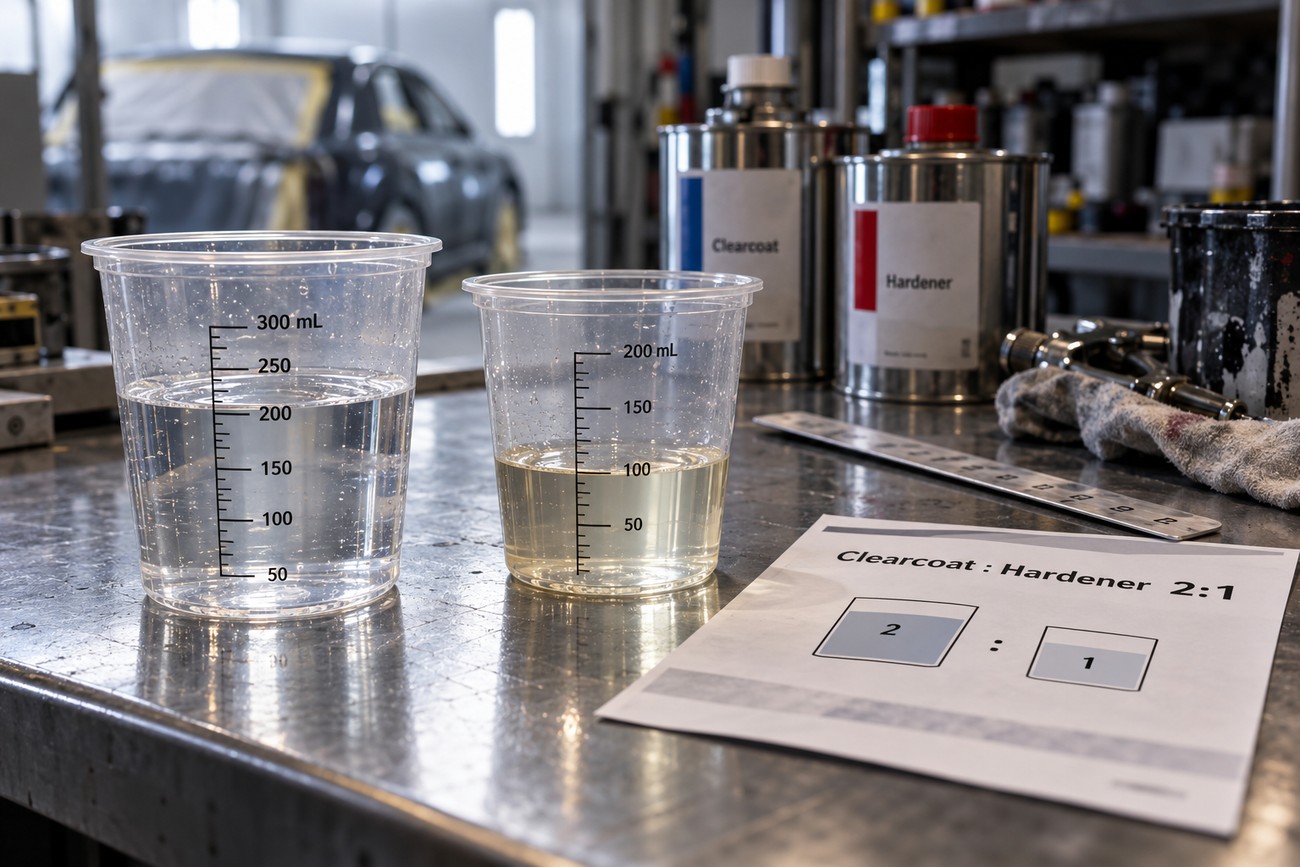
A ratio describes parts in the product’s labeled component order. In a documented 2:1 volume mix, two equal volume parts of the first named component go with one part of the second. For example, if the sheet names clearcoat first and hardener second, a batch using 200 mL of clearcoat needs 100 mL of hardener.
Size the batch by changing the unit called a “part,” while keeping the relationship intact. If you need a smaller amount of that same 2:1 mix, 100 mL of the first component goes with 50 mL of the second. Measure a small repair just as carefully as a larger job; a slight error represents more of a small batch.
With a three-component notation such as 4:1:1, confirm the label assigned to every position before you pour. Do not assume the final number always means reducer: the product instructions define the order. If reducer is instead specified as a percentage, the TDS must also establish whether that percentage refers to the original product or to the components after they have been mixed.
Keep the measurement method consistent. A volume ratio does not automatically equal the same ratio by weight because the components can have different densities. Use scales only when the manufacturer provides the density data or a weight-mixing chart for that system; otherwise, use suitable volume graduations.
What Three Product Sheets Actually Specify
These published examples show why the product and its application mode must accompany any ratio.
| Product and application | Documented volume ratio | Thinner instruction |
|---|---|---|
| Automotive Art HS-X | 2:1, coating to specified hardener | Add 10–25% recommended thinner as specified by its TDS. |
| Nippon NP 9100 clearcoat | 2:1, clearcoat to hardener | Check its TDS for any applicable thinner instruction. |
| Automotive Art 45-96 epoxy primer | 2:1, primer to hardener | Sealer mode additionally specifies 25% thinner; this is a mode-specific instruction. |
These figures illustrate product-specific instructions, not standard recipes for every clearcoat or primer. Interpret each thinner percentage using its own TDS, including the volume on which the percentage is based.
Choose Compatible Hardener and Reducer for the Conditions
Choose the hardener and reducer listed for the coating system before considering how the mix feels in the cup. Hardener choice affects the intended chemical reaction, while reducer choice affects how the material flows and evaporates. A product marketed as universal is not proven compatible with a particular resin.
If the TDS offers reducer speeds, select among its approved options using the actual spraying conditions. Temperature matters, but so do panel size and the time the wet film needs to flow before solvent evaporates. A slower reducer may suit a larger panel when the sheet and conditions support it; using one without that support can create different drying problems.
Cold material often feels thicker. Adding extra reducer to make it behave like warmer material changes the specified mixture and can reduce film build or coverage. Prepare and use components under the conditions allowed by the TDS, then stay within its reducer range.
The same caution applies when a coat seems reluctant to level. Check material temperature, approved reducer speed, and gun setup before changing the recipe. Even a compatible thinner becomes the wrong choice if you add more than the sheet permits.
Measure, Mix, and Prepare a Sprayable Batch
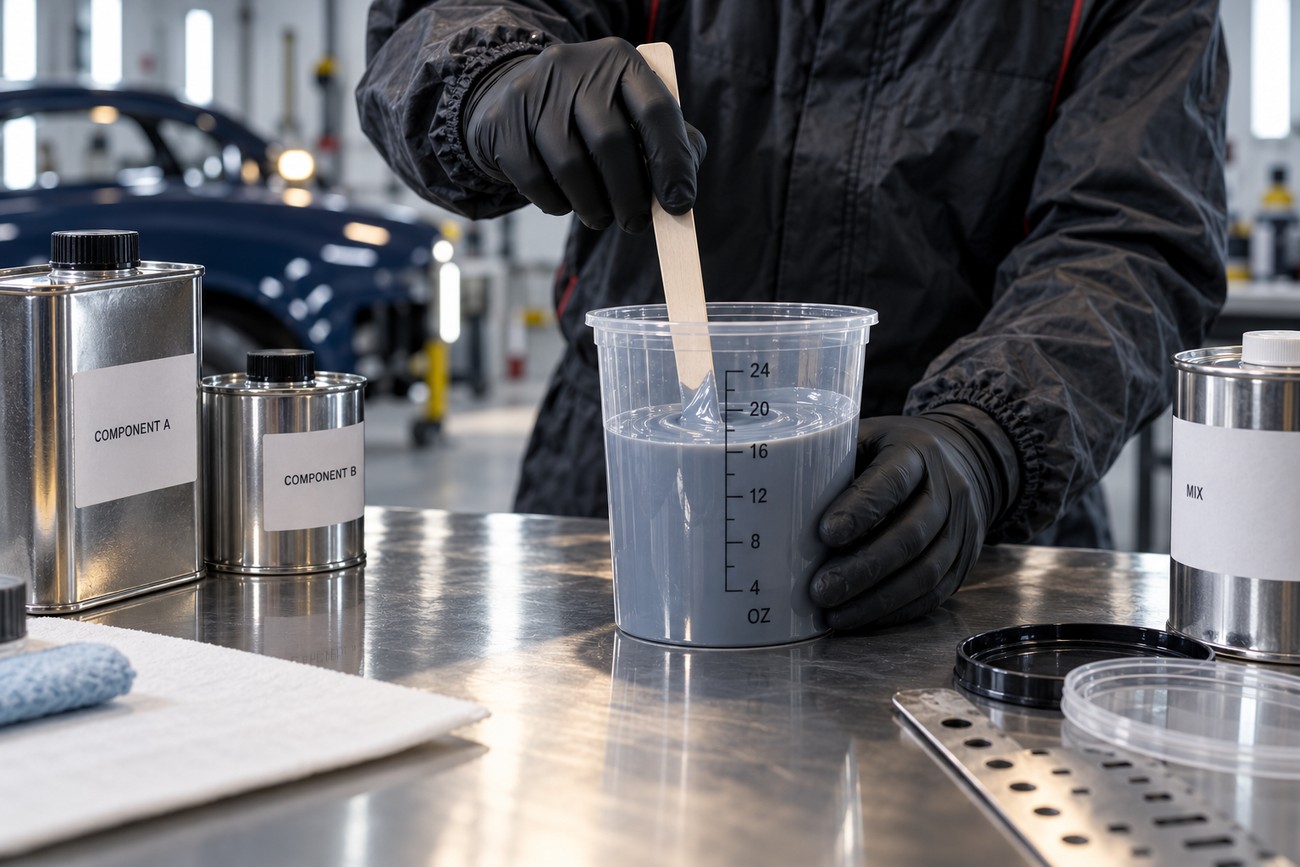
First, stir each component that requires it in its original container, following its product instructions. Pigment or matting material can settle during storage, so drawing from an unstirred container may give you a different composition from the material at the bottom. Start with clean tools and containers to avoid carrying residue from an earlier mix into the new one.
Next, determine the amount you can apply within the product’s usable time. Measure by volume in a clean, clearly graduated cup or with a suitable mixing stick. If you prefer scales, use the manufacturer’s weight-mixing chart or density data rather than entering a volume ratio as though it were a weight ratio.
Combine the measured components in the order prescribed by the TDS and stir thoroughly, including material near the cup’s sides and bottom. Add any specified reducer at the stage the instructions call for, using its stated reference volume. Do not compensate for an uncertain measurement by making a second, estimated addition.
Finally, observe any specified induction period before spraying and any instruction to strain the ready mixture. An induction period gives the mixed system its required time before application; spraying immediately does not replace it. Every later batch, however small, needs the full stated ratio and the same preparation checks.
Respect Pot Life and Mix in Manageable Batches
Pot life is the stated usable life of a mixed product under specified conditions, not the time needed for the applied coating to dry or fully cure. Check the figure for your exact mix and temperature before opening all the components. Some TDS values are measured under a stated method, such as ISO 9514, so the conditions attached to the figure matter.
For illustration, some 2K systems specify approximately 40–90 minutes at 20 °C, with usable life at 30 °C roughly half as long. Those figures are not a timer for another product. Warmer components can shorten your working window, making an entire job’s premixed supply a poor plan.
Prepare batches you can measure accurately and apply within the stated pot life. For a large job, plan the sequence of spraying and any required waits before mixing; then prepare the next batch when it is needed. Keep track of when each 2K batch was mixed rather than judging its age by appearance alone.
A mixture may still pass through a gun after its stated usable life while no longer delivering the specified film properties. Do not thin an expired 2K mix back to a familiar spraying viscosity. Discard it according to applicable shop procedures and make a fresh, correctly measured batch.
Troubleshoot Defects Without Changing the Recipe
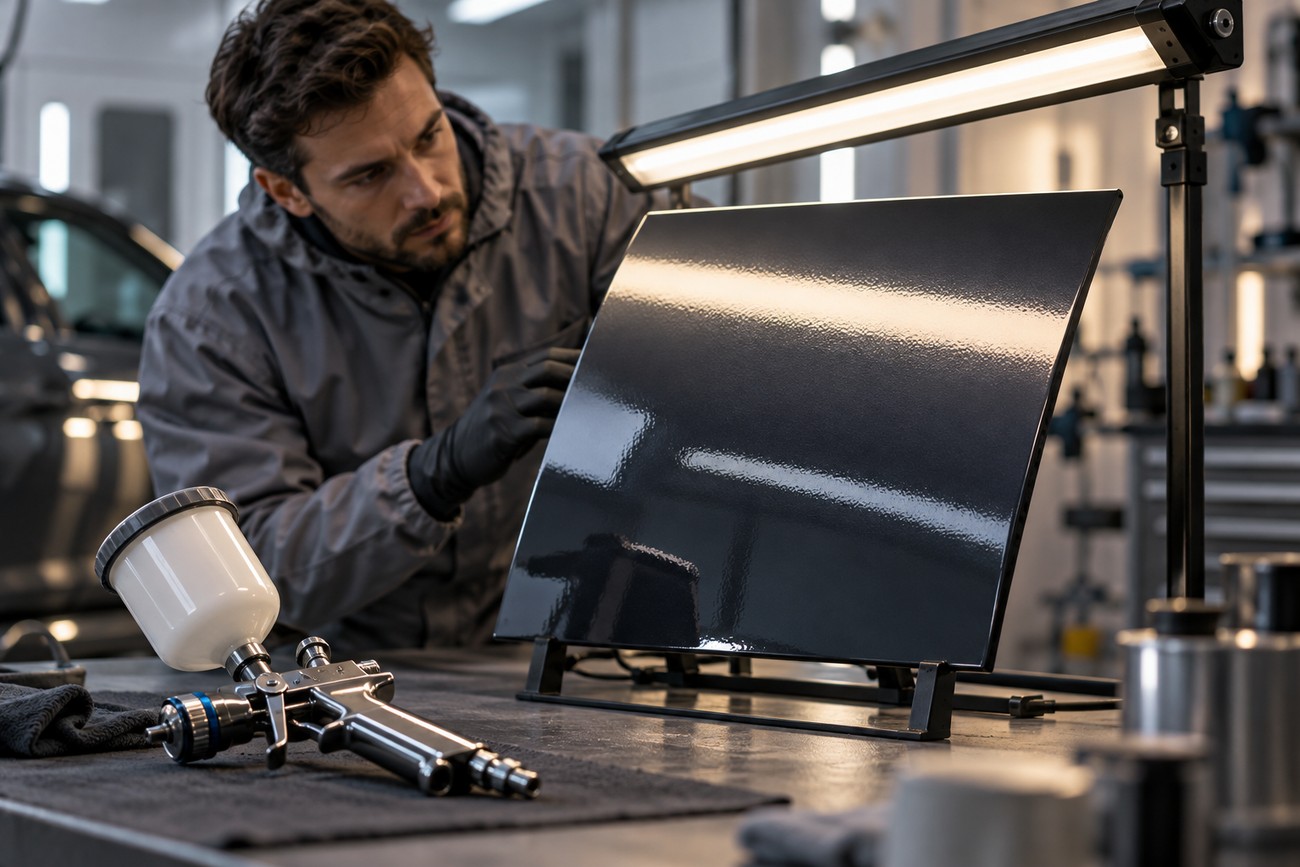
If the finish has poor flow or orange peel, verify the prescribed reducer, its amount, and the material temperature first. Then check gun setup, spray pressure, distance, and application technique. Adding extra thinner may change how the wet coat looks, but it can leave too little material in the film or cause runs.
For runs, low coverage, or a film that seems weak, review the recorded mix and the number of coats applied. Excess reducer can affect coverage, flow, film build, and drying, while a heavy pass or unsuitable gun setting can also produce runs. Correct the cause you can identify rather than treating every defect as a mixing-ratio problem.
An apparent color mismatch deserves a comparison under the specified application conditions. Viscosity, spray pattern, pressure, and technique can change the appearance of a sprayed finish without any error in the pigment formula. Check those variables and the product’s application guidance before altering the color mix.
Slow cure, softness, or poor gloss calls for a closer review of the 2K ratio, approved hardener, batch age, and drying conditions. An incorrect mix can reveal itself only after spraying, including as reduced coating durability. The symptom alone does not prove which factor is responsible, so keep the batch details available while you investigate.
Mixing Shortcuts That Sound Plausible but Fail
“Basecoat is 1:1” describes a possible product recipe, not a rule for the category. Check whether your basecoat calls for reducer, whether another component is specified, and how each amount is expressed. That prevents a remembered formula from overriding the actual container and sheet.
“Every 2K clear is 4:1” fails the same check: documented clearcoat instructions also include 2:1. Even when another clear shares your clearcoat’s ratio, its hardener may be incompatible. Match both the numbers and the named components in the current TDS.
Extra reducer is an unreliable cure for orange peel. It can reduce film build, affect coverage and drying, and increase the chance of runs without resolving a gun-setting or application problem. Work through the permitted reducer choice and spraying conditions before making another batch.
Finally, a mixture that sprays freely has passed only one practical test. Ratio errors and expired 2K material may show their effects later as softness, slow drying, poor gloss, or weak durability. Measure from the sheet and respect its usable life even if the material still looks workable.
Frequently asked questions
Container size and job size do not create a new mixing ratio. For the situations below, keep the product identifier and its current TDS/PDS at hand so each calculation or preparation choice can be checked against the material you will spray.
How much reducer should I add to one gallon of automotive paint?
There is no universal reducer amount for one gallon. Find the permitted percentage in your product’s TDS, then confirm whether it applies to the gallon of unmixed paint or to the total after paint and hardener are combined. Those reference volumes can give different reducer amounts; calculate from the one the sheet specifies.
How long should I mix a five-gallon batch of automotive paint?
No fixed stirring time applies to every five-gallon batch. Follow the product’s instructions for bulk-container agitation, and check that the material is uniform from top to bottom before taking any portion for measuring. Material that remains settled at the bottom can make an accurately measured portion unrepresentative of the product.
Where can I find the correct automotive paint mixing-ratio PDF?
Look for the current TDS/PDS in the manufacturer’s product documentation. Verify its product identifier against your container, then check that it names the hardener and covers your intended application mode. An unlabeled ratio chart cannot confirm those details, even if one of its numbers looks familiar.
What if the markings on my mixing cup are hard to read?
Switch to a clean cup or mixing stick with clear, suitable graduations rather than estimating between damaged marks. An approved weight-based method is another option if the manufacturer supplies the necessary chart or density data. This matters especially for a small batch, where a minor reading error changes a larger share of the mix.







