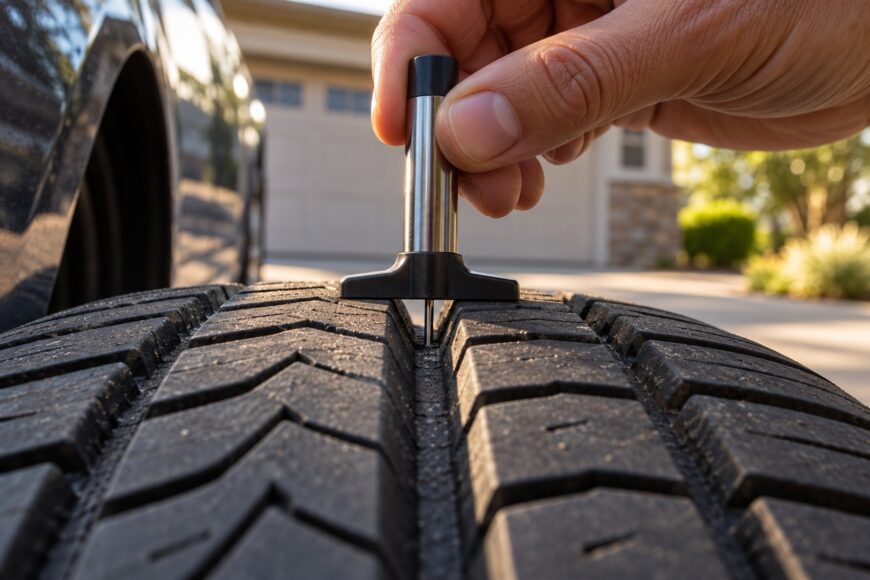
A tire can look serviceable from a few steps away while its center or one shoulder is worn much lower than the rest. A quick glance may catch obvious damage, but it cannot tell you how much tread remains in the worn area. For that, you need a measurement taken in a groove.
One reading can also be misleading. Tread may wear differently across a tire and around its circumference, and the tires on the same vehicle may not match. Checking several places gives you a clearer picture of the tread you actually have, rather than the tread visible at the easiest spot to reach.
- Find the right place to measure
- Measure tire tread depth with a gauge
- Check for uneven wear before trusting the number
- What if you only have a ruler or coin?
- Know what the reading does—and does not—tell you
- Frequently asked questions
- How should I track tread wear between checks?
- What if my gauge will not sit flat on a narrow shoulder groove?
- What is the easiest way to check tire tread depth?
Find the right place to measure
Measure in a main groove: one of the channels that runs around the tire between the raised tread blocks. Tread depth is the distance from the top of the adjacent tread to the floor of that groove. Placing a tool on top of a block or measuring a shallow detail molded into it will not give you that depth.
Choose a clear stretch of groove and remove stones, packed dirt, or snow before taking a reading. Debris can stop the measuring probe above the groove floor and make the tread appear shallower than it is. If the first spot cannot be cleaned or reached reliably, use another spot in the same main groove.
Some tires have wear-indicator bars: small raised sections crossing the main grooves. They offer a visual warning as the surrounding tread wears down, but they are not the groove floor. Move the tool away from a bar for a numerical reading, and do not assume every tire has an indicator you can readily see.
Measure tire tread depth with a gauge
Park securely on a stable surface, switch off the vehicle, and make sure you can reach the tread without putting a hand beneath a vehicle that could move. A dedicated tread-depth gauge is the simplest household tool for a numerical reading. A suitable caliper can also work if its measuring surfaces can sit steadily on the tread and reach the groove floor.
Find a clean section of a main groove. Rest the gauge base flat on the adjacent raised tread, then extend its probe down to the groove floor. Keep the base level and the probe aligned with the depth of the groove; a tilted tool can give a misleading result.
Read the gauge in the units shown on its scale or display. If the base rocks on the tread or the probe meets a stone, clean the spot, reseat the tool, and measure again. A repeatable reading is more useful than a precise-looking number obtained from an unstable setup.
Write down the result before moving to the next location. A ruler can help with a rough estimate, but its edge and markings are harder to position and read inside a groove. A gauge or suitable caliper makes it easier to compare small differences between locations.
Check for uneven wear before trusting the number
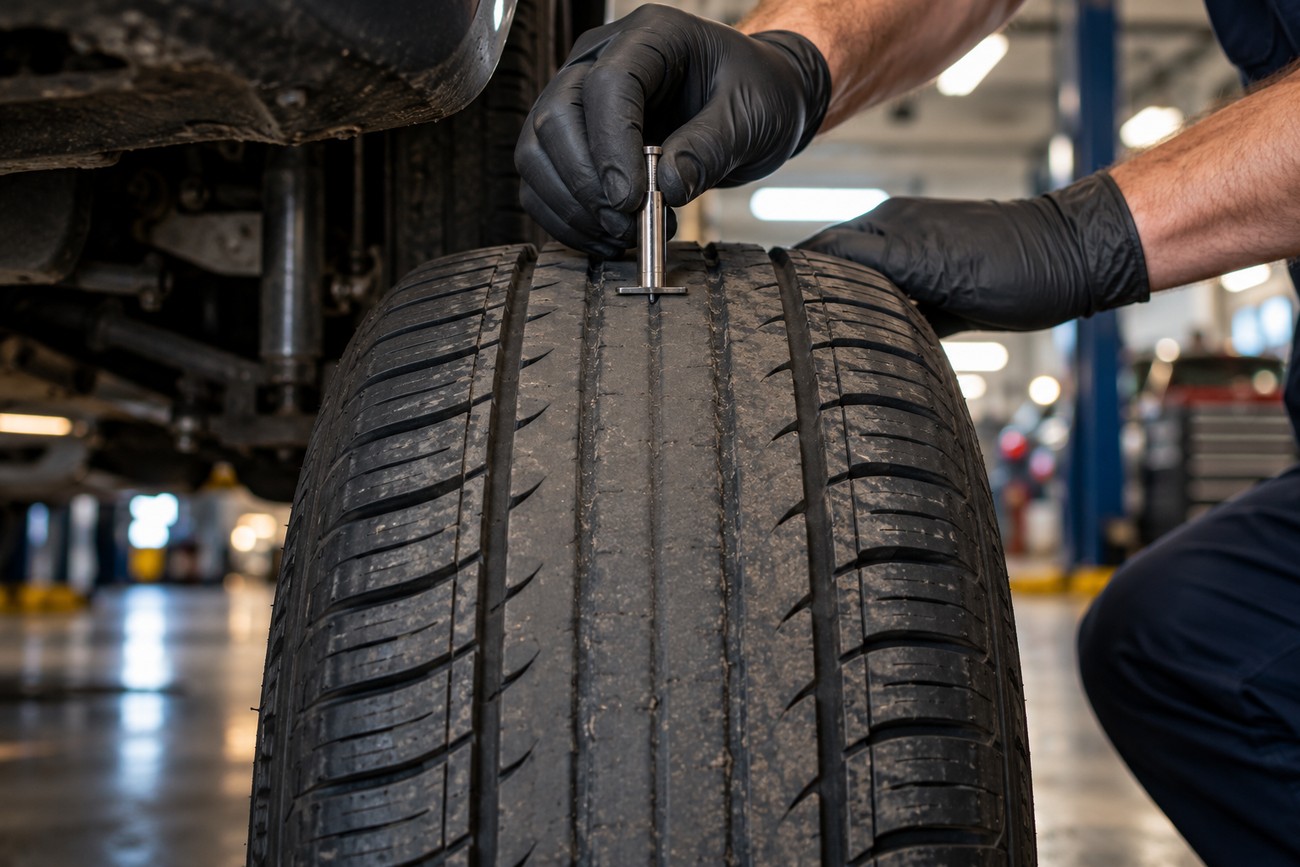
Measure the center and both sides of the tread at several positions around every tire. Use clear main grooves in each area rather than relying on one accessible patch. This matters because a tire can have ample tread in one place and a worn center, shoulder, or section elsewhere.
Assess the lowest reliable reading instead of averaging worn and unworn areas together. If a result seems unexpectedly low, first check that the groove is clear and the tool is seated correctly. Keep the low reading in view while you confirm it.
An unexpectedly low shoulder reading deserves a second measurement at another accessible position on that shoulder. A repeatable low result identifies a worn area; a higher reading elsewhere does not cancel it out.
Differences between the center and shoulders may be associated with inflation pressure or alignment, but tread depth alone cannot establish the cause. Tires on the same vehicle can also wear at different rates. If you find a consistent pattern or a sharp difference, have the tire and vehicle checked rather than assuming an adjustment from the readings alone.
What if you only have a ruler or coin?
A ruler can provide an approximate depth if you can place its end against the clean groove floor and read where the adjacent tread meets the scale. Keep it as upright and steady as possible, and check more than one location. A small ruler may still be difficult to seat accurately, especially near a shoulder.
A coin is a rough visual check, not a dependable millimeter measurement. Its design, size, and useful reference points vary between currencies, so a coin test described for one country may mean little in another. It can draw your attention to visibly worn tread without establishing how much remains.
If a ruler result is close to a limit or repeated estimates disagree, confirm it with a tread-depth gauge or a suitable caliper. Do the same if a coin check gives you cause for concern. An estimate is useful for deciding to investigate; it is a poor basis for treating a tire as safely above a precise threshold.
Know what the reading does—and does not—tell you

Tread-depth rules depend on where you drive and, sometimes, on the tire and road conditions. As a jurisdiction-specific example, the cited Russian rules specify 1.6 mm for M1/N1/O1/O2 tires when wear indicators are absent. That figure is not a universal legal threshold, so check the requirements that apply to your vehicle and location.
The cited Russian rules also specify 4 mm for qualifying winter tires on snow-covered or icy roads. This is a condition tied to those tires and surfaces, not an all-conditions rule for every tire. A number quoted without its context can lead to the wrong decision.
Meeting a legal minimum does not guarantee adequate grip, particularly in rain or winter conditions. Water, snow, and ice place different demands on a tire, and the minimum permitted tread should not be treated as a performance target. Published depths for new summer and winter tires also vary by model and source; there is no universal new-tire depth that replaces measuring the tire fitted to your vehicle.
Depth is only one part of a tire check. A gauge cannot establish tire age or rule out cracks, bulges, or structural damage. If you see damage or the tire behaves unusually on the road, seek a professional inspection even if the tread-depth readings appear acceptable.
Frequently asked questions
Practical checks are easier to act on when you can reach the tread safely and compare results over time. These answers cover situations where the measurement itself may be awkward or where a single set of readings leaves you uncertain.
How should I track tread wear between checks?
Record the date, tire position, and center-and-shoulder readings for each tire, using the same units every time. Mark positions clearly, such as front left or rear right, and note any tire rotation so later results remain comparable. A series of records can reveal a developing wear pattern that one check might miss.
What if my gauge will not sit flat on a narrow shoulder groove?
Do not trust a number taken while the gauge base rocks or overhangs the tread. Try a gauge with a suitable narrow foot, or ask a tire professional to measure that area. Move to another accessible position only if it lets you check the same worn region; a comfortable reading from the center cannot stand in for an unreachable shoulder.
What is the easiest way to check tire tread depth?
Use a dedicated tread-depth gauge and start with a clean, easily reached main groove. It gives you a number you can record and compare without relying on a coin design or estimating between ruler marks. If you cannot safely reach part of the tread, have that area checked professionally rather than stretching beside or beneath the vehicle.