

Dimming headlights, a battery warning light, slow cranking after a drive, electrical resets, or a new belt squeal can all point to a charging-system problem. The warning light may flicker with engine speed, the radio may lose its settings, or the car may start normally one day and struggle the next.
A low battery does not automatically prove that the alternator is bad. The battery may be internally defective, the starter may draw excessive current, a parasitic drain may discharge the battery while parked, or corrosion and poor grounds may restrict charging.
Diagnose the system in a safe sequence before buying parts. Check the battery, connections, belt, charging voltage, voltage drop, and, when needed, alternator ripple and current output. Never remove a battery terminal or create a short circuit while the engine is running.
- Symptoms That Point to a Charging Problem
- Check the Battery Before Blaming the Alternator
- How to Test an Alternator With a Multimeter
- Interpret the Readings: Alternator, Wiring, or Battery?
- Inspect the Belt, Bearings, and Electrical Connections
- Check Alternator Ripple and Diode Health
- Common Mistakes That Make the Diagnosis Worse
- Repair or Replace the Alternator?
- Alternator Test Readings: What They Usually Suggest
- Frequently asked questions
- How long can I drive with the battery warning light on?
- How often should the charging system be tested after alternator replacement?
- How do I test if my alternator is bad?
- What can be mistaken for a bad alternator?
- How to fix an alternator without replacing it?
Symptoms That Point to a Charging Problem
A battery warning light that remains on or flickers after startup can indicate absent or unstable alternator charging. The light monitors the charging system rather than the battery’s remaining capacity, so it may appear even when the engine still starts normally. If it comes on while driving, treat it as a fault that needs attention rather than a routine service reminder.
Headlights that dim or pulse with engine speed can indicate unstable alternator or voltage-regulator operation. A small change in brightness when the engine moves from idle to slightly higher speed can occur, especially with a heavy electrical load. Continued brightness changes as engine speed rises are more concerning and should be checked with a meter.
Slow cranking after a drive, repeated electrical resets, or clock and radio settings that disappear suggest that the vehicle is losing or failing to replenish electrical energy. These symptoms fit a charging fault, although a weak battery, starter fault, or poor power connection can produce the same result. A recently replaced battery does not exclude a problem elsewhere in the system.
Whining, grinding, burning-rubber odors, or a hot wiring smell raise a separate safety concern. Belt slip, worn alternator bearings, an overloaded alternator, and damaged connections can all create heat or noise. Other belt-driven components, including pulleys, the water pump, or the air-conditioning compressor, can sound similar, so noise should be localized before the alternator is condemned.
Check the Battery Before Blaming the Alternator
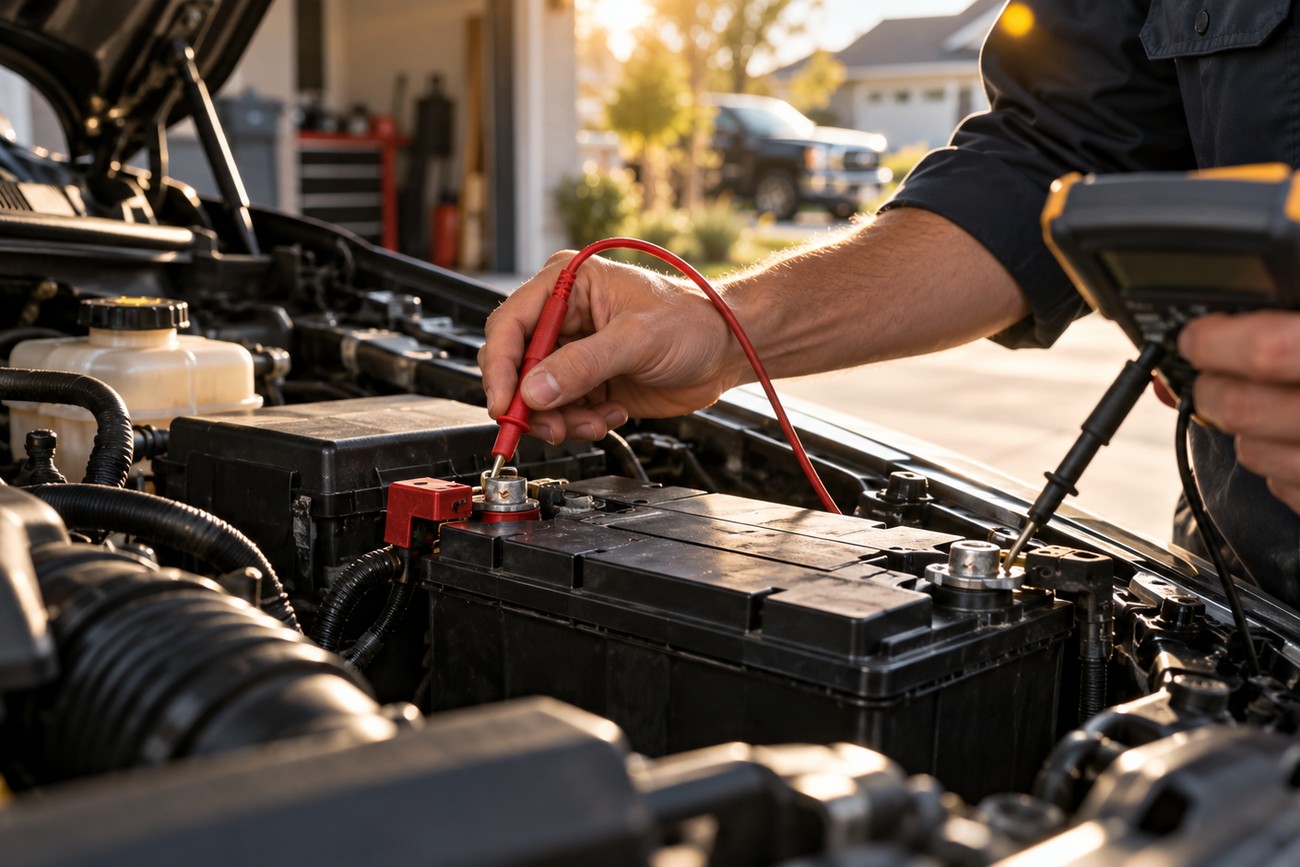
Start with the battery after the vehicle has been parked long enough for its surface charge to settle. A fully charged battery with the engine off measures approximately 12.5–12.6 V at the terminals. A reading noticeably below approximately 12.5 V suggests discharge but does not prove alternator failure.
A low reading may reflect repeated short trips, a parked-car drain, an internally defective battery, or a charging fault. A battery that has recently been replaced can still be undercharged or defective, and it may have been damaged by prolonged overcharging from the original charging-system problem.
Inspect the battery terminals, positive cable, engine ground, and body ground for looseness, corrosion, or heat damage. Check the alternator wiring and main fuse where accessible. Examine the belt for glazing, cracks, contamination, and signs of slipping before interpreting a low charging reading as an internal alternator failure.
If the engine cranks slowly despite a reasonably charged battery, the starter may be drawing excessive current or the connections may have high resistance. If the battery loses charge while the car is parked, test for parasitic drain as well. These checks prevent an alternator replacement from being used to treat a battery or starting-system fault.
How to Test an Alternator With a Multimeter
Use a digital multimeter and work around moving belts and pulleys with care. Set the meter to DC voltage, confirm that the probes and leads are in the correct sockets, and place the probes directly on the battery posts or clean terminal contact points. Do not hold loose clothing, tools, or probe leads near the belt.
- With the engine off, measure the battery voltage. A fully charged battery should be approximately 12.5–12.6 V after resting.
- Start the engine and allow it to settle at idle. With no major electrical loads, measure again at the battery terminals.
- Compare the running reading with the approximate 13.6–14.8 V charging range.
- Switch on the headlights, blower, rear defogger, and other substantial loads. Observe the reading for stability rather than chasing one exact number.
- Compare the loaded result with the approximate 13.5–14.2 V range, then switch the loads off after the test.
Voltage above approximately 15 V at normal engine speed suggests overcharging from the voltage regulator or alternator. Sustained overcharging can accelerate electrolyte loss and damage the battery. A single brief fluctuation is less informative than a repeatable reading that remains high.
Stable readings matter more than an exact 14.0–14.2 V target. Vehicle design, battery condition, engine speed, temperature, and charging strategy can affect the result. A meter test is a useful screening procedure, yet it cannot fully verify alternator current output or diode health.
Interpret the Readings: Alternator, Wiring, or Battery?
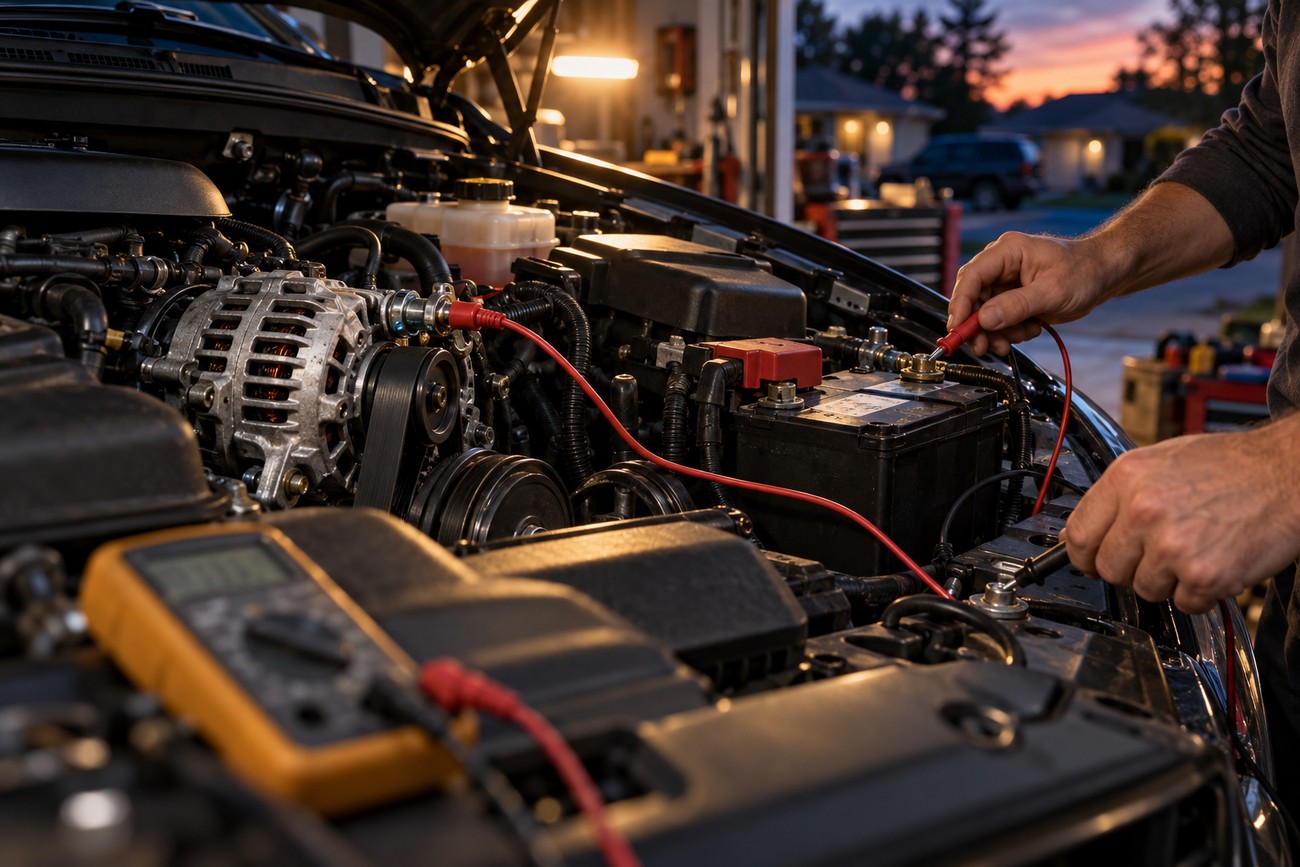
A stable running voltage below approximately 13.5 V under load can indicate an alternator or wiring problem. A low reading at the battery does not identify which part has failed. The belt may be slipping, the alternator output connection may have resistance, or the engine and chassis grounds may be unable to carry the required current.
Voltage-drop testing helps separate those possibilities. Measure between the alternator output terminal and the battery positive terminal under load, then measure between the battery negative terminal and the engine or chassis ground. A significant difference across either path indicates resistance in a cable, terminal, fuse connection, or ground strap.
Technicians check both sides of the charging circuit before condemning an alternator that appears weak. A restricted positive cable and a poor ground can each make a healthy alternator look ineffective at the battery.
A normal voltage reading also does not fully verify alternator current capacity under real electrical load. The alternator may maintain voltage with modest demand while failing to supply enough current for the vehicle’s lights, blower, heated systems, and control modules. A professional load or bench test is appropriate when voltage looks normal but the battery keeps discharging.
Unstable voltage can point toward a regulator, belt, connection, or alternator fault. A low engine-off reading may simply mean that the battery needs charging and testing. Interpret every result alongside battery condition, wiring resistance, belt behavior, and the vehicle’s operating conditions.
Inspect the Belt, Bearings, and Electrical Connections
With the engine off, inspect the belt for glazing, cracks, frayed edges, oil contamination, and shiny areas that suggest slipping. A slipping belt can cause squealing and charging problems without an internal alternator failure. Check the tensioner and pulleys for rough movement or misalignment where access allows.
A practical field guideline sometimes used for belt deflection is about 15 mm when the belt is pressed midway along its span. This is a vehicle-dependent estimate, not a universal specification. Follow the vehicle manufacturer’s procedure when available, because automatic tensioners and different belt layouts require different checks.
Inspect the alternator output terminal, plug, battery cables, ground straps, and nearby wiring for looseness, corrosion, melted insulation, or discoloration. Heat damage around a terminal suggests resistance and current flow at a poor connection. Repairing that connection may restore charging without replacing the alternator.
Grinding or whining may come from an alternator bearing, but the noise can also originate in an idler, tensioner, water pump, or air-conditioning compressor. Alternator bearing noise may continue for some time before seizure and can eventually contribute to belt failure. A mechanic should localize the sound with suitable equipment rather than relying on its general direction.
Check Alternator Ripple and Diode Health

An alternator produces alternating current internally and uses rectifier diodes to provide the vehicle with direct-current charging output. If a diode fails, abnormal AC ripple can remain in the electrical system even when the average DC voltage appears acceptable. Ripple testing is therefore a separate step from checking battery charging voltage.
Possible clues include electrical flicker, audio interference, unstable meter behavior, repeated battery damage, or charging that seems unreliable despite an apparently normal DC reading. These symptoms are suggestive rather than conclusive. Other electrical faults can create similar behavior.
A suitable multimeter may have an AC-voltage or ripple function, while an oscilloscope can show the shape of the charging waveform. Test procedures vary by vehicle and equipment, so there is no universal ripple limit stated here. The important finding is abnormal alternating output compared with the vehicle’s expected behavior.
A professional bench tester can assess the rectifier, regulator, current output, and internal condition more thoroughly. This is especially useful when the alternator passes a basic voltage check but the battery continues to discharge or electronic symptoms persist.
Common Mistakes That Make the Diagnosis Worse
Replacing the alternator without checking the battery, belt, grounds, and cable connections is a costly diagnostic shortcut. A new alternator cannot overcome a high-resistance ground, a slipping belt, a failed battery, or a parasitic drain. Test the complete charging system before authorizing a major part replacement.
A dim headlight or a battery warning light identifies a problem worth investigating, but neither proves that the alternator itself has failed. Old headlamp components, poor grounds, battery degradation, and wiring resistance can affect brightness. Changes with engine speed are useful clues, yet they still require electrical testing.
Do not use the old practice of removing a battery terminal while the engine is running. The battery helps stabilize vehicle voltage, and disconnecting it can create damaging voltage spikes that affect electronic control modules and other equipment. Never create a short circuit to test alternator output.
Long-term charging above approximately 15 V can cause electrolyte loss and shorten battery life, even when the car continues to operate. A hard-start condition can also result from a defective battery, parasitic drain, or starter fault. Diagnose the symptom that is actually present instead of assigning every electrical complaint to the alternator.
Repair or Replace the Alternator?

A bad voltage regulator, worn brushes, damaged bearings, or a failed rectifier may sometimes be repaired separately. The practical choice depends on the alternator’s design, access, internal wear, repair quality, labor, and the availability of suitable parts. A confirmed component-level fault makes repair more reasonable than replacing parts by assumption.
Complete replacement may be more practical when several internal components are worn, the unit is difficult to remove, or a reliable replacement is readily available. Compare the quality and specification of the replacement with the vehicle’s requirements. A low-quality unit can return the same charging problem or create a new one.
Before fitting a replacement, confirm the fault and inspect the belt, tensioner, cables, terminals, and grounds. The replacement alternator will not correct poor grounds, corroded connections, belt problems, or a defective battery. Clean and secure the charging path as part of the repair.
A battery exposed to prolonged overcharging above approximately 15 V needs separate evaluation after the alternator is repaired. It may have lost capacity or suffered electrolyte damage. Recheck charging behavior after installation and verify that the battery can hold a charge under normal use.
Alternator Test Readings: What They Usually Suggest
Use these readings as diagnostic clues rather than final verdicts. Battery state, wiring resistance, vehicle design, temperature, and engine speed can affect the result.
| Test result or symptom | What it usually suggests | Recommended next check |
|---|---|---|
| Engine off: approximately 12.5–12.6 V | Battery is reasonably charged at the time of testing | Start the engine and check charging voltage under load |
| Engine off: noticeably below approximately 12.5 V | Battery may be discharged; this does not prove alternator failure | Charge and test the battery, then check for charging faults or parked-car drain |
| Engine running without major loads: approximately 13.6–14.8 V | Charging voltage is within the expected practical range | Check stability, loaded behavior, wiring, and ripple if symptoms continue |
| Engine running under substantial load: approximately 13.5–14.2 V | Charging system is responding appropriately under the stated conditions | Investigate voltage drop and current capacity if the battery still discharges |
| Stable running voltage below approximately 13.5 V under load | Possible alternator, belt, cable, ground, or connection problem | Perform voltage-drop testing and inspect the belt and terminals |
| Voltage above approximately 15 V at normal engine speed | Possible overcharging from the regulator or alternator | Stop prolonged operation and test the regulator, alternator, and battery |
| Unstable voltage, flickering lights, or abnormal noise | Possible regulator, diode, belt, bearing, or wiring fault | Inspect belt-driven components, test ripple, and obtain a professional load test |
Frequently asked questions
The same charging-system checks can help distinguish alternator failure from battery, wiring, belt, and starter problems. Use the following guidance to interpret common symptoms safely. When readings conflict or the vehicle behaves unpredictably, obtain a professional diagnosis.
How long can I drive with the battery warning light on?
There is no guaranteed safe driving distance after the battery warning light appears. The vehicle may be running only on stored battery energy, and that reserve can be exhausted unpredictably depending on battery condition and electrical demand.
Reduce electrical load and head toward a safe stopping place only if the car is operating normally and the warning light is steady. Stop promptly if the light flickers with worsening symptoms, the temperature rises, a burning smell appears, steering or other systems behave abnormally, or traffic and weather make a breakdown unsafe.
How often should the charging system be tested after alternator replacement?
Recheck charging voltage after installation, again after the first normal drive, and during routine service if the vehicle has a history of charging faults. Confirm stable behavior without major loads and under substantial electrical load.
Inspect the belt, tensioner, terminals, grounds, and alternator wiring at the same time. Test the old battery separately, because prolonged undercharging or overcharging may have reduced its capacity even after the alternator has been replaced.
How do I test if my alternator is bad?
Begin with a rested battery-voltage check, then measure at the battery terminals with the engine running at idle and with substantial electrical loads switched on. Compare the results with approximately 13.6–14.8 V without major loads and approximately 13.5–14.2 V under load.
If the result is low, high, or unstable, test voltage drop on the positive and ground paths, inspect the belt, and check for abnormal AC ripple. A professional load or bench test may be needed because voltage alone cannot confirm current capacity or internal diode condition.
What can be mistaken for a bad alternator?
A weak or internally defective battery, parasitic drain, starter fault, slipping belt, poor ground, corroded cable, blown charging fuse, and another belt-driven component can produce similar symptoms. Dim lights can also reflect poor headlamp grounds or degraded lamp components.
Compare the battery’s rested voltage with its behavior during starting and charging. If the battery loses energy while parked, investigate the vehicle for parasitic drain, including possible alternator diode leakage, rather than replacing the alternator automatically.
How to fix an alternator without replacing it?
Repair may involve replacing a failed regulator, worn brushes, bearings, or rectifier when the alternator’s design allows component-level service. First confirm the fault with voltage, voltage-drop, ripple, and load testing as appropriate.
Also correct belt slip, poor grounds, loose terminals, and corroded cables. If several internal parts are worn or the repair cannot be verified reliably, a complete replacement may be more practical. The battery should be evaluated separately if the original fault caused prolonged overcharging.







