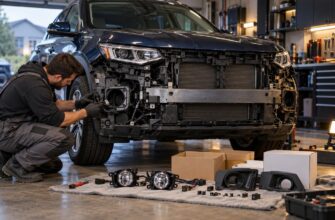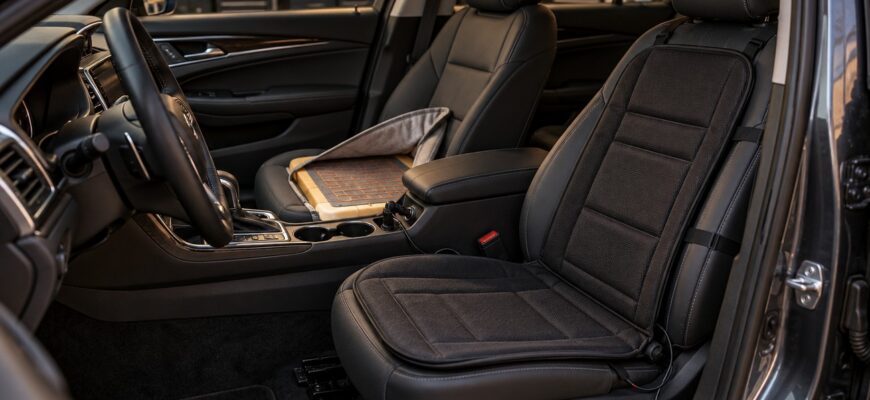
A removable heated seat pad is quick to fit and easy to take out, but its straps may loosen, slip, or bunch up. A retrofit kit fitted beneath the upholstery looks more like factory equipment and usually stays in place, but it requires seat and upholstery work. That choice also affects wiring: both options need a suitable 12-volt supply, fuse protection, and controls that cannot quietly drain the battery.
Seat safety makes the decision more specific than a universal-fit label suggests. Side airbags, occupancy sensors, seat rails, foam shape, and upholstery construction can all affect compatibility. Before buying, confirm the electrical load and installation requirements for your exact seat rather than treating a seller’s temperature, warranty, or “12 V” marking as proof of suitability.
- Heated seat pads vs retrofit kits: the trade-offs
- Check the seat before choosing a kit
- Power, fuses, and the battery-drain trap
- What installation actually involves
- Heat control matters more than a peak-temperature claim
- A buying checklist that catches the hidden costs
- Frequently asked questions
- How much does it cost to retrofit a heated seat?
- What is the best aftermarket heated seat kit?
- How can I tell whether an existing seat heater needs repair or replacement?
Heated seat pads vs retrofit kits: the trade-offs
Both approaches can add warmth, but they solve different ownership problems. A removable pad sits over the original upholstery, while an embedded kit places heating mats between the upholstery and foam.
| Factor | Removable heated pad | Under-upholstery retrofit |
|---|---|---|
| Installation | Usually quick; straps or clips secure the pad. | Typically requires seat removal, upholstery removal, and mat attachment to the foam. |
| Appearance | Adds a visible layer and may alter seating position slightly. | Preserves the original appearance when correctly fitted. |
| Stability | Can slip, bunch up, or lose strap elasticity over time. | Generally stays aligned once installed, provided the mat suits the foam. |
| Compatibility | Still needs checks for airbags, sensors, plugs, and current draw. | Needs detailed checks for airbags, sensors, upholstery, foam, and wiring. |
| Reversibility | Easy to remove or move between vehicles if the design permits. | Removal means repeating much of the upholstery work. |
Neither option is universally better. A removable pad suits temporary use or a vehicle whose seat should not be dismantled, while an embedded kit may be preferable when appearance and stable positioning matter more than easy removal. The extra labor of the second option is part of its cost and risk profile, not a minor finishing step.
Check the seat before choosing a kit
Start with the seat itself, rather than the advertised mat dimensions. Cushion and backrest shapes vary, and a mat that fits the flat center of one seat may sit close to bolsters or attachment points on another. Check whether the kit has separate cushion and backrest elements; they may use different connectors, power demands, and controls.
“Universal fit” has a narrow meaning here. Side airbags and occupancy sensors require vehicle- and kit-specific compatibility checks, and manufacturers recommend professional installation where these systems are involved. A seller’s warranty confirms the seller’s terms; it does not prove that a particular mat is compatible with the safety systems or foam in your seat.
Upholstery can change the result as well. Leather, perforations, adhesive layers, and complex foam profiles may affect how a mat bonds and how evenly heat reaches the surface. A mat designed for a simple fabric seat may require different preparation or may be unsuitable for a seat with perforated leather and integrated sensors.
Read the vehicle service information and the kit’s installation documentation before disturbing a safety-equipped seat. Identify the airbag modules, sensor connectors, and approved routing points first. If that information is unavailable, have a qualified installer check compatibility and perform the work.
Power, fuses, and the battery-drain trap
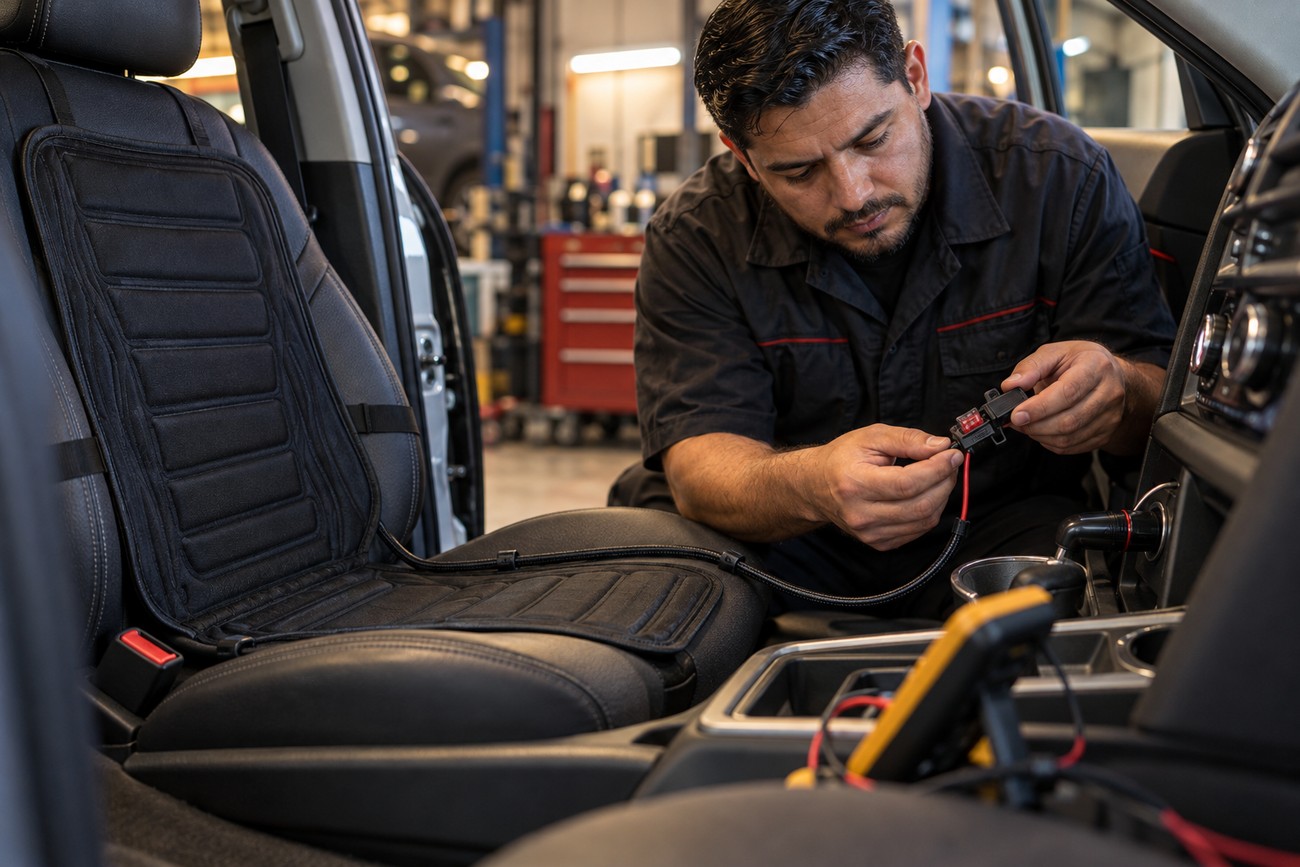
Check the stated wattage for each heating zone, add the zones together, and compare the resulting current with the circuit or socket rating and fuse. One illustrative 12 V kit draws 50–70 W across two heating elements, approximately 4.2–5.8 A in total at 12 V; this is an example, not a specification for all kits. The vehicle’s wiring and protection still determine whether that load is acceptable.
Published current figures can be misleading without context. An official Harley-Davidson instruction specifies up to 4.2 A, while some sellers claim 6–12 A per zone. Those figures are not directly comparable until voltage, power, and the number of zones are established. A “12 V” label only identifies nominal voltage; it does not establish the current draw or socket suitability.
An installed retrofit is ordinarily connected through an appropriate fuse to an ignition-switched circuit. That arrangement reduces the chance that the heater remains powered after the vehicle is parked. Plugging a high-load accessory into a 12-volt socket is different: confirm the socket’s rating, its fuse, the plug polarity, and whether the socket remains live with the ignition off.
Always-live wiring is a common route to a dead battery the next morning. An on/off switch can be forgotten, and a controller may continue drawing power even when the seat feels cool. After installation, verify the switch-off behavior with the vehicle parked and the ignition off, rather than assuming that the control position alone isolates the circuit.
What installation actually involves
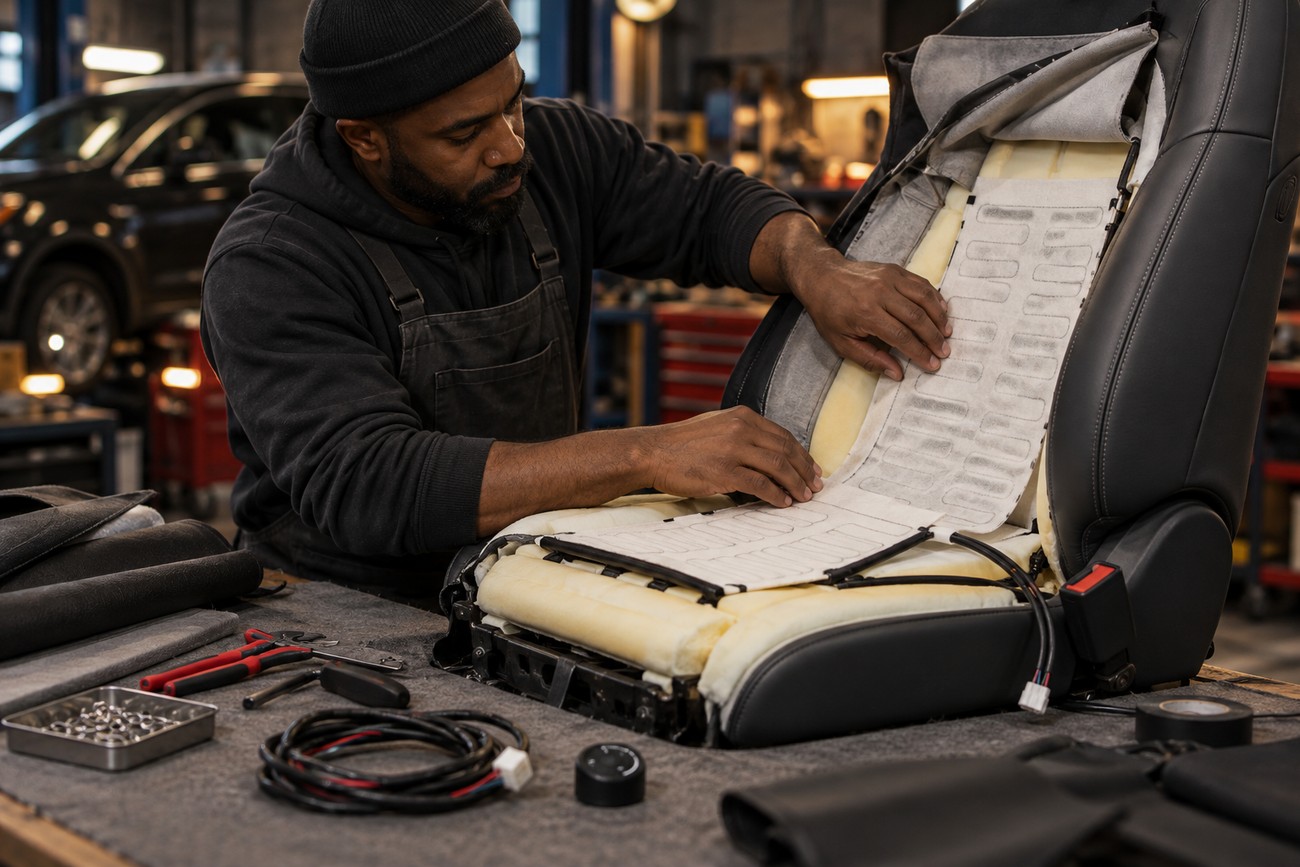
A typical under-upholstery job begins with isolating the electrical system as the vehicle and kit instructions specify. The seat is removed, the upholstery is released, and the heating mats are attached to the foam in the permitted areas. The cover is then refitted without folds, trapped edges, or pressure points that could damage the mat.
Some seats use upholstery rings or other fasteners that must be removed and replaced correctly. The harness must remain clear of seat rails, sharp edges, adjustment mechanisms, and airbag components. Factory instructions call for disconnecting the main fuse or battery as specified, avoiding a pinched under-seat harness, and checking that the seat is secure after refitting.
Harness clearance must be checked through the seat’s entire travel before final reassembly. A cable can look clear with the seat in one position and become tight or trapped when the seat is moved forward or raised.
After the seat is mounted, move it fully through its adjustment range several times. Look for tension, rubbing, or contact with the rails, then confirm that all fasteners and locks are secure. A post-installation function check should cover each heating zone and control position, while any airbag or occupancy warning must be handled according to the vehicle service information.
Professional fitting is the safer choice when the seat contains a side airbag, occupancy sensor, complex leather cover, or unfamiliar restraint wiring. The reason is functional, not cosmetic: incorrect disconnection, routing, or refitting can affect safety-system operation and seat movement. A vehicle-independent wiring procedure is unsuitable for a seat with pyrotechnic or sensing components.
Heat control matters more than a peak-temperature claim
A useful system provides controlled settings, reasonably even heating, and protection against abnormal temperature or controller behavior. A bare on/off switch gives less control and is easier to forget. It also gives you no useful indication of whether a local hot spot is developing beneath the upholstery.
Uneven heating can result from the mat position, foam shape, adhesive failure, or a mismatch between the element and the seat. A failed thermostat or controller can cause local overheating and upholstery damage. For that reason, a claimed peak temperature does not establish fail-safe performance, material suitability, or long-term reliability.
FMVSS 302 sets a maximum flame-spread rate of 102 mm/min for covered vehicle-interior materials. NHTSA’s cited interpretation includes material incorporated within 13 mm of a component’s surface, which matters because a heating element and its nearby layers form part of the seat construction. Check the kit’s material and compliance documentation rather than assuming that an electrical component is outside interior-material requirements.
A seller claims 38–42 °C in 90 seconds and a 45 °C limit for one product, but the identified official automotive standards do not substantiate those figures as a universal performance or safety benchmark. Actual warm-up and surface temperature depend on the vehicle, seat materials, ambient conditions, control strategy, and measurement method.
A buying checklist that catches the hidden costs
Make the decision in a fixed order. Identify the exact seat, its side airbags and occupancy sensors, then confirm the dimensions and position of every heating zone. Next, establish total wattage, current, fuse requirements, control behavior, and whether the power source is ignition-switched.
Then price the installation work honestly. A removable pad may avoid seat dismantling, but slipping straps, bunching, and an extra layer over the original upholstery can become daily annoyances. An embedded kit may look cleaner and hold its position better, while adding seat removal, upholstery rings, refitting work, and possible wiring labor.
Inspect the documentation for the actual seat configuration, not only a generic vehicle list. Confirm support for leather, perforated covers, the foam profile, and the separate cushion and backrest connections. Available owner discussions do not establish long-term reliability rankings for particular brands, so isolated positive reviews should not decide the purchase.
Choose the removable option when reversibility and limited installation work matter most. Choose an embedded system only after the compatibility and labor questions are answered, and use professional fitting when the seat contains safety equipment or the wiring route is unclear. This approach helps prevent a low-effort purchase from becoming a repair, battery, or upholstery problem.
Frequently asked questions
Cost depends on the kit and the work required for the particular seat. Product comparisons also need more than isolated owner reviews. If a heater is already fitted, diagnose the fault before deciding whether to replace a part.
How much does it cost to retrofit a heated seat?
Request an itemized quote rather than a single installation figure. The quote should separate the kit, removal and refitting of the seat, upholstery labor, replacement upholstery rings or fasteners if needed, and any vehicle-specific electrical work. Ask whether diagnosis, post-installation testing, and correction of wiring or warning lights are included.
Two apparently similar seats can require different labor because of their covers, sensors, airbags, and access to the wiring. Give the installer the exact vehicle, seat type, kit documentation, and number of heating zones so competing quotes describe the same work.
What is the best aftermarket heated seat kit?
There is no reliable universal winner established by the available owner discussions. Assess a specific kit through its installation documentation, vehicle- and seat-specific fit information, electrical specifications, material and safety documentation, technical support, warranty terms, and return conditions.
Isolated reviews can show that a product worked for one owner, but they do not establish long-term reliability rankings. Stronger evidence explains how the controller behaves, what replacement parts are available, and what happens if the mat, switch, or wiring fails.
How can I tell whether an existing seat heater needs repair or replacement?
First distinguish a dead heating element from a supply or control fault. Compare the switch operation, fuse, connector supply, resistance, and measured current with the vehicle’s service information and the heater documentation. A fault in one zone alongside a working second zone can point toward the mat or its local wiring, while loss of both zones may indicate a shared supply, control, or ground problem.
Do not probe or disconnect under-seat airbag and occupancy-system connectors as a casual test. Use the specified diagnostic procedure, isolate power as directed, and have the system checked professionally if safety-system wiring is involved. Replacement is justified only after the failed part and the compatibility of its replacement have been established.