
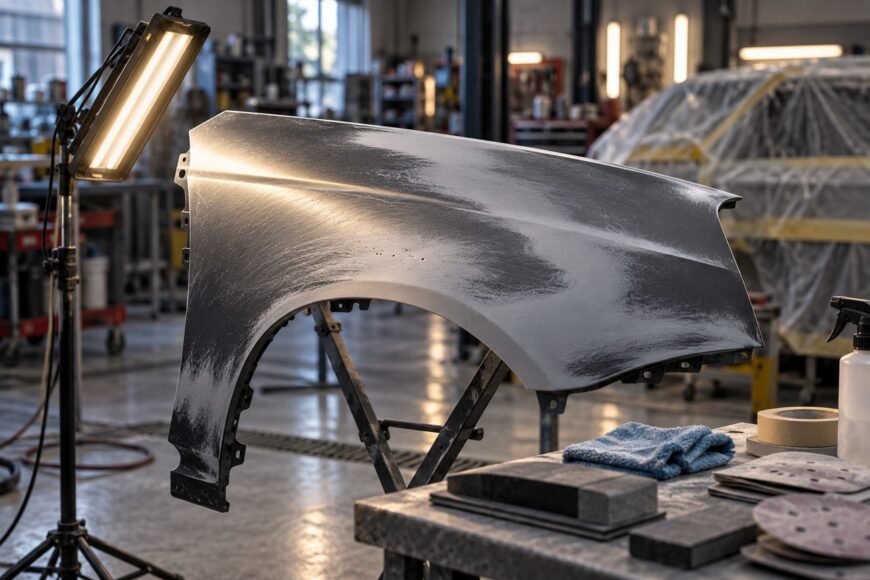
Waves, deep sanding scratches, dust, and uneven gloss often become visible only after color and clearcoat have been applied. Under ordinary shop lighting, a panel may appear smooth while low spots, inconsistent scratch patterns, or a poor transition remain in the surface. Once the finish has cured, correcting those defects usually means sanding back through work that appeared complete.
Guide coat and final preparation are quality-control decisions, not cosmetic extras. The process must balance production speed with adhesion, corrosion resistance, and uniform appearance: the surface must be clean, dry, correctly refined, and coated within the appropriate working window. A rushed final wipe or a formal pass with abrasive can leave defects that the color coat simply makes easier to see.
- Why the Surface Still Fails After It Looks Smooth
- How to Use Guide Coat Without Hiding the Defects
- The Correct Preparation Sequence Before Color
- Final Inspection: Read the Surface Before You Spray
- The Timing and Contamination Traps That Cause Rework
- Frequently asked questions
- How long should guide coat dry before sanding?
- What should you do if final sanding exposes bare metal?
- How to use guide coat and final prep before color?
Why the Surface Still Fails After It Looks Smooth
Ordinary lighting tends to flatten the appearance of a panel. It can hide shallow waves, pinholes, and changes in scratch direction that become obvious under angled light or after clearcoat changes the way reflections travel across the surface. A guide coat provides a contrasting reference, allowing low spots and remaining scratches to be identified during sanding instead of after color.
Surface preparation has three connected purposes: remove contamination, support coating adhesion, and help slow corrosion. ISO 8501, ISO 8502, ISO 8503, and GOST 9.402 address cleanliness, surface profile, dust, and related pre-coating conditions. Those references define important conditions, yet they do not replace a careful visual and tactile inspection of the actual repair.
Waves that survive filler and primer usually indicate that sanding was stopped when the panel looked acceptable rather than when the surface was uniformly refined. Visible sanding marks can come from an overly coarse final abrasive, isolated breakthrough areas, or a change in abrasive grade between adjacent zones. A guide coat used across filler and primer exposes those differences before the basecoat turns them into visible color variation.
Contamination creates a different class of failure. Dust, grease, invisible salts, lint, and incompatible solvent residue can reduce adhesion or place dirt in the clearcoat. If bare metal remains exposed after cleaning, or if the cleaned surface waits too long before protection, corrosion can begin beneath a finish that initially looks sound.
How to Use Guide Coat Without Hiding the Defects
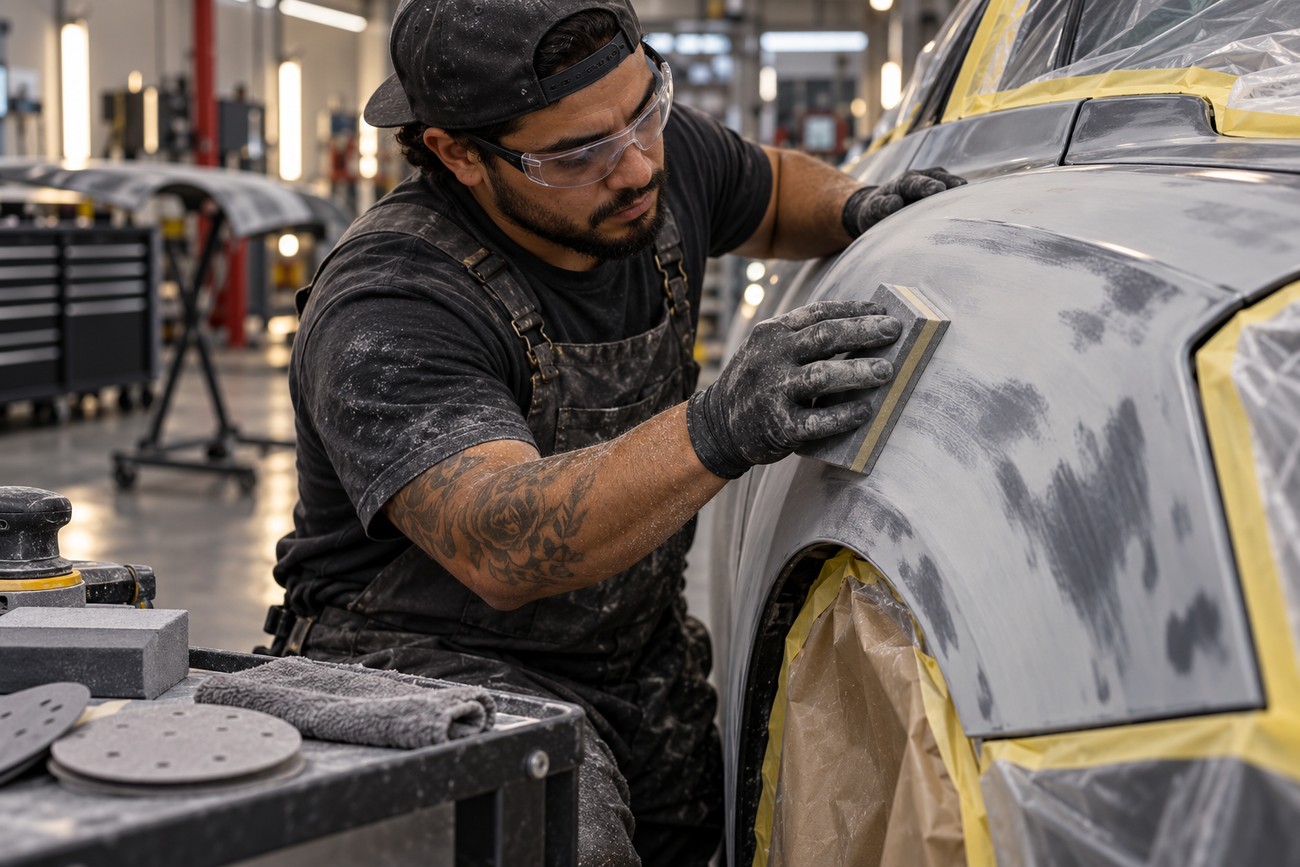
Apply a light, even, dry colored layer to a fully cured surface. Guide coat is a fast-drying, dry colored layer used to reveal low spots, unevenness, and sanding scratches; it does not harm adhesion when completely removed and used as intended. The product must become fully dry before sanding, and the specific drying time is product-dependent and must follow the product instructions.
Sand with controlled pressure and a suitable block or backing pad. High areas lose the guide coat first, while remaining color identifies low spots, pinholes, or scratches that still need attention. Stop when the remaining marks explain the surface condition; sanding harder in one area can distort the panel and create a new low spot.
Change the sanding direction between passes. Cross-direction work makes it easier to distinguish a true low area from a scratch left by the previous pass, especially on broad panels. Use the same reading method over filler and primer, because a panel can be flat through one material layer while still carrying an inconsistent abrasive pattern into the next.
Powder guide coat needs restraint. A thick layer can load the abrasive, fill the pores of filler, and make the surface harder to read; applying or sanding it on a damp or uncured substrate increases that risk. If powder remains in porous filler, remove it thoroughly and restore a suitable sealed surface before final preparation.
The Correct Preparation Sequence Before Color
Start with inspection under suitable light and identify repairs, exposed metal, pinholes, waves, and uneven transitions. When oily contamination is present, GOST 9.402 requires degreasing before abrasive blasting or mechanical cleaning to avoid driving oils and grease into the surface profile.
Complete the repair and apply compatible primer or surface according to the coating system. Allow each layer to cure as specified, then use guide coat to control the shape and refinement of the sanding pattern. If final sanding exposes bare metal, correct that area with compatible primer coverage and allow the repair to cure before continuing.
Finish with one consistent fine abrasive across the relevant repair area. P400–P800 is the recommended final abrasive range stated in the brief for basecoat/clearcoat preparation; P240–P320 may leave visible scratches. The correct grade also depends on the product system, so the primer and basecoat technical instructions take priority where they specify a different preparation range.
Remove sanding dust with controlled air blow-off and suitable dust-removal methods, then use a compatible cleaner and lint-free wipes. The final preparation includes fine sanding, dust removal, compatible degreasing, masking, and inspection under suitable light. A surface can be clean after sanding yet still require final dust and contamination control before color.
Mask only after the surface and surrounding work area are clean. Check that the cleaner has fully evaporated, because the surface must be clean, dry, and free of incompatible residue before color. Keep the prepared panel protected from contact, airborne dust, and unnecessary handling until basecoat or single-stage enamel is ready to apply.
Final Inspection: Read the Surface Before You Spray
Make the final inspection a stop/go decision. Use angled LED or fluorescent light to reveal waves, sanding scratches, pinholes, exposed metal, and abrupt transitions between repair zones. Move the light or change your viewing position; a defect that disappears from one angle may remain obvious from another.
Check the scratch pattern across the entire panel, especially where coarse and fine sanding areas meet. A final pass with one consistent fine abrasive helps prevent patchy color and visible transition lines. Inspect edges and body lines separately, since they can retain heavier scratches or lose primer coverage when the sanding block changes direction.
Changing the scratch direction between passes makes waves and remaining deep scratches easier to separate from normal texture under angled light.
Use controlled air blow-off, then remove remaining dust with lint-free wipes. Lint-free wipes are preferred at the final stage because loose fibers can become clearcoat defects. Keep the booth, adjacent surfaces, and masking materials clean; a single fiber or dust particle can become a visible inclusion after clearcoat.
Temperature and humidity also affect the decision to spray. High humidity and low temperature increase the risk of condensation and hidden contamination, particularly when the panel or cleaner is colder than the surrounding air. If the surface shows moisture, smearing, residue, or an uncertain transition, stop, correct the condition, and repeat the inspection.
The Timing and Contamination Traps That Cause Rework
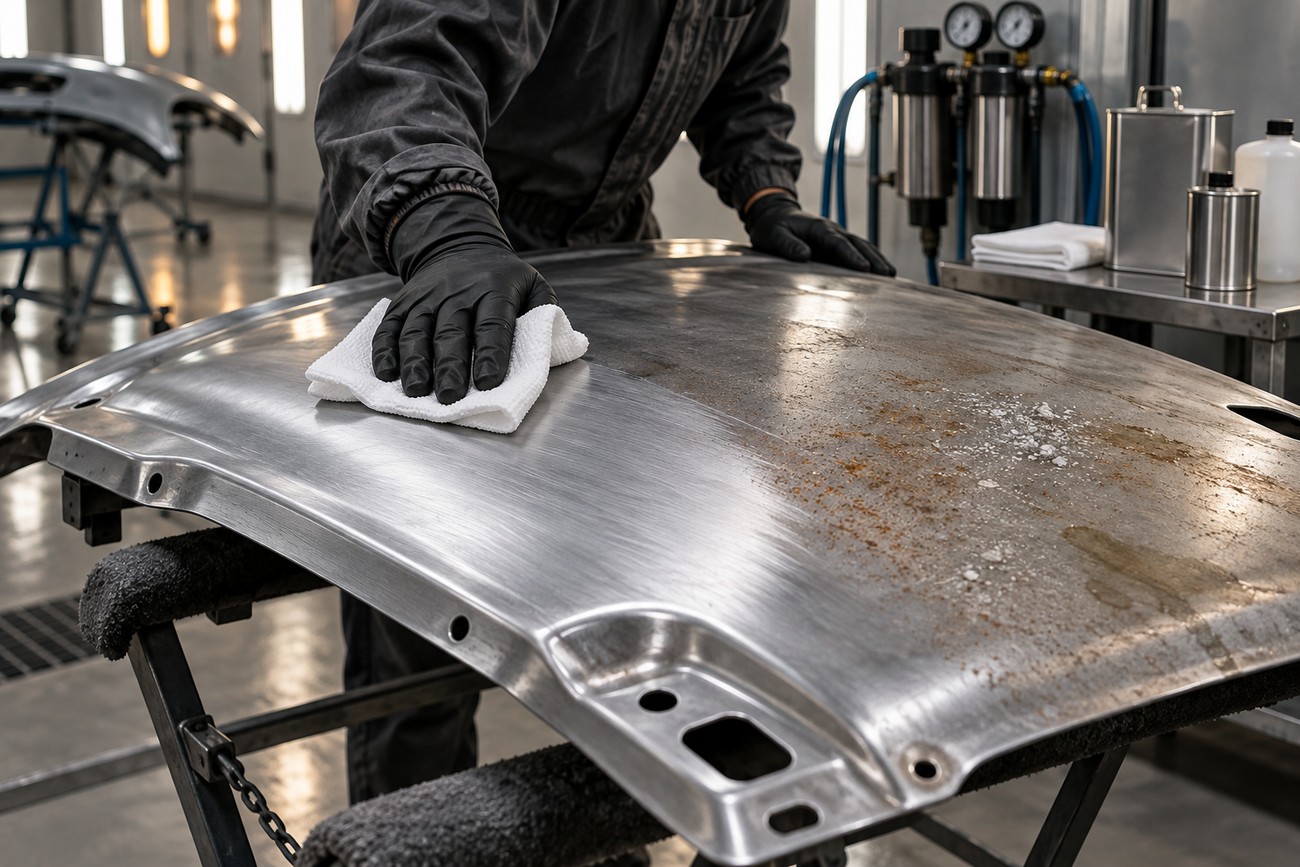
Cleaning and coating have a working window. The specified maximum interval between abrasive blasting and primer or the first coating layer is 4–6 hours to reduce flash rust risk. Flash rust can begin before corrosion is visually obvious, and invisible salts or moisture can weaken the coating system while the metal still appears clean.
Cleaner selection matters as much as wiping technique. Some low-cost solvents or degreasers can leave a film that is incompatible with the primer, basecoat, or clearcoat. Invisible salts, dust, grease, and incompatible solvent residue can reduce coating durability even when the surface looks clean, so verify the cleaner against the coating system and allow it to evaporate completely.
Spraying over dust creates inclusions, uneven texture, and avoidable polishing work. Spraying over cleaner that has not evaporated can produce defects such as bubbling, cratering, or loss of adhesion. The surface must be clean, dry, and free of incompatible residue before color; cleaner must fully evaporate before spraying.
Guide coat can also create a timing trap. A light, dry layer helps reveal the surface, while a thick layer loads the abrasive and fills pores, interfering with reliable surface reading. Remove the guide coat completely during controlled sanding, then carry out dust removal and final inspection before moving into color.
Frequently asked questions
How long should guide coat dry before sanding?
There is no universal drying time. Guide-coat drying time is product-dependent and must be confirmed by the product instructions, with temperature, humidity, film thickness, and substrate also affecting readiness.
Before sanding, the layer should be dry enough that it does not smear, ball up, or load the abrasive. If it transfers easily or feels soft, wait longer and correct the environmental condition before continuing.
What should you do if final sanding exposes bare metal?
Stop the color process and correct the breakthrough. Clean the area with a compatible method, restore compatible primer coverage, allow the system to cure, and recheck the transition under the same inspection light.
Do not hide exposed metal beneath basecoat. The repaired area must blend into the surrounding primer without a sharp edge, excessive film buildup, or an unresolved scratch pattern before final sanding resumes.
How to use guide coat and final prep before color?
Apply a thin, even guide coat to a fully cured filler or primer surface, sand in controlled directions until the high areas clear, and correct any remaining low spots or deep scratches. Finish with the specified fine abrasive, using P400–P800 for basecoat/clearcoat preparation where that range is appropriate to the system.
Then remove dust, wipe with a verified compatible cleaner, allow complete evaporation, inspect under angled light, and mask the clean surface. If the cleaner leaves a film, the guide coat smears, or bare metal appears, correct that condition before basecoat rather than relying on the color layer to conceal it.







