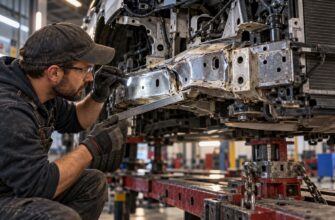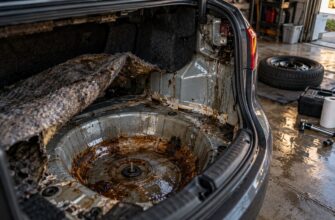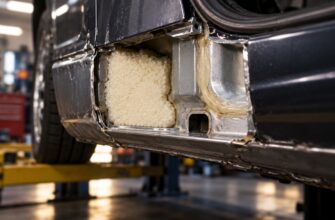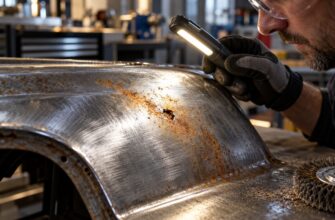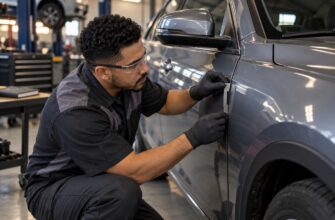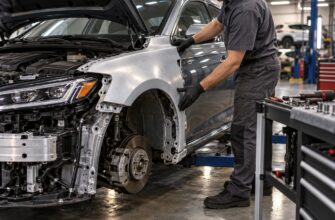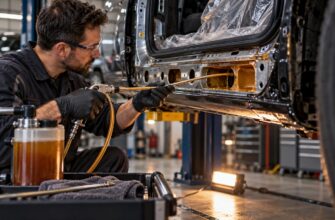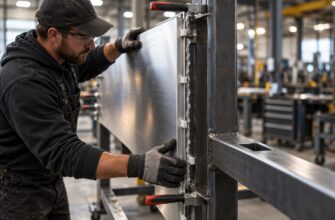
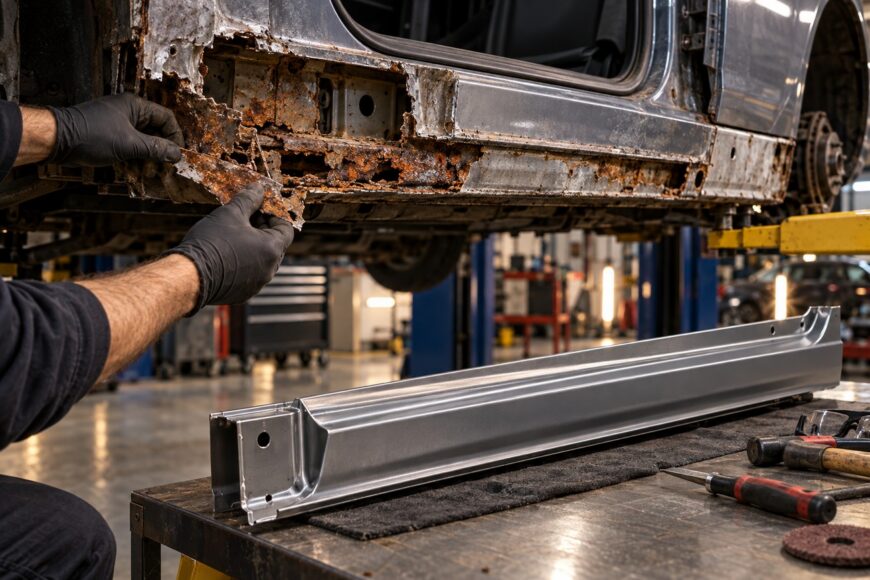
A small bubble along a rocker panel can become a much larger repair once the outer skin is opened. Rust may have spread into the inner reinforcement, floor seam, or jack point while the paint still hides most of the damage. The visible hole is a starting point for inspection, not a reliable measure of the work.
The rocker panel is part of the vehicle body’s structural area, and its enclosed shape can trap moisture and road debris. A cosmetic patch may improve its appearance for a while, but a durable repair means finding and removing weakened metal, preserving the door opening’s geometry, and protecting the cavity afterward. The final scope cannot be known from the bubble alone, and no repair can be promised to last indefinitely.
- Why Rocker Panel Rust Is More Serious Than It Looks
- How to Assess the Damage Before Cutting
- The Right Repair: Remove Weak Metal and Weld in Sound Steel
- How to Weld Without Warping the Body
- Seal, Coat, and Protect the Repair From Inside
- Cheapest Fix vs. Durable Fix: What the Price Really Covers
- Mistakes and Myths That Make Rocker Rust Return
- Frequently asked questions
- What is the cheapest way to fix rusted rocker panels?
- How can I fix a rust hole in my rocker panel?
- How do I choose a replacement rocker panel?
Why Rocker Panel Rust Is More Serious Than It Looks
Rocker rust often starts where water and debris collect: along lower seams, near wheel arches, or inside the closed cavity. By the time paint blisters on the outside, corrosion may also be present on inner reinforcements, floor edges, and concealed flanges. Removing only the visible rust can leave the material supporting the repair weak.
Jack points deserve particular attention. If the reinforced area around a factory lifting point has deteriorated, an intact-looking outer panel does not make that point safe to use. Floor seams and wheel-arch connections can also conceal layered rust that becomes apparent only after trim or the outer panel is removed.
Structural condition matters as much as appearance. Cutting away a substantial section without supporting and monitoring the body can change the door opening; careless welding can then lock in poor gaps or a door that closes badly. The full repair scope should be assessed after the area is opened, rather than estimated solely from the size of a bubble or hole.
How to Assess the Damage Before Cutting
Start with a supported vehicle and a record of its existing door gaps, door operation, and panel lines. Do not rely on a suspect rocker or jack point to carry the vehicle’s weight. Before cutting structural metal, the repairer needs a plan for supporting the body and checking whether the opening moves as material is removed.
Inspect the inner rocker, reinforcements, floor seams, jack points, wheel arches, and drain openings. Probe and clean suspect edges carefully to distinguish sound steel from metal that has thinned or separated into layers. Opening the area may reveal that the outer skin is only one part of the repair.
The condition of the steel determines the approach. Surface corrosion on intact metal may be cleaned and protected; a through-hole or layered rust calls for removal of weakened metal and a welded steel repair. Rust converter may have a place on suitable surface corrosion, but converter, filler, and fiberglass cannot restore strength that the steel has lost.
Check the proposed replacement panel before committing to it. Compare its thickness, flange shape, door-opening and arch profiles, and protective coating with the original construction. A panel that resembles the rocker from a distance may need substantial fitting at the floor and wheel arch, adding cutting and welding rather than saving labor.
The Right Repair: Remove Weak Metal and Weld in Sound Steel
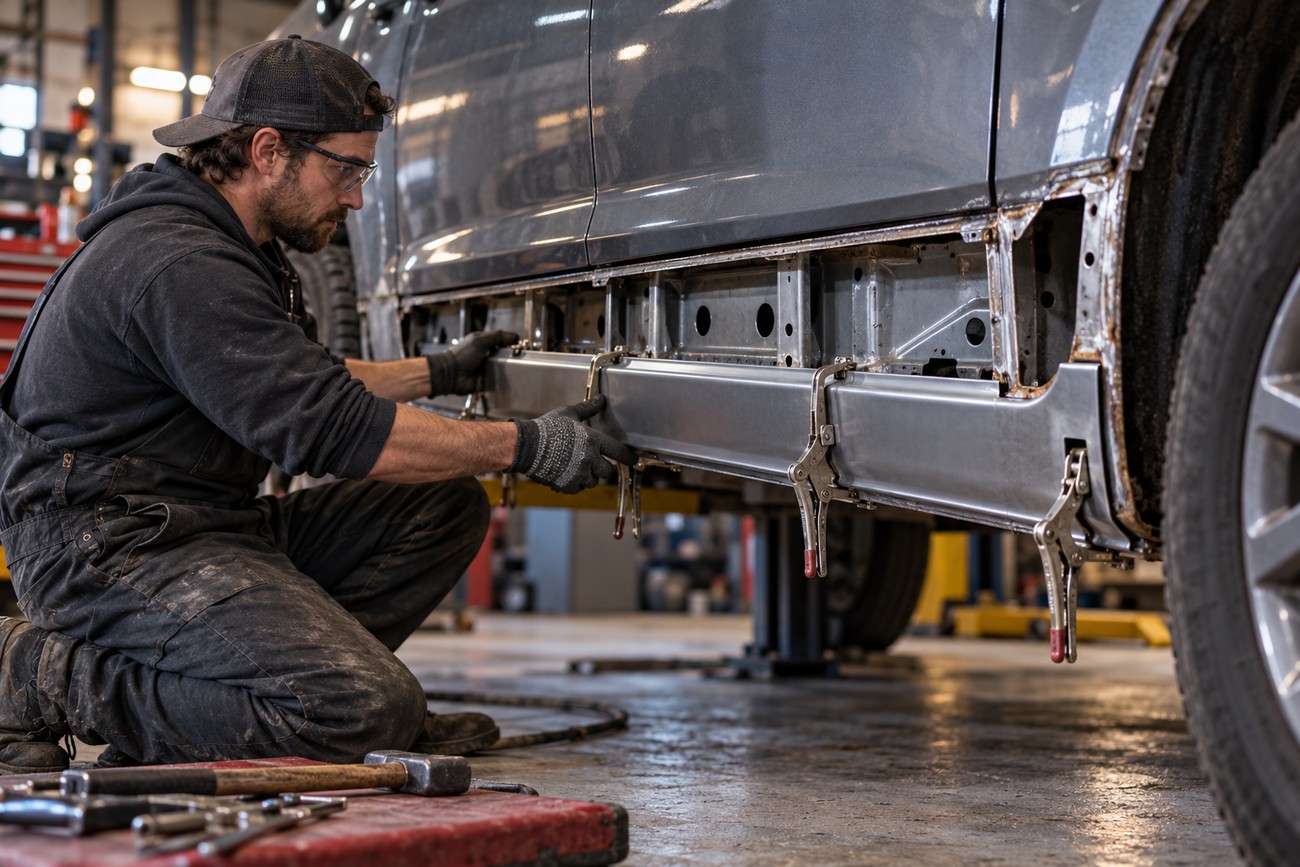
Expose enough of the damaged area to see where corrosion ends, then remove weakened metal back to healthy steel. Clean the adjoining surfaces and inspect the structure behind them before shaping the replacement section. If the inner reinforcement or floor edge is unsound, fitting a new outer skin first will conceal work that still needs to be done.
Test-fit the replacement before welding. Close the door and check its clearance, the wheel-arch line, floor flanges, and original seam locations. The section should meet sound metal without being pulled toward a torn, rust-thinned edge by the weld.
Sellers may describe an outer cover or surface patch as a lasting fix. Where corrosion remains underneath, repairers generally treat that approach as temporary: trapped rust can keep advancing and blister the finish again. Filler, fiberglass, and rust converter can address particular surface or finishing needs, but none substitutes for sound replacement steel in a through-corroded structural area.
How to Weld Without Warping the Body
Thin body steel is sensitive to heat. With the replacement held in its intended position, use short tack welds, move between locations, and allow cooling time between passes. A long continuous weld can overheat and warp the panel, leaving waves that become obvious after finishing.
Fit-up and geometry need repeated checks during welding, rather than a single check before it begins. Verify that the door still opens and closes properly and that the rocker and arch lines remain where they belong. If a gap begins to change, continuing to weld can make the distortion harder to correct.
Welds also depend on what they join. Rust-thinned edges, abrasive residue, and contamination can undermine a joint even when its surface looks tidy. Clear combustible trim and coatings from the work area, and keep sealers and corrosion-protection products away from surfaces that will be heated, following the vehicle’s repair procedures and appropriate fire precautions.
Seal, Coat, and Protect the Repair From Inside
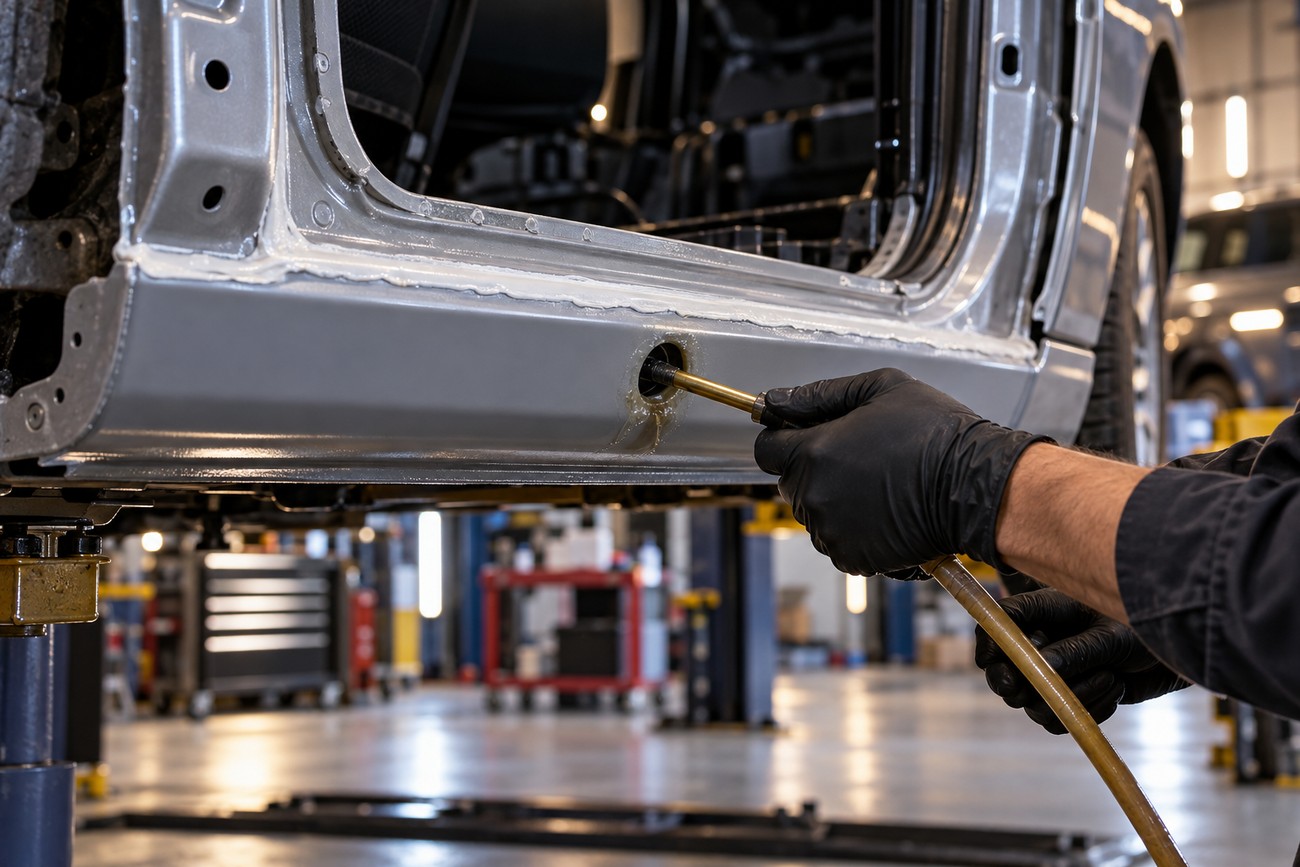
Corrosion protection begins before the cavity closes. Use a zinc-containing weld-through primer where the specified joining surfaces will become inaccessible after welding, in line with the repair and product instructions. Copper-based products are undesirable for this steel-repair application because they may accelerate corrosion.
After welding and surface preparation, restore compatible seam sealer and the required exterior primer and coating. Sealer applied before welding can create smoke and fire hazards when heated; sealer applied over poorly prepared steel can hide a vulnerable seam. An exterior finish alone does not protect the back of the rocker.
Before closing out the work, remove accessible abrasive dust, scale, welding residue, and moisture from the cavity. Apply cavity wax after painting and before interior trim is reinstalled, reaching the enclosed surfaces specified for the repair. Keep the rocker’s drain holes open: sealing the outside while blocking drainage can leave water trapped against the new steel.
Cheapest Fix vs. Durable Fix: What the Price Really Covers
A cosmetic cover or local patch usually requires less initial work than opening the rocker and rebuilding corroded steel. It can make sense only when its limited purpose is clear. If rust remains beneath it, the lower bill buys an appearance repair rather than dependable restoration of the damaged structure.
A proper estimate accounts for inspection and fitting as well as visible metal replacement. Labor grows when inner reinforcements, floor sections, or jack points need repair, and again when seams, coatings, and the cavity must be protected. Even an inexpensive replacement panel can consume time if its flanges and curves need adjustment around the door opening and wheel arch.
One source places rocker repairs for some vehicles at about $1,500–$5,000+ per side, but that is a single-source reference, not a standard price. Vehicle construction, hidden damage, labor scope, and region can change the estimate sharply. Ask what the quoted work includes, what will be reassessed after opening the panel, and how the finished cavity and drains will be protected.
Mistakes and Myths That Make Rocker Rust Return
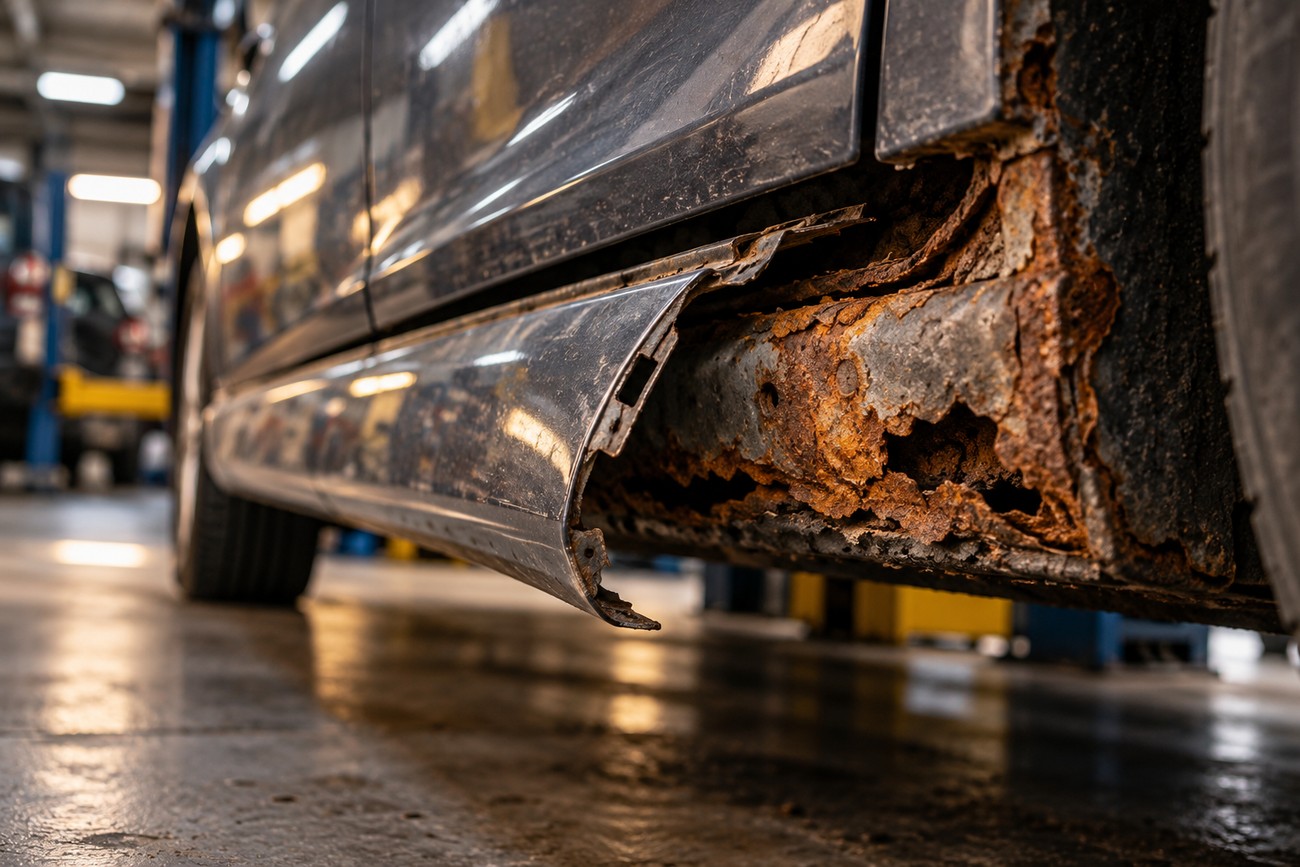
Repairing only the visible hole is a common shortcut. An outer overlay may look sound at delivery yet remain temporary if corrosion beneath it was neither removed nor treated. Likewise, rust converter can treat appropriate surface corrosion, but it cannot return strength to steel lost through corrosion or layered rust.
More weld does not automatically mean a stronger repair. Long passes put excess heat into thin metal, increasing the chance of distortion and altered door gaps. Welding to rusty edges makes matters worse: a neat-looking bead cannot make the surrounding weakened steel sound.
Protection shortcuts can cause trouble before and after painting. Sealer or undercoating left in the weld area creates smoke and fire hazards during heating. Once the metalwork is complete, skipped seam sealing, blocked drains, or omitted cavity wax allow moisture and road salt to remain inside; coating the outside does not address that enclosed space.
Frequently asked questions
Use the condition of the steel and the jack point to decide what level of repair is appropriate. The size of the visible mark alone is a poor guide. A cosmetic cover and a welded repair serve different purposes, so establish which you need before comparing costs.
What is the cheapest way to fix rusted rocker panels?
The cheapest appearance-only option may be surface treatment or a cosmetic cover, provided you understand that it does not restore weakened structural steel. For the lowest-cost durable repair, first establish where sound metal begins and whether the jack point is intact; then limit the cut-and-weld work to the damaged area that actually needs replacement. Covering a small hole over a failing reinforcement can cost more later if the area must be reopened.
How can I fix a rust hole in my rocker panel?
First determine whether you have surface corrosion on solid steel or an actual through-hole. Surface damage can be cleaned and protected if inspection confirms the metal remains sound. A through-hole calls for investigation behind the outer skin and replacement of weakened steel, followed by seam and cavity protection.
Stop a home repair and consult a qualified structural body shop if the jack point, inner reinforcement, or floor seam is affected, or if cutting could change the door opening. Do not lift the vehicle at a compromised factory jack point merely because the outer rocker still looks intact.
How do I choose a replacement rocker panel?
Compare the panel’s metal thickness, flange shapes, door-opening profile, and wheel-arch fit with the vehicle before judging it by its outer appearance. Check that its design allows the required seams and drain openings to be restored, and find out what protective coating it has.
Ask the repairer to assess how much trimming, fitting, and welding the part will require. A panel that fits the general outline but misses the floor flange or arch line may create more work than a better-matched part.